


Contents
Typically, line spacing is of interest only to those people who work with the Microsoft Word word processor. However, in some cases, being able to do this is also useful in Excel. For example, if the table format requires a more compact arrangement of all elements, or vice versa, a wider one. Today we will describe in detail how to change the line spacing in Excel. There is nothing complicated about this, just press just a couple of buttons and perform a few mouse clicks to achieve your goal. You can both reduce and increase the line spacing, and also learn how to change it arbitrarily using the “inscription” tool.
How to change line spacing
Changing the line spacing means either increasing it or decreasing it. This operation is carried out through the context menu. Next, a settings window will open, where you can also make other formatting options.
This problem may occur if the setup was performed automatically. As a rule, after inserting text incorrectly, lines can be placed too far apart from each other. The reason is very simple – a very large number of formatting tags that are in the source document. To prevent this problem, you must either use special services that clear the text of unnecessary tags or remove unnecessary formatting.
You can also clear cells using the built-in Excel tools. I must say that not all actions can be done automatically. Some of them, including reducing the line spacing, will have to be done independently. Let’s take a closer look at how to do this.
How to reduce line spacing
This is the most common situation that an Excel user has to deal with. So let’s look at it first. To fix it, you need to enable only one option. And the sequence of steps is as follows:
- Make a right mouse click on the cell that we need to correct.

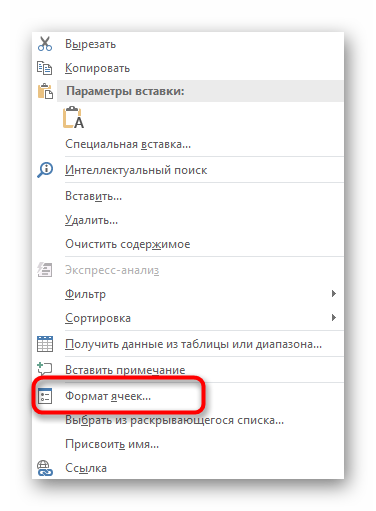
- After that, a menu appears in which we need to go to the “Format Cells” section.
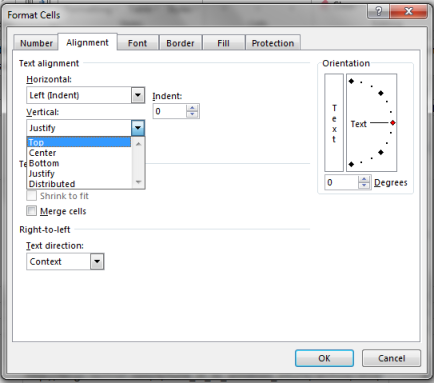
- This will open a dialog box with many tabs. We are interested in the “Alignment” menu, so we expand the corresponding option. After that, select the options that are in the screenshot. That is, select the option “along the top edge” in the menu highlighted with a red rectangle.
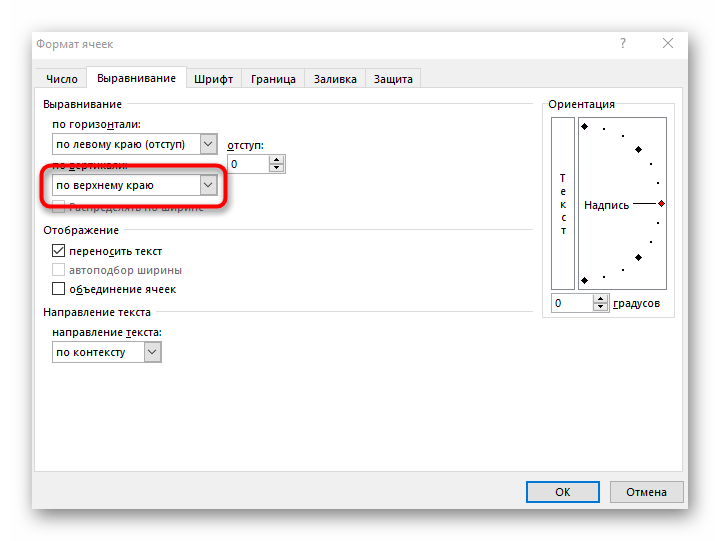
After that, we confirm our actions and close the window. We will see the result immediately. After we get a satisfactory result, we need to reduce the appropriate line to the size that will correspond to the actual height of the text located in our cell. 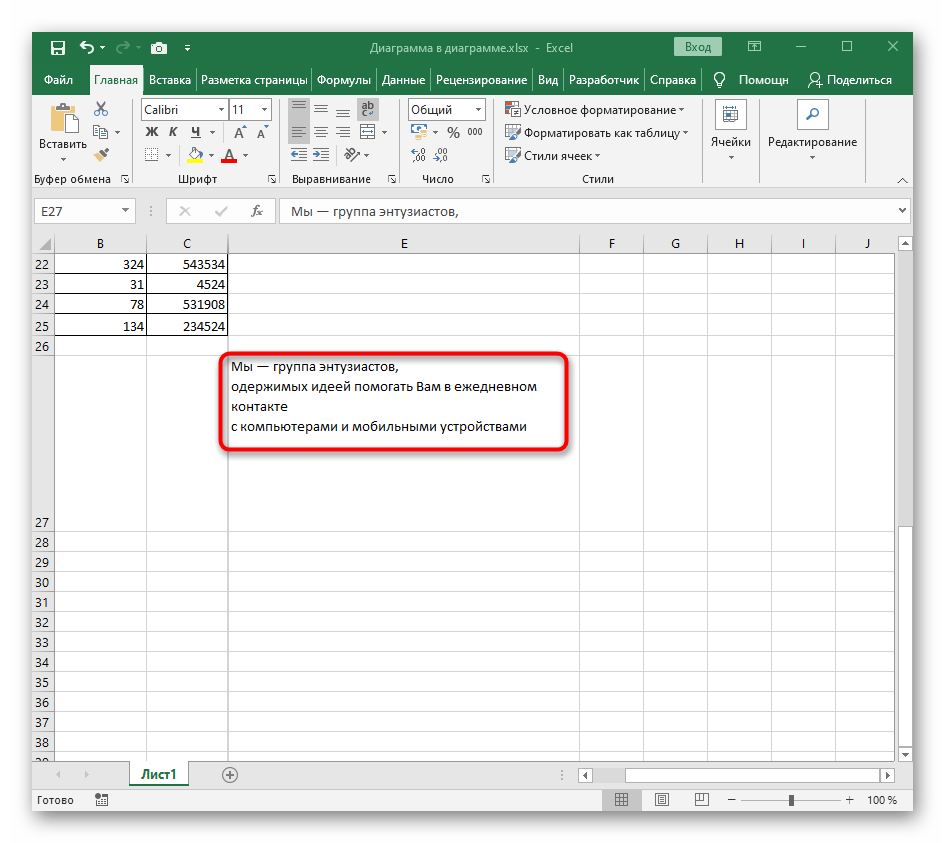

How to increase line spacing
A typical situation in which we need to increase the line spacing of a cell is when we need to stretch text across the entire height of the cell. To do this, you need to follow essentially the same sequence of actions, with the exception of other parameters.
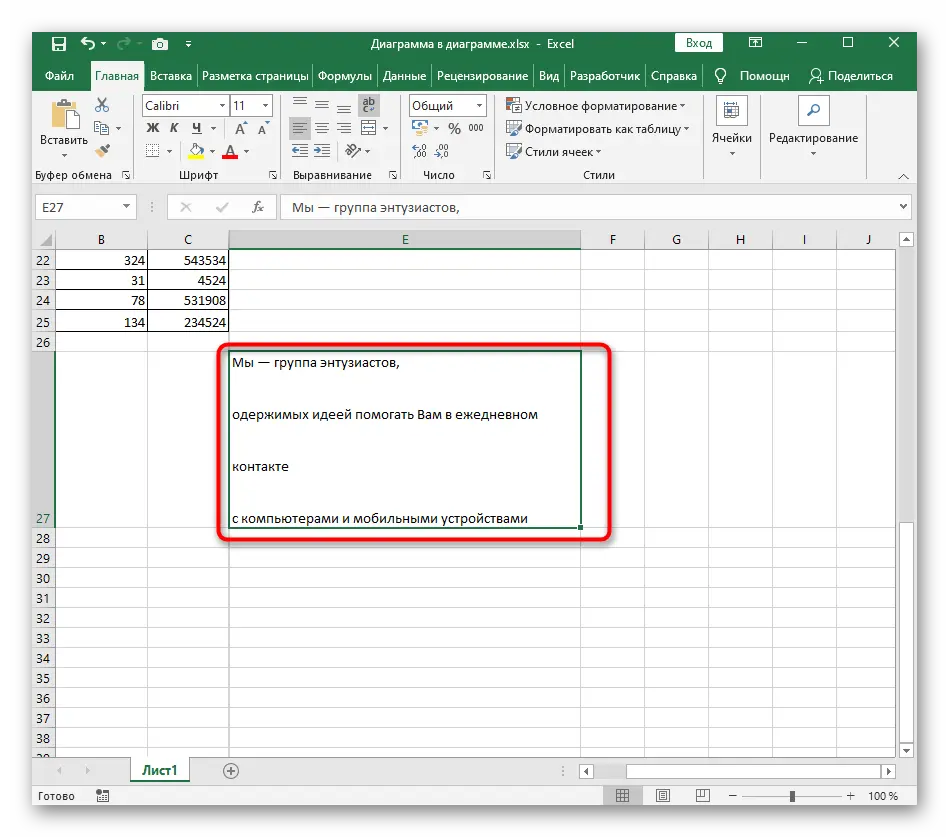
First, we need to right-click on the cell in which we want to make changes. Next, select the Format Cells option from the context menu. After that, select the vertical alignment method “evenly”.
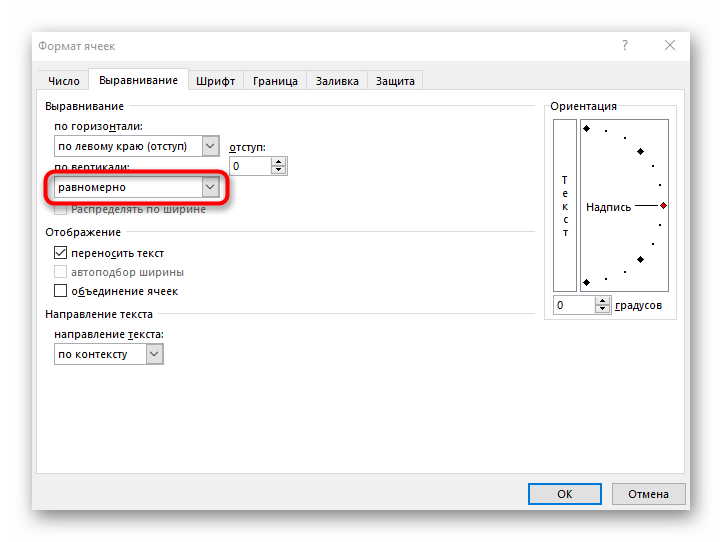
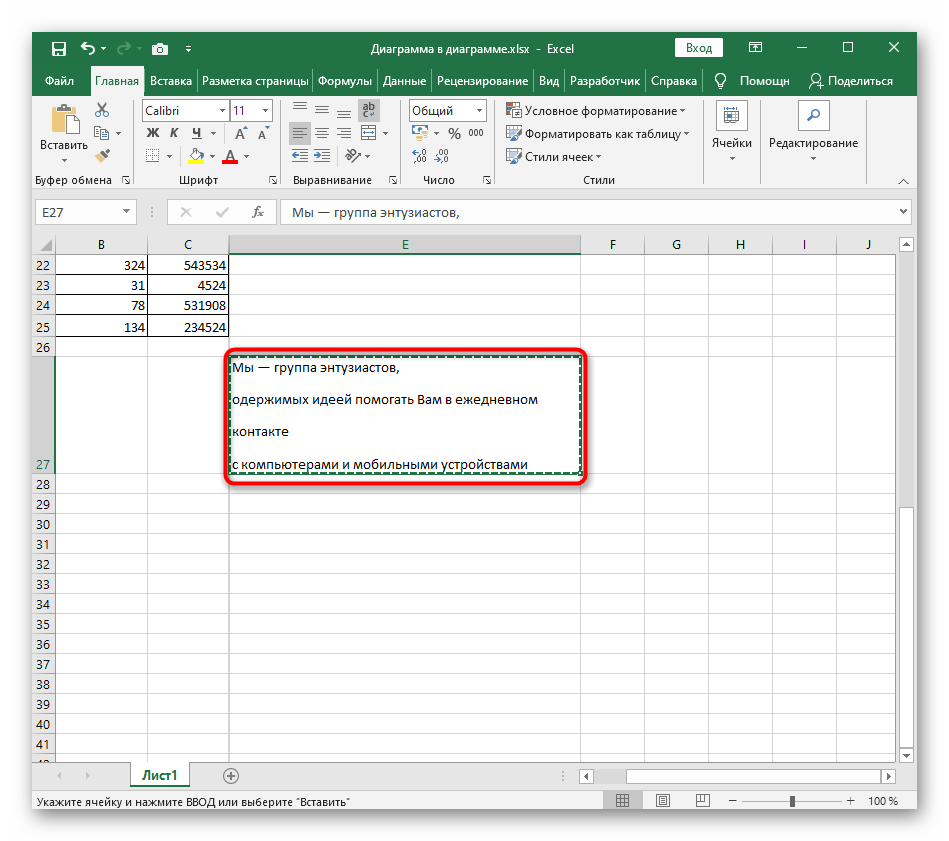
After that, we confirm our actions and look at the result. We see that the text is located over the entire size of the cell. After that, by adjusting its size, you can change the line spacing as you need. 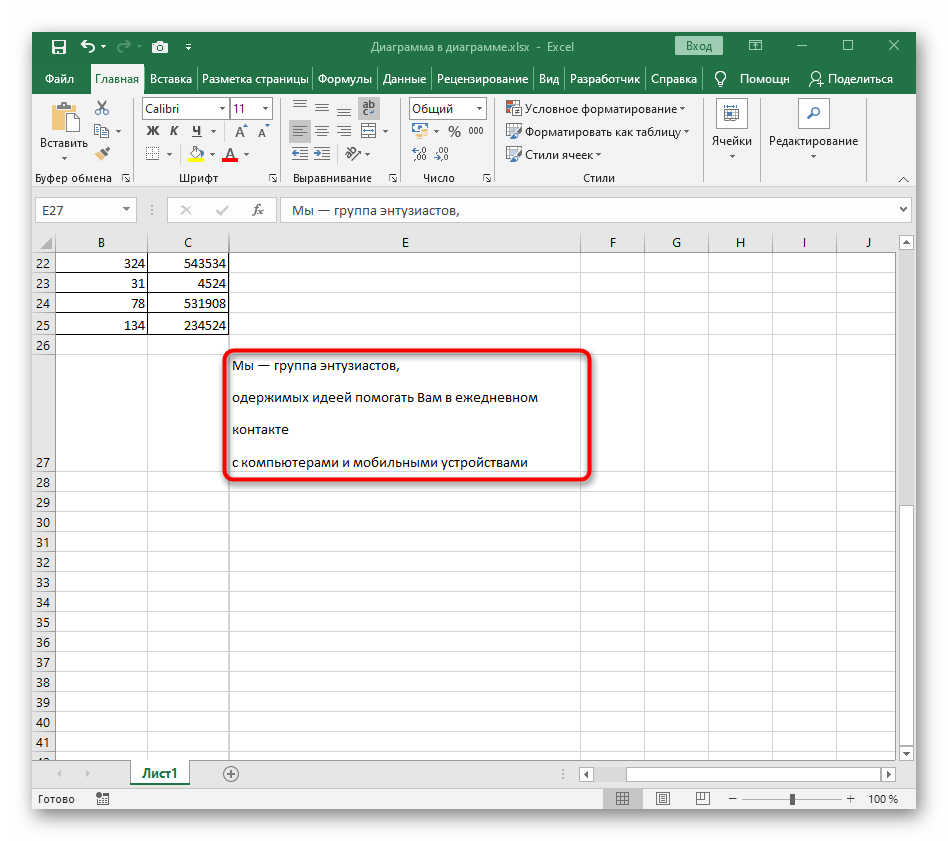
This method does not allow such flexibility to increase the line spacing, but it does allow the use of formulas.
How to overlay labels for a cell
But what if you need to adjust the line spacing more finely? In this case, special actions must be taken. In this case, there will be no text binding to the table, and you can set absolutely any parameters. To do this, you need to bind the label to the cell. The sequence of actions is as follows:
- Select a cell and cut it. To do this, you can use the context menu, a special button on the toolbar, or the key combination Ctrl + X.
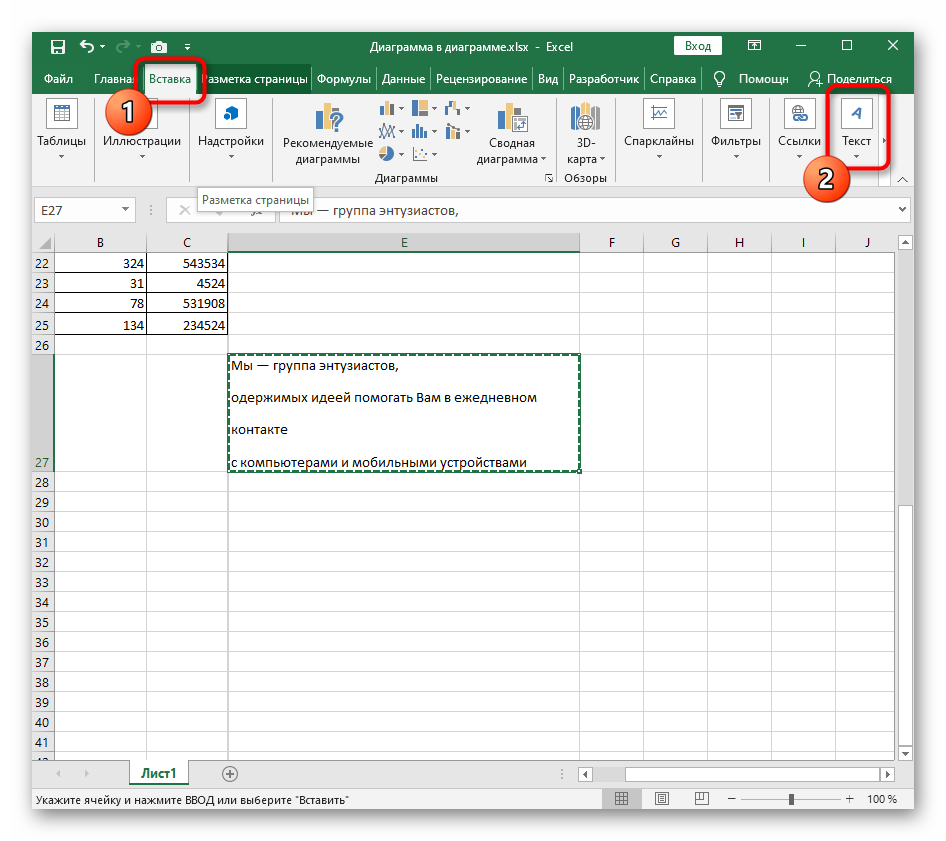
- After that, open the “Insert” tab, located in the main menu at the top of the program window. After that, we need to expand the “Text” toolbox or look at it if the screen size is sufficient and it does not need to be further expanded.
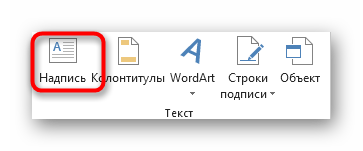
- After that, click on the “Inscription” button by clicking on the appropriate item.
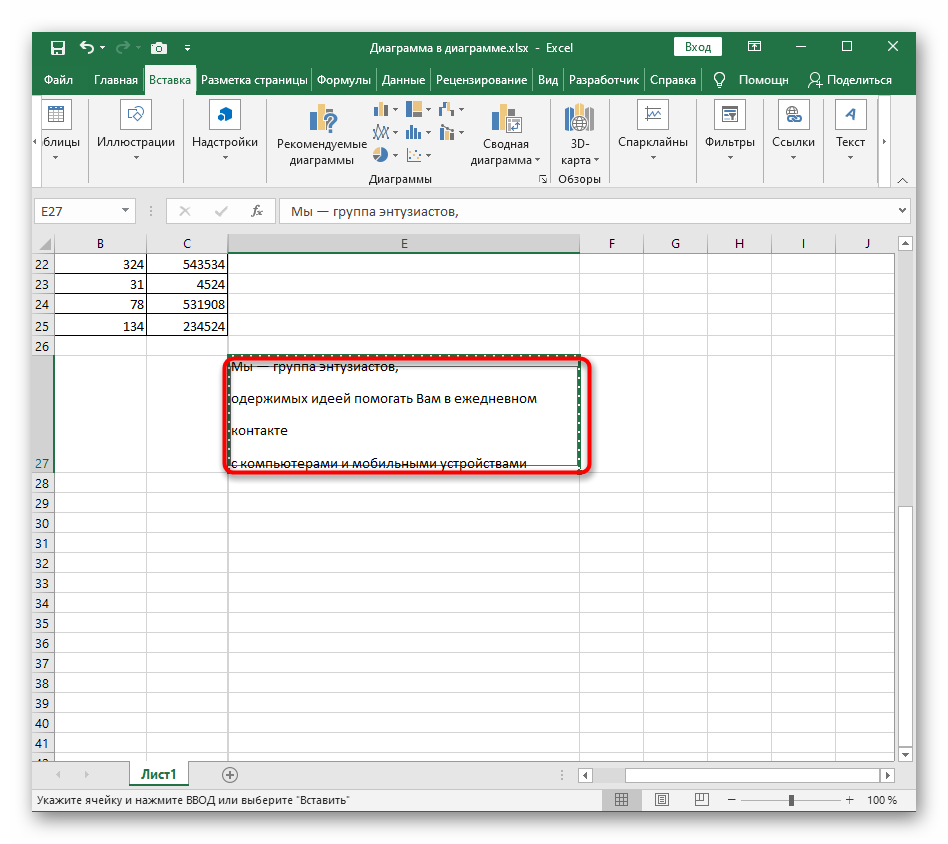
- Then press the left mouse button and hold it. This should be done in the place that will be the upper left corner of the future inscription. After that, we create an inscription block of the size that we need, using the cursor, moving it diagonally to the right and down. After that, a block will be created in place of the cell, in which we will need to enter the text.
- Insert text using any of the possible methods: using the key combination Ctrl + V, the toolbar or the context menu.
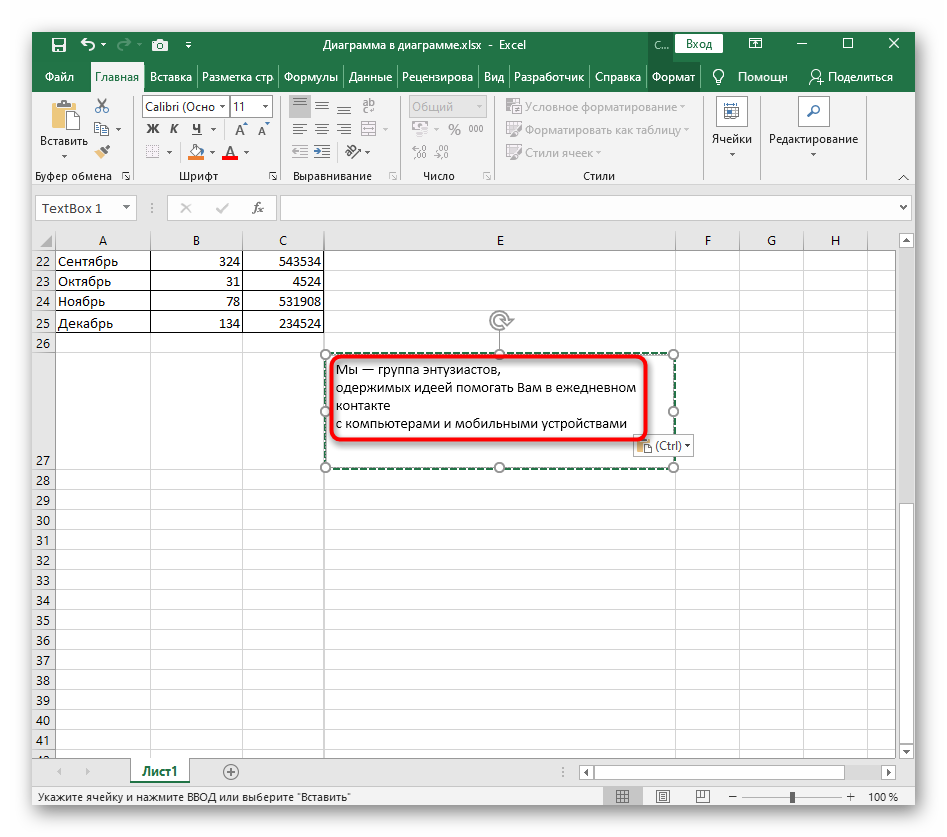
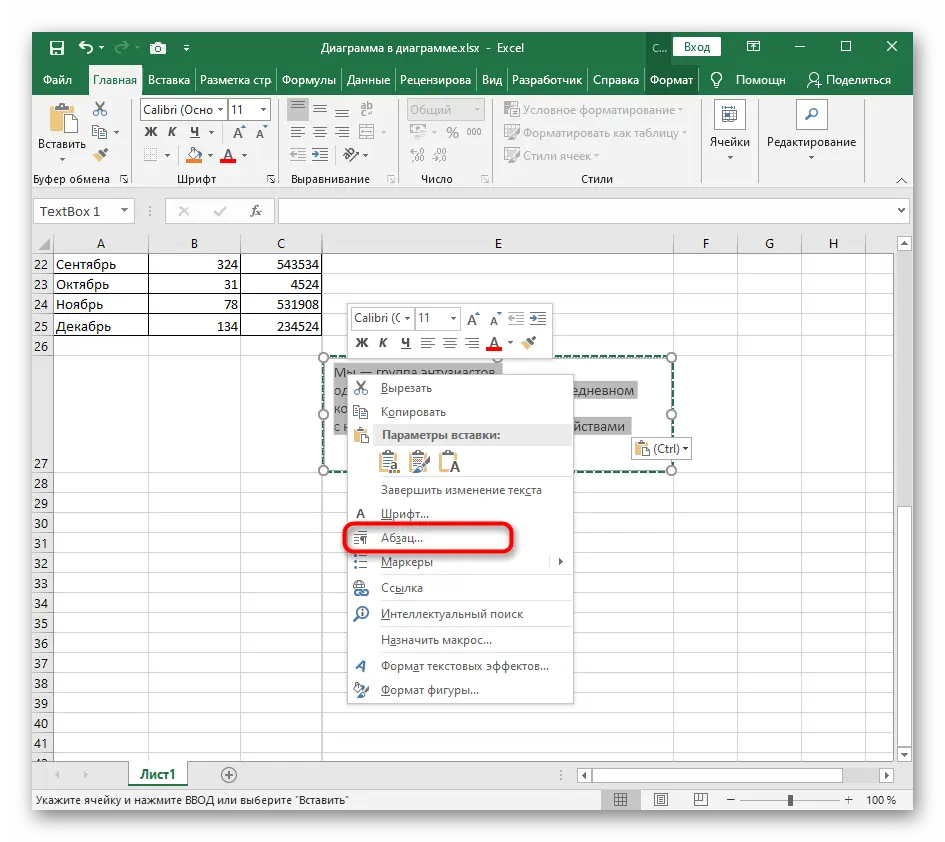
- Then we right-click on our text and select the “Paragraph” item.
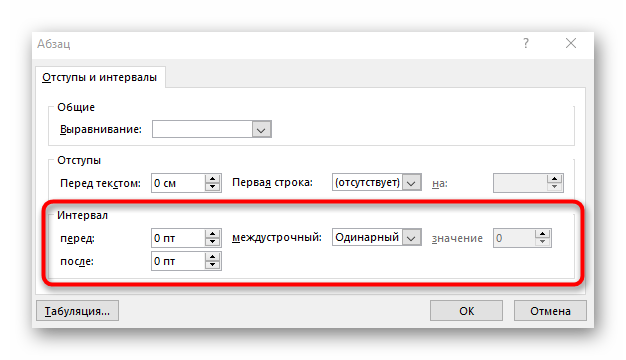
- Next, in the dialog box that appears, you need to find the “Interval” option and set its size to suit your case. After that, click on the “OK” button.
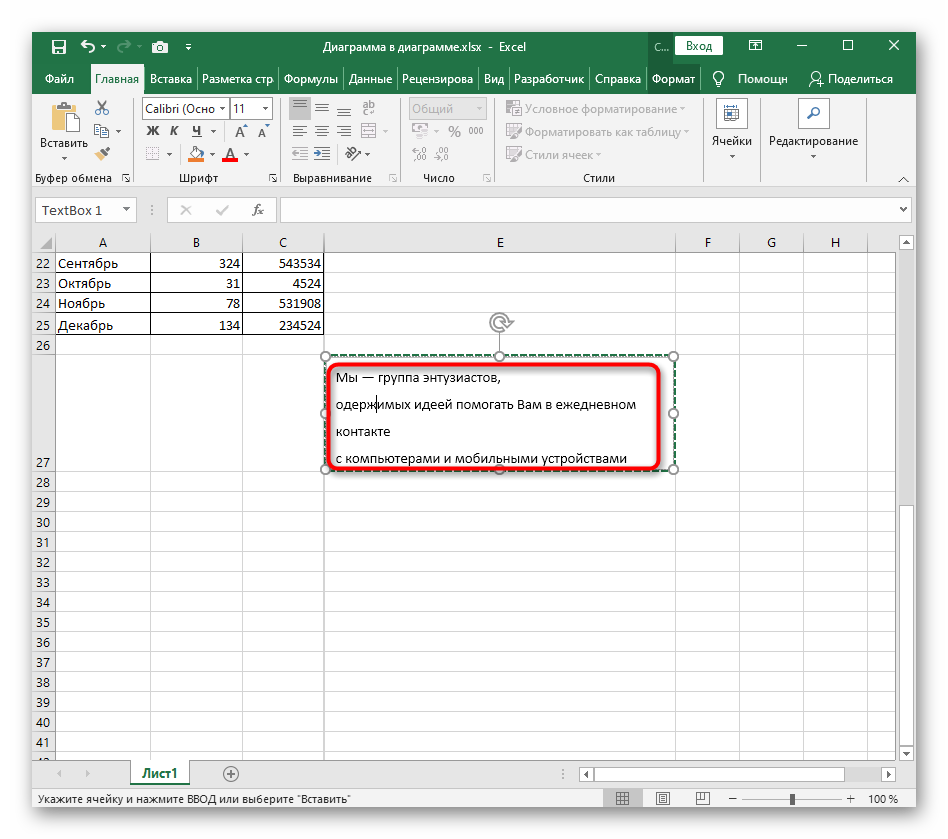
- Next, you can see the result. If it does not satisfy, then it can be changed using the Ctrl + Z keys.
This method has one disadvantage. The values that will be in such a cell cannot be used in formulas, and formulas cannot be inserted into this cell.
We see that there is nothing difficult in changing the line spacing in Excel. It is enough to press just a couple of buttons, as we get the result that we need. We strongly recommend that you make a test document and practice the above instructions in practice. This will help you not to get lost when you need to apply this feature in real work. Each of the methods described above has its own advantages and disadvantages, which must be taken into account during their application.