


Contents
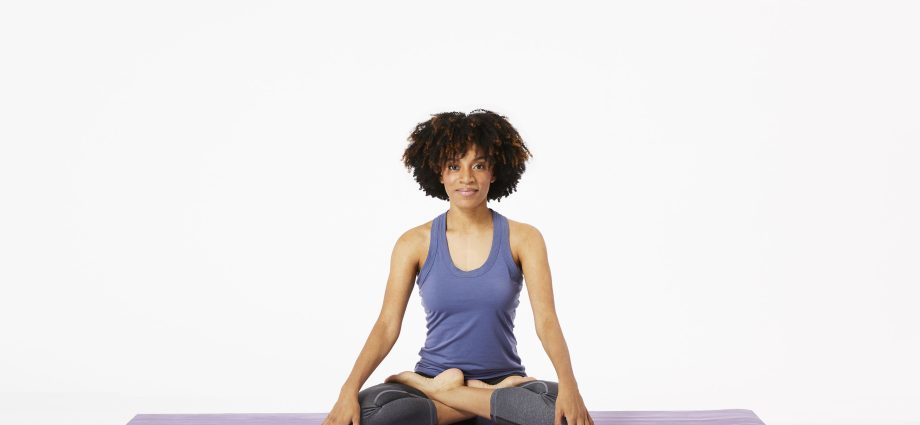
It is in this position that we most often see real yogis in the pictures. And it seems to be very easy to sit like this! But the lotus position belongs to a fairly advanced level, and a beginner, with all his desire, simply will not perform this asana. You need good preparation. Which? All the details and tips for beginners are in this material.
What does the lotus position mean in yoga
It is believed that all poses in yoga are necessary for a person in order for him to prepare his body for a long stay in meditation. And the lotus position is the crown of this work. It is in it that it is recommended to do both meditation and pranayama – breathing exercises in yoga.
Everyone knows what it looks like, but not everyone can sit in the lotus position. Be prepared for the fact that it will take a year or more before you start to succeed. After all, flexibility should develop, the hip joints should open. And people with different levels of physical health come to yoga. Therefore, do not rush to master Padmasana!
If you hear that you need to develop your knees for the lotus position, know that this is complete nonsense. The knees in the lotus position open and fall solely due to the hip joints! That is, if the feet and pelvis can still be “tormented”, then the knees in this position – by no means! You should not experience any pain and discomfort!
How to achieve disclosure of the hip joints? Just constant practice! You must first master the standing postures that open the pelvis. And only then move on to sitting. The preparatory step for Padmasana is:
Ardha Padmasana – half of the Lotus Pose (more on it – see below).
Baddha Konasana – butterfly pose (when the legs are bent at the knees, the feet are connected, and the heels are located near the crotch).
Homukhasana – cow pose or cow head pose (when the legs are crossed and the hands are joined behind the back).
The benefits of exercise
Helps focus and achieve deeper concentration during meditation and pranayama
- Increases knee and ankle flexibility
- Tones the spine and abdominal organs
- Increases blood flow to the lumbar and pelvic region
- Improves metabolic processes
- Forms a correct and beautiful posture
- Speeds up thought processes
- Improves memory
Exercise harm
About the fact that you need to take care of your knees in the lotus position, we have already said. Contraindications include injuries to the knees, hips, or ankles.
How to do asana correctly
The first thing you need to know before getting started:
- we are never in a hurry, we do not do it through force and pain;
- do not perform the lotus position on a cold, bare floor (you will need to lay a blanket or skin on top of the rug for yoga);
- our body is warmed up, we have already done a set of exercises that will prepare us for a comfortable and painless stay in this asana.
Detailed Lotus Pose Technique
Step 1
We sit on the mat with a straight back. We slightly take back (we release) the buttocks for a more stable position.
Step 2
Stretch the left leg forward. Pull the right leg back a little and turn the foot up. We put this leg on the thigh.
Step 3
Pay attention to how you feel in your knee. There should be no discomfort or pain. Check: your pelvis is ready and the foot is well turned up.
Step 4
Now we pull the left leg up and place it on the right thigh.
ATTENTION! If in the lotus position you feel how your back starts to hurt and ache, or your legs are numb, get out of this position. Stretch your legs, shake them, massage. And when you rest, sit down in this asana again.
As you can see, the description of the technique is simple, but it is not so easy to perform the lotus position. Once again, we draw your attention! Do not rush to master this asana, work on the hip joints, it is their softness and flexibility that will eventually allow you to sit in the lotus position.
Tips for Beginners
For those to whom the lotus position is not yet available, watch our video tutorial. In it, we give some tips on how to prepare yourself and what other positions to replace the “Lotus” in the first time.
- Beginners are advised to use for meditation Sukhasan is a simple cross-legged or Turkish pose. Do not worry if at first it will be quite difficult for you to sit in it for a long time. Place a folded blanket under your buttocks.
- Ardha Padmasana – Another position in which you can practice painlessly if you can’t sit in the lotus.
- You will need a blanket. We lay it on top of the rug and sit on it.
- We put the left leg a little closer to the groin, and put the right leg on top. In this position, you can be stable and stay for quite a long time with a straight back.
- If this position is not comfortable for you yet, you can always tuck the blanket behind you and sit on it. This slight elevation will tilt you forward slightly and allow you to keep your back straight for a long time.
ATTENTION! It may be that in this position it is not possible to sit for a long time. Then you better turn the blanket back up again and sit on it again. Now you should succeed, keep your back straight and stay in this position for the right time.
We thank for the help in organizing the filming the yoga and qigong studio “BREATHE”: dishistudio.com