


Contents
In Microsoft Office Excel, it is possible to extend a table array, i.e. adding empty lines to it to contain important information. This article will introduce ways to extend a table in Excel.
How to extend a table array
There are several common methods for accomplishing the task, each of which deserves detailed consideration. All methods are implemented using the tools built into the program.
Method 1. Using the “Table Size” option
With this function, you can adjust the values in the created array by setting a new range for it. To enlarge the plate using this tool, you will need to do the following steps:
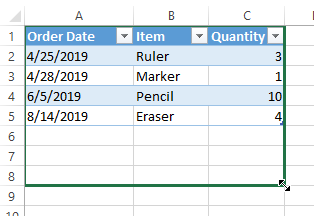
- Select all cells of the table array by holding down the left mouse button.
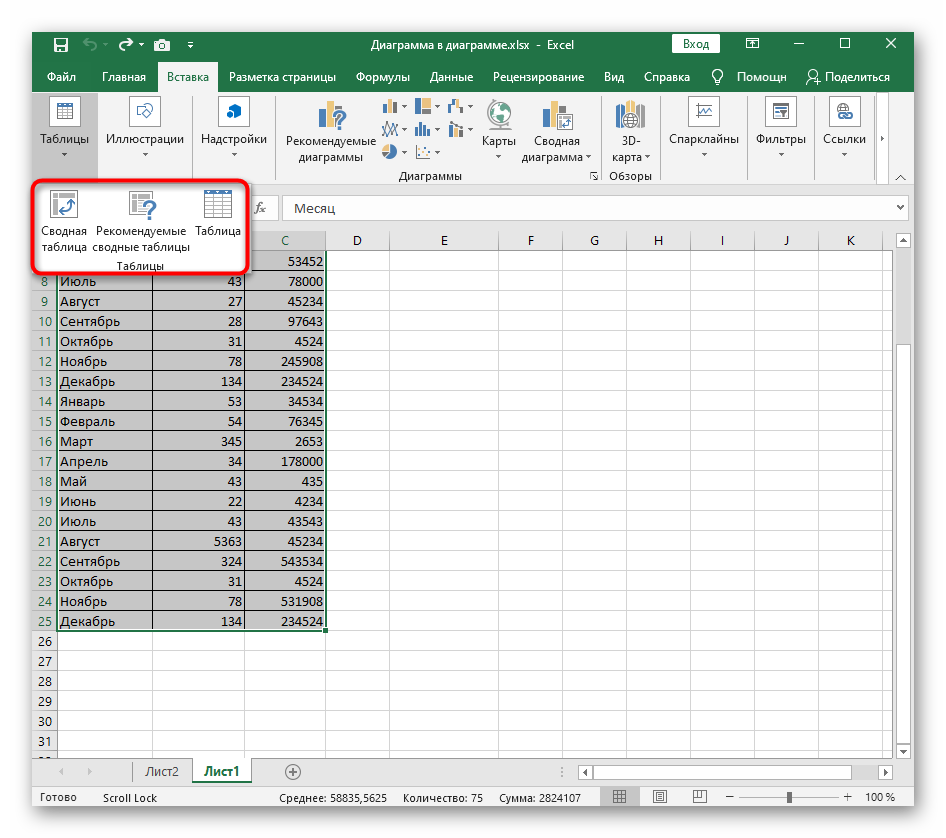
- Go to the “Insert” section, located in the top panel of the main menu of the program.
- Expand the “Tables” subsection by clicking on the arrow below.
- Select the desired table creation option and click on it.
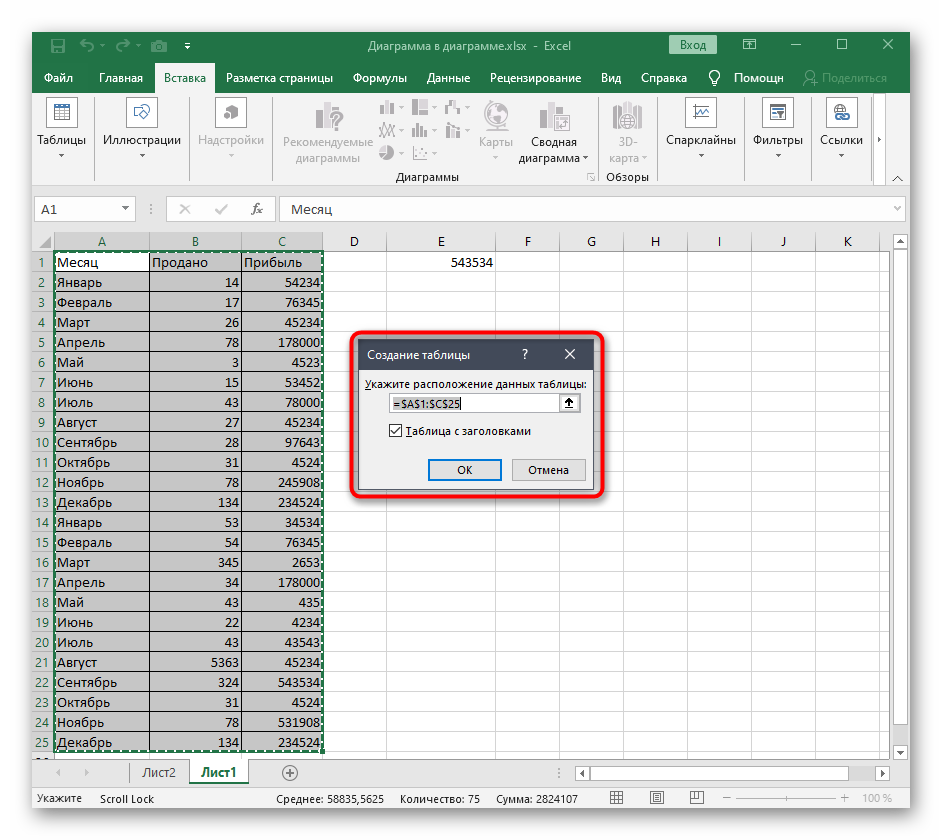
- In the window that opens, the range of previously selected cells will be specified. Here the user needs to check the box next to the line “Table with headers” and click on “OK”.
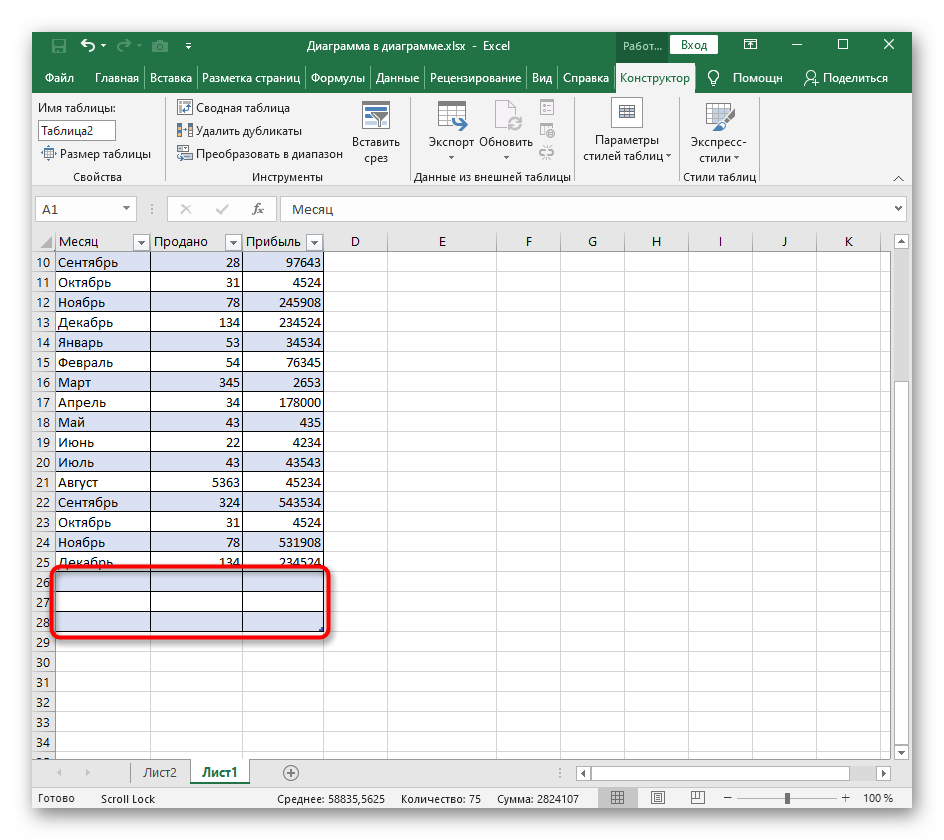
- In the top panel of MS Excel options, find the word “Constructor” and click on it.
- Click on the “Table Size” button.
- In the menu that appears, click on the arrow to the right of the line “Select a new data range for the table.” The system prompts you to set a new range of cells.

- Select LMB the source table and the required number of rows under it that need to be added to the array.
- Release the left key of the manipulator, in the “Change the size of the table” window, click on “OK” and check the result. The initial table array must expand by the specified number of cells.
Pay attention! If in the future the user needs to expand the plate even more, he can once again use the method described above.
The easiest method to quickly increase the range of cells in any table in Excel. To implement it, you need to take several steps according to the algorithm:
- Right-click on any line of the source table array.
- In the context type window, click on the word “Insert”.
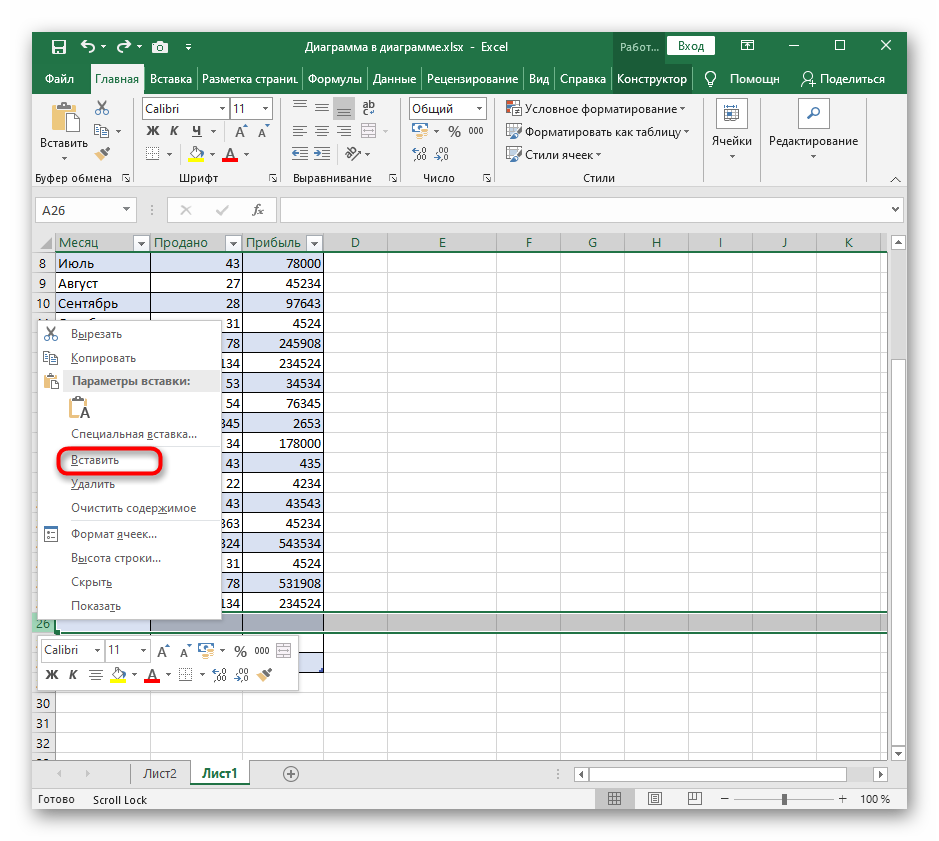
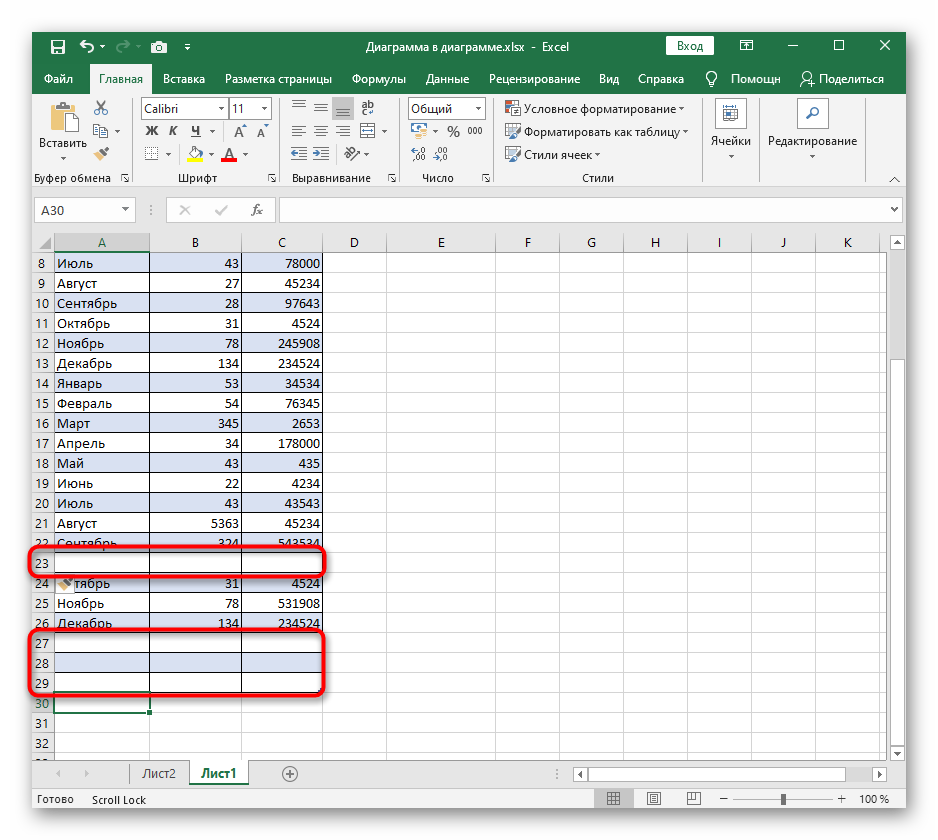
- Check result. An additional blank line will appear below the line on which the user right-clicked. Similarly, you can add several rows, columns at the discretion of the person.
Microsoft Office Excel has a special option that is responsible for setting array cells. In this section, you can change the size of elements, uninstall unnecessary ones or add missing ones. The algorithm for adding cells to the created table array is as follows:
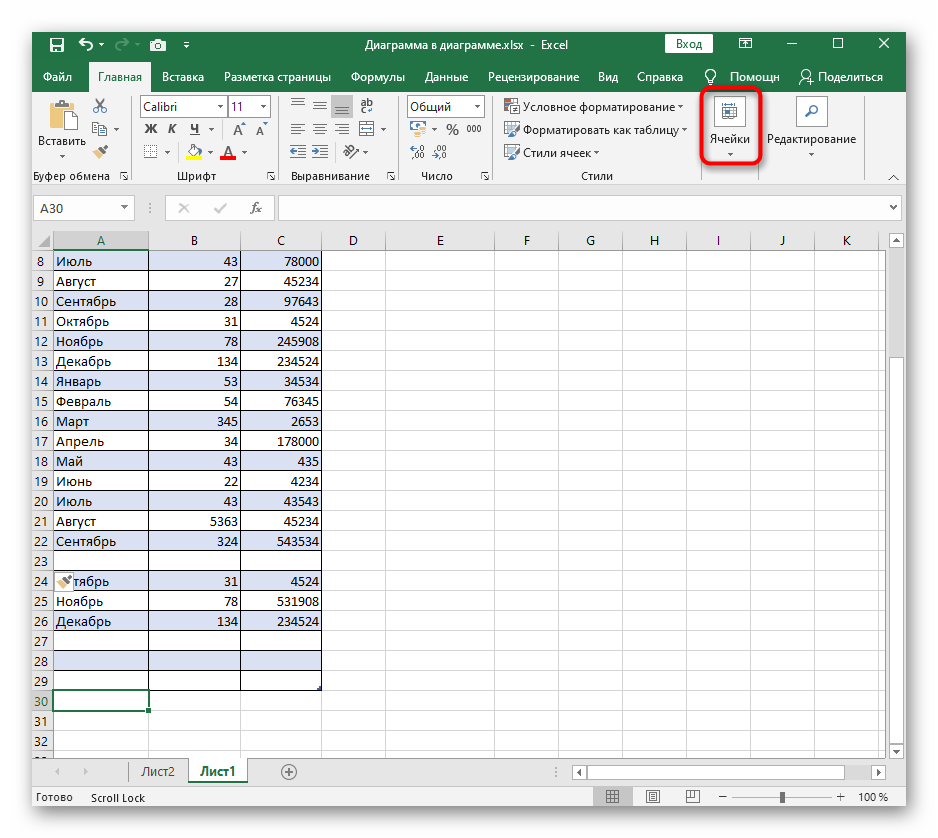
- Enter the tab “Home” in the upper area of the program.
- In the displayed toolbar, find the “Cells” button, which is located at the end of the list of options, and click on it with LMB.
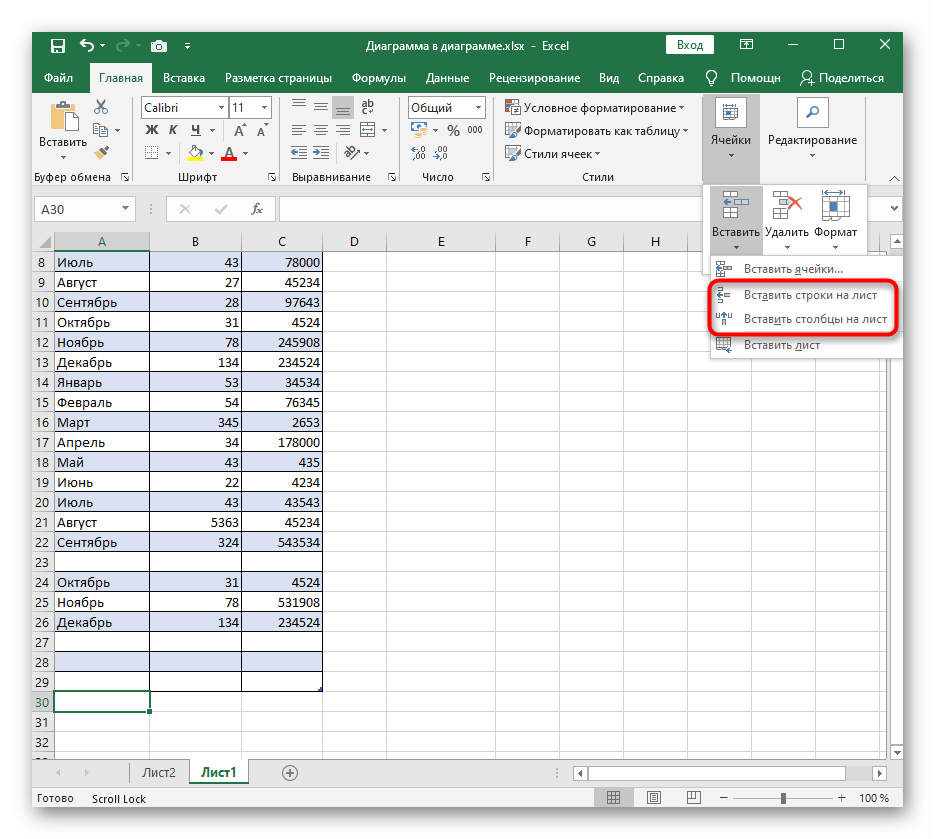
- After performing the previous manipulation, an additional window will open, in which several options for working with cells will be presented. Here the user needs to expand the “Insert” subsection by clicking on the appropriate word.
- In the context menu, select one of the options for inserting cells. In this situation, it is advisable to select either the “Insert Rows on Sheet” or “Insert Columns on Sheet” option.
- Make sure that the range of the original plate is expanded accordingly depending on the option chosen.
Important! Depending on the version of MS Excel software, the procedure described above will vary slightly.
Method 4. Expanding an array by adding several rows or columns at once
In order not to add one empty row or column at a time, achieving an increase in the table, you can insert several elements at once. To complete the task, you must follow the following instructions:
- In the initial table array, select the required number of rows with the left mouse button. Subsequently, as many lines as were originally selected will be added to the plate.
- Right-click anywhere in the selected area.
- In the context menu, click LMB on the “Insert …” option.
- In the small window that opens, put the toggle switch next to the “String” parameter and click on “OK”.
- Check result. Now the same number of empty lines will be added to the table under the selected rows, which will lead to an increase in the array. Columns are added to the table in the same way.
How to remove added rows in Excel and reduce the table array
To implement this procedure, the user just needs to follow a few simple steps according to the algorithm:
- Select the added lines with the left mouse button.
- Right-click on any cell in this range and in the context window that appears, click on the word “Delete …”.
- Select the Row or Column option, depending on the type of item you added, and click OK at the bottom of the menu.
- Make sure the selected range of rows is removed and the original array is reduced.
Additional Information! You can uninstall the added elements by undoing the action by simultaneously pressing the “Ctrl + Z” buttons from the PC keyboard.
Conclusion
Thus, the expansion of tables in Excel is carried out by adding rows and columns to the original array. The main methods for enlarging plates have been discussed above.