


Contents
Sometimes, to perform certain actions or just for convenience, Excel needs to assign specific names to individual cells or ranges of cells in order to further identify them. Let’s see how we can accomplish this task.
Content
Cell naming requirements
In the program, the procedure for assigning names to cells is performed using several methods. But at the same time there are certain requirements for the names themselves:
- You cannot use spaces, commas, colons, semicolons as a word separator (replacement with an underscore or a dot can be a way out of the situation).
- The maximum character length is 255.
- The name must start with letters, an underscore, or a backslash (no numbers or other characters).
- You cannot specify the address of a cell or range.
- The title must be unique within the same book. In this case, it should be remembered that the program will perceive letters in different registers as completely identical.
Note: If a cell (range of cells) has a name, it will be used as a reference, for example, in formulas.
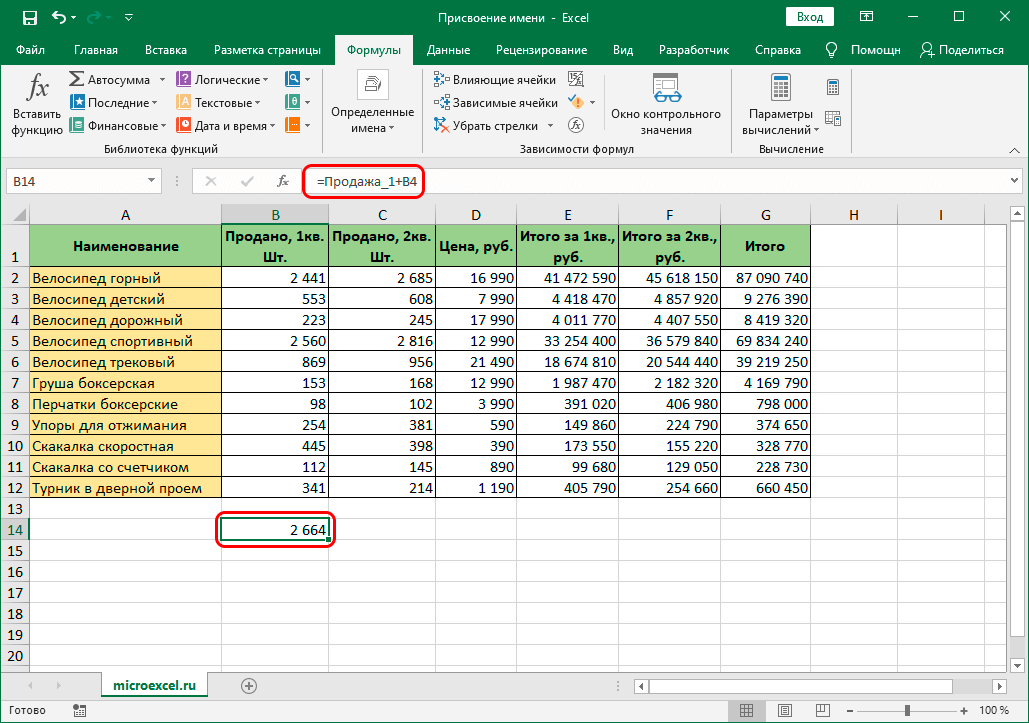
Let’s say a cell B2 named “Sale_1”.
If she participates in the formula, then instead of B2 we are writing “Sale_1”.
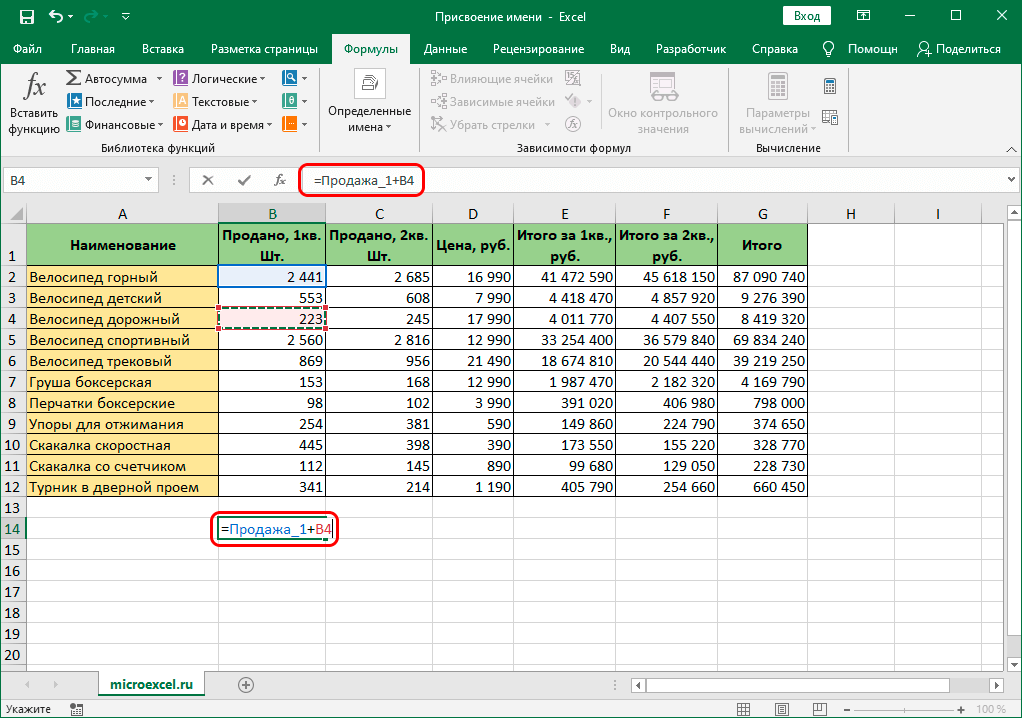
By pressing the key Enter We are convinced that the formula is really working.
Now let’s move on, directly, to the methods themselves, using which you can set names.
Method 1: name string
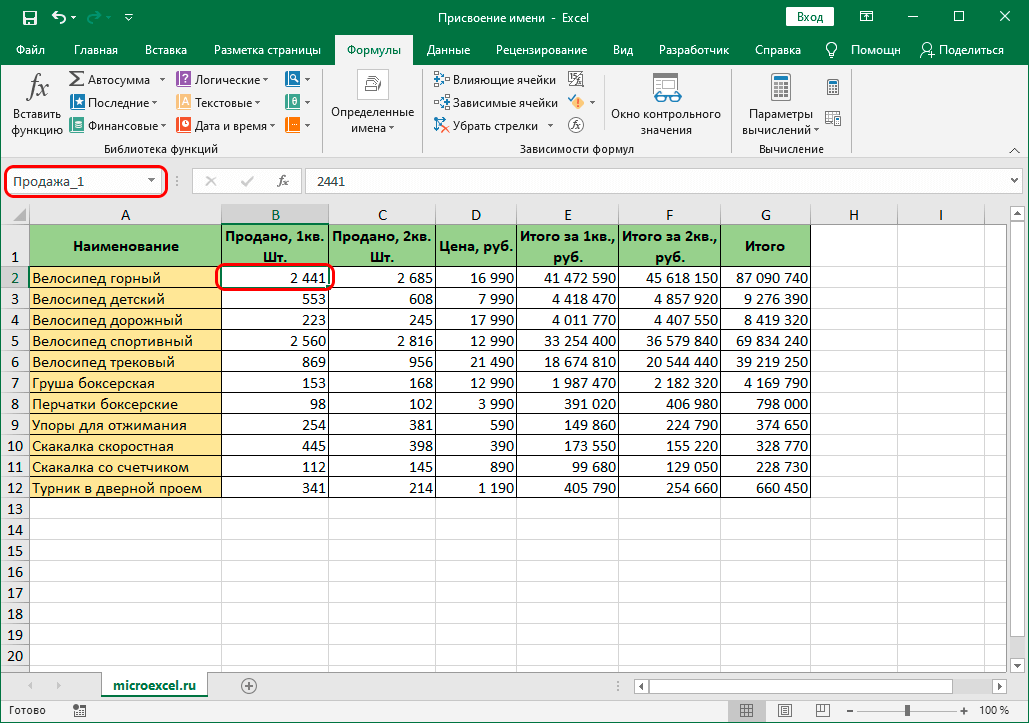
Perhaps the easiest way to name a cell or range is to enter the required value in the name bar, which is located to the left of the formula bar.
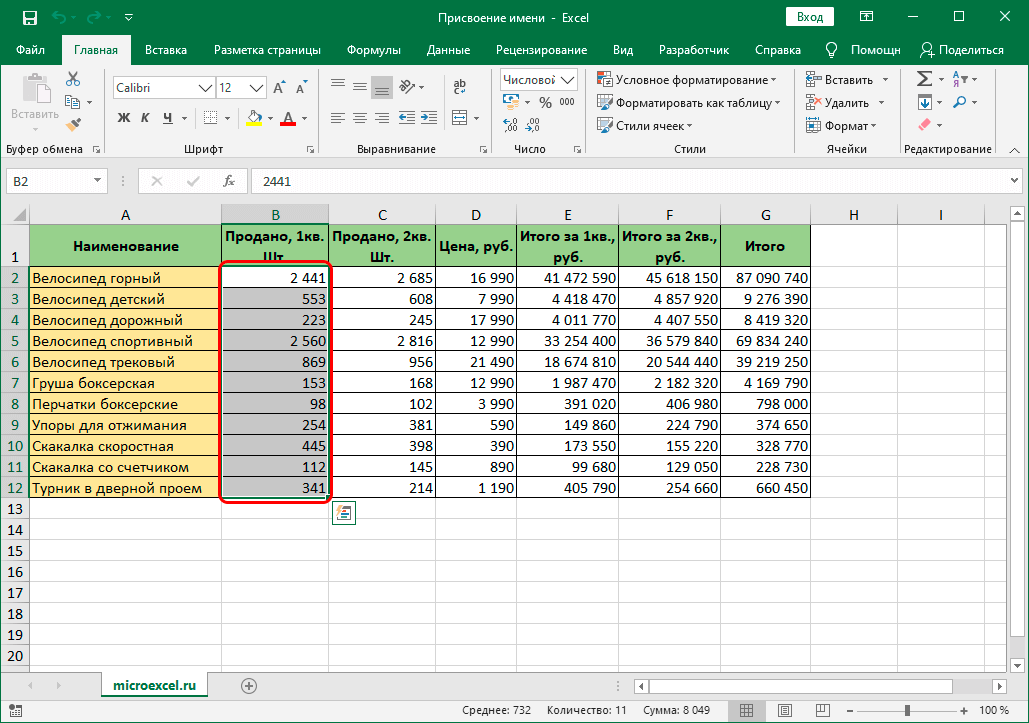
- In any convenient way, for example, with the left mouse button pressed, select the desired cell or area.

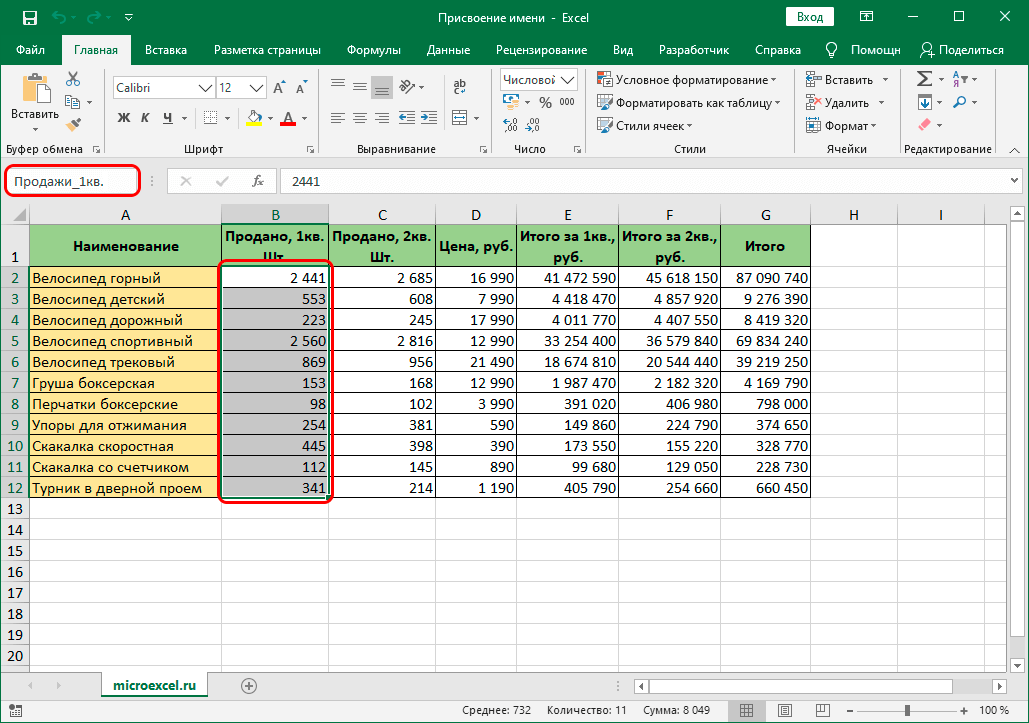
- We click inside the name line and enter the desired name according to the requirements described above, after which we press the key Enter on keyboard.
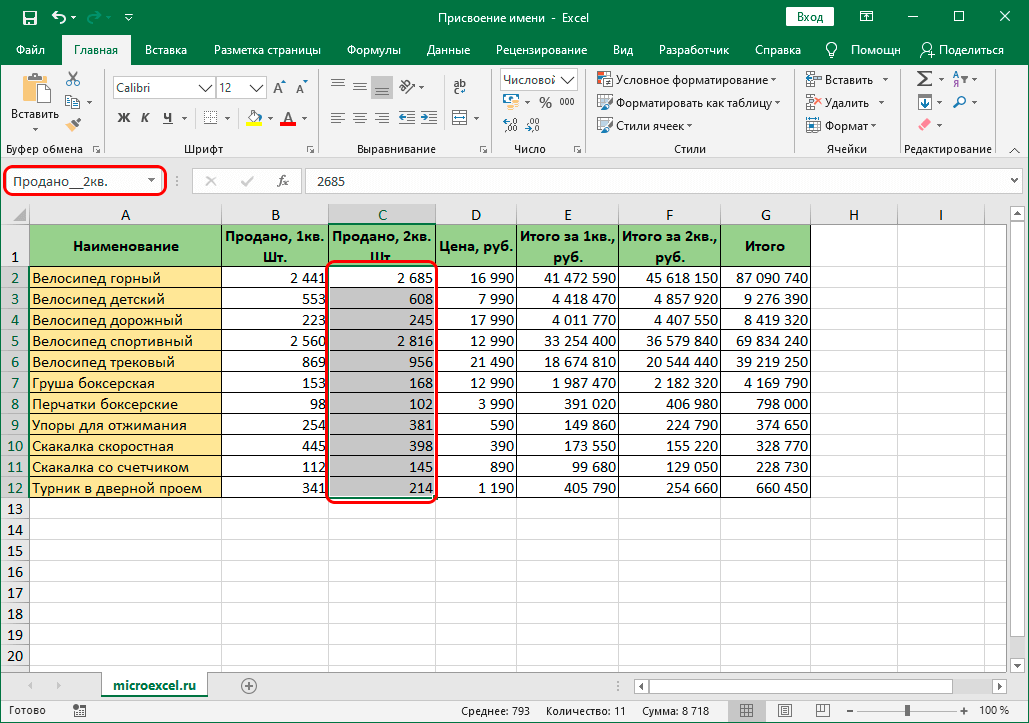
- As a result, we will assign a name to the selected range. And when selecting this area in the future, we will see exactly this name in the name line.
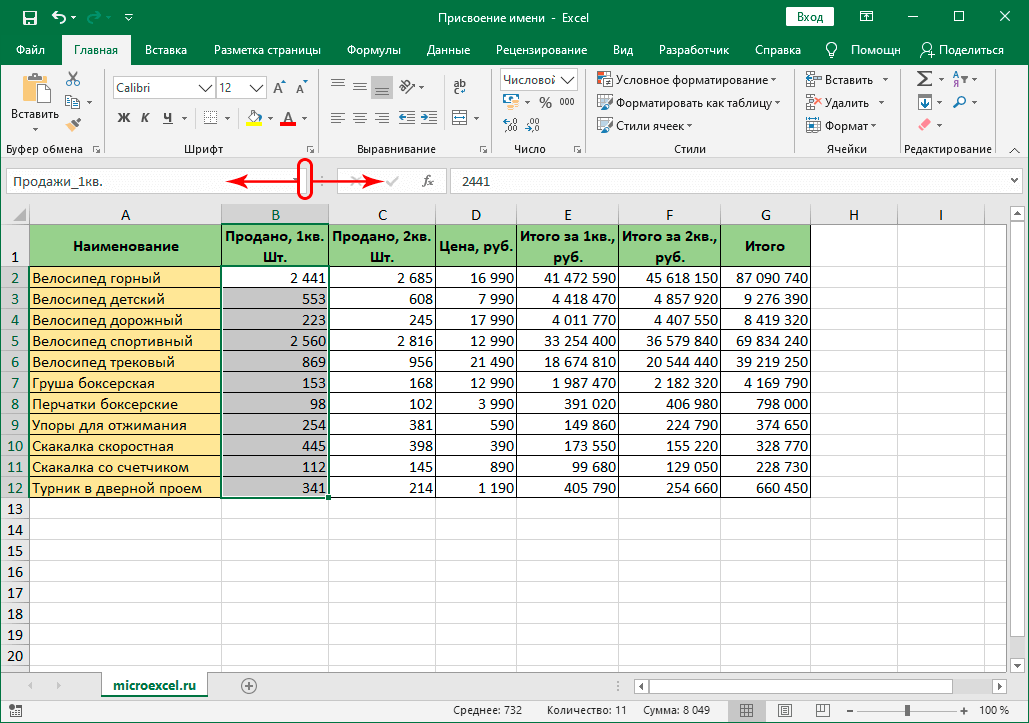
- If the name is too long and does not fit in the standard field of the line, its right border can be moved with the left mouse button pressed.

Note: when assigning a name in any of the ways below, it will also be shown in the name bar.
Method 2: Using the Context Menu
Using the context menu in Excel allows you to execute popular commands and functions. You can also assign a name to a cell through this tool.
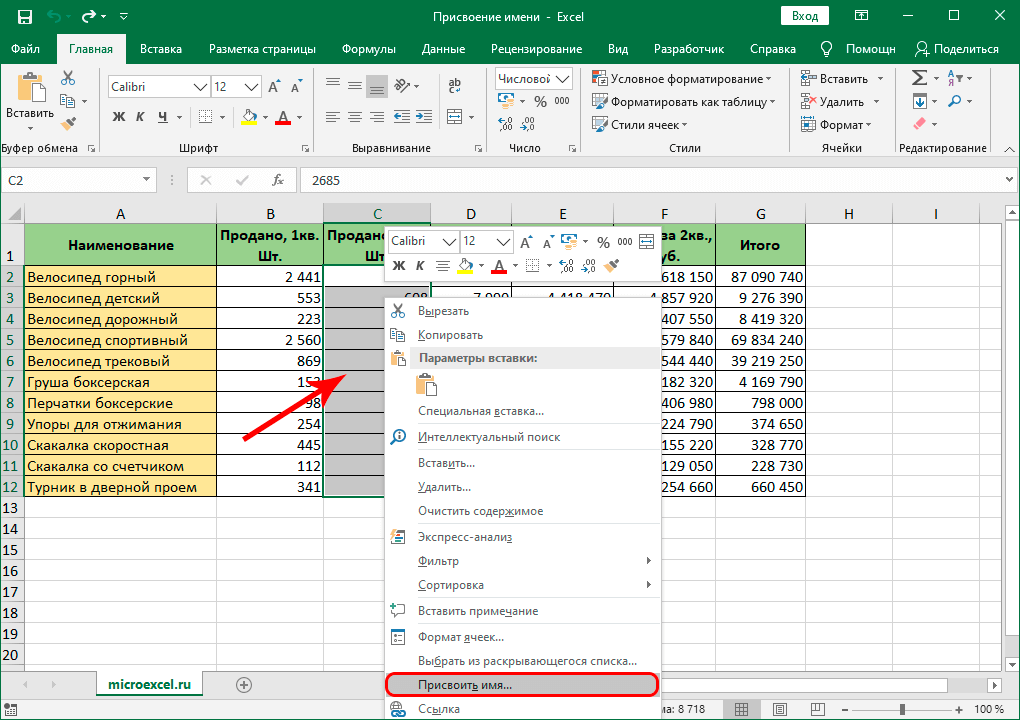
- As usual, first you need to mark the cell or range of cells with which you want to perform manipulations.
- Then right-click on the selected area and in the list that opens, select the command “Assign a Name”.
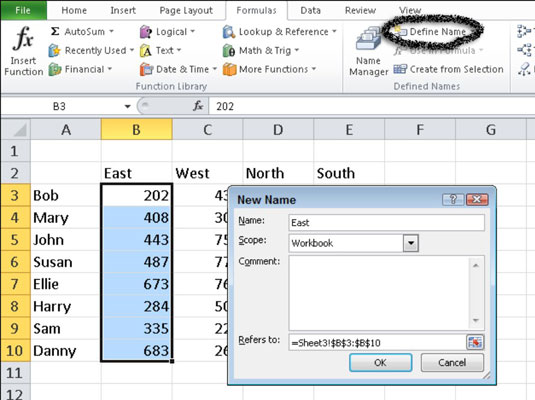
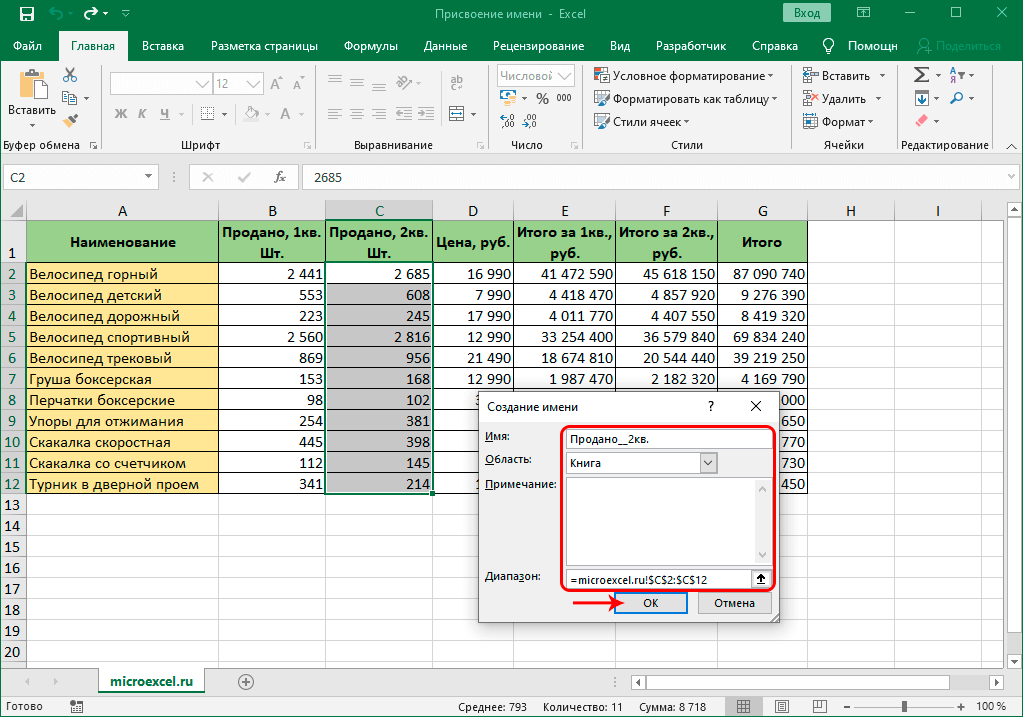
- A window will appear on the screen in which we:
- write the name in the field opposite the item of the same name;
- parameter value “Field” most often left by default. This indicates the boundaries in which our given name will be identified – within the current sheet or the entire book.
- In the area opposite the point “Note” add a comment if necessary. The parameter is optional.
- the bottommost field displays the coordinates of the selected range of cells. Addresses, if desired, can be edited – manually or with the mouse directly in the table, after placing the cursor in the field for entering information and deleting the previous data.
- when ready, press the button OK.
- All is ready. We have given the selected range a name.

Method 3: Apply Tools on the Ribbon
Of course, you can also assign a name to cells (cell areas) using special buttons on the program ribbon.
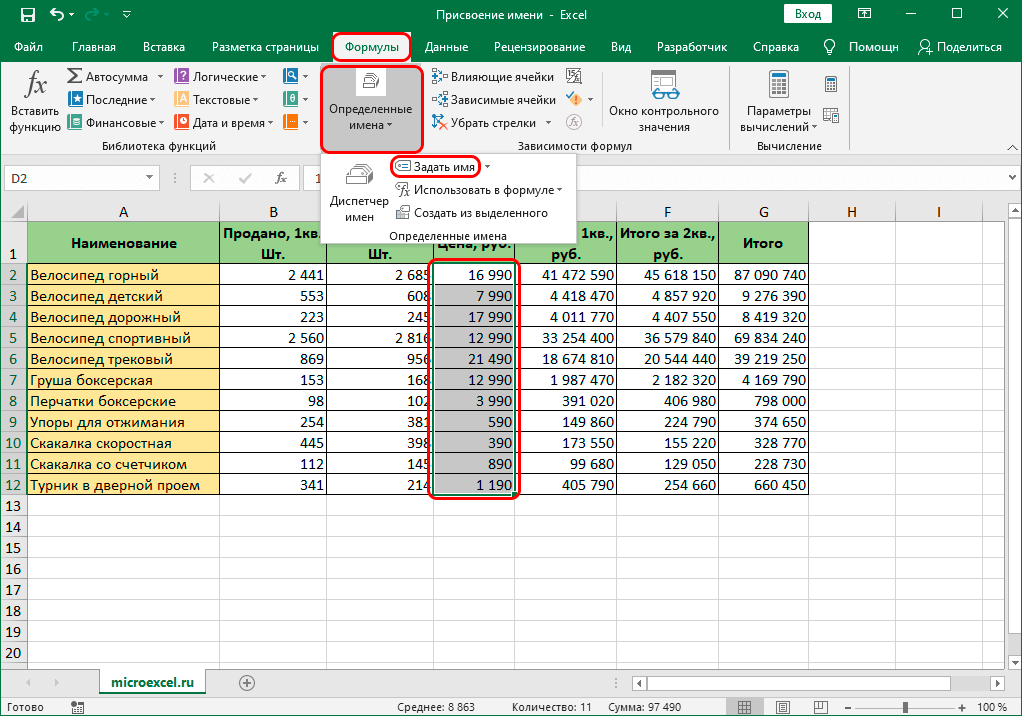
- We mark the necessary elements. After that, switch to the tab “Formulas”. In a group “Certain Names” click on the button “Set Name”.
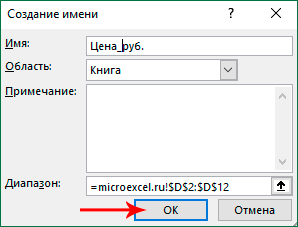
- As a result, a window will open, the work in which we have already analyzed in the second section.
Method 4: Working in the Name Manager
This method involves the use of such a tool as Name Manager.
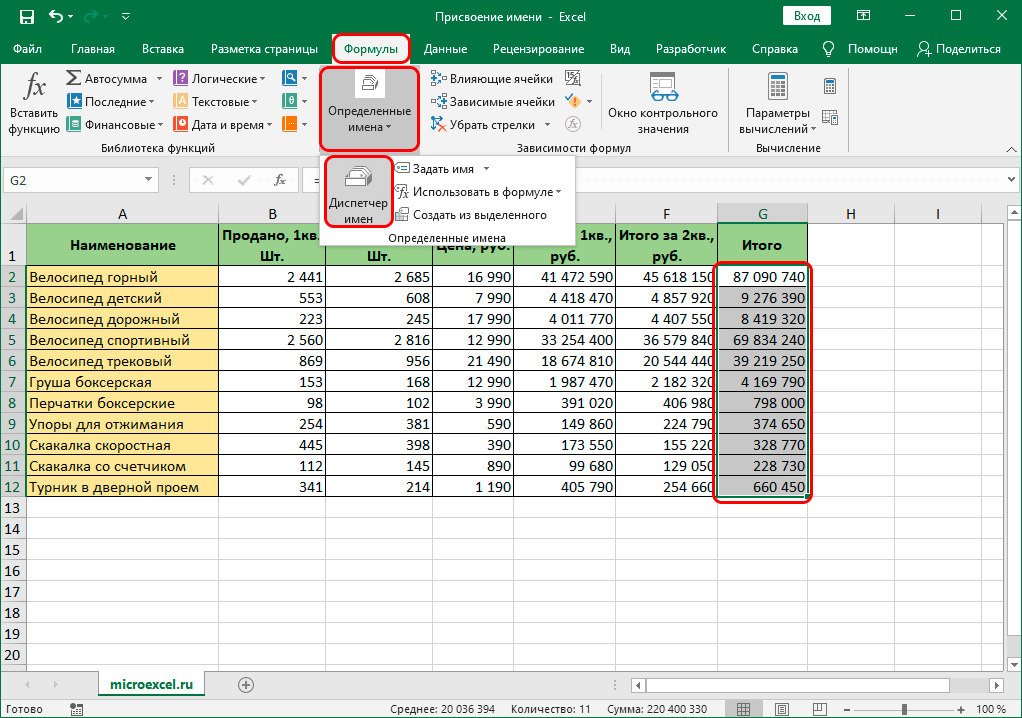
- Having selected the desired range of cells (or one specific cell), go to the tab “Formulas”, where in the block “Certain Names” click on the button “Name Manager”.
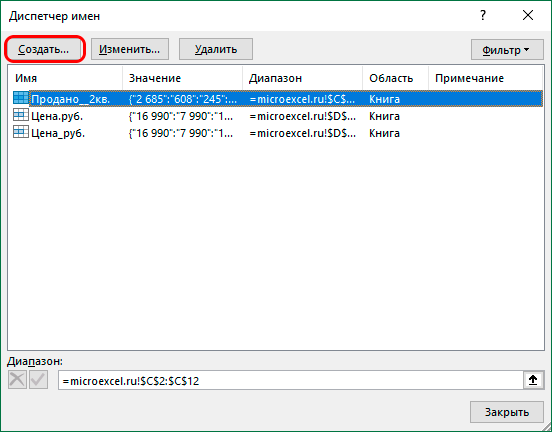
- A window will appear on the screen. Dispatcher. Here we see all previously created names. To add a new one, press the button “Create”.
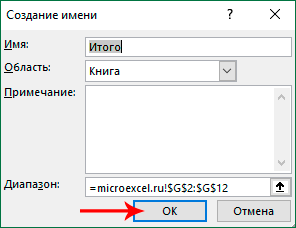
- The same window for creating a name will open, which we have already discussed above. Fill in the information and click OK. If upon transition to Name Manager If a range of cells was previously selected (as in our case), then its coordinates will automatically appear in the corresponding field. Otherwise, fill in the data yourself. How to do this is described in the second method.
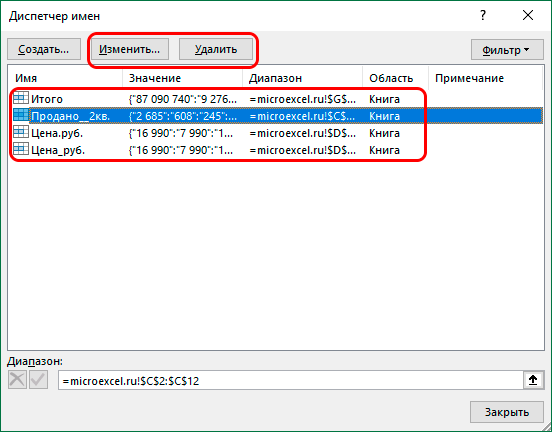
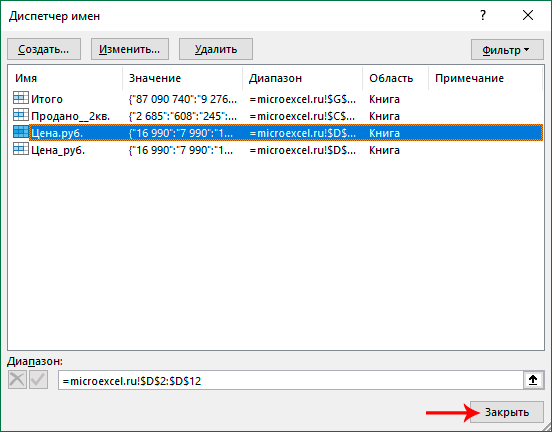
- We will be in the main window again Name Manager. You can also delete or edit previously created names here.To do this, just select the desired line and then click on the command you want to execute.
- at the push of a button “Change”, a window for changing the name opens, in which we can make the required adjustments.
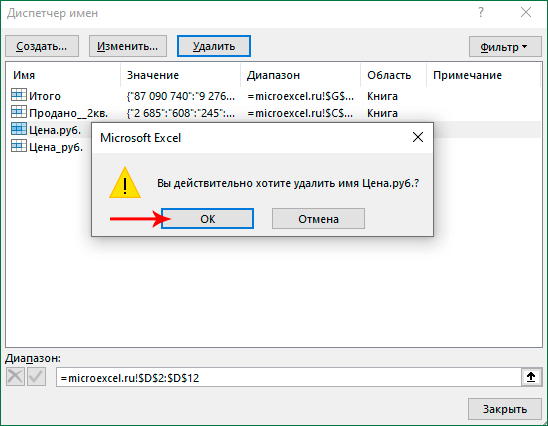
- at the push of a button “Delete” The program will ask for confirmation to complete the operation. Confirm the action by clicking on the button OK.
- at the push of a button “Change”, a window for changing the name opens, in which we can make the required adjustments.
- When work in Name Manager completed, close it.
 To do this, just select the desired line and then click on the command you want to execute.
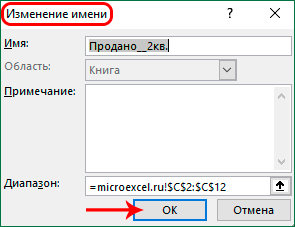
Conclusion
Naming a single cell or range of cells in Excel is not the most common operation and is rarely used. However, in some cases, the user faces such a task. You can do this in the program in various ways, and you can choose the one that you like best and seem the most convenient.