


Contents
It is safe to say that all users know how to add a new cell in an Excel table, but not everyone is aware of all the valid options for performing this task. In total, 3 different methods are known, using which it is possible to insert a cell. Often the speed of solving problems depends on the method used. Let’s consider in detail with the help of what methods it is possible to add cells to an Excel table.
Adding cells to a table
A large number of users believe that while adding cells, their total number increases as a new element appears. However, this is not true, because their total number will remain the same. In fact, this is the transfer of an element from the end of the table to the required place with the removal of the data of the moved cell. In view of this, one should be careful when moving, since it is possible to lose some of the information.
Method 1: Using the Cells Context Menu
The considered method is used more often than others, as it is considered the easiest to use. To add cells in a similar way, you must follow the following algorithm of actions:
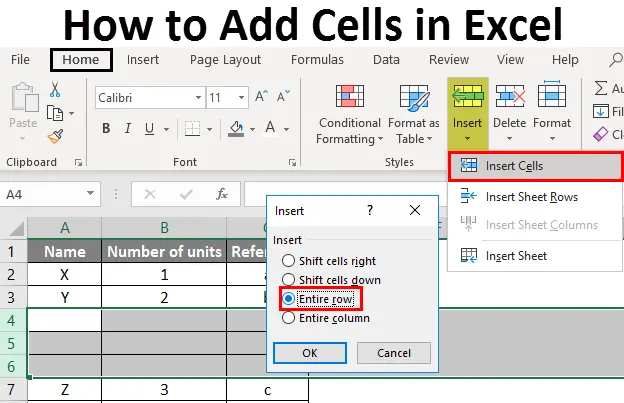
- We put the mouse pointer in a specific section of the document where you want to add an element. After that, we call the context menu of the selected element by pressing RMB and select “Insert …” in the pop-up list of commands.
- A window with options will pop up on the monitor. Now you should check the box next to the inscription “Cells”. There are 2 ways to insert – with a shift to the right or down. Select the option required in your particular case and click OK.
- After that, you can see that a new element will appear instead of the original one, shifted down along with the others.
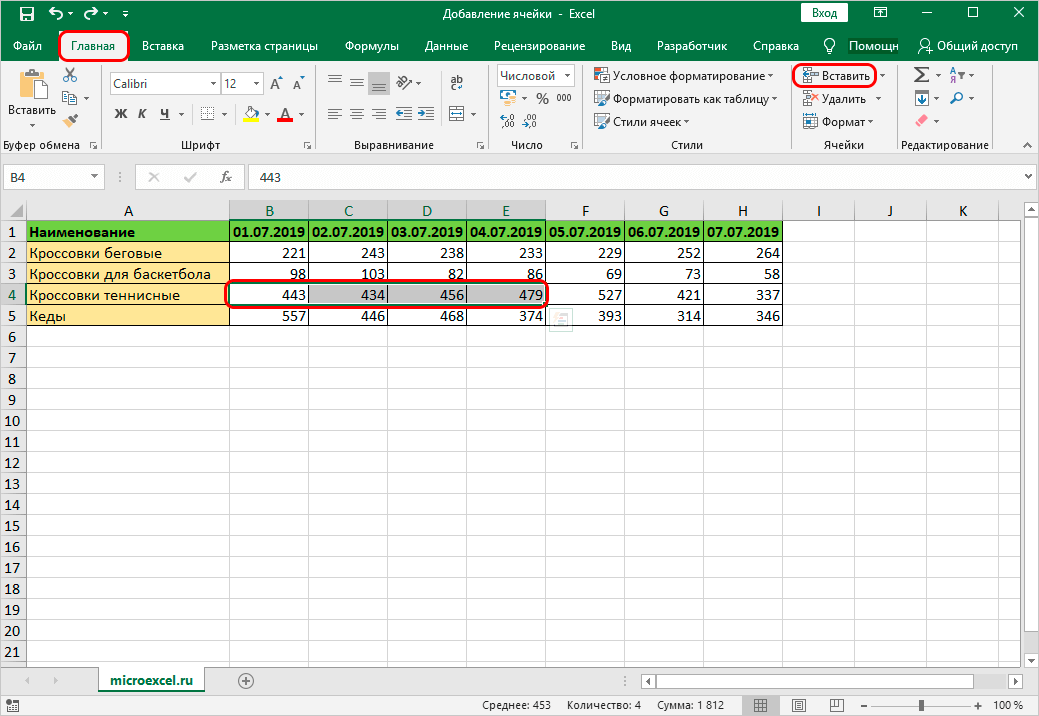
It is possible to add multiple cells in a similar way:
- The desired number of cells is selected. The context menu is called by right-clicking on the specified range and selecting “Insert …”.
- In the possible options, select the one that you want and click “OK”.
- New cells will appear instead of the marked ones, shifted to the right along with others.
Method 2: Using a Special Tool in the Main Menu
- As in the previous case, you should initially place the mouse pointer in the place where the additional cell will be created. Next, in the menu, you need to select the “Home” tab, after which you need to open the “Cells” section, where you click the “Insert” inscription.
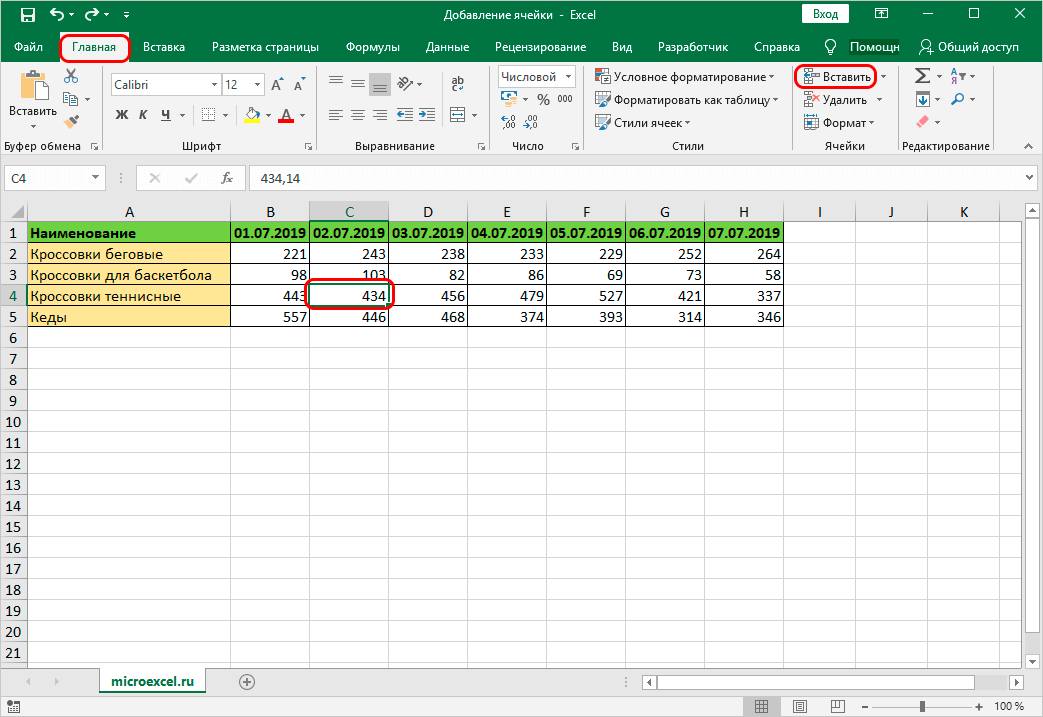
- A cell is immediately added to the marked area. But with this method of insertion, the shift occurs only down, that is, it will not be possible to insert a cell with a shift to the right side by the method in question.
By analogy with the first method, there is an option to add multiple cells:
- Select the desired number of cells in a row (horizontally). Next, click on the inscription “Insert”.
- After that, additional cells will be added with the selected elements shifted down along with the rest.
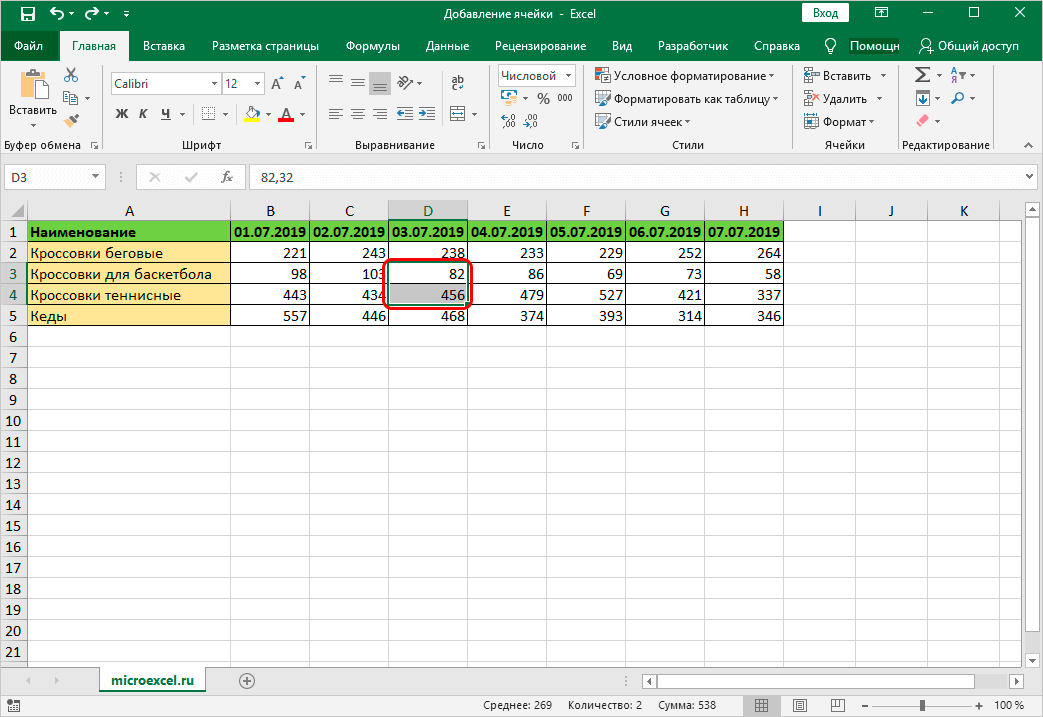
Next, consider what happens if you select not a row with cells, but a column:
- It is necessary to select the cells of the vertical row and click the inscription “Insert” in the main tab.
- In such a situation, the cells will be added with a shift to the right of the marked range and elements that were first to the right of it.
It is also worth focusing on how to add a range of cells that includes a series of vertical and horizontal elements:
- After selecting the required range, familiar actions are performed, that is, in the “Home” tab, you need to click on the “Insert” inscription.
- Now you can see that the added elements are shifted down.
When adding a range of cells, the number of rows and columns it contains plays a decisive role:
- When a range has more vertical rows than horizontal rows, additional cells will be shifted down when added.
- When a range has more horizontal rows than vertical rows, cells will be shifted to the right when added.
When you need to define in advance how a cell is inserted, it should be done like this:
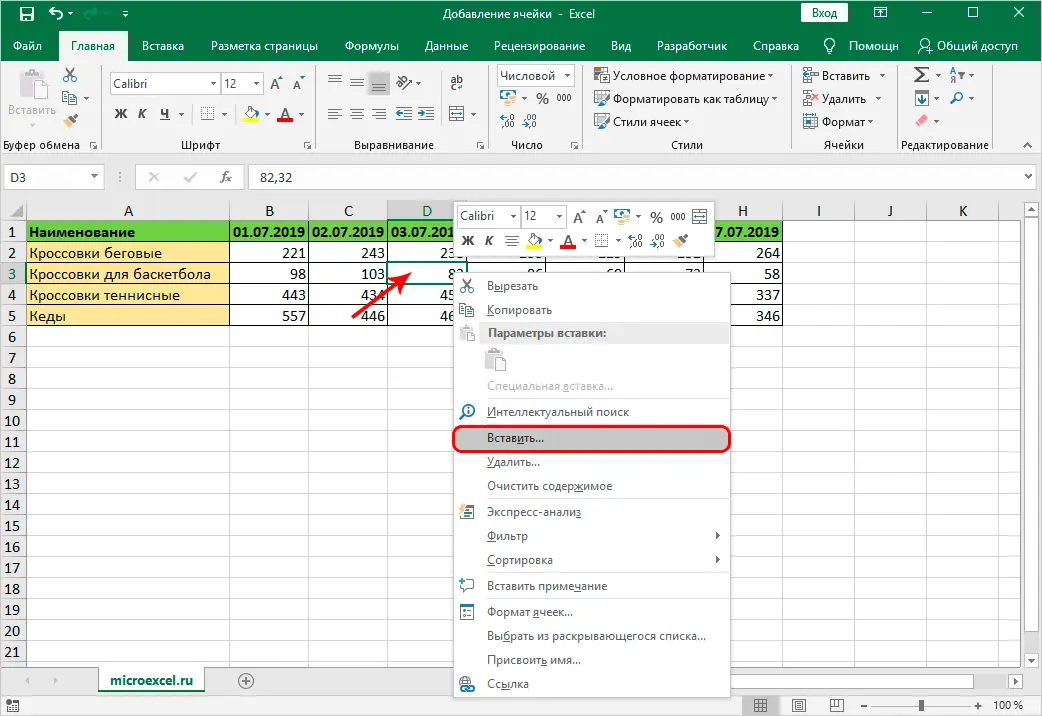
- The place where the cell (or several) will be inserted is highlighted. Then you need to select the “Cells” section and click on the inverted triangle icon next to “Paste”. In the pop-up menu, click on “Insert cells …”.
- Next, a window with options appears. Now you need to select the appropriate option and click “OK”.
Method 3: Paste Cells Using Hotkeys
More advanced users of various programs optimize the process using key combinations designed for this purpose. В Excel also has a number of keyboard shortcuts that allow you to perform a large number of operations or use various tools. This list also includes a keyboard shortcut for inserting additional cells.
- First you need to go to the place where you plan to insert a cell (range). Next, immediately press the “Ctrl + Shift + =” buttons.
- A familiar window appears with pasting options. Next, you need to select the desired option. After that, it remains only to click “OK” for additional cells to appear.
Conclusion
The article discussed all sorts of methods for inserting additional cells into an Excel spreadsheet. Each of these is similar to the others in terms of the method of implementation and the result achieved, but which of the methods to use should be decided based on the conditions. The most convenient method is the one that involves using the keyboard shortcut intended for insertion, however, in reality, many users often use the context menu.