


Contents
Now is the information age. The amount of data that people have to process every day is growing more and more. This applies to all possible areas of life, including work. Now there are more and more areas of human activity in which there is an acute need for the ability to quickly process large amounts of information.
One of the Excel features that allows you to do this is grouping. The fact is that structuring information helps to work not with all available data, but only with small parts. If you pack the same type of information in one block, then it is easier for the computer and for the person himself. There is almost no area in which the structuring of information would not be in demand:
- Sales data processing. Warehouses regularly receive huge batches of a wide variety of goods with different cost, weight, supplier, name, and so on. Structuring data makes it easier to navigate in all this array of information.
- Studies. The quality of education and self-education is closely related to how well the information is structured. Therefore, if you correctly group data of the same type side by side, it will be easier to perform not only practical tasks related to statistics, for example, but also theoretical tasks, organize homework, and so on.
- Accounting Report. Accountants regularly have to deal with numbers, each of which has connections with other numbers. And to make it more convenient to work with a large number of values uXNUMXbuXNUMXbrelated to each other and information of a different type, it is very convenient to use data grouping.
Also, the data grouping function allows you to hide outdated information. Let’s see how it works and how you can use it.
How to set function parameters
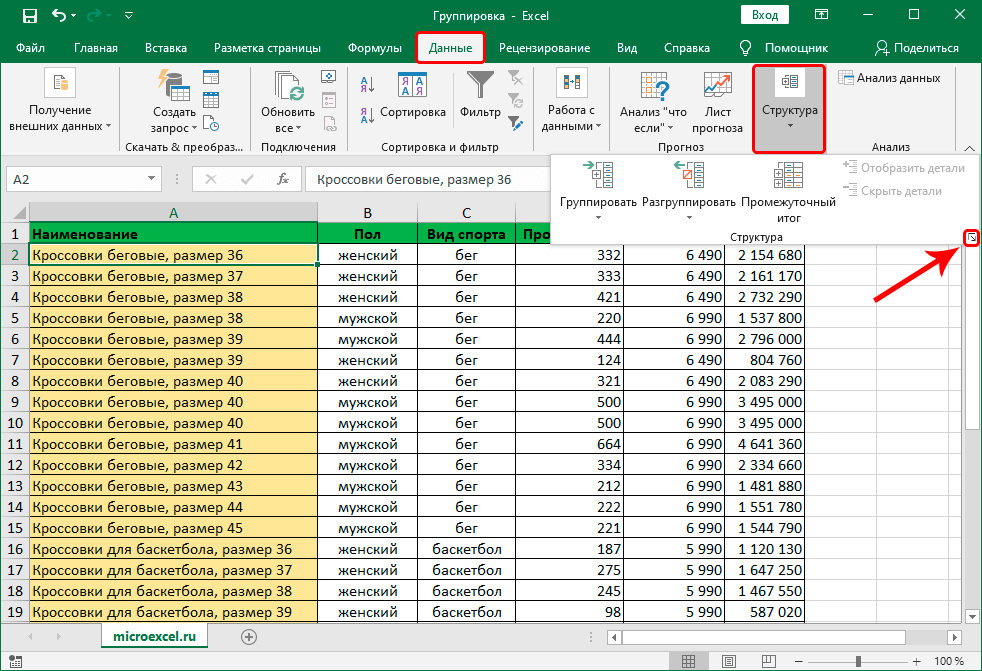
To work with data grouping, you must first configure it. To do this, go to the “Data” tab and find the “Structure” option there. Next, a pop-up panel will appear in which you need to find a button in the lower right corner.
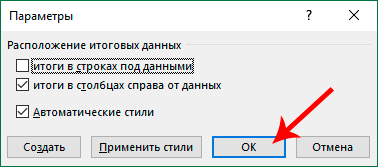
After that, a window will appear in which you need to select the appropriate checkboxes and press the OK key. These settings control how the data will be displayed.
Important: in practice, many people find it rather inconvenient to display totals under the data. Therefore, you can leave this box unchecked. It is also recommended to check the “Automatic Styles” box.
After completing these steps, you can immediately begin to group information.
How to group data by rows
Now let’s figure out what needs to be done to group rows, in practice.
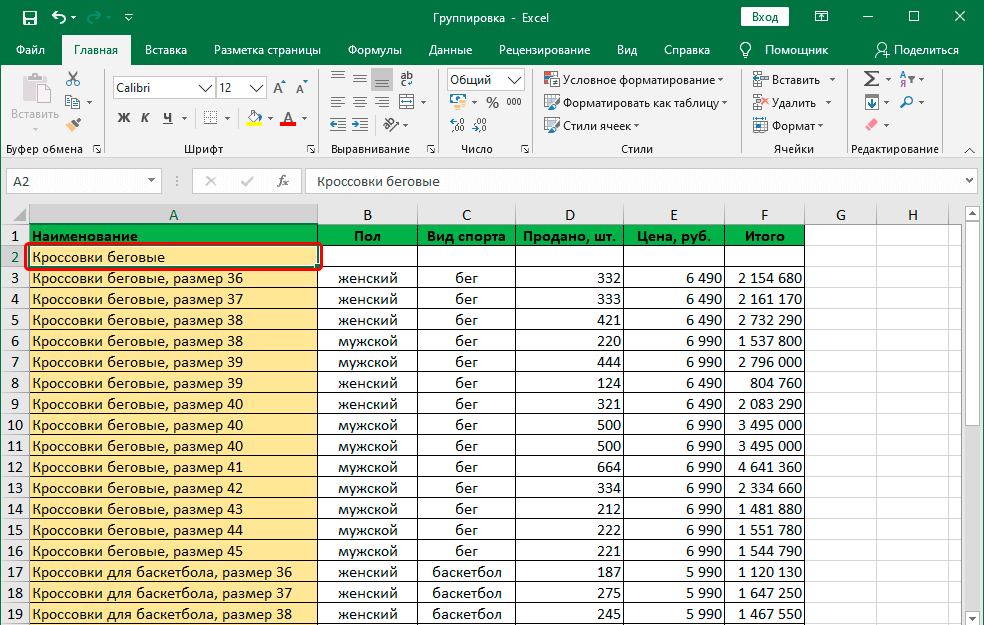
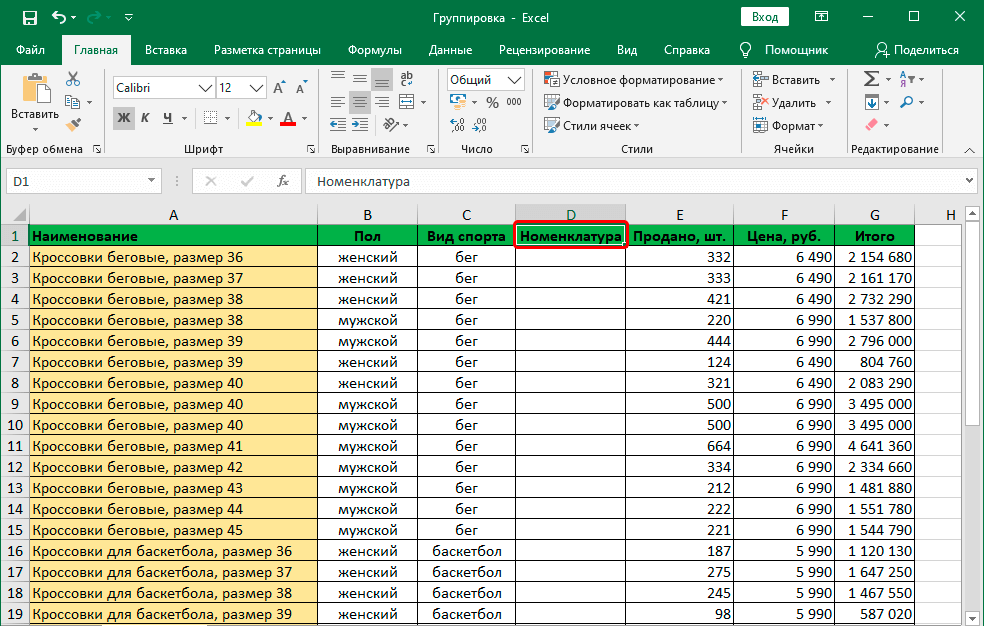
- Create a new row above or below the ones we want to group. It all depends on which method of displaying the results was chosen at the previous stage.
- The next step is to create a table title in the top left cell of the added row. This will be the name of the group into which cells will be combined that are common on a certain basis.

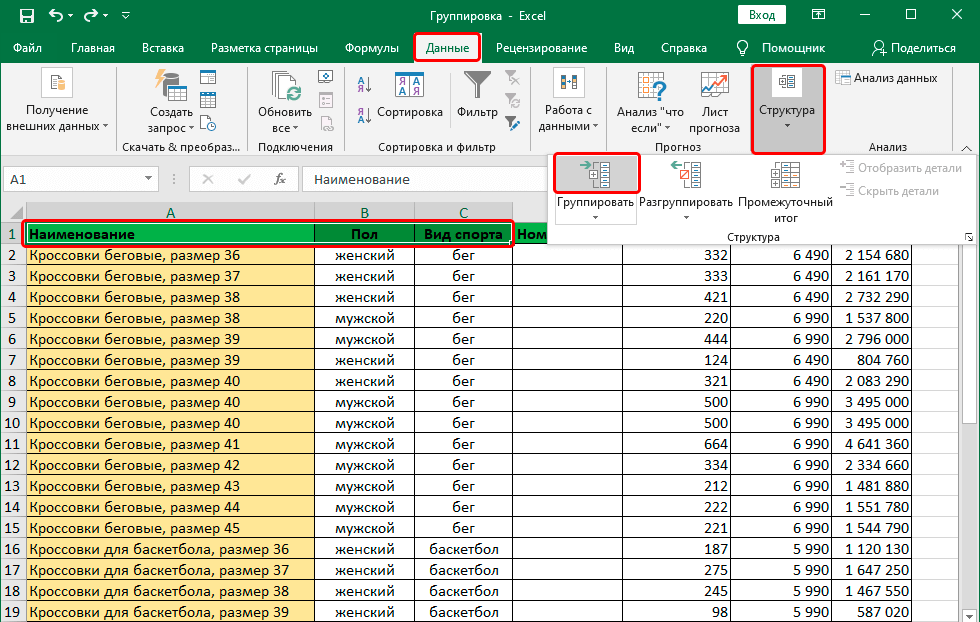
- Select all cells in the area below the newly created row or above it (depending on what we did in the first step). After that, we look for the “Structure” button on the data tab and there we find the “Group” option. It is important not to click on the arrow or the name of the command in the pop-up panel, but on the icon.
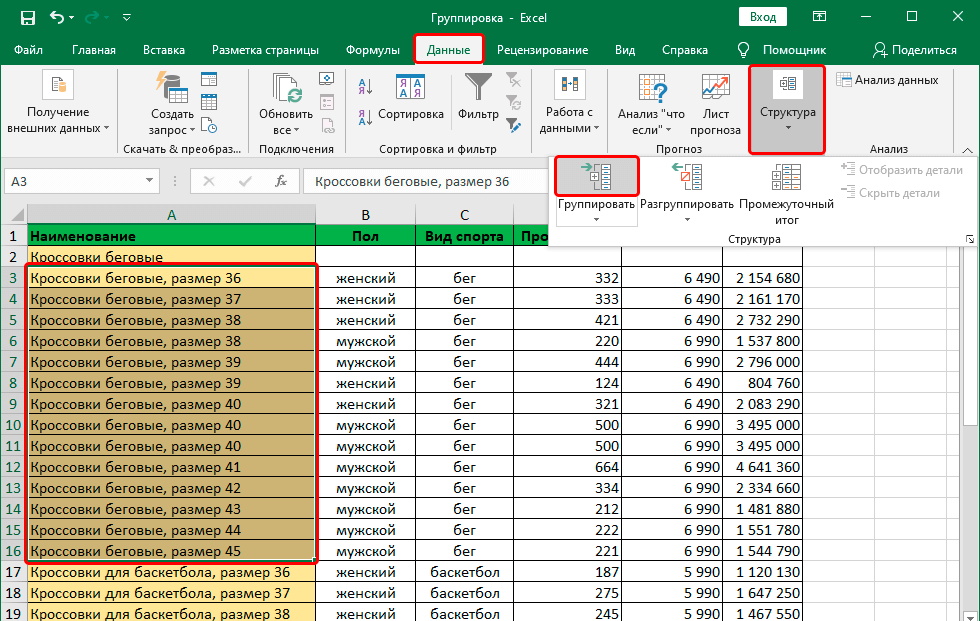
If you still click on the down arrow, an additional menu will appear in which you can select either the grouping function or create a structure. We are primarily interested in grouping at this stage.
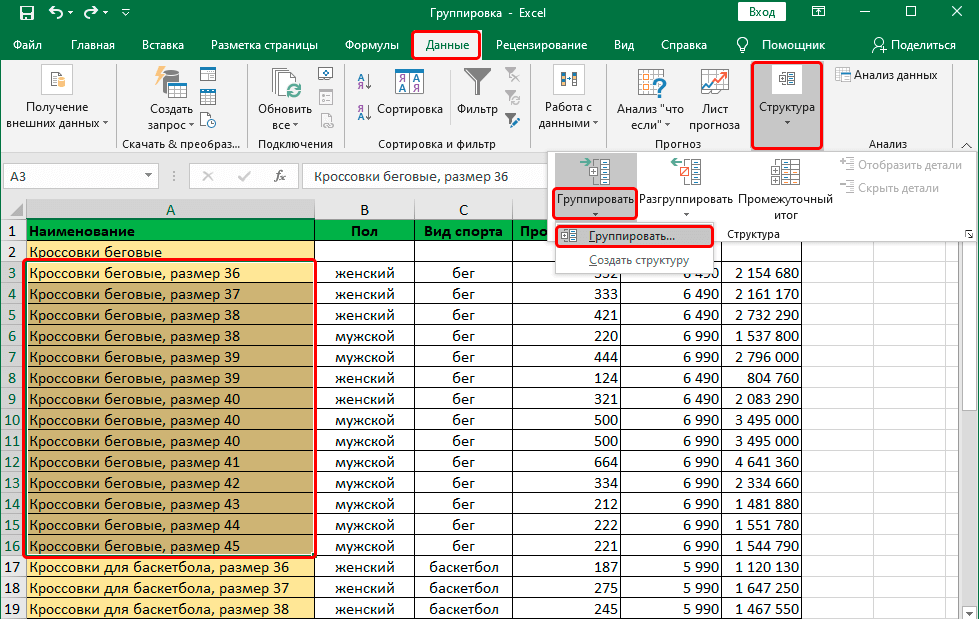
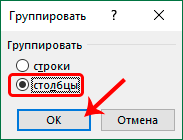
After that, we select the main feature by which the grouping will be carried out. It can be rows or columns. If you do not change anything, then the first item is selected by default. After we have made sure that the settings are set as we need, we need to confirm our actions by pressing the OK button. Since we are grouping by row, we don’t need to change anything, we just need to double-check.
Important: if, before starting to group objects, you select not a cell, but entire columns or rows on the coordinate panel, then this dialog box will not appear. The program will figure out what to do on its own.
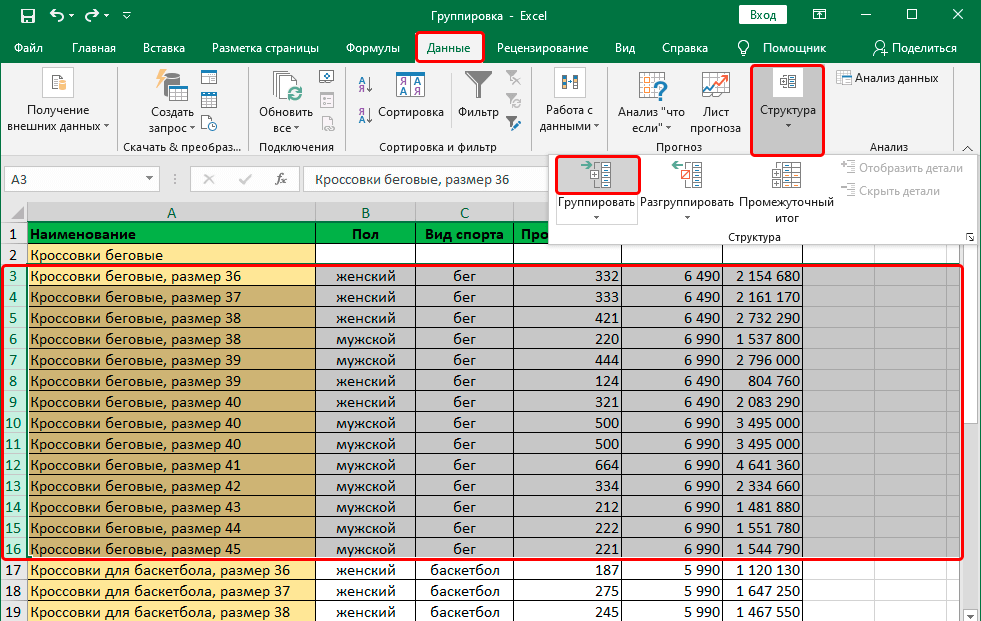
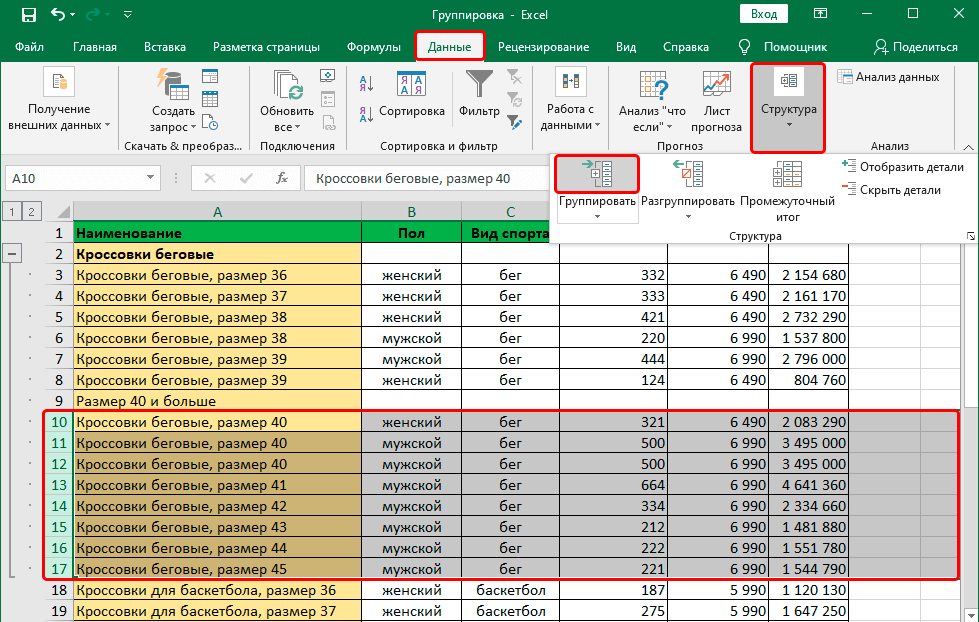
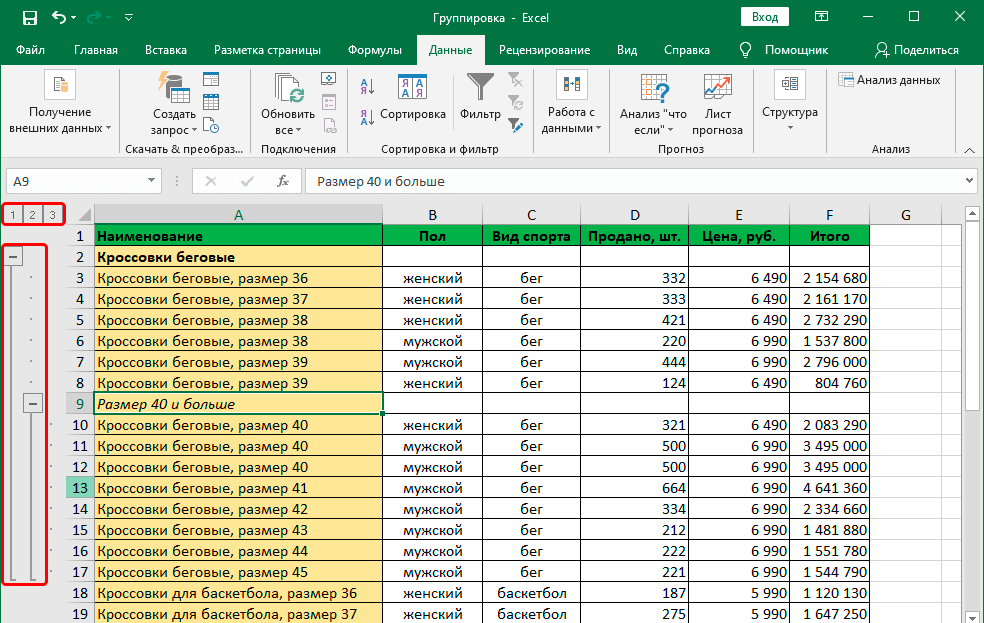
The fact that the lines were grouped, we can understand by the minus sign on the coordinate panel. This tells us that the data was disclosed. Now we can hide them by clicking on this icon or by clicking on the 1 button a little higher (it indicates the degree of grouping).

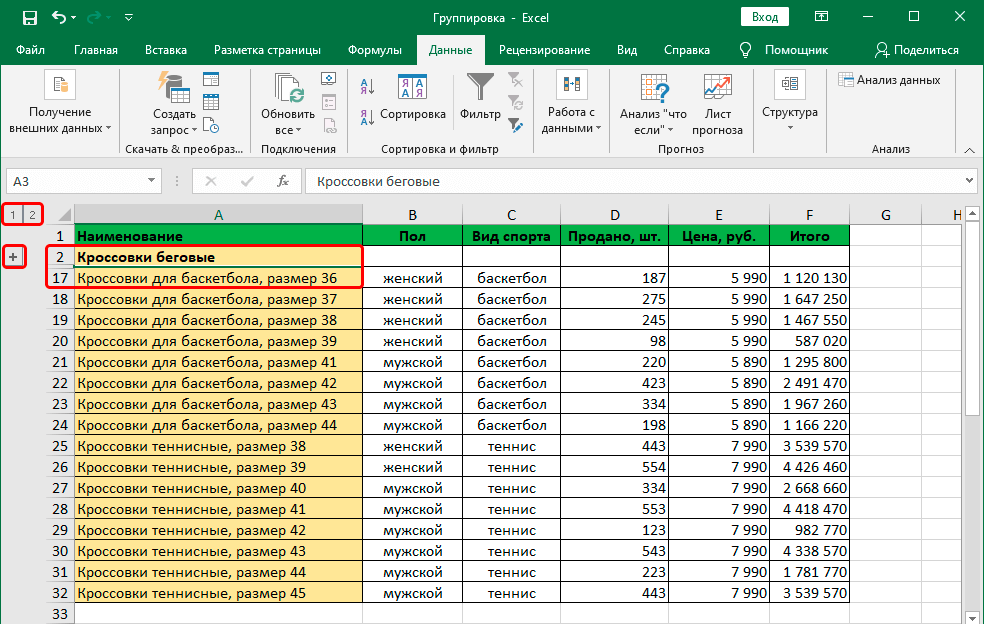
We see that the lines are hidden, and the minus sign has changed to a plus. To open the desired line, you can click on it, and then the program will do it on its own. If you need to expand all the lines, then you need to click on the “2” button, which is located on top of the coordinate panel in this case.
How to group columns
To group columns, the algorithm of actions is approximately the same:
- Depending on what options we have selected in the settings, we need to insert a new column to the left or right of the area that will be grouped.
- We write down the name of the group in the topmost cell of the appeared column.
- We select all the columns that we need to group (just leave the one that we added at the first stage), and then click on the “Group” button in the same way as the algorithm described above.
- Now we need to click on the “Columns” item in the small window and click on the “OK” button.
- Good luck.
Note. Just like when grouping rows, if we select entire columns in the horizontal coordinate bar, we don’t get a small dialog box.
How to make multilevel grouping
Excel is a functional program, but its possibilities do not end with single-level grouping, as described in the examples above. There is also the ability to group cells by several levels. This is done in the following way:
- To begin with, the main group is created in the manner described above. Subgroups will then be added to it.
- After that, we make sure that the main group is opened. In it, we also perform the actions described above. The specific steps depend on whether the person is working with rows or columns.
- As a result, groups of several levels can be created.
Instructions for ungrouping data
A situation may arise when a previously created group or subgroup is no longer needed. There is a separate function for this – “Ungroup”. To implement it, you need to follow the following steps:
- Select the elements that are part of the group.
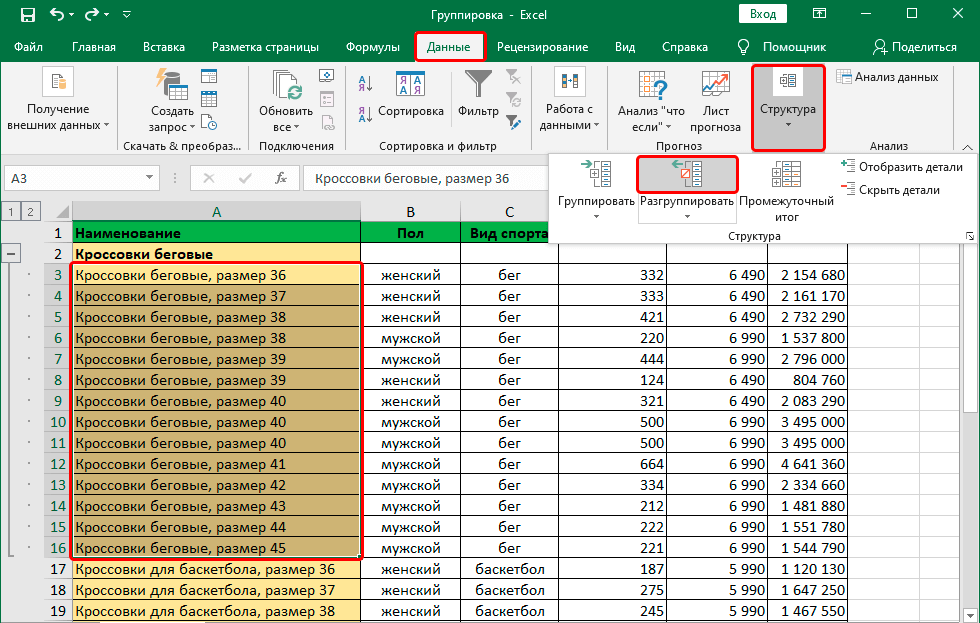
- Open the “Data” tab.
- We find the “Structure” group there, open it with the arrow below.
- There, click on the “Ungroup” button. It is very important to click on the icon, not the inscription.
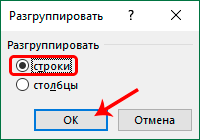
Next, we choose what exactly we want to ungroup. We select the item that is suitable depending on what we have previously grouped. After completing the action, press the OK button.
Attention! If before that a multi-level grouping was made or several different groups were created, then they should be reformed separately.
Here we also receive such result. 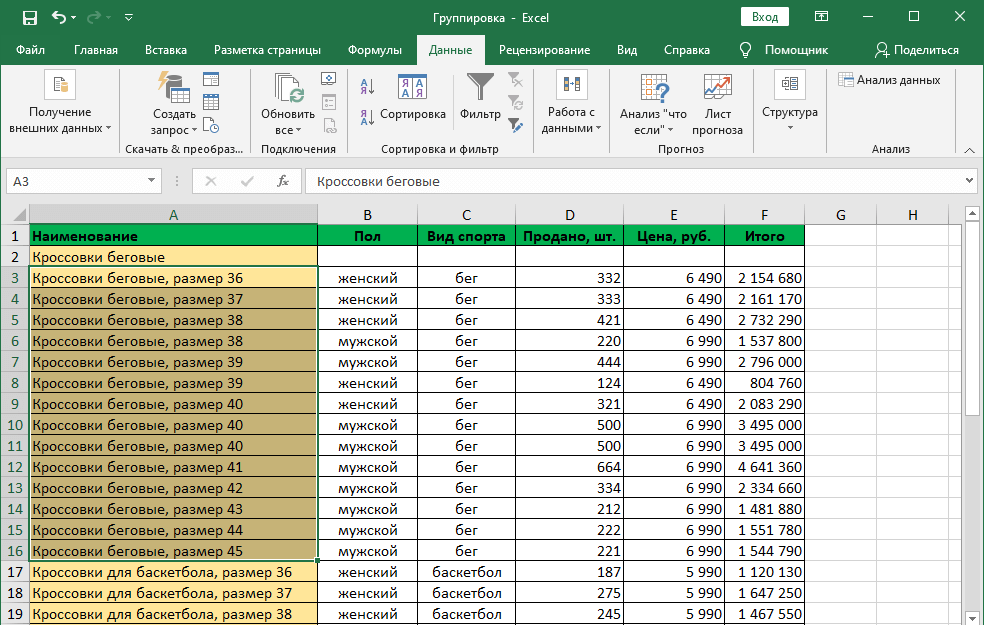
This is a general algorithm for ungrouping cells, but as in any business, there are many nuances. Let’s look at them in more detail.
How to ungroup sheets
It may be necessary to ungroup sheets from time to time. To do this, you must perform the following sequence of actions:
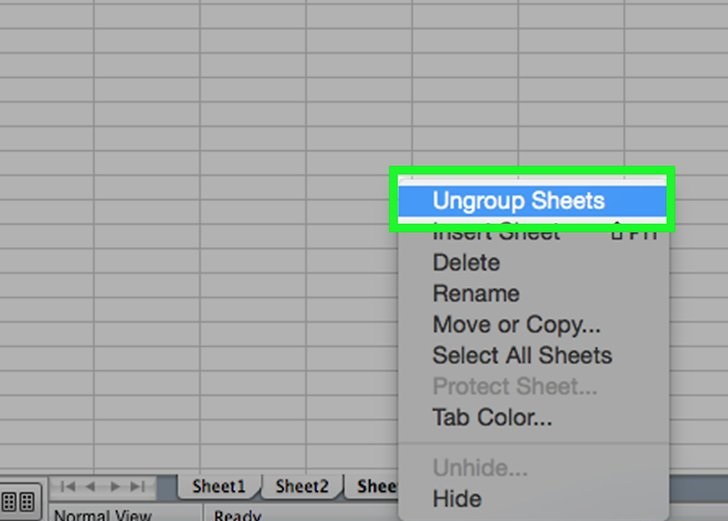
- To begin with, we find those sheets that have been grouped. If the sheets have been grouped in advance, they will be displayed in the same color or the title will be in bold.
- After that, you need to right-click on one of the sheets from the group, and then click on the “Ungroup sheets” button in the context menu. Now they will be ungrouped, and all changes will be made to them independently of the others.
Another way to ungroup sheets is by using the Shift key and then clicking on the active sheet in the group you want to ungroup. That is, you need to define the group whose ungrouping is required, then click on one of the tabs, and then click on it while holding down the Shift key.
After the changes have been made, you can now group some of the sheets. To do this, press the Ctrl or Cmd key (the first is for computers running Windows, and the second is for Apple technology), and while holding the button, alternately click on the sheets that you want to combine into a group. After that, the program will do everything for the user.
How to ungroup manually grouped data
Before ungrouping cells, you must first understand how they were grouped: manually or automatically. Manual grouping is considered the method described above. Automatic generation of groups is when they are created using certain functions. For example, after generating subtotals. The fact that this opportunity was used can be understood from the line “Intermediate results”.
If the data was grouped through the function of the same name Excel, then in order to disband it, you need to make sure that the group is deployed. If not, then you need to click on the + button on the sidebar on the left. The fact that the group is deployed, we can judge by the button – in the same place. When we expand a group, we begin to see both hidden rows and groups. After that, using the keyboard or the left mouse button, select all the cells in the group, and then – according to the algorithm described above.
Few people know that there is another way to ungroup manually grouped cells – using hotkeys.
To do this, you must first select those columns that have been grouped, and then press the Alt + Shift + Left arrow keys. If the work is carried out on a computer controlled under Mac OS, then you need to use the key combination Command + Shift + J.
How to ungroup data grouped automatically
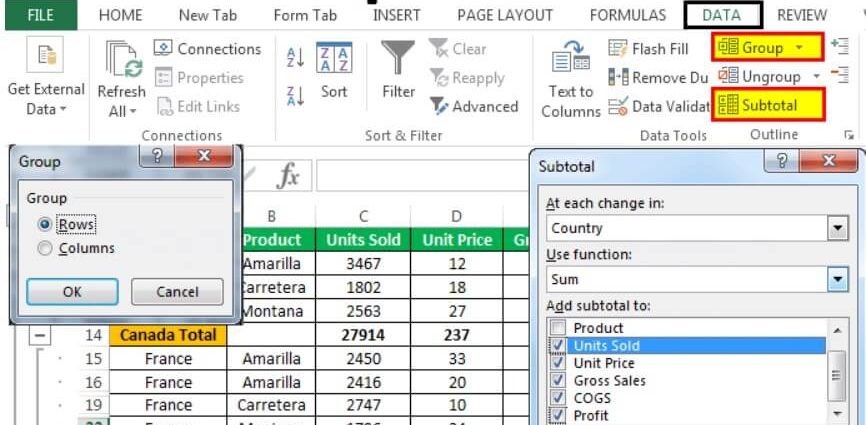
If, as a result of the check that was carried out in the previous paragraph, it turned out that the data was grouped automatically, then everything is somewhat more complicated, since the standard ungroup function will not work in this case. Actions depend on what exactly carried out the grouping of data. If this is the “Subtotals” function, then the sequence of actions is as follows:
- We open the same tab with data on the main panel (or ribbon, as it is also often called).
- After we click on the “Subtotals” button (which is exactly what we need to do as a second step), we will have a window. The button itself is located in the same section – Structure. After that, a window will appear in which we need to click on the “Delete All” button. It can be found in the lower left corner of the window or elsewhere (depending on the version of Office and the specific spreadsheet program).
Attention! This method removes not only the group, but also subtotals. Therefore, if you need to keep them, it is better to copy the group elements to another sheet and use them as ungrouped ones.
A strong recommendation for any operations with a table to group or ungroup data. Before doing this, you need to make a copy of the original table. In this case, you can restore the original view of the document if something does not go according to plan.
Thus, Excel has a very wide functionality for structuring data. Of course, it will not be able to do everything for a person, but it allows you to more conveniently organize work with structured data. The rest will have to be done by the person. However, this is a very functional tool that will be very useful for those who have to work with huge amounts of numerical and textual information.