


Contents
When using the Microsoft Excel spreadsheet, sometimes there are times when the entered value does not fit into the standard cell size. Therefore, it is necessary to be able to expand the boundaries of the cell so that all the entered information is correctly displayed in the document. This article will look at seven ways to push boundaries.
Extension procedure
There are a huge number of methods for expanding the boundaries of sectors. You can expand the sector or range of cells yourself manually or by using a variety of automatic functions that are present in the spreadsheet.
Method 1: Manual Border Shift
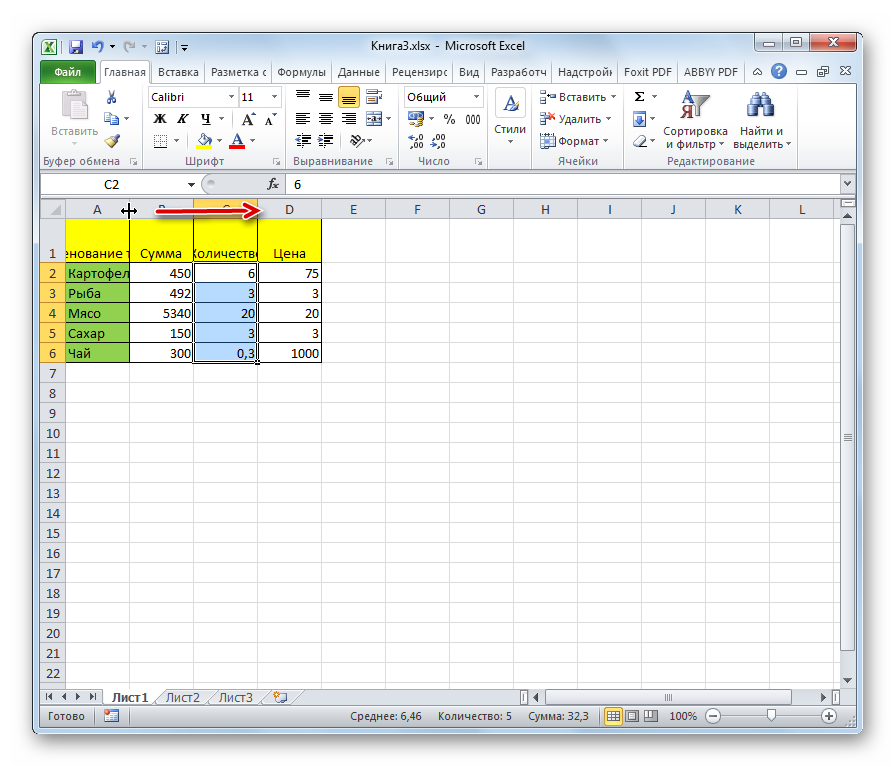
Manual expansion of borders is the easiest and most convenient way. This is done by interacting with the horizontal and vertical coordinate scales of columns and rows. The walkthrough looks like this:
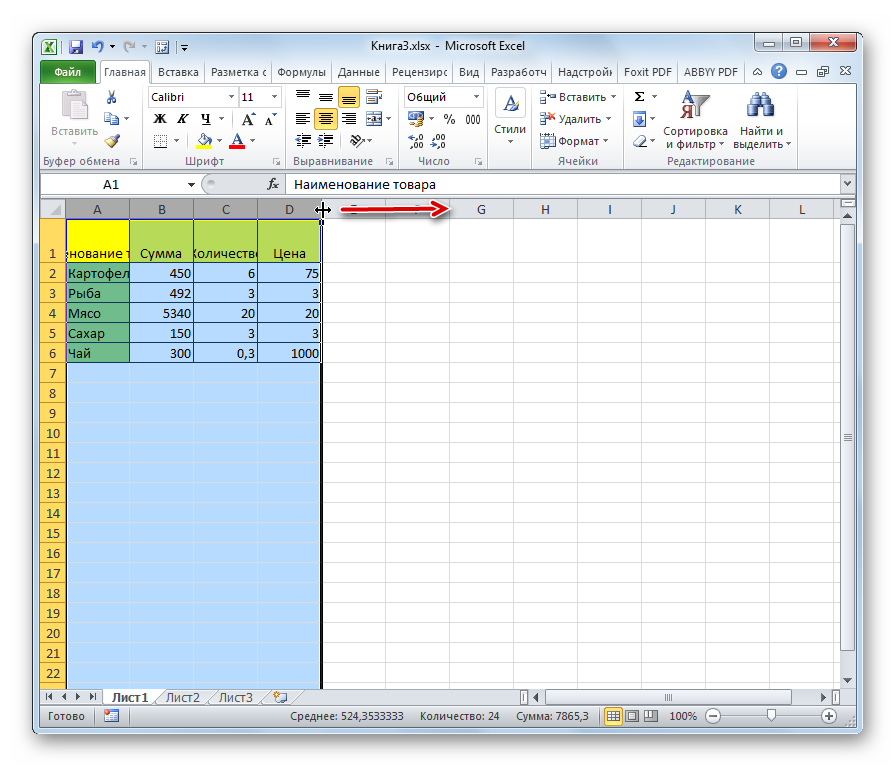
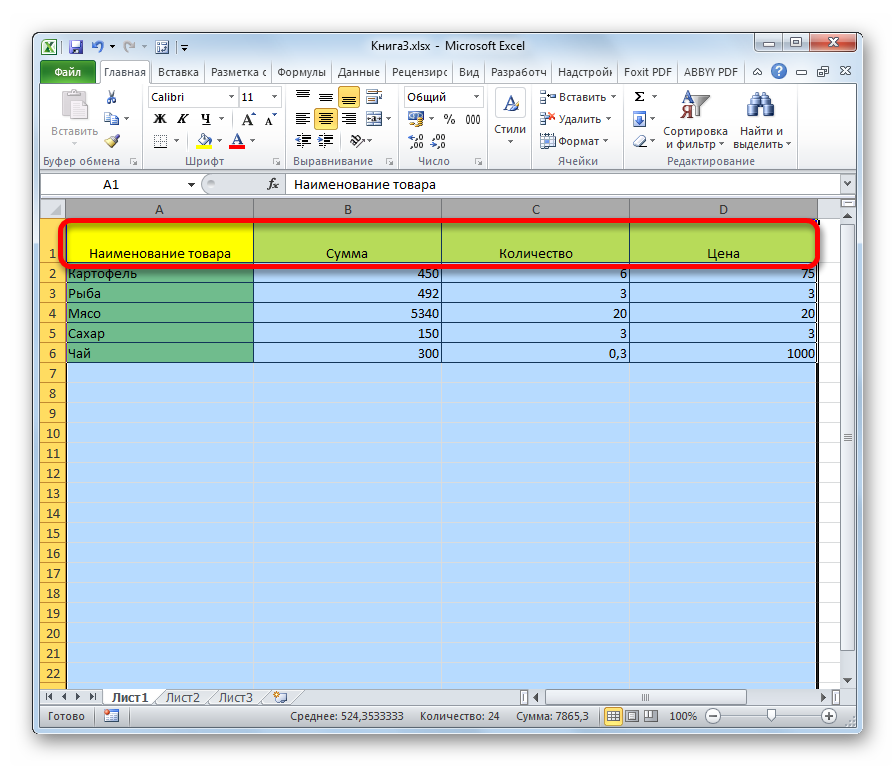
- We set the mouse cursor to the right side of the sector on the ruler of the horizontal type of the column that we want to expand. When you hover over this border, the cursor will take the form of a cross with 2 arrows pointing in different directions. By holding the left mouse button we move the border to the right side, i.e. a little further than the center of the cell we are expanding.
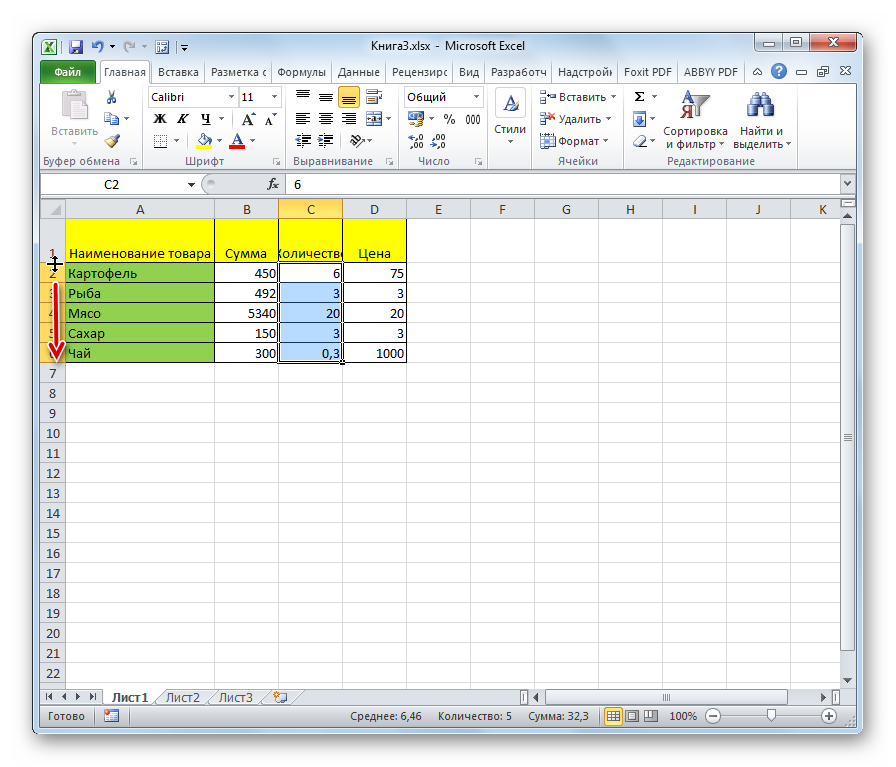
- Similar actions are used to expand the lines. You just need to put the cursor on the bottom of the line that you want to make wider, and then by holding the left mouse button drag the border to the level below.
Important! If you set the cursor not on the right, but on the left side of the column (not on the bottom, but on the top side of the line) and perform the expansion procedure, then the sectors will not change in size. There will be a normal shift to the side by editing the dimensions of the remaining components of the sheet.
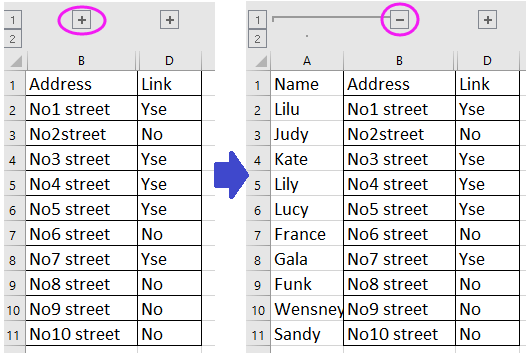
Method 2: Extend the Bounds of Multiple Rows or Columns
This method allows you to expand multiple columns and rows at the same time. The walkthrough looks like this:
- We make a selection of several sectors at once on the ruler of vertical and horizontal coordinates.
- We place the cursor on the right side of the rightmost cell or on the lower side of the sector located at the very bottom. Now, by holding down the left mouse button, drag the arrow to the right and bottom side to expand the borders of the table.
- As a result, not only the last range increases, but also the size of absolutely all sectors of the selection area.
Method 3: specifying the exact cell size
With the help of self-entry of numerical data in a special form, you can edit the size of the borders of document cells in the Excel spreadsheet processor. By default, the program has a width size of 8,43 and a height of 12,75. You can increase the width to 255 units and the height to 409 units. The step-by-step tutorial looks like this:
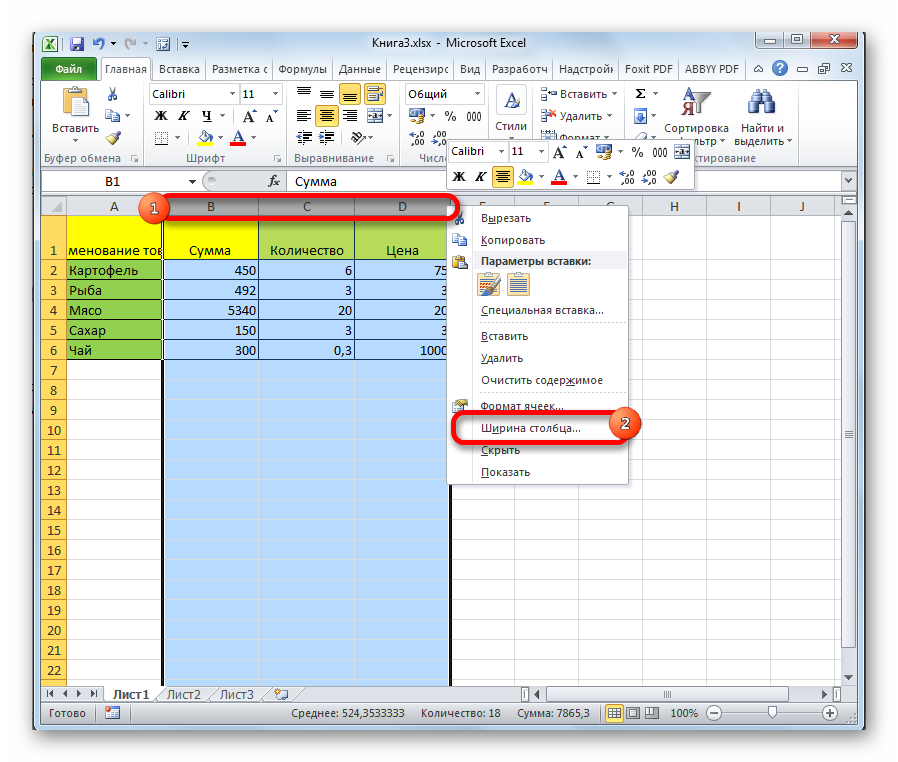
- To edit cell width properties, select the desired range on the horizontal scale. After selection, right-click on the range. A context menu appears on the screen, in which you need to select the item “Column width …”.
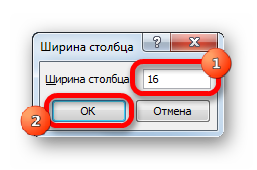
- A special window appears on the screen in which you need to set the desired column width. We drive in a numerical value using the keyboard and click “OK”.
The same method implements editing the height of the lines. The walkthrough looks like this:
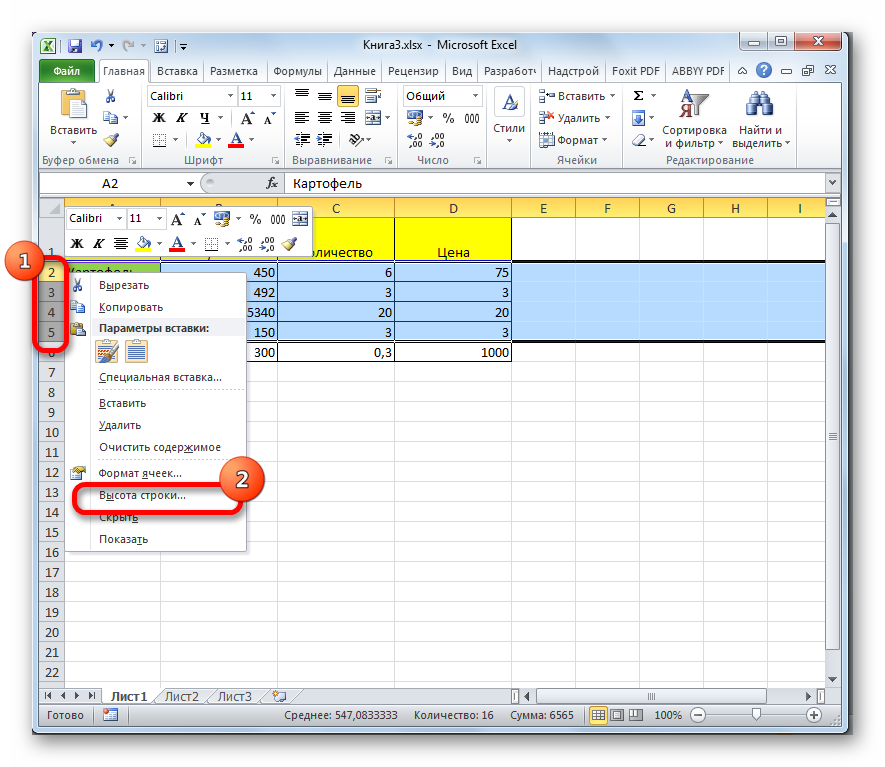
- Select a cell or range of cells in the vertical type coordinate scale. Right click on this area. In the context menu that appears, click on the element “Row height …”.
- A small window appears on the screen. In this window, you need to enter new indicators for the height of the sectors of the selected range. After making all the settings, click “OK”.
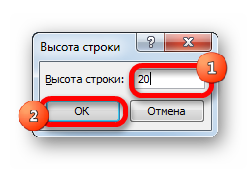
The entered numerical values realize the increase in the height and width of the sectors.
Many users are not satisfied with the system used in the spreadsheet processor to indicate the size of the cells of the sheet in units expressed in the number of characters. The user can switch the unit of measurement to another at any time. The walkthrough looks like this:
- We move to the “File” section and click on the “Options” element, which is located on the left side of the window.
- The options window appears on the screen. You need to pay attention to the left side, here you need to click on the “Advanced” tab.
- At the bottom we are looking for a settings block called “Screen”.
- Here we find the inscription “Units on the ruler.” We open the list and select the most suitable unit of measure for ourselves. There are units such as centimeters, millimeters and inches.
- After making a selection, you must click on “OK” for the changes to take effect.
- Ready! Now you can perform cell border size conversions in the units that are most convenient for you.
If in a spreadsheet cell Microsoft Excel symbols (#######) are displayed, which means that the column has insufficient width indicators to correctly show the contents of the cell. Expanding the boundaries helps avoid this nasty mistake.
Method 4: Ribbon Tools
On the Microsoft Excel spreadsheet tool ribbon, there is a special button that allows you to edit the size of cell borders. The walkthrough looks like this:
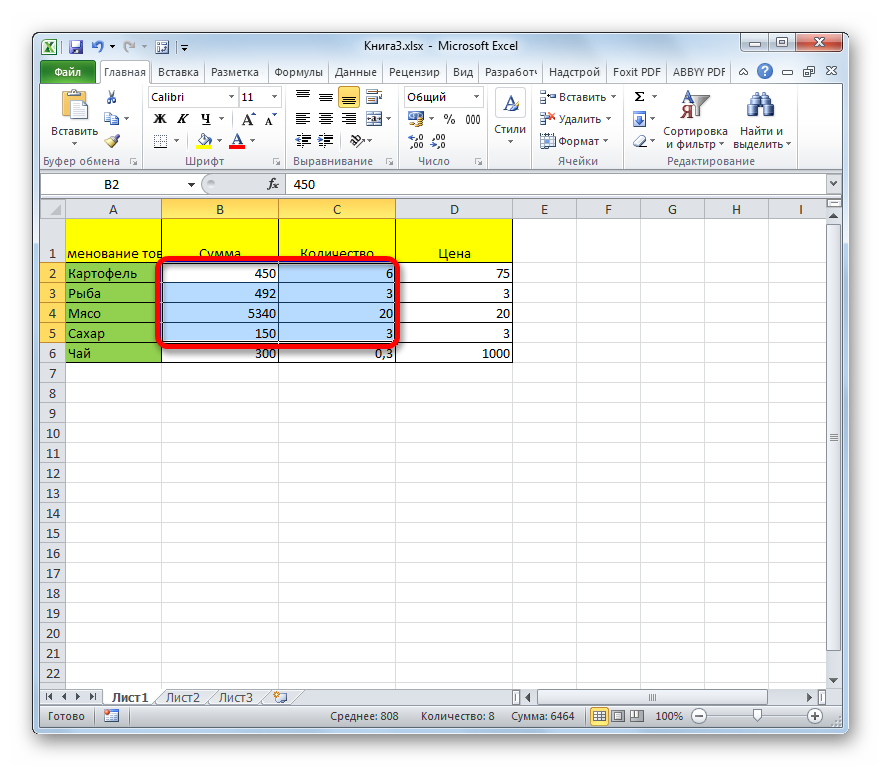
- We select the cell or range of the cell, the value of which we want to edit.
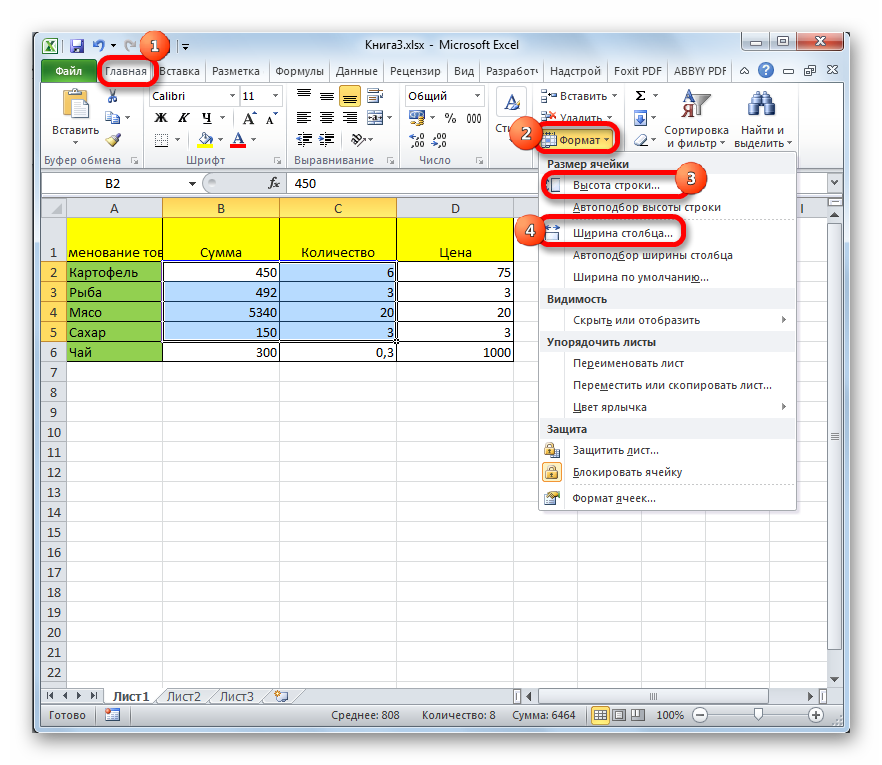
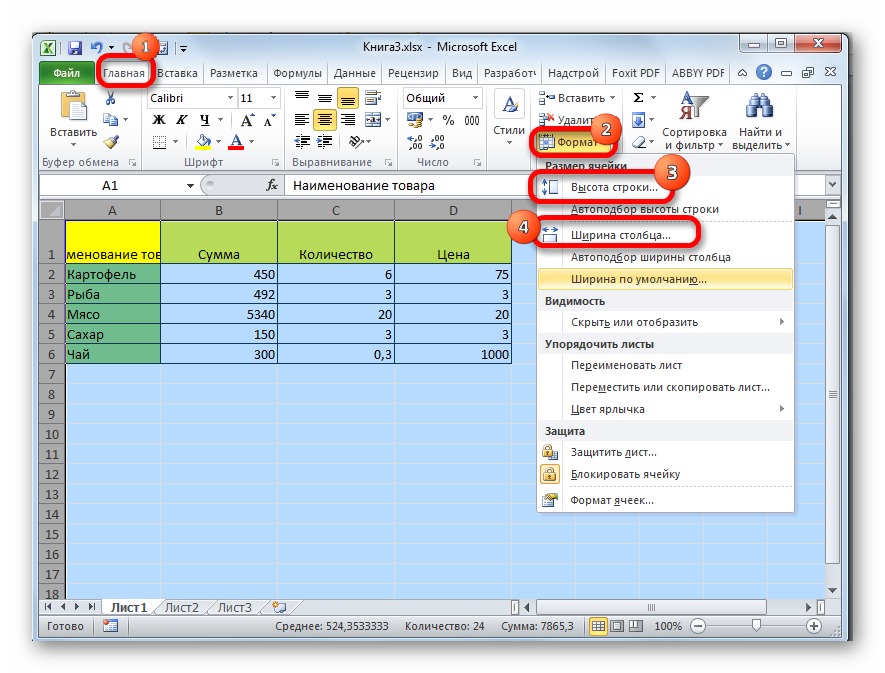
- We move to the “Home” section.
- Click on the “Format” element, located on the ribbon of tools in the block called “Cells”. A list of possible transformations is displayed on the screen.
- We need elements such as “Column width …” and “Row height …”. By alternately clicking on each of the elements, we get into the small settings windows, which have already been discussed in the above instructions.
- In the boxes for editing the size of the cell borders, enter the necessary indicators for the height and width of the selected area of the sectors. To expand the boundaries, it is necessary that the new indicators introduced be higher than the original ones. We click on the “OK” button.
- Ready! The expansion of cell boundaries was successful.
Method 5: Expand All Cells of a Sheet or Workbook
Often, users of the spreadsheet Microsoft Excel need to increase absolutely all cells of the worksheet or the entire document as a whole. Let’s figure out how to do it. The walkthrough looks like this:
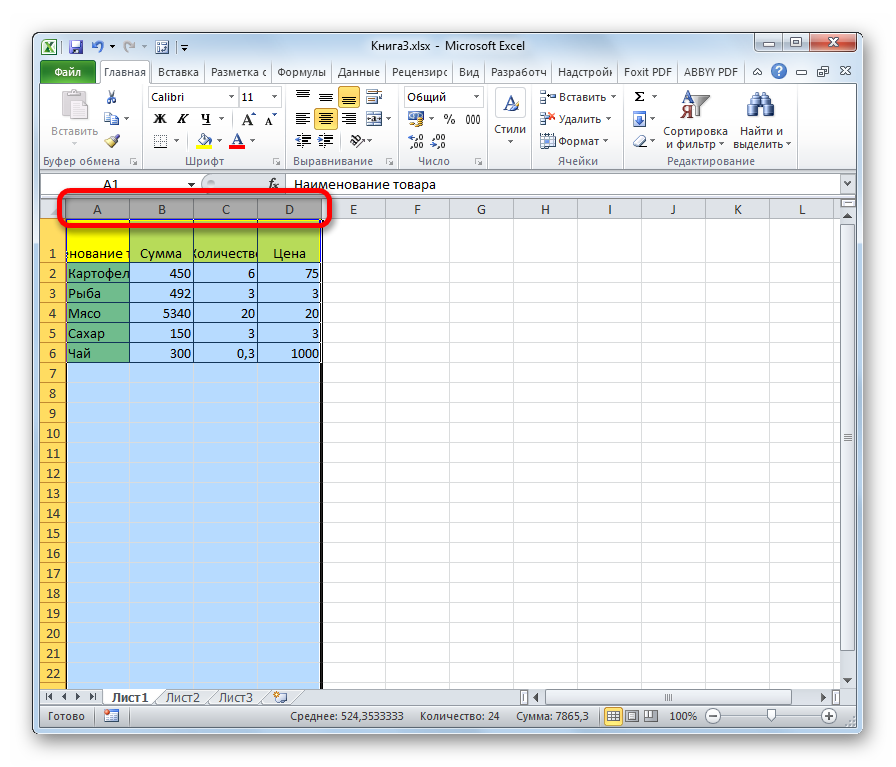
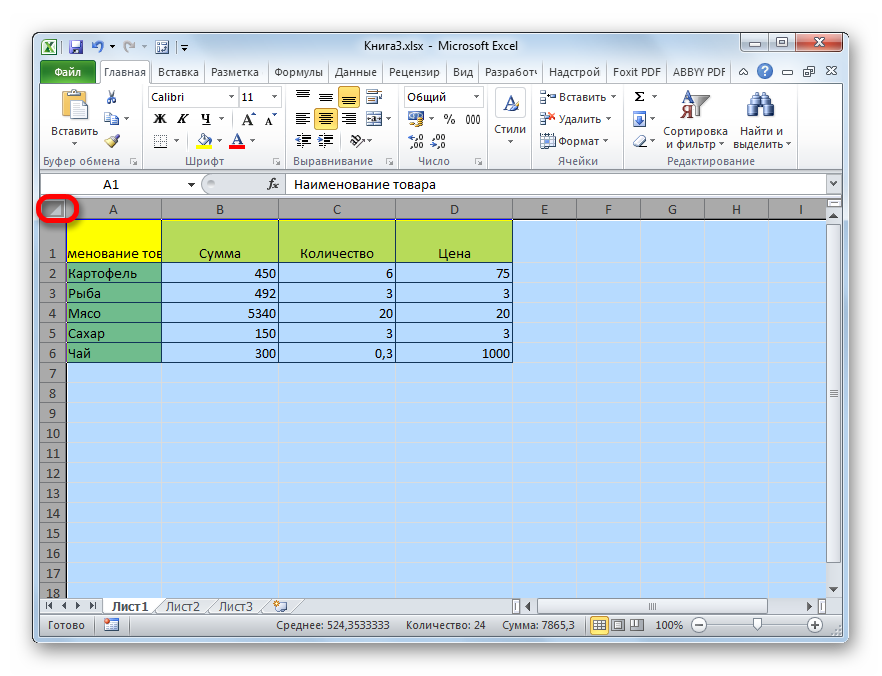
- First of all, we select all the cells on the worksheet. There is a special key combination Ctrl + A, which allows you to instantly select absolutely all cells of the sheet. There is a second method of instant selection, which is carried out by clicking on the triangle icon located next to the horizontal and vertical coordinate scale.
- After you have selected all the cells in one of the above ways, you need to click on the element known to us called “Format”, which is located on the toolbar of the “Cells” block.
- We set numerical values in the elements “Row height …” and “Column width” in the same way as in the instructions above.
With identical manipulations, you can increase the size of the sectors of the entire document. There are only minor differences in the algorithm of actions. The walkthrough looks like this:
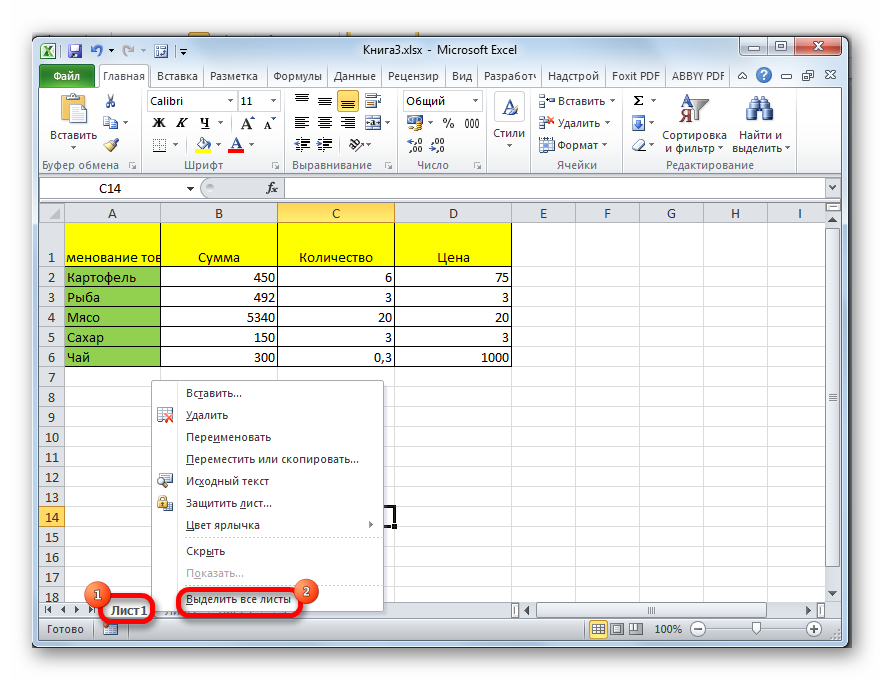
- At the bottom of the Microsoft Excel spreadsheet, above the status bar, there are document sheet labels. You must right-click on any of the shortcuts. A context menu appears, in which you need to click on the item “Select all sheets”.
- The selection of all sheets was successful. Now it remains with the help of the familiar “Format” element to convert the size of the cells of the entire document. Editing is done in the same way as in the above instructions.
Method 6: AutoFit Cell Height and Width to Content
This method is often used to instantly adjust the size of the cells, usually for expansion. The walkthrough looks like this:
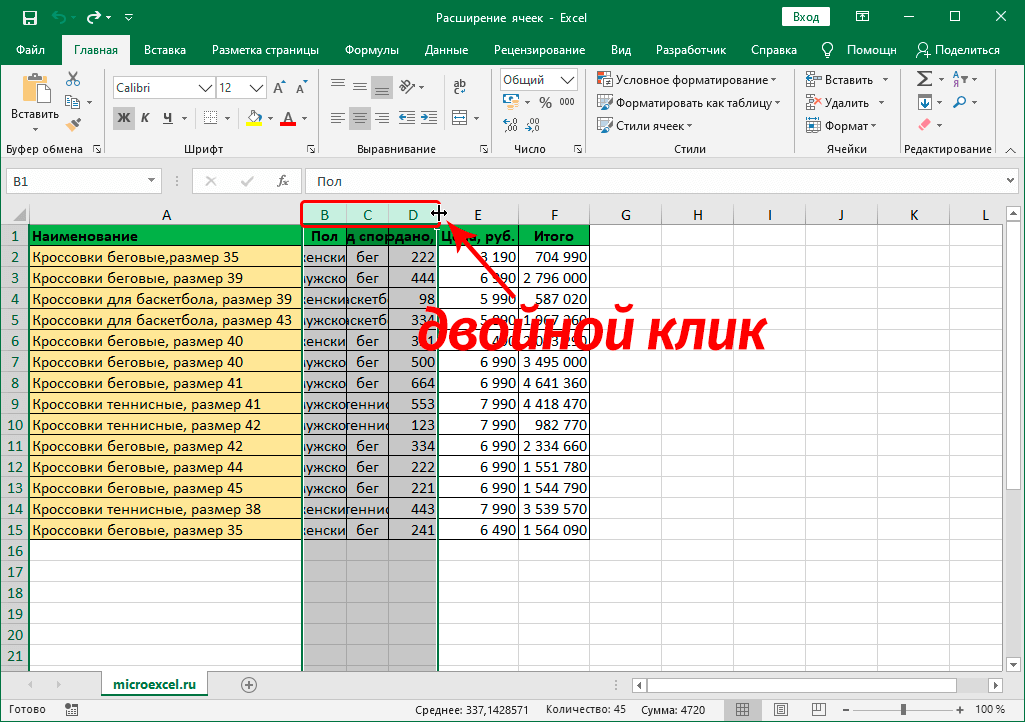
- We set the mouse cursor on the horizontal coordinate scale to the rightmost border of the column, the value of which we plan to change automatically. After the cursor takes the form of a cross with arrows in different directions, double-click the left mouse button.
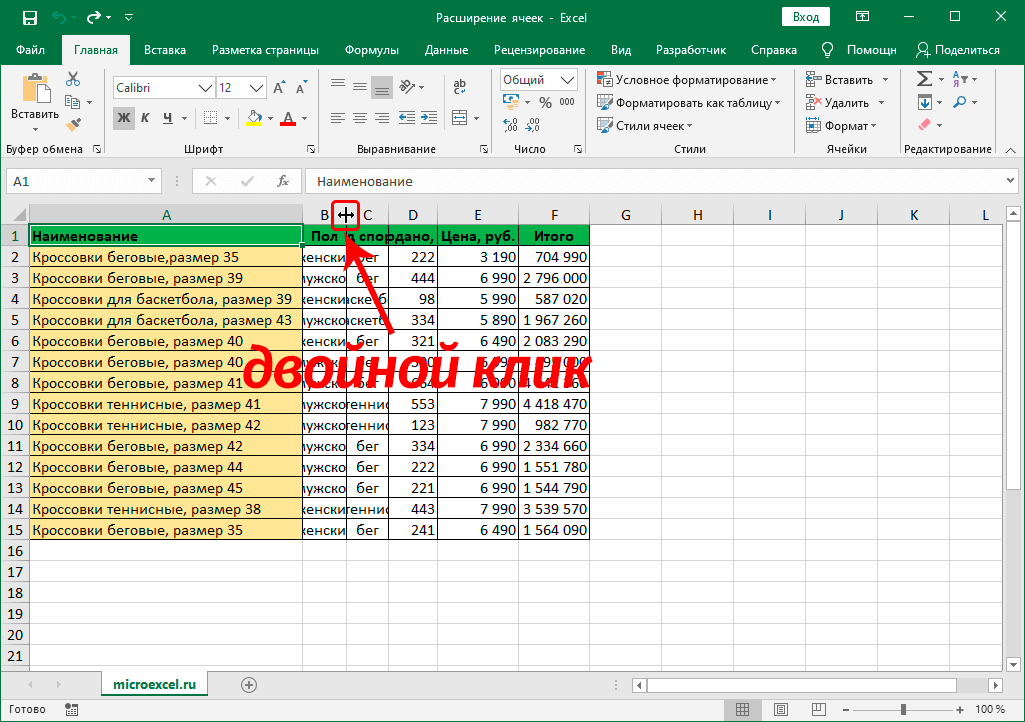
- The column width will automatically align with the sector containing the largest number of characters.
- This manipulation can be performed immediately in relation to a large number of columns. You just need to select them on the coordinate panel, and then double-click on the right border of any of the elements that are included in the selected area.
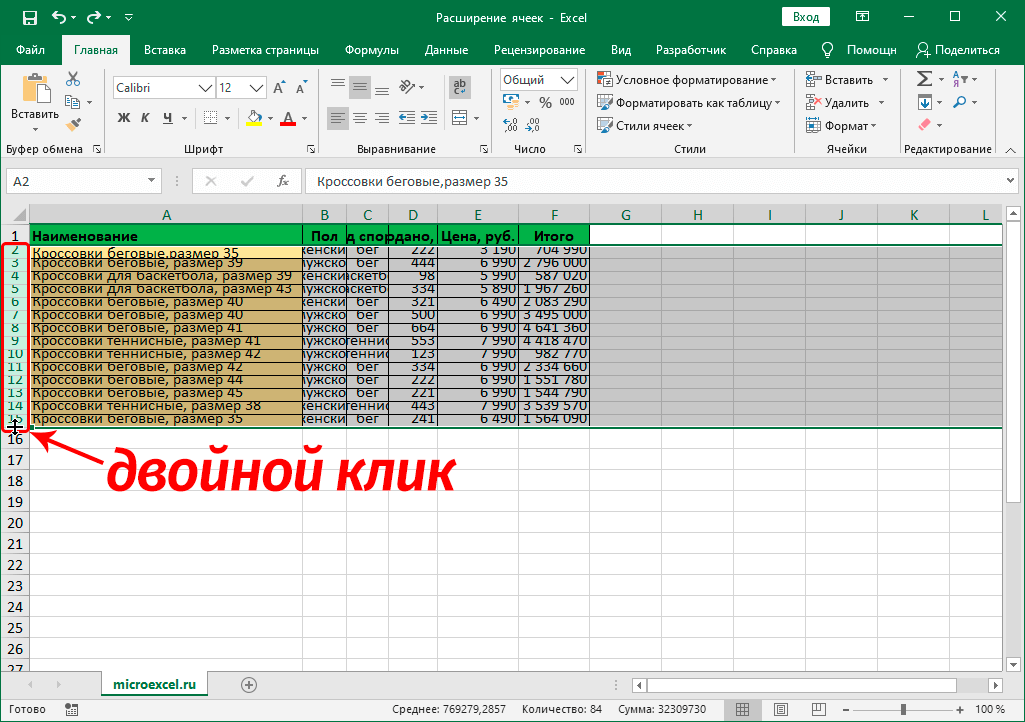
- The same manipulations can be used to implement automatic selection of line heights. You just need to select one or a number of elements on the vertical coordinate panel, and then double-click on the bottom border of the row (or the bottom border of absolutely any cell) that is included in the selected area
Method 7: Adjust Content to Column Width
The next method under consideration cannot be called a full-fledged expansion of the size of the sectors, it involves the automatic reduction of text letters to sizes suitable for the size of the cells. The walkthrough looks like this:
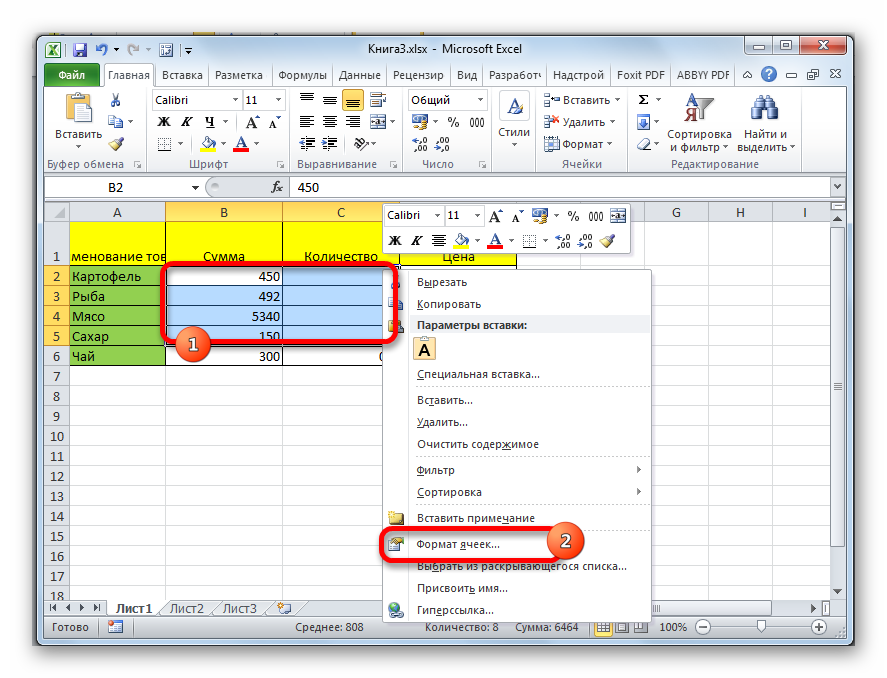
- We make a selection of the range of cells to which we want to apply the parameters of automatic selection of the width. Right-click on the selected area. The context menu appears on the screen. Click on the “Format Cells…” element.
- A formatting window has appeared. We move to the section called “Alignment”. In the “Display” parameter block, check the box next to the “AutoFit Width” element. We find the element “OK” at the bottom of the window and click on it.
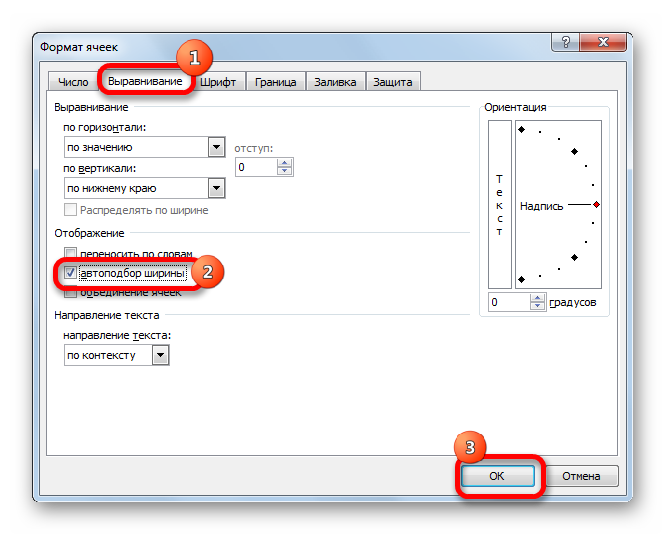
- After carrying out the above manipulations, the information entered into the cells will decrease so that it can fit in the sector.
Important! If there is too much typed information in the cell being converted, the auto-sizing method will make the text so small that it is unreadable. Therefore, if there is too much text, then it is better to use other methods of changing cell borders. Additionally, it should be noted that automatic selection works only with textual information, so it cannot be applied to numerical indicators.
Conclusion
In the spreadsheet Microsoft Excel, there are a huge number of different methods for editing the size of not only the cell, but the entire sheet and even the document, so that anyone can choose the most convenient option for themselves to implement the expansion process.