


Contents
There is not always time to draw a pattern on the nails with a brush: it is both difficult and time-consuming. Stamping comes to the rescue, with which you can make a spectacular design in a few minutes: with the right technique, even a beginner can handle it. For lovers of creativity, beautiful design and unusual ideas, stamping for nails will come in handy. We tell you how to use it correctly and do it at home.
What is a stamping for nails
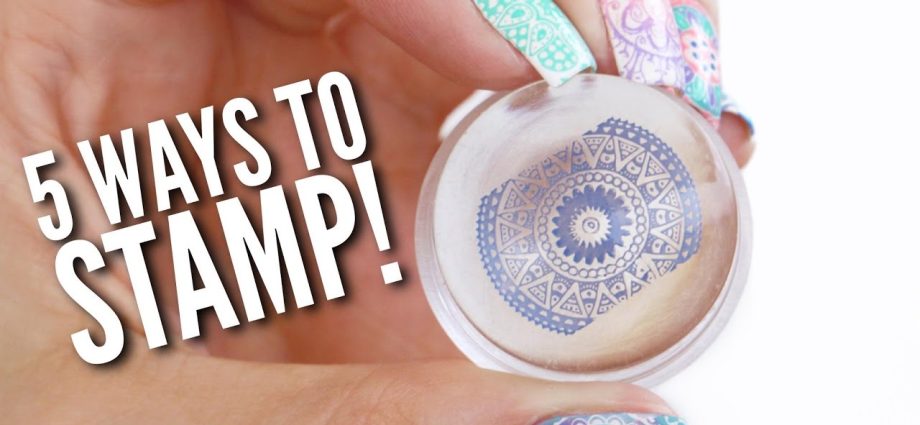
Stamping is a variable nail art technique in which the pattern is transferred to the nail plate using a special stamp. Nail technicians and clients love this technique for a number of reasons:
- thanks to the transfer of the picture, it is possible to embody those ideas that are not always possible to do “manually” with a brush;
- on all nails the pattern looks the same;
- saves a lot of time;
- variety of choice: you can choose an image for every taste.
To master the technology of stamping, you need to know about the materials and study the step-by-step instructions.
How to use nail stamping
First you need to buy a set of necessary materials: plates, stamps, varnishes, scraper, buff. Stamping should only be done on manicured and fully varnished nails: the surface of the nail must be dry. It should also be sanded with a buff before applying varnish.
You need to transfer the drawing to the nail using a stamp. To do this, the plate with the selected pattern is varnished, the pattern is printed on the stamp and transferred to the nail plate. Before you print the pattern, you need to remove excess varnish with a scraper. The next step is very important: how to fix the stamping will depend on its strength and durability. To do this, you need to choose a good top.
Stamping kit
Properly selected tools will help beginners quickly master the stamping technique and apply it when designing nails. You can buy all the tools in specialized stores: both online and offline.
plates
They are made of metal, on which various patterns are depicted. When choosing plates, you should pay attention not only to the patterns that will be used in the work, but also to the depth of the engraving. The deeper and clearer it is, the easier it will be to transfer the pattern to the nail plate.
Depending on the brand, the plates are rectangular or round. Stencils usually contain from 5 to 250 drawings. To protect the plate from scratches, you can additionally purchase a special cover.
Stamp
With the help of a stamp, the pattern is transferred from the plate to the nail. In appearance, the stamp is quite miniature, its working side is made of silicone. When buying, you need to look at the material from which it is made. The rubber stamp is denser: at first it is much easier to work with it. Silicone stamps are much softer in structure, so the pattern may sag or be poorly tolerated.
In addition, the pads with which the pattern is transferred come in different colors. The most convenient is a transparent working material, but colored interchangeable pads help when a pattern is poorly visible on a colorless surface.
Pay attention to the number of work areas. On sale you can find both single-sided and double-sided stamps. On one side is usually a rubber surface, and on the other silicone.
Лак
Special stamping varnishes are sold in stores: they do not need to be dried in a lamp. They dry naturally. That is why this technology requires fast and precise movements. Beginners should pay attention to varnishes, the drying speed of which is average. For example, RIO Profi.
The difference between such a varnish and a simple one is that it is more pigmented and has a thick consistency. This is important: the drawing may not show up well, spread, smear if you choose regular nail polish for stamping.
Gel
Gels, unlike varnishes, dry in a lamp. Therefore, when working with them, you do not need to work quickly. This is a great plus for beginners.
They are available in tubes or jars: in both cases, gel paints are convenient and easy to work with. They are used when coating with gel polishes, when building nails.
Scrapper
A tool with which the varnish is pulled over the plate. There are several options to choose from: plastic or metal scraper. The latter, if used carelessly, can scratch the plate, so it is better to buy a plastic scraper.
Base and top for pinning
The durability of the pattern and coating as a whole depends on the quality of the base. Small patterns overlap only with the top, and large patterns are fixed first with the base, and then with the top.
How to do stamping: step by step for beginners
Follow the instructions to get a high-quality and clear pattern on the nails.
1. Nail treatment
In order for the coating to hold well and the nails look neat, you need to make a quality manicure. To do this, give the nails the desired shape, and apply an emollient to the cuticle. Remove cuticles with scissors or tweezers. Rinse your hands under warm water to wash off any excess.
2. Lacquering
Apply a base on the nail, and cover with gel polish on top and dry in a lamp. You can apply two layers, each must be dried in the lamp.
3. Stamping
First you need to prepare the plate: take a lint-free cloth and moisten it with nail polish remover. Wipe down both the plate and the scraper.
On the drawing that you decide to transfer to the nail, you need to apply a sufficient amount of varnish. Make sure that it gets into all the recesses. Collect the remaining varnish with a scraper. This should be done at an angle of 45 degrees. Do not press too hard, the varnish may not spread well on the plate. Please note that the scraper should not bend or move. At first, it may not be possible to remove the leftovers in one go: swipe two or three times. But ideally, do it once.
Using a stamp, transfer the pattern from the plate to the nail. This should not be done abruptly, it is also not worth pressing. The movements should be rolling, yet precise.
After the pattern is transferred to the nail, you can cover it with a top or base and top. If the image is large, two steps are required. A small pattern can only be fixed with a top and dried in a lamp.
It is important to remember that when using stamping varnish, you need to work fairly quickly. It can dry on the plate.
After the work is done, clean the plate and dies with nail polish remover. It should not contain acetone and various oils. It is better to do it right away: excess varnish left on the instruments may affect their further use. If you used a silicone stamp, only tape will work for cleaning. Nail polish remover can ruin the silicone.
Popular questions and answers
How to do multi-color stamping, why it is not printed on gel polish, and what mistakes are made when stamping, she told Margarita Nikiforova, instructor, nail service master:
Often beginners make mistakes already at the preparation stage. They apply paint to the plate, but the stamp is not prepared, it has a protective cover on it. They quickly start looking for a scraper, at this time the paint on the plate has already dried. We need about 10 seconds for one print. All stages of work must be done quickly.
Second mistake: working with a dirty plate. It is worth remembering that:
• if dried ink remains in the engraving, the drawing will not be printed completely;
• when working with varnishes that dry in the air, the plate must be wiped with nail polish remover;
• if we work with gel paints, clean the plate with a degreaser.
Third mistake: wrong tilt of the scraper. It should always be held at a 45 degree angle. If the scraper is tilted too low, the paint will unwind across the plate. If you hold it at a 90 degree angle, there will be more resistance: the paint is hard to remove.
Beginners often put too much pressure on the die. The biggest misconception is that if you do this, the picture will print better. In fact, it turns out the opposite: the picture is fuzzy or blurry.
During training, I notice that before applying to the plate, the brush is squeezed out and they begin to work semi-dry. This is not worth doing, you need to apply a sufficient amount of varnish to the plate.
Work algorithm:
1. We apply paint to the plate, remove the excess and take it to the stamp.
2. Next, we leave the drawing on the stamp for 30 seconds, when the paint dries, we begin to fill the segments with stamping varnishes. Not gel polish, but stamping polishes that dry in the air. In the work we use a thin dots or a brush. The movements are light, without pressure.
3. When all segments are filled, we leave on the stamp until completely dry (1 to 2 minutes).
4. Apply a primer to the nail. We need it in order for the drawing to be printed (for stickiness).
5. We transfer the pattern to the nail and cover it with a top coat.