


Contents
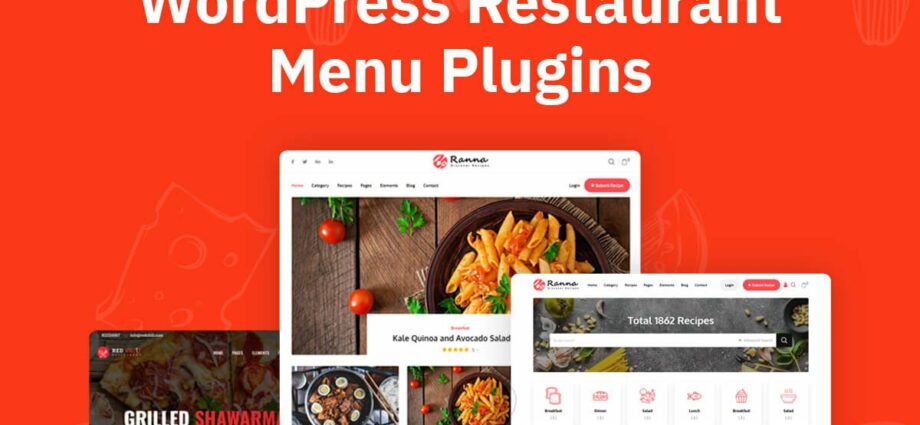
Building a website for restaurants is relatively easy.
Especially if we use WordPress to build it, for this we have thousands of themes for restaurants, many are installed with a few clicks, or are ready for almost immediate use.
The problem arises when we want to manage information and manage it within these pages: we must look for plugins that do what we want, and in the task, we gather some free, paid, and more or less we have something functional.
That’s why the new GloriaFood plugin is great: Restaurant Menu. Is a solution “All in one” for everything a restaurant needs, and the best: it’s free and you can find it in the official WordPress repository.
Below you have a review of this plugin that it is recommended that you use if your website is made in WordPress:
Installation and configuration
The plugin is installed like any other, from the official WordPress repository, and activated normally.
You will see on the left, just below “Desktop” a tab called “Menu Ordering Reservations”. Go there, and subscribe to access the plugin features. Then you will see the following screen:
Now it’s time to configure your plugin. We go step by step with the previous screen.
Step 1: Make the profile of your restaurant
Click on “Get Started” in Step 1. It will take you to another GloriaFood page (its creators) and you will see a screen with a huge map in the background.
This is the screen you will see:
You just have to fill in all the fields with your business information:
- Name of your restaurant
- Phone number
- Address
- Kitchen type
- Hours
- Prices
In the “Panel Reservation” part, you configure reservations. This is the capture of this part:
In Spanish this is what you have to fill out:
- Minimum: Minimum number of people to book
- Only for up to: Maximum number of people in the group that can book
- Table is kept for: Time that they will respect the reservation (15 minutes is normal)
- The reservation placement has to be at least: The minimum time prior to the reservation in which you accept reservations
- And the reservation placement cannot come more than: The maximum previous time to accept a reservation
To confirm the installation, you must install the App on your mobile and log in with the information you indicated here, in this step.
Again in the installation screen we will click on “Insert the menu”. By doing so, we will go back to another page:
This is the fun and interesting part: creating your restaurant menu, with a drag and drop system, with the changes reflected live on your website. It is extremely unbelievable.
You will see that there is already a menu made to serve as an example.
At the end on the left, you will see that it says “Add Category”, to add categories, for example “Pizzas”. You will see how it already appears with an image, to change it, click on it and upload yours. You will see that a sub-item automatically appears: it is where the different varieties should go, for example “Pizza Hawaiiana”, “Pizza Carbonara”, etc. Add as many as you want, resulting in the following screen:
On the right side of the screen you will see another menu, there you add the options for each meal that are eligible for your dishes: double cheese, etc. These elements are dragged to the corresponding food.
See what the extras look like on this pizza:
Ready, you have your menu done. Easy right?
Step 3. Post it on your website
In the initial menu, go to step 3, and we just have to click on “Publish”.
You will see a screen with two large buttons, one of them to display the menu and the other for online reservations in your restaurant:
Copy the code that each one gives you, and paste it on the page you want to display.
And that’s it!
You will see that the button is in English, to change its color and text, click on “Customize it”.
How does it work
It is very simple, it is recommended that you paste the codes in the footer of your website, so they can reserve their table or order food at home or to pick it up (depending on what you have configured).
When your client clicks on the button, they will see that a screen appears above the current one with the menu, looking like this:
By clicking on each item, you will be able to add it, and there you will see the items that you added as extra, and you will see how they appear in the cart:
The reservation screen works the same way:
You will see how it gives you directions in just two screens.
Receive alerts
The best thing about the application is that everything is in real time and you will not receive emails or anything: you will receive alerts in real time on your mobile with the application that you installed previously.
Whether it is an order to be collected, delivered, reservations, cancellations, or anything else, you will receive it immediately on your mobile.
In this way you do not depend on email and all the information is managed from the palm of your hand.
On the right you can see the screen shown on the mobile phone to keep track of how the operation of your hospitality establishment is going at all times.
This is it! What are you waiting to start it up?