


Contents
In order to protect data both from unauthorized persons and from their own accidental actions, users can set protection on Excel documents. Alas, not everyone knows how to remove such protection in order to gain access to information, including being able to edit it. And what if the file was received from another user who forgot to give us the password, or we accidentally forgot (lost) it? Let’s take a closer look.
Note that there are two ways to lock an Excel document: protect a worksheet or workbook. Accordingly, what actions need to be taken to unlock it will depend on this.
Content
Removing protection from a book
- If we try to open a protected document, instead of its contents, an information window will be displayed in which we need to enter a password to remove protection.

- After entering the correct password and pressing the button OK, the contents of the file will be displayed.
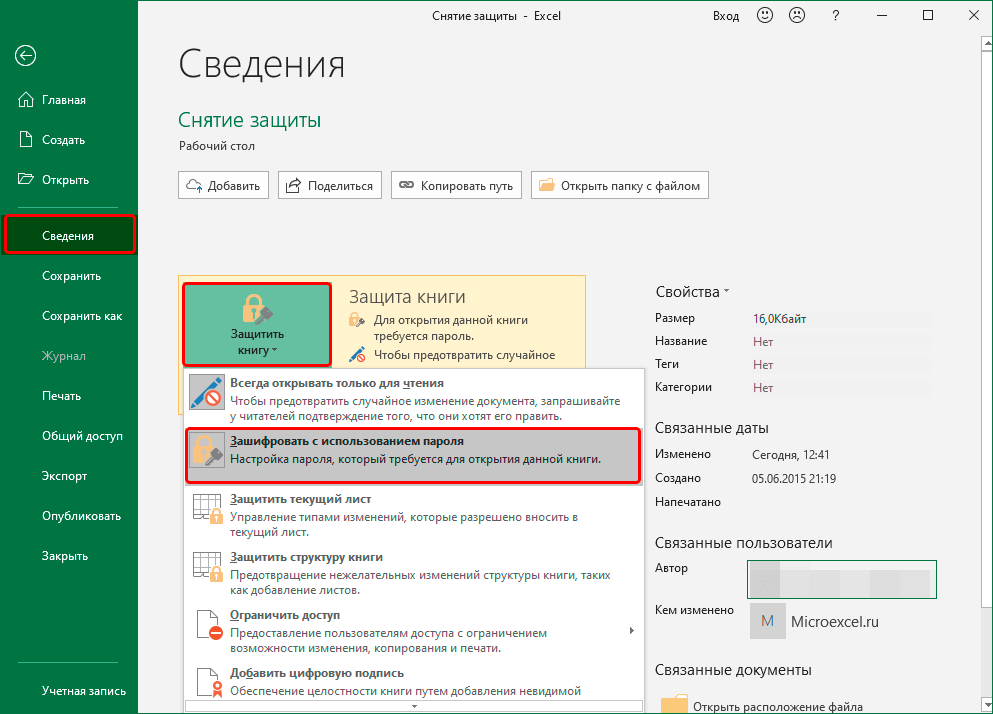
- If you need to remove document protection forever, open the menu “file”.
- Click on a section “Intelligence”. In the right part of the window, click on the button “Protect the Book”, in the list that opens, we need a command – “Encrypt with password”.
- A window for encrypting a document with a password will appear on the screen. Erase it, then click OK.
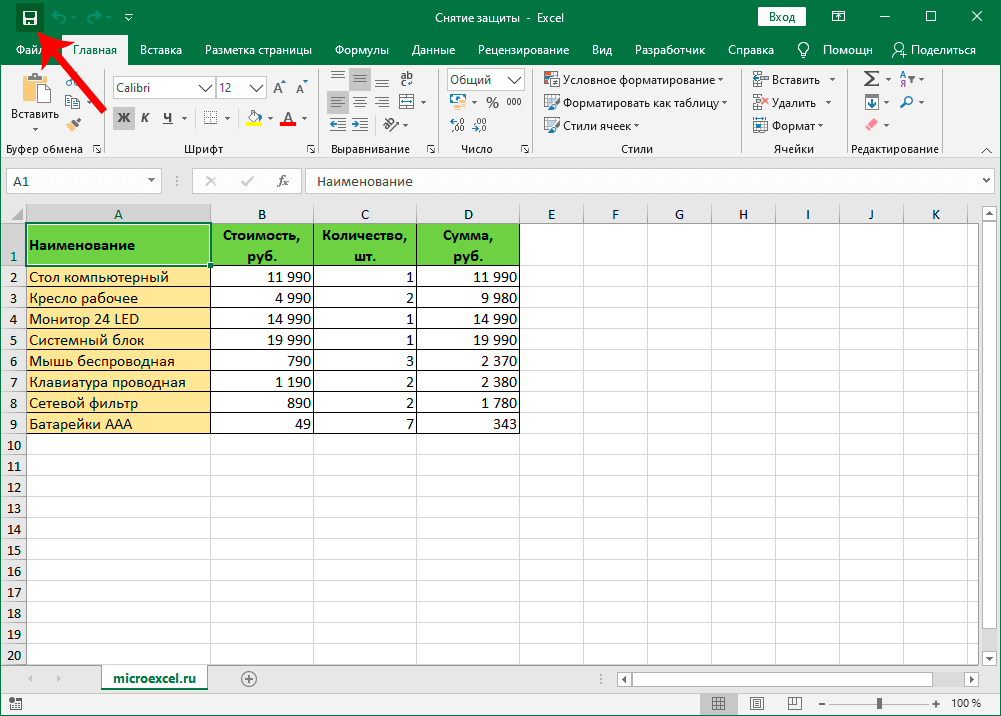
- Click on the floppy disk icon to save the document. Or you can use the command “Save” the menu “file”.
- The password has been removed and the next time the file is opened, it will not be requested.
Removing the protection from the sheet
A password for protection can be set not only for the entire document, but also for a specific sheet. In this case, the user will be able to see the contents of the sheet, but he will not be able to edit the information.
To unprotect a sheet, follow these steps:
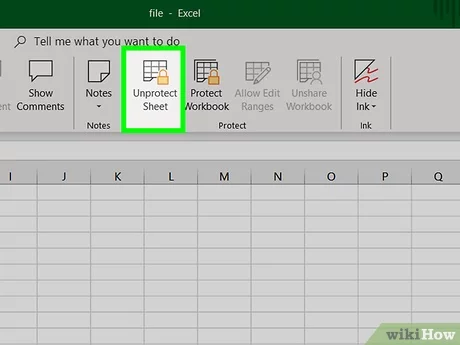
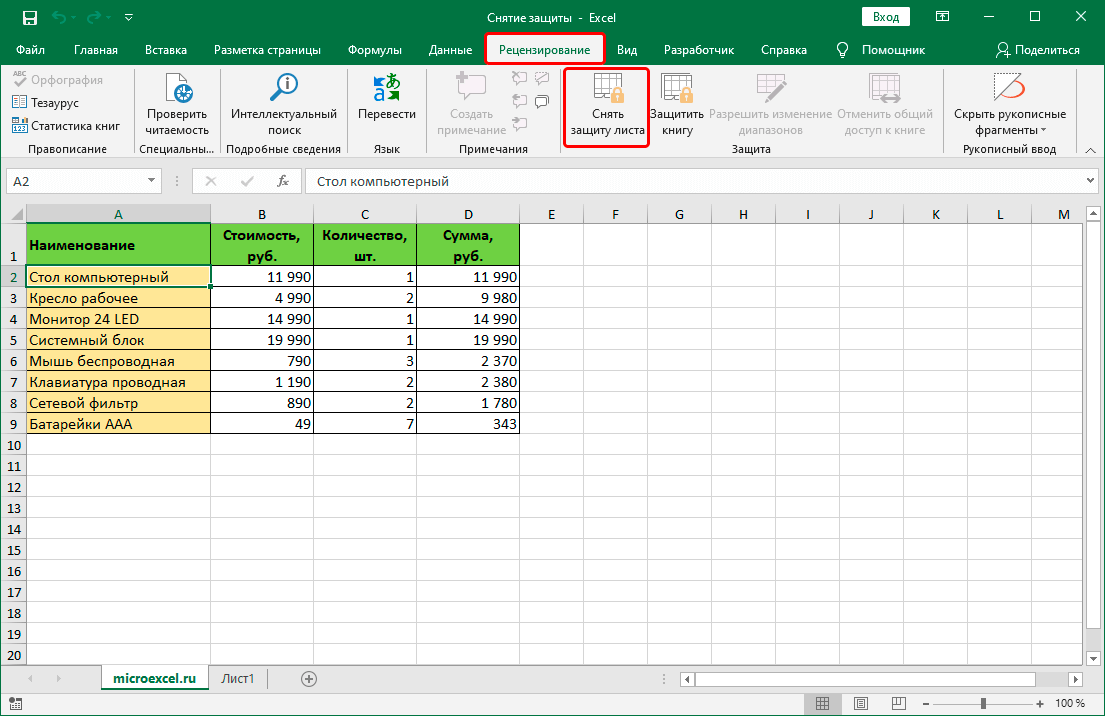
- Switch to tab “Review”… Push the button “Remove sheet protection”, which is located in the tool group “Protection”.
- A small window will appear, where we enter the previously set password and click OK.
- As a result, the sheet lock will be disabled, and now we can safely correct the information.


Change the file code to remove sheet protection
This method is needed in cases where the password was lost or not transferred along with the file from another user. It works only in relation to those documents that are protected at the level of individual sheets, and not the entire book, because. we need to get into the menu “file”, which is not possible when password-protecting the entire document.
To remove protection, you must perform the following sequence of actions:
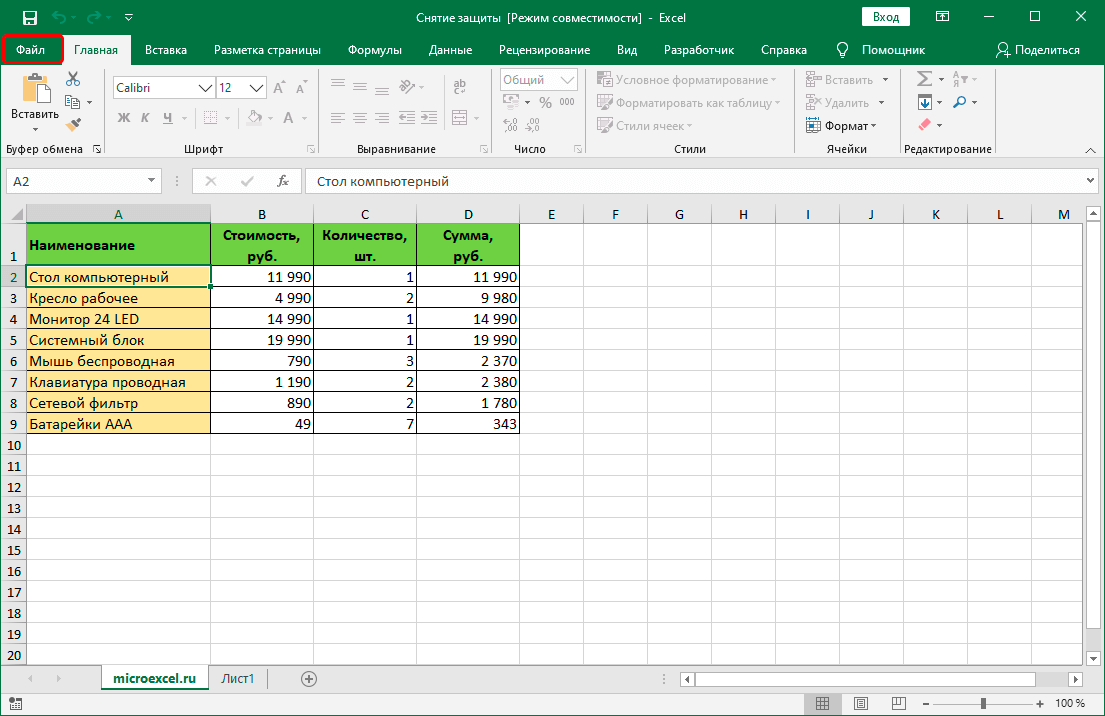
- Go straight to step 4 if the file extension is XLSX (Книга Excel). If the document format is XLS (Excel Workbook 97-2003), you must first re-save it with the desired extension. To do this, go to the menu “file”.
- Select from the list on the left “Save as”, then in the right part of the window, click the button “Review”.
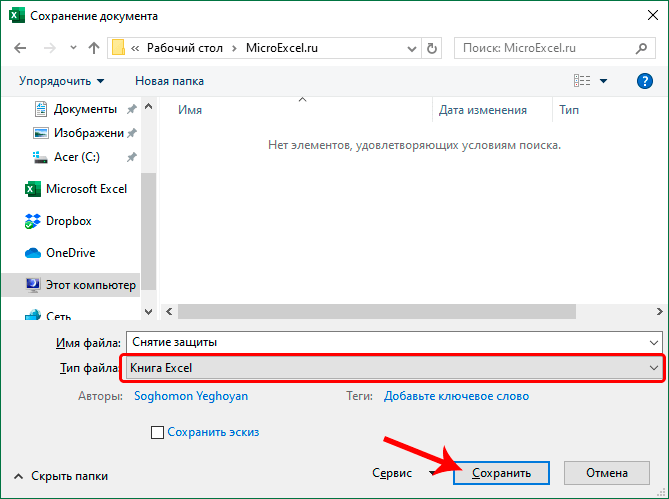
- In the window that appears, select any convenient place to save the file, set the format “Excel Book” and click OK.
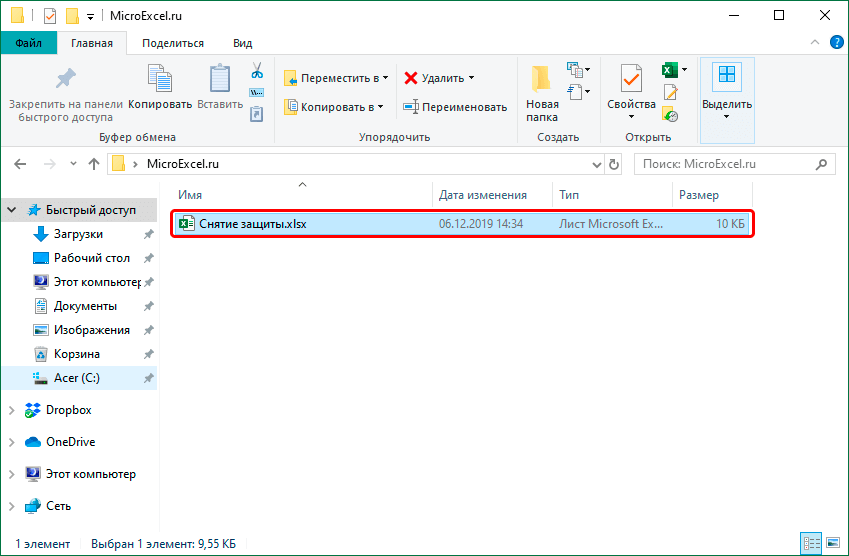
- Open in Explorer XLSX document folder (newly saved or pre-existing). To enable file extensions, go to the tab “View”, where we enable the desired option in the tool group “Show or hide”.Note: the operating system steps in this step and below are described using Windows 10 as an example.
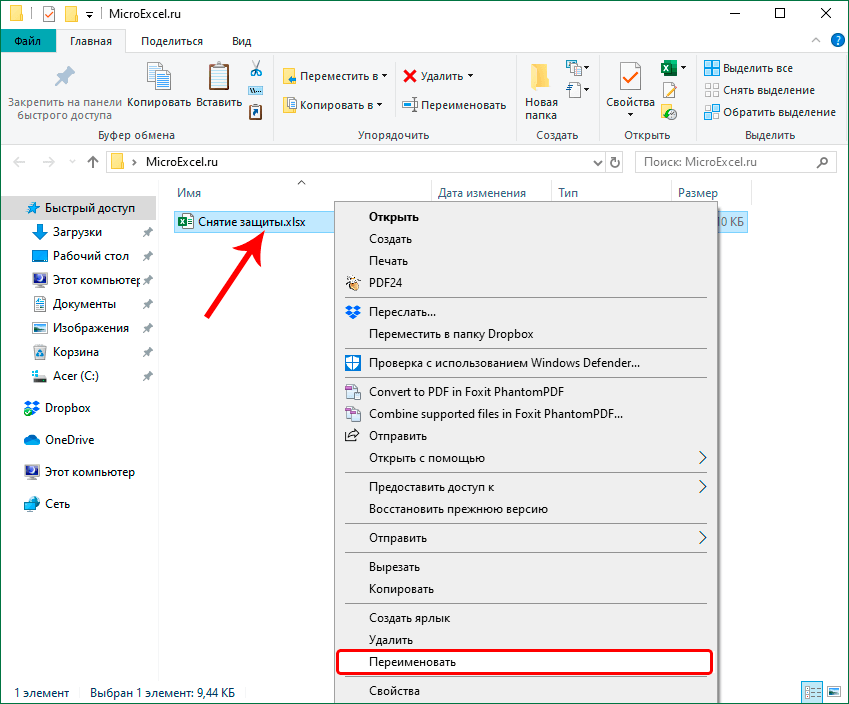
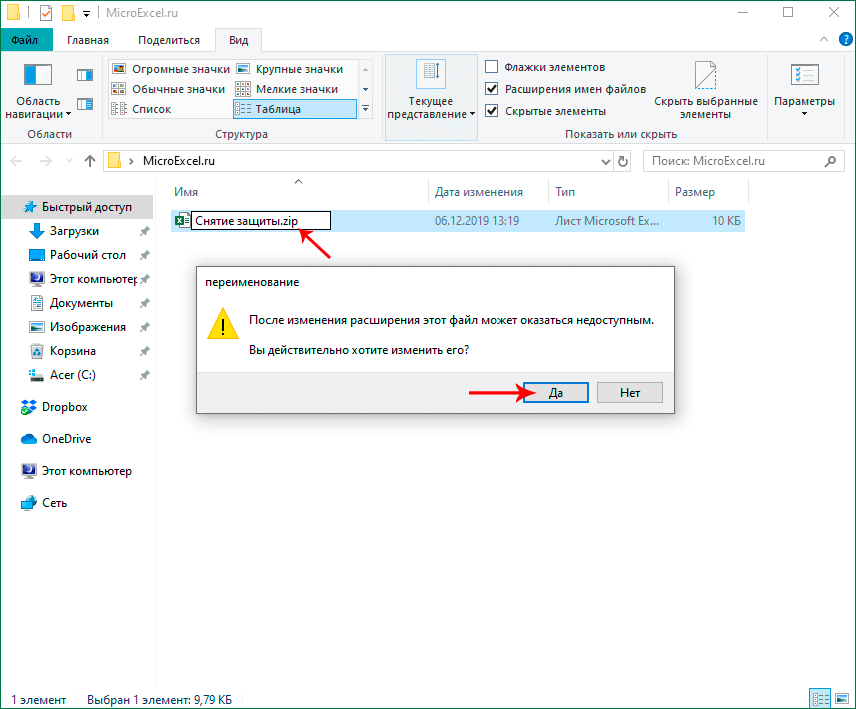
- Right-click on the document and in the list that opens, click on the command “Rename” (or you can just press the key F2, after selecting the file).
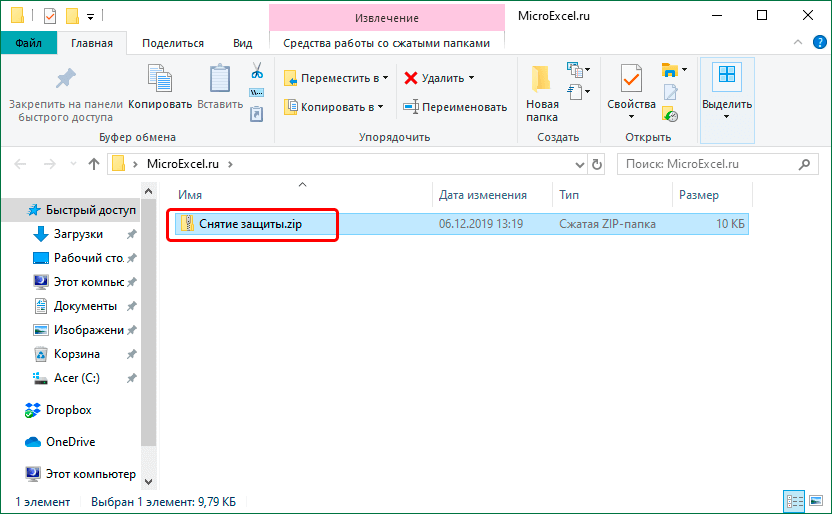
- Instead of extension “xlsx” write “zip” and confirm the change.
- Now the system will identify the file as an archive, the contents of which can be opened by double-clicking the left mouse button.
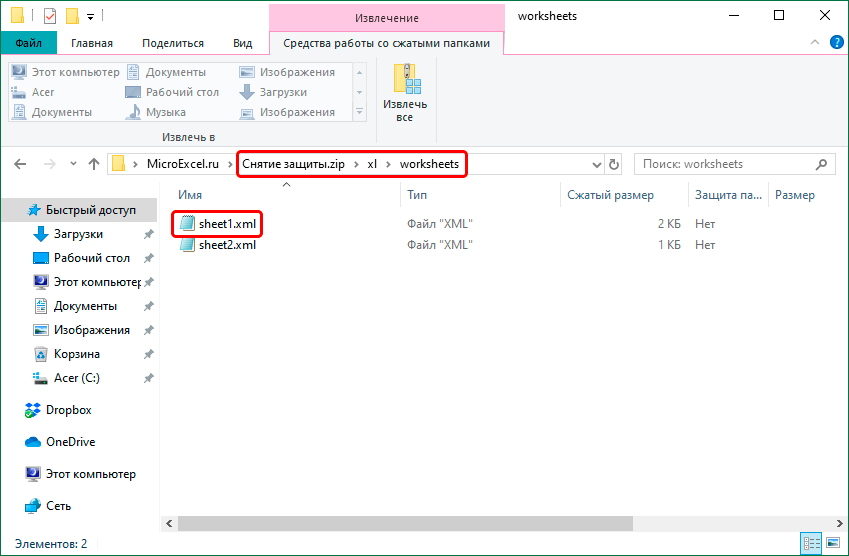
- In the opened folder, go to the directory “xl”, then – “worksheets”. Here we see files in the format XML, which contains information about sheets. You can open them with the usual Notepad.Note: in Windows 10, you can assign a default program by file type in the system settings (launched by pressing the keys Win + I), In chapter “Applications”, then – “Default Apps” – “Selection of standard applications for file types”.
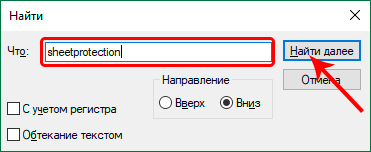
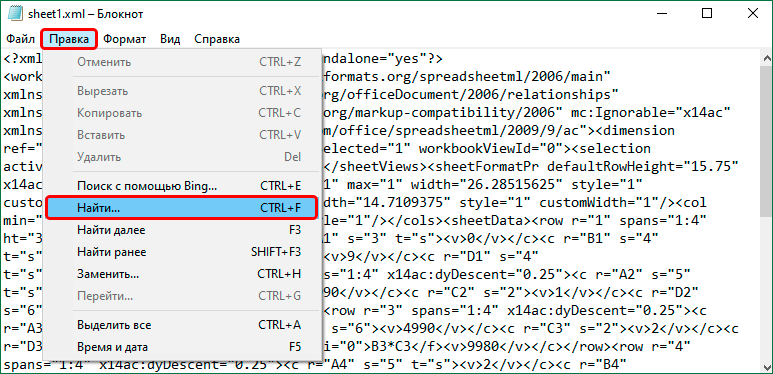
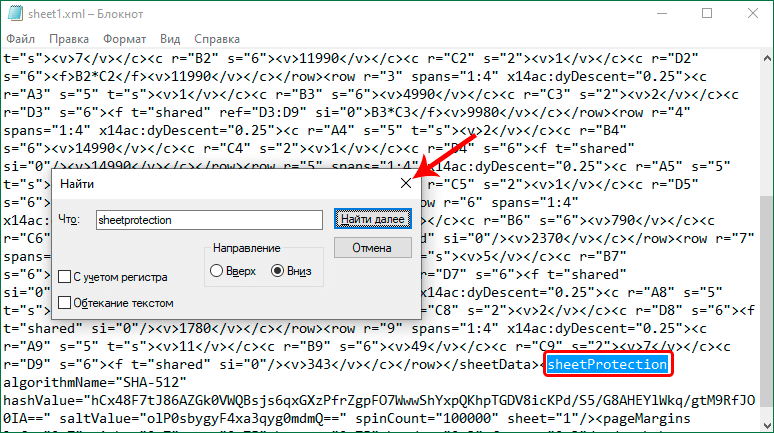
- After successfully opening the file, we need to find the phrase in its contents “sheetProtection”. To do this, we will use the search, which can be launched both through the menu “Edit” (item “Find”), or by pressing the key combination Ctrl + F.
- Enter the desired phrase and press the button “Find next”.
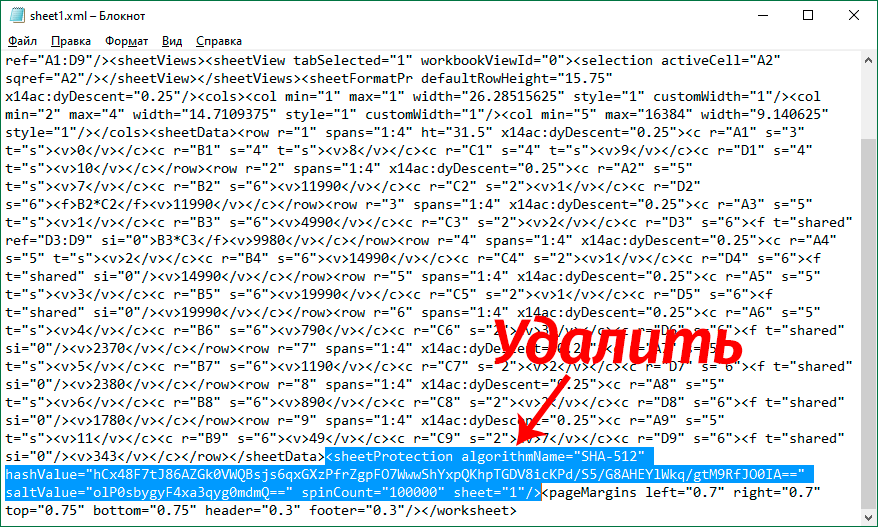
- After finding the desired match, the search window can be closed.
- We erase the phrase and everything related to it (between the opening and closing tags).
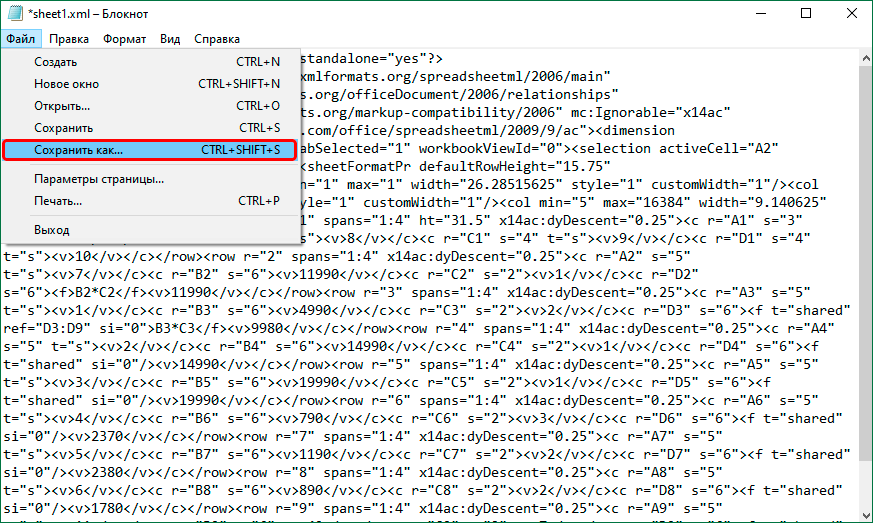
- On the menu “file” choose a team “Save as” (or press the keyboard shortcut Ctrl + Shift + S).
- Saving the document immediately in the archive will not work. Therefore, we do it in any other place convenient for us on the computer, while not changing the name and specifying the extension “xml” (file type must be selected – “All files”).
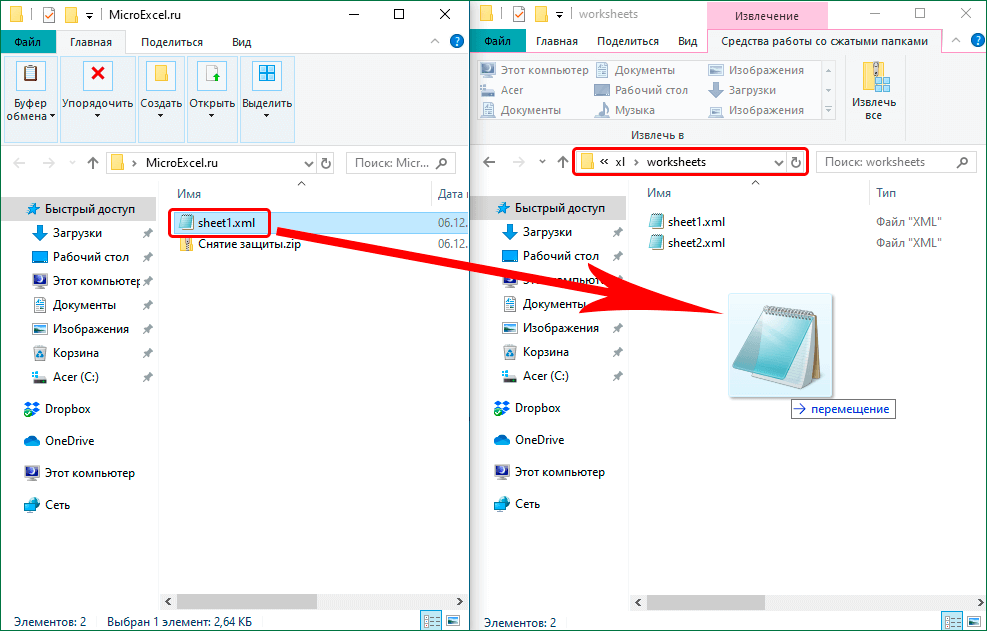
- Copy the newly created file to the folder “worksheets” our archive (with the replacement of the original).Note: record “sheetProtection” present in all password-protected sheet files. Therefore, the actions described above for finding and deleting it are done with all other files. XML in the folder “worksheets”.
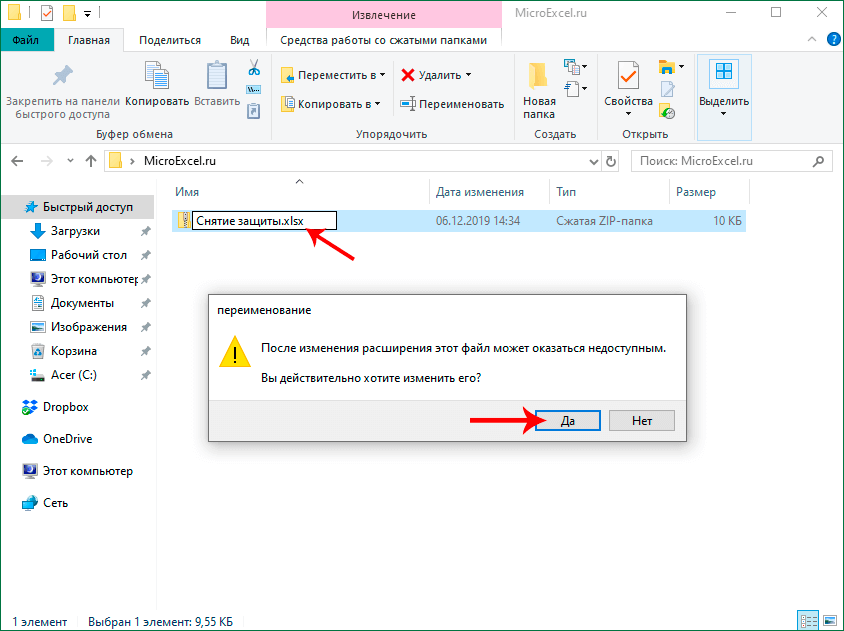
- Again we go to the folder containing our archive and change back the extension from “zip” on “xlsx” by renaming.
- Now you can open the file and safely edit it. You do not need to enter a password to unprotect.


 Note: the operating system steps in this step and below are described using Windows 10 as an example.
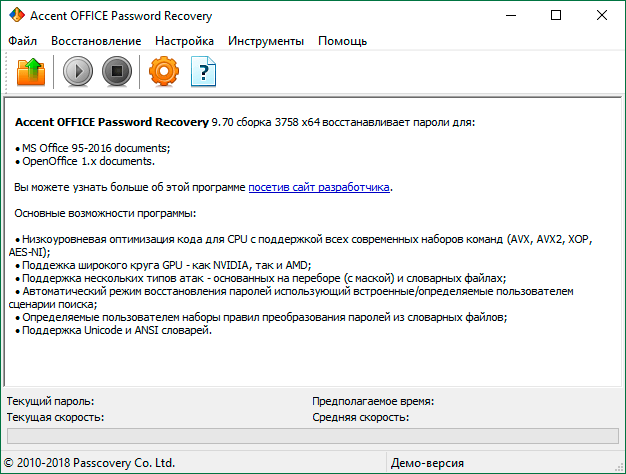
 Note: in Windows 10, you can assign a default program by file type in the system settings (launched by pressing the keys Win + I), In chapter “Applications”, then – “Default Apps” – “Selection of standard applications for file types”.
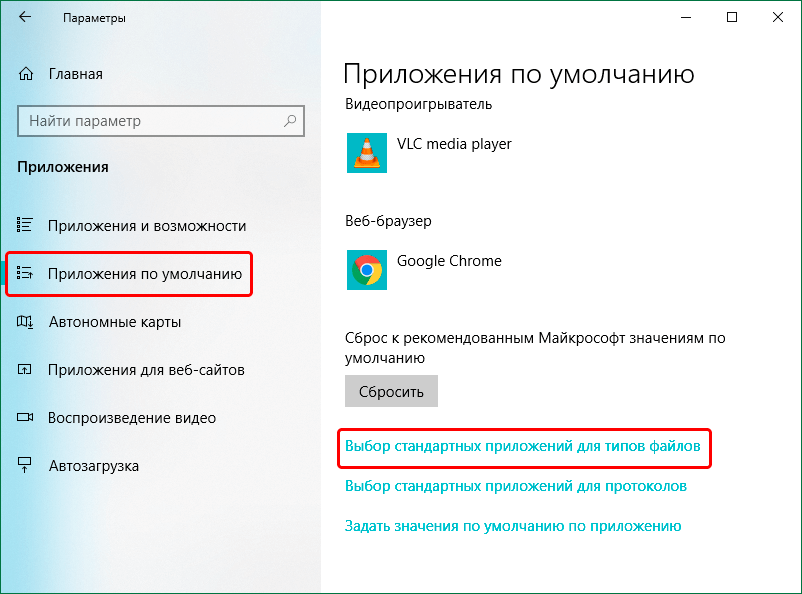


 Note: record “sheetProtection” present in all password-protected sheet files. Therefore, the actions described above for finding and deleting it are done with all other files. XML in the folder “worksheets”.
Third party password removers
You can use third-party programs to remove your password. At the same time, it is worth remembering the possible risk associated with downloading, installing and using non-standard tools of the operating system and Excel.
If you, nevertheless, decide to take advantage of this opportunity, you can pay attention to a fairly popular program. Accent OFFICE Password Recovery.
Link to the official page with the program: .
Please note that in order to gain access to all the functions of the program, you need to purchase a license. A demo version is available to get acquainted with the application, however, it does not allow you to delete passwords.

Conclusion
Protecting a workbook or a single sheet is an extremely useful feature of the Excel program when you need to protect information from unauthorized persons or, for example, protect yourself from accidental changes to important read-only data. But sometimes the opposite need arises – to remove the previously installed protection. This can be done in different ways, depending on how it was installed. And even if you forgot the password, the lock can be removed, however, only if the code has been set for individual sheets, and not for the entire book.