


Contents
Excel users quite often need to print spreadsheets or other documents on paper. However, before performing such an operation, it is better to see in advance how the printout will look on the screen of your device. If this is not done right away, then there is a possibility that when printed, the document will not look the way you would like. For example, when printing a table with commodity items, the columns may be shifted up, down, left, right relative to the center of the sheet, or not be displayed at all on paper. Therefore, the developers of Excel have implemented a preview function in it. Below we will look at what this function is and how it can be applied in practice.
Why you need a document preview
Through this option, the user has the opportunity to see the document on the screen of his device in the form in which it will be printed, and taking into account the pagination in cases where more than one sheet needs to be printed. Thus, users evaluate what they see on the screen, and depending on this decide whether to print on the printer or not. If the user, when previewing, sees on the screen that there are any shortcomings in the document, then he will be able to make changes to it.
Of course, you can print out on a printer without previewing it on a computer, and then, seeing flaws on paper, make changes to the document and send this document again for printing. However, this approach is not economically feasible. After all, in cases of unsuccessful printing of documents, users spend paper, ink of the printer cartridge and their time.
Jump to the preview area
Depending on the version of Excel, the steps involved in switching to the viewport are slightly different. First, we will introduce you how to switch to the document preview in the most recent versions of the program, since they are used more often:
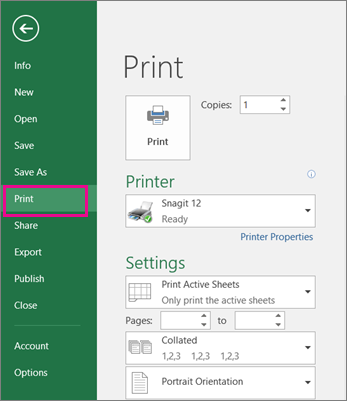
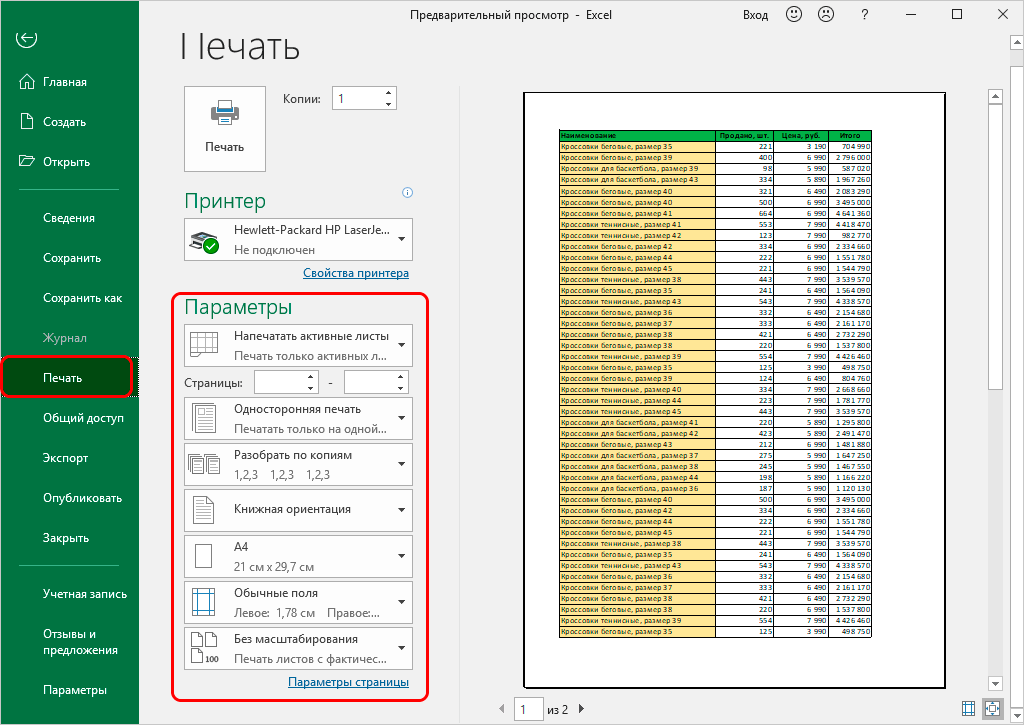
- Download the Excel program and open the desired document. After that, in the main program window, select the menu called “File”.

1 - A pop-up menu will appear in front of you. In it, you need to select a sub-item called “Print”.
2 - As a result of the actions you performed, you will see a new window on the screen, where the print settings options are displayed.
Additional Information! In addition, here on the right side of the window it is clearly displayed in what form the printout will be made, as well as how many sheets will be printed during the printing process.

In those situations, if you do not want to switch to the preview through the program menu, and it is more convenient for you to use hot keys, then you can press “Ctrl + F2”. After pressing these keys, a preview window of the previously selected document will be displayed in front of you.
Switching to preview in older versions of the program
For those users who have Microsoft Excel 2007 installed on their device, the transition to the page preview is performed by the following steps:
- Launch Excel on your device and open the required document.
- Move your mouse cursor to the top left corner and click on the Microsoft Office icon.
- From the pop-up menu, select the item called “Print”.
- As a result of the previous execution of the commands, a new pop-up window will appear, in it select the menu item called “Preview”.
- After the above steps, a new window will appear on the device screen, in which the document will be displayed in preview mode.
If Excel 2003 is installed on your laptop or computer, you need to follow these steps to switch to document preview mode:
- Launch the program on your device and select the required document.
- In the main window of the program, move the mouse cursor to the menu item called “File” and right-click on it.
- In the pop-up menu that appears, select the item called “Preview” and click on it.
- After the above steps, you will see the previously selected document in print preview.
Flipping pages in preview mode
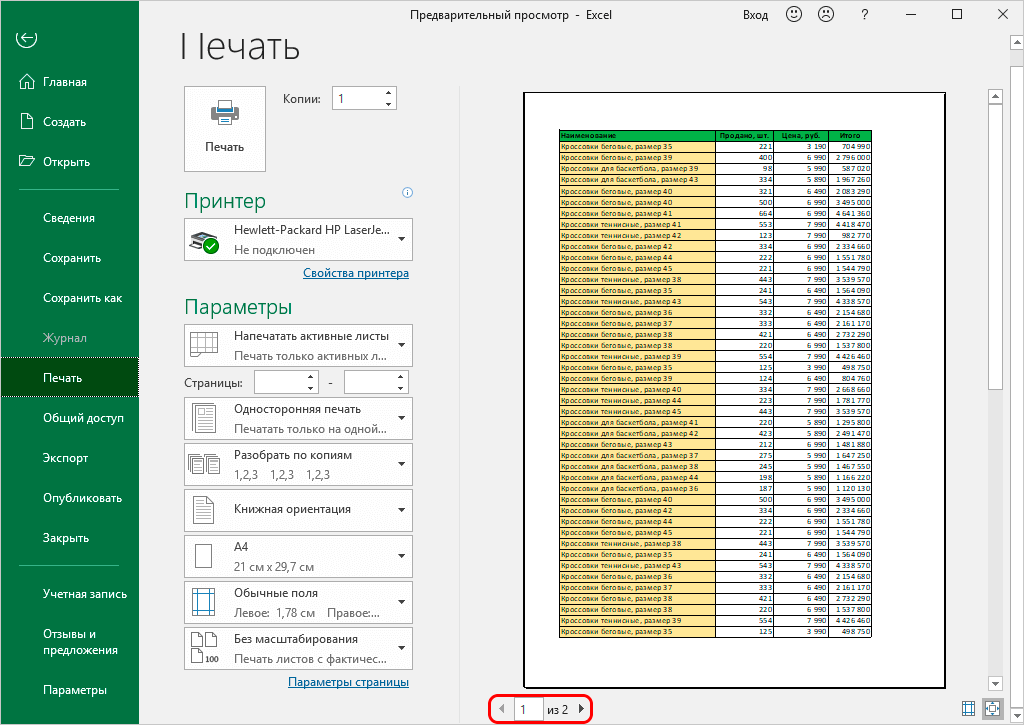
In most cases, Excel format files contain not one, but many sheets. When opening such documents and switching to the preview mode, the first page will be displayed on the screen by default. In addition, the number of the displayed page will be displayed at the bottom of the open window, and the number of pages present in this document will be displayed on the right side of the number. There are several ways to scroll through the sheets of a document in preview mode.
- The first of these methods is the ability to use the functions of a computer mouse. To use this method, you need to click on the preview area and then, by moving the mouse wheel up or down, scroll through the pages.
- The essence of the following method is to use the integrated functions available in the program interface. To do this, the user has the ability to scroll through the pages using the right-left buttons located below the preview area. In addition, between these buttons there is a numeric field in which you can enter the page number and press the “Enter” key. After this action, the page will appear on the monitor screen, the number that was entered by the user.
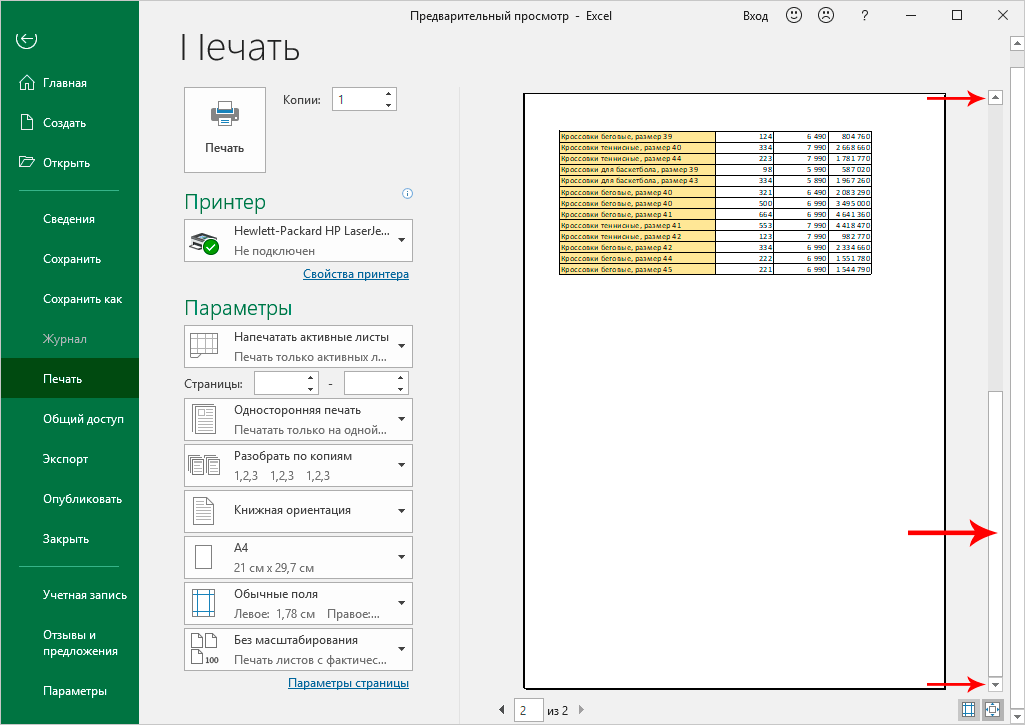
5 - The program also integrates additional tools that allow you to scroll through the pages during preview. These additional tools are implemented as a slider and scroll bar located on the right side of the main preview window. To take advantage of these tools and navigate the document while previewing, the user must hold down the left mouse button and drag the slider up or down.
Attention! Similar actions can be performed by right-clicking and clicking on the arrows located at different ends of the scroll bar.
- And the last way is to use keyboard shortcuts. So, using the “End” key, the program will scroll through and display the last sheet of the document in a preview on the screen. Pressing the “Home” hotkey will scroll and display the first sheet of the document on the screen. By means of the “Arrow up” and “Arrow down” keys, the corresponding pages of the document are scrolled back or forward.
Preview Modes
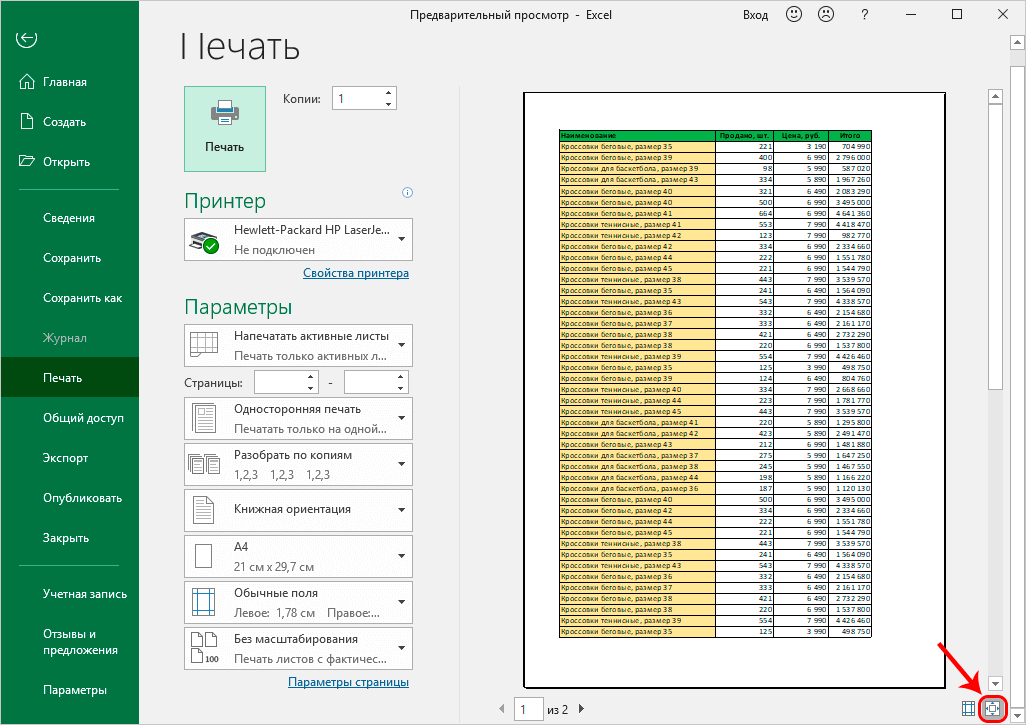
During preview, there are two buttons at the bottom right of the window that allow the user to change view modes.
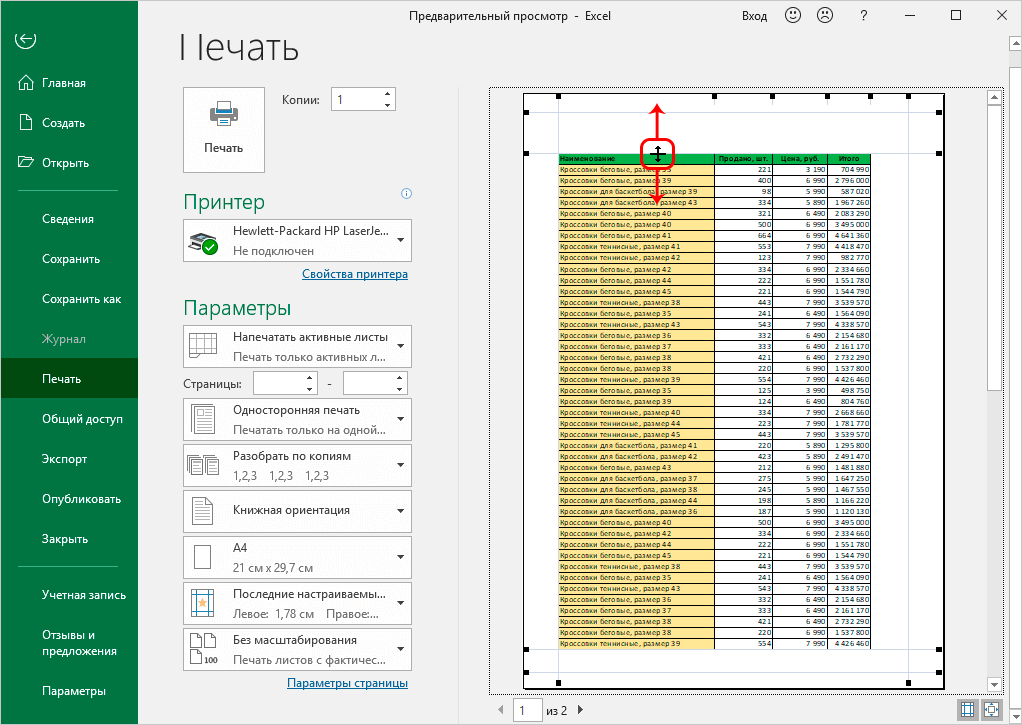
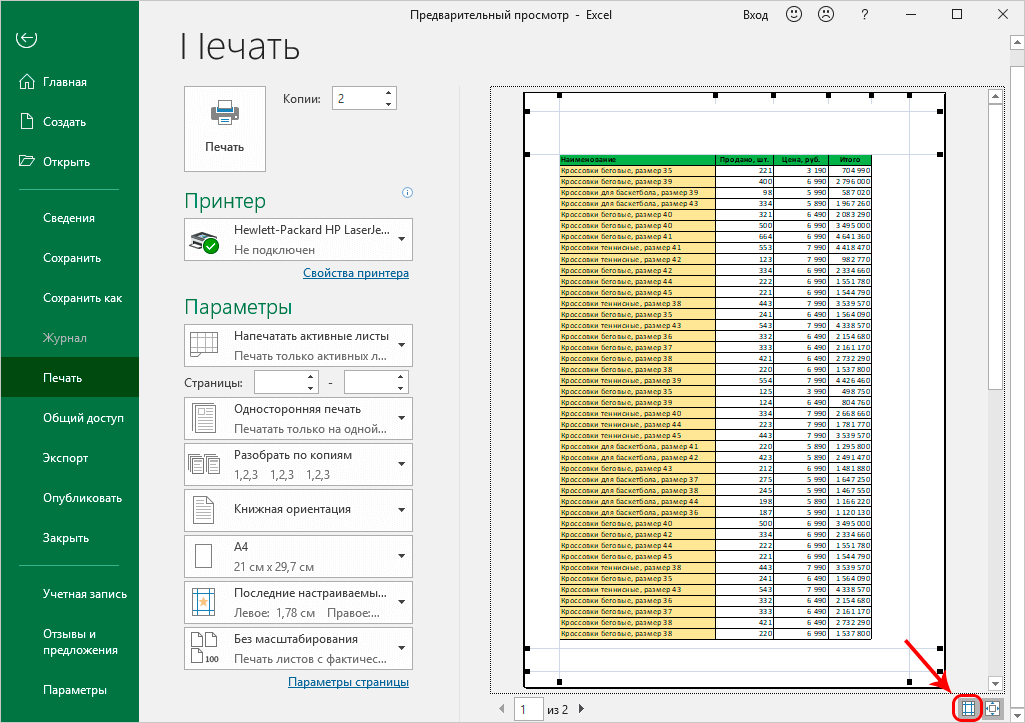
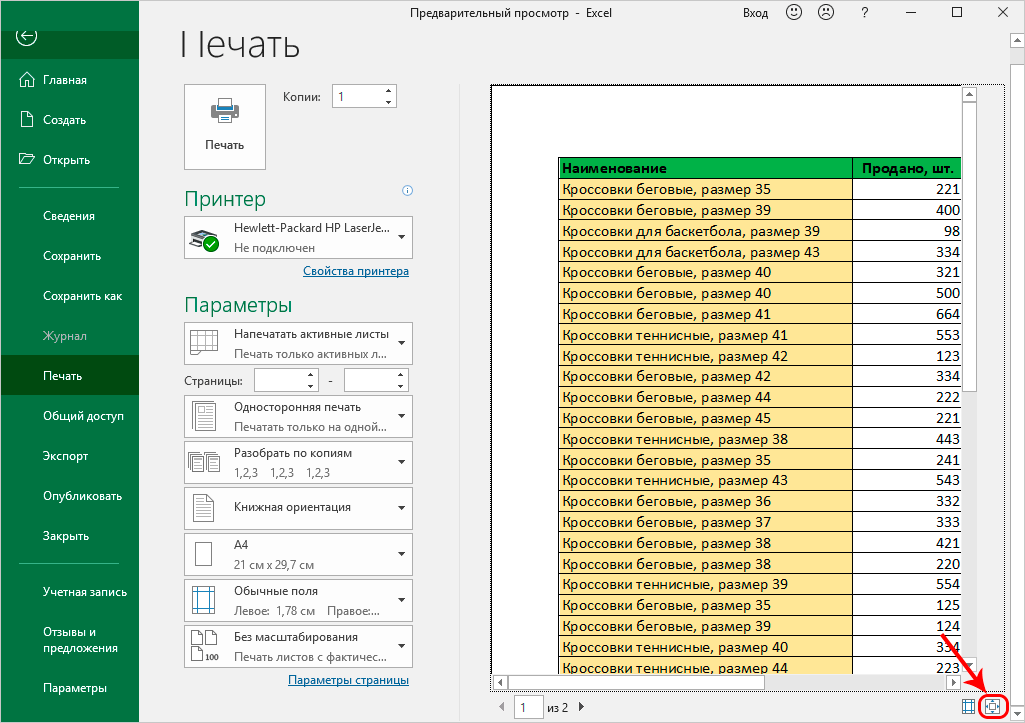
- In order to see the fields of the document on the monitor screen, the user needs to click on the “Show fields” button, which is located on the left side of the window.
7 - The user has the ability to change the size of the fields. To change the size of the field, you need to move the pointer to the border line, where there is a need to resize the field after the cursor changes its appearance to a cross, you need to move the line while holding down the left mouse button.
8 - If there is a need to remove the display of the image of the fields from the screen, then for this you need to click on the “Show fields” button again.
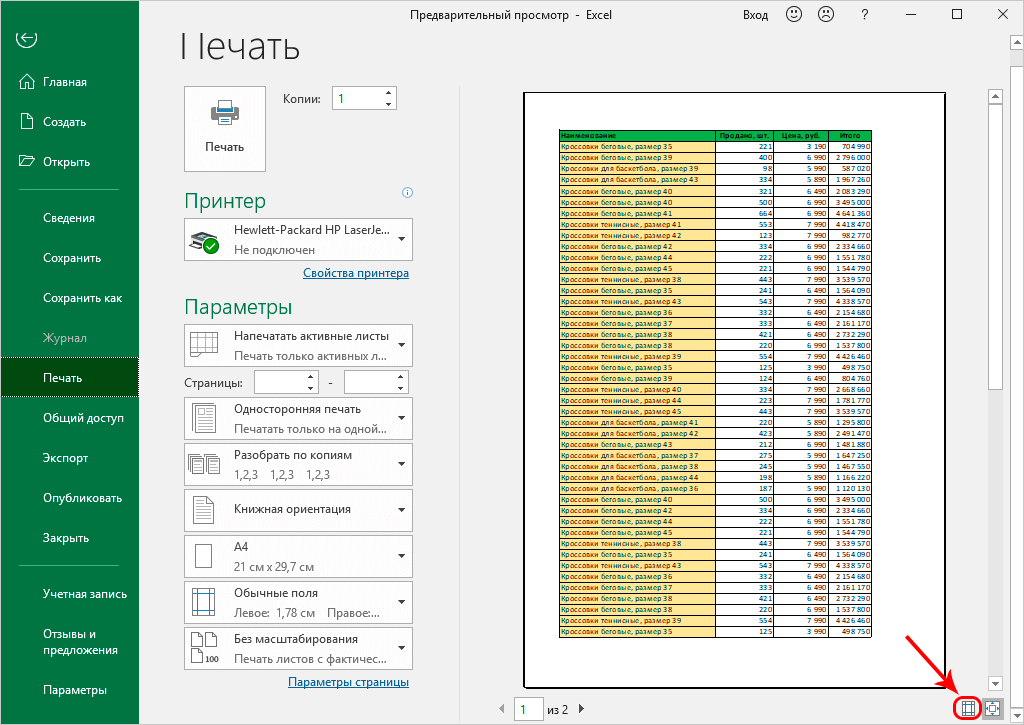
9 - In the interface of the preview window on the right side there is a button called “Fit to Page”. If you click on it, then the document will be displayed on the screen in the same size as it will be printed on a sheet of paper.
10 - To exit this mode, press the same button again.
11
book editing
In the event that the user, during the preview process, saw shortcomings and any errors in the document, and also if he is not satisfied with the existing design, then he has the opportunity to edit the book.
- If there is a need to change the information present in the document, the user needs to return to the normal mode of the program and use the available options to make changes.
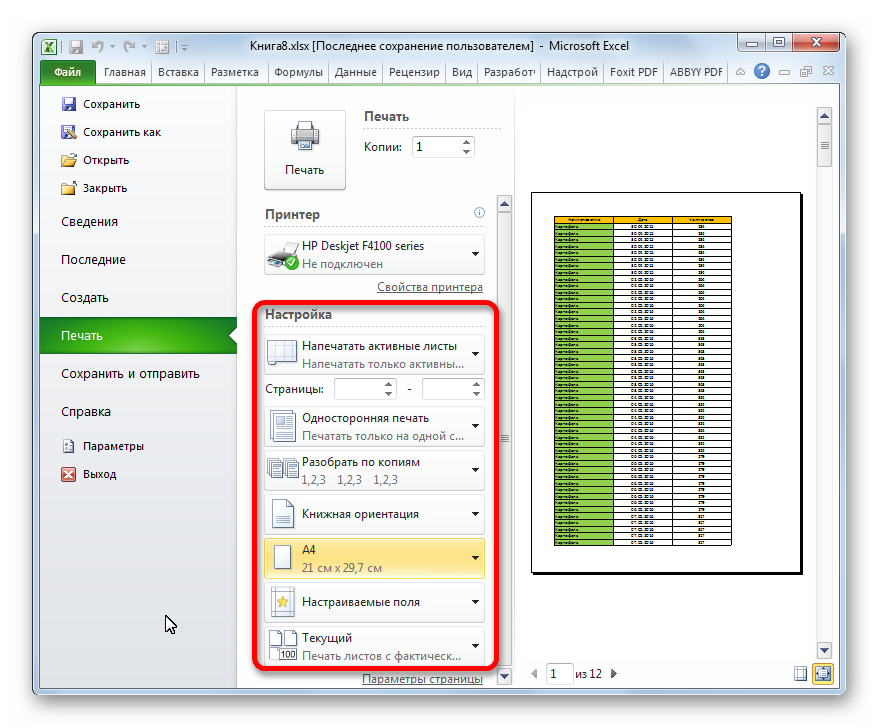
- If you need to change the appearance of the document, then you can use the interface of the right area of the preview window. To do this, select the menu item called “Settings”, and in it select the section called “Print”. In this section, using the available options, you can adjust the margins, select the paper size when printing, separate documents into copies, scale them, change the page orientation of the document, and perform other useful actions that allow you to conveniently change the appearance of the document.
12
Document printing setup
- In order to configure the printing of a document, the user must select the “File” item in the top menu of the program window and select the section with the name “Print” in the pop-up menu that appears.
13
Reference! This operation can also be performed using hot keys, namely “Ctrl + P”.
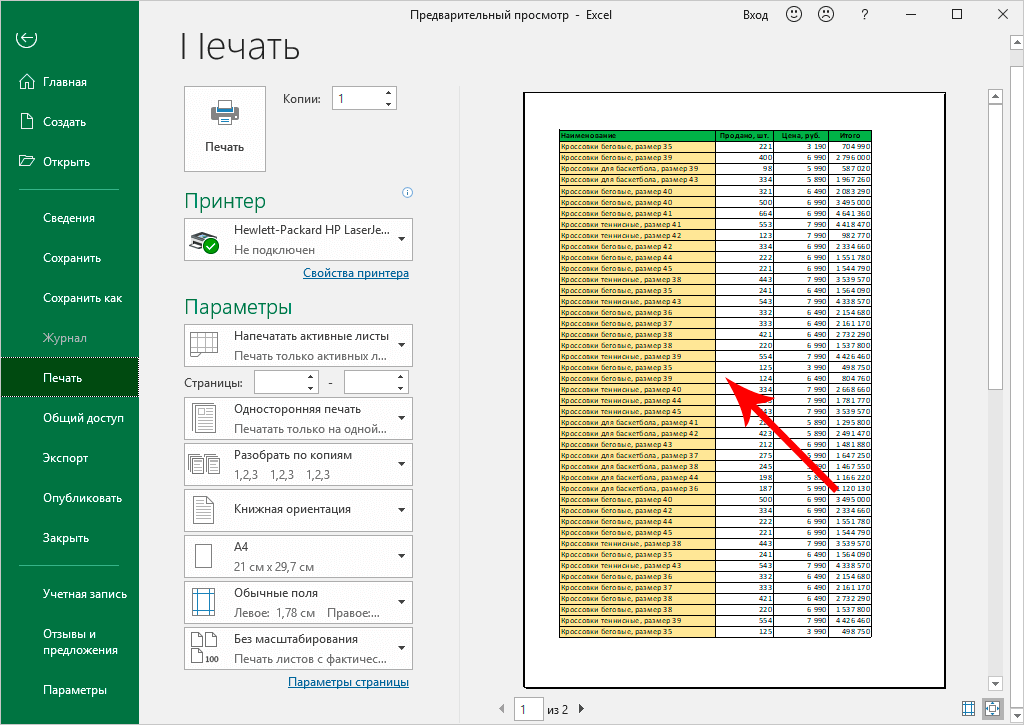
- After that, a new window with print management options will be displayed on the device screen.
- In this window, on the right side, there will be a separate selected area with a preview of the document. At the bottom of the window in the right corner there is a button called Fit to Page. When pressed, the size of the page displayed in the preview is increased. Here, next to it in the lower right corner, there is another button called “Show fields”. By activating this button, it becomes possible not only to see the fields in the document, but also to manage them.
Pay attention! To change a field, move the mouse cursor over it and move it to the desired location.
To successfully print a Microsoft Excel document, you must also correctly configure the settings for the printer installed on your system.
- After pressing the “Print” button, you need to configure the printer device. Depending on the printer model present, you need to change the corresponding settings.
- In those cases, if your printing device has support for duplex printing, then this must be specified in the program settings. The fact is that Excel receives data about the printer by reading the information specified in its driver. However, it is better to use this option in the printer settings, since the data read by the program may not correspond to reality due to the fact that they are received once during the installation of the program.
- It should also be noted that for each printed sheet there must be its own corresponding settings in the parameters of the printer. Therefore, if you need to print more than one sheet, before sending all the sheets to print, make them active.
Conclusion
In conclusion, the integrated feature in Excel as a preview has many advantages. Firstly, the user has the opportunity to correct all the errors that were fixed before sending the document for printing. Secondly, there is a significant savings on consumables in the form of a cartridge and paper. Thirdly, a large amount of time is saved than if the Excel document were printed on paper without preview. Therefore, this useful option should not be neglected.