


Home
Colored cardboard sheets
You file
A ruler
Pearls
Glitter
Markers
A pencil
A pair of scissors
Liquid glue
- /
Step 1:
Draw 3 egg shapes of different sizes with a pencil.
Cut them out.
Repeat the operation to have two models of the same size each time, making six egg shapes in total.
- /
Step 2:
Decorate each side of your eggs by drawing, with felt, the patterns of your choice. You can also glue glitter. Don’t hesitate to let your imagination run free!
- /
Step 3:
Gather your eggs in pairs. First cut a first slit from the top to the center of one egg, then a second slit from the bottom to the center of the second egg.
Do the same with each pair.
- /
Step 4:
Gently pair each pair of eggs together.
- /
Step 5:
Cut 50 cm of wire.
Put some glue inside your first egg (the biggest) to fix your thread.
- /
Step 6:
Then thread a few beads before gluing a second egg.
Do the same for your third egg and finish your garland with a beautiful series of beads.
- /
Step 7:
Make a loop at the end of your garland so you can hang it more easily. If it’s a little hard for you, ask Mom or Dad to do it.
- /
Step 8:
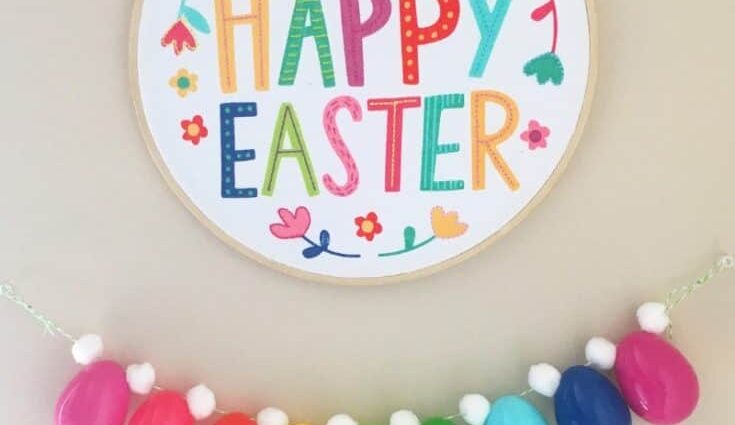
All you have to do is choose the perfect place to hang your Easter garland! Who knows, maybe the bells will come a little early this year?
Make a bunny with a sock, a paper chick… discover even more Easter crafts on Momes.net!