


Contents
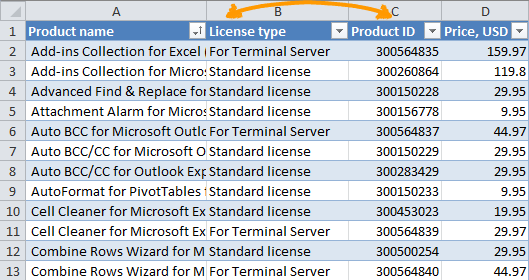
Users who work with spreadsheets in Excel may need to swap columns or, in other words, wrap the left column. However, not everyone will be able to quickly navigate and perform this operation. Therefore, below we will introduce you to three ways that allow you to carry out this operation, so that you can choose the most convenient and optimal for you.
Move columns in Excel with copy and paste
This method is quite simple and consists of steps that include the use of integrated functions in Excel.
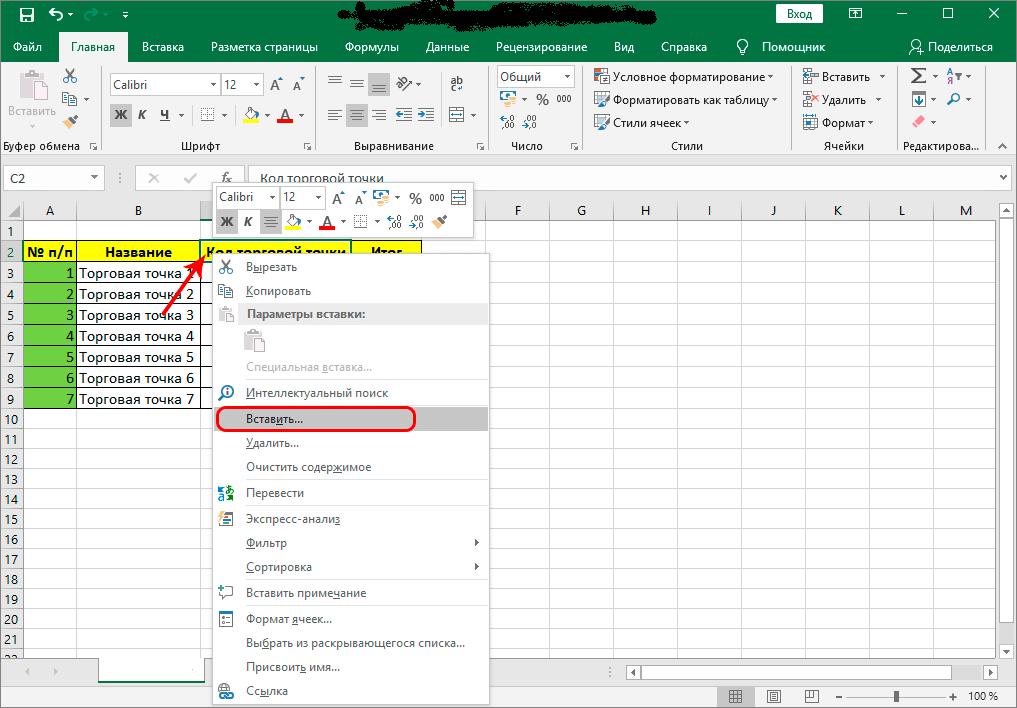
- To begin with, you need to select the cell of the column, on the left side of which the column to be moved will be located in the future. Select using the right mouse button. After that, a pop-up window of the program menu will appear in front of you. In it, using the mouse pointer, select the sub-item called “Insert” and click on it.

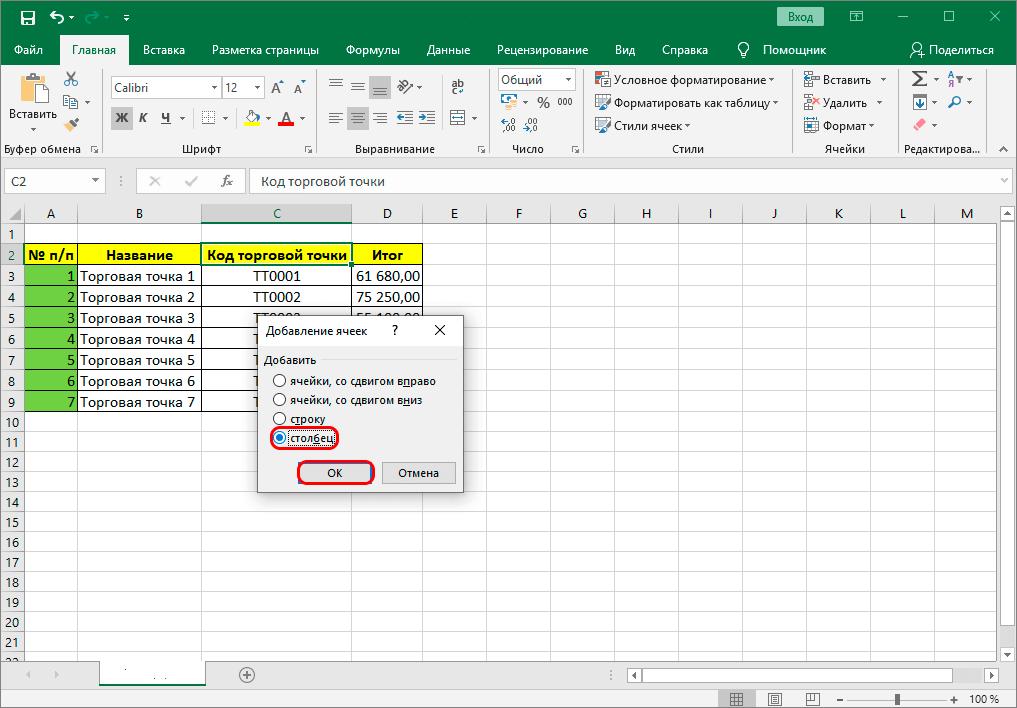
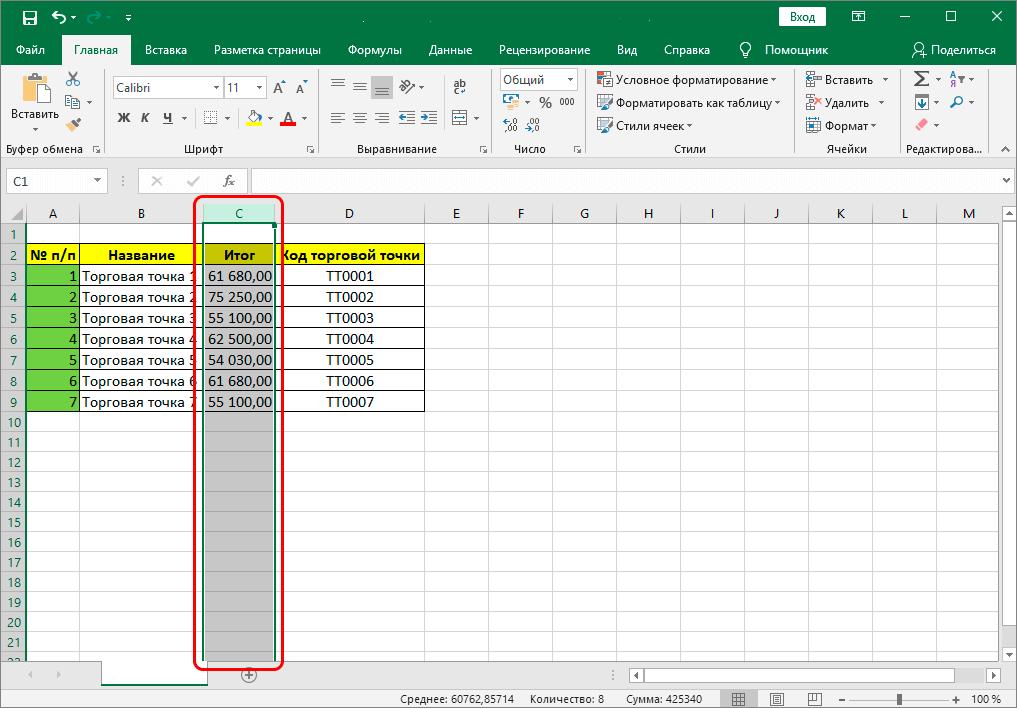
1 - In the dialog box interface that appears, you need to define the parameters of those cells that will be added. To do this, select the section with the name “Column” and then click on the “OK” button.
2 - With the above steps, you have created an empty new column into which the data will be moved.
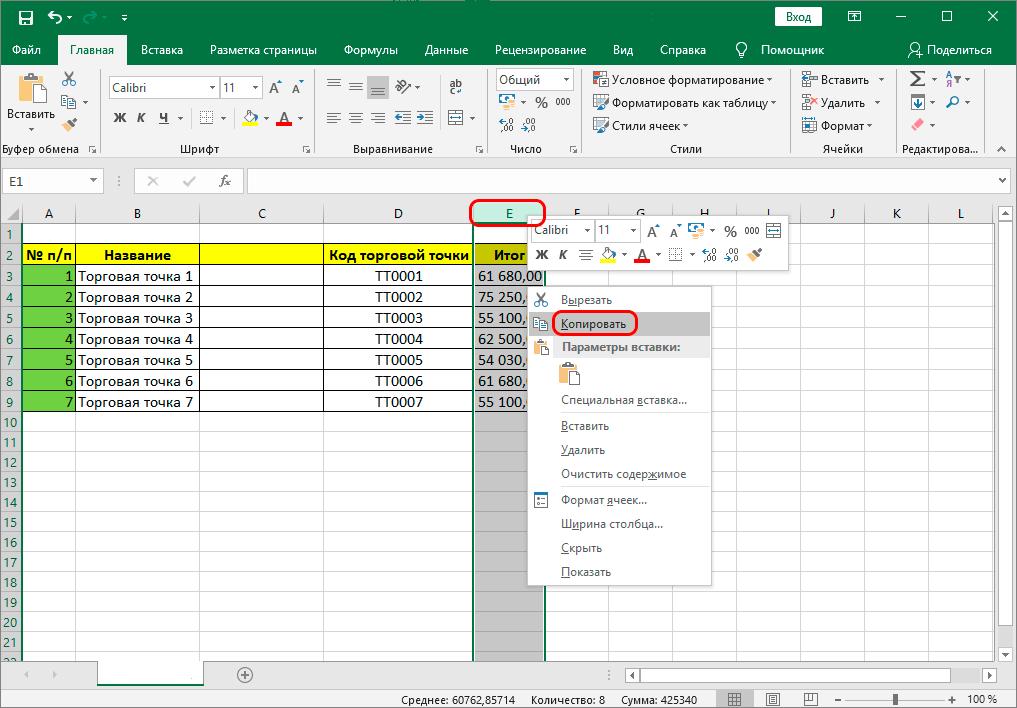
- The next step is to copy the existing column and the data in it into the new column you created. To do this, move the mouse cursor to the name of the existing column and click the right mouse button. The name of the column is at the very top of the working window of the program. After that, a pop-up menu window will appear in front of you. In it, you must select the item with the name “Copy”.
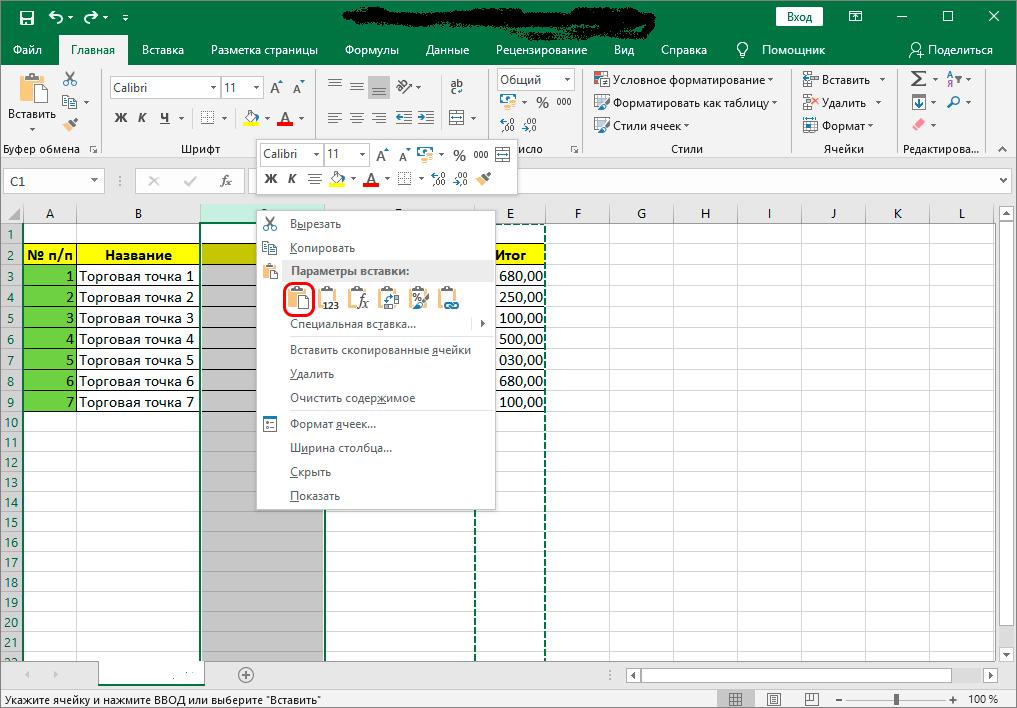
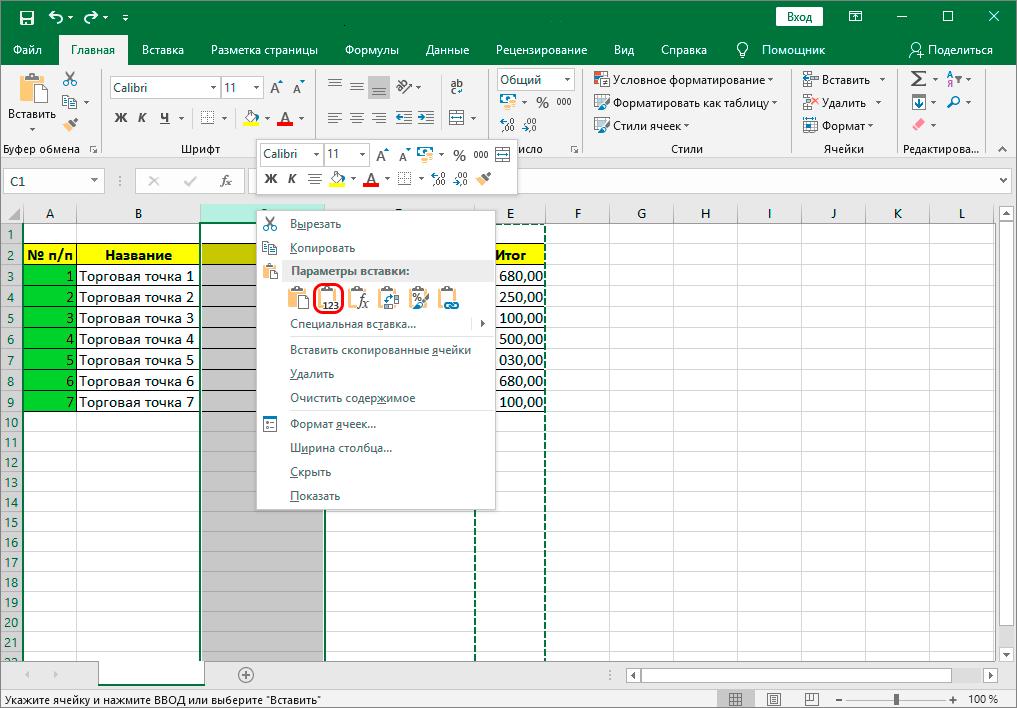
3 - Now move the mouse cursor to the name of the column that you created, information will move into it. Make a selection of this column and press the right mouse button. Then a new program menu pop-up window will appear in front of you. In this menu, find the section called “Paste Options” and click on the leftmost icon in it, which has the name “Paste”.
4 Pay attention! If the column to which you are going to transfer data contains cells with formulas, and you need to transfer only ready-made results, then instead of the icon with the name “Insert”, select the one next to it “Insert value”.
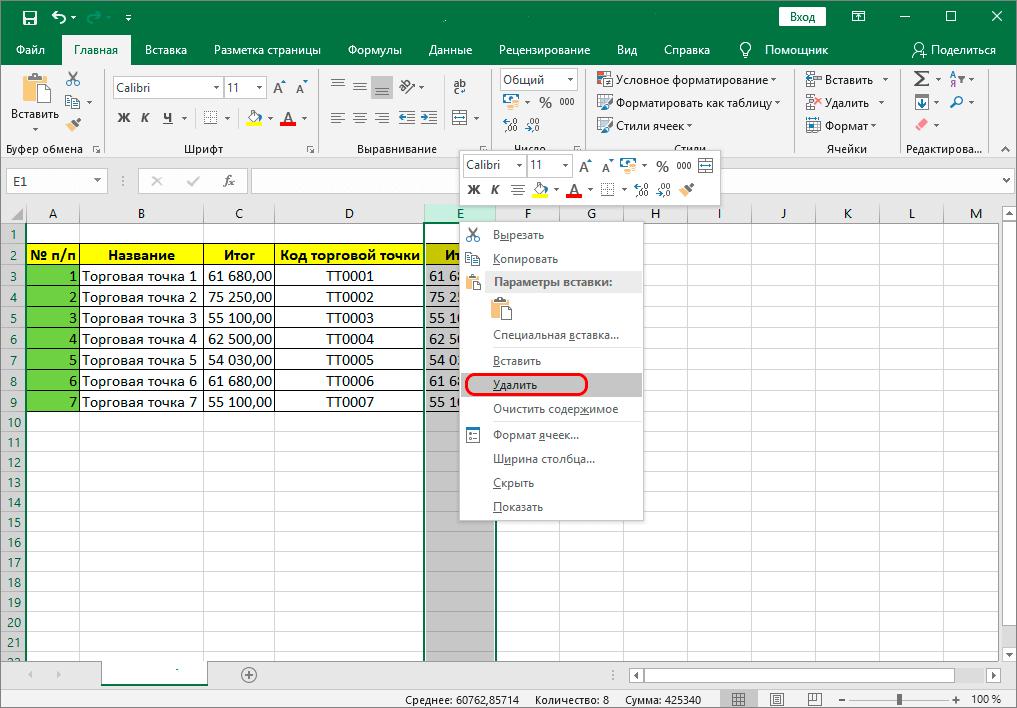
5 - This completes the column transfer procedure successfully. However, there was still a need to remove the column from which the information was transferred so that the table did not have the same data in several columns.
- To do this, you need to move the mouse cursor to the name of this column and select it by clicking the right mouse button. In the program menu window that opens, select the item called “Delete”. This was the final stage of the operation, thanks to which you completed the intended task.
6
Move columns in Excel using cut and paste functions
If for some reason the above method seemed time-consuming to you, then you can use the following method, which has fewer steps. It consists in using the cut and paste functions integrated into the program.
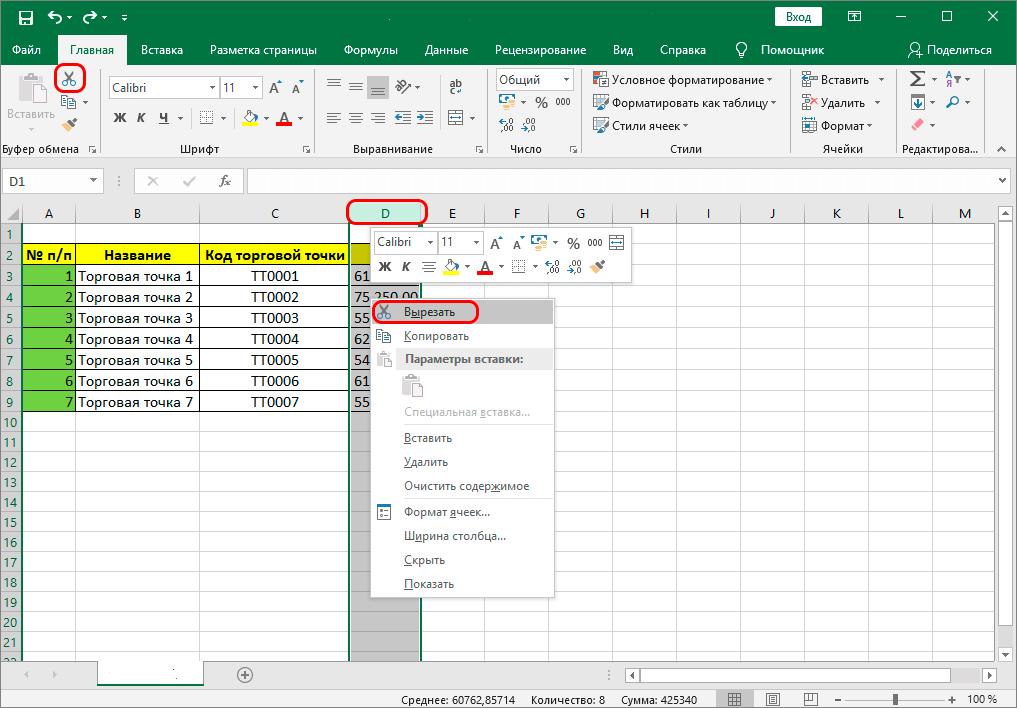
- To do this, move the mouse cursor to the name of the column from which you want to move data and right-click on its name. A menu pop-up window will appear in front of you. In this menu, select the item called “Cut”.
7 Advice! You can also move the mouse cursor to the name of this column and then, having selected it, click the left mouse button. After that, press the button called “Cut”, which has an icon with the image of scissors.
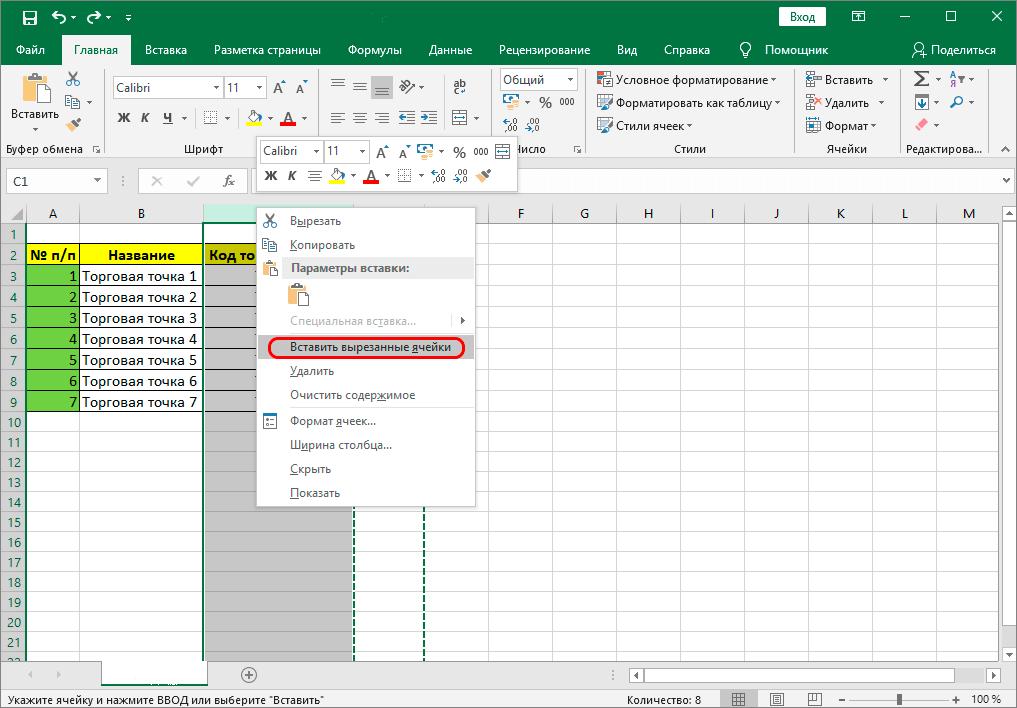
- Then move the mouse cursor to the name of the column before which you want to place the existing one. Right-click on the name of this column and in the pop-up menu that appears, select the item called “Insert Cut Cells”. On this, the required procedure can be considered successfully completed.
8
It is also worth noting that the two methods we have considered allow you to move several columns at the same time, and not just one.
Moving columns in Excel using the mouse
The last method is the fastest way to move columns. However, as online reviews show, this method is not very popular among Excel users. This trend is due to the fact that its implementation requires manual dexterity and a good command of the ability to handle the keyboard and mouse. So, let’s move on to the consideration of this method:
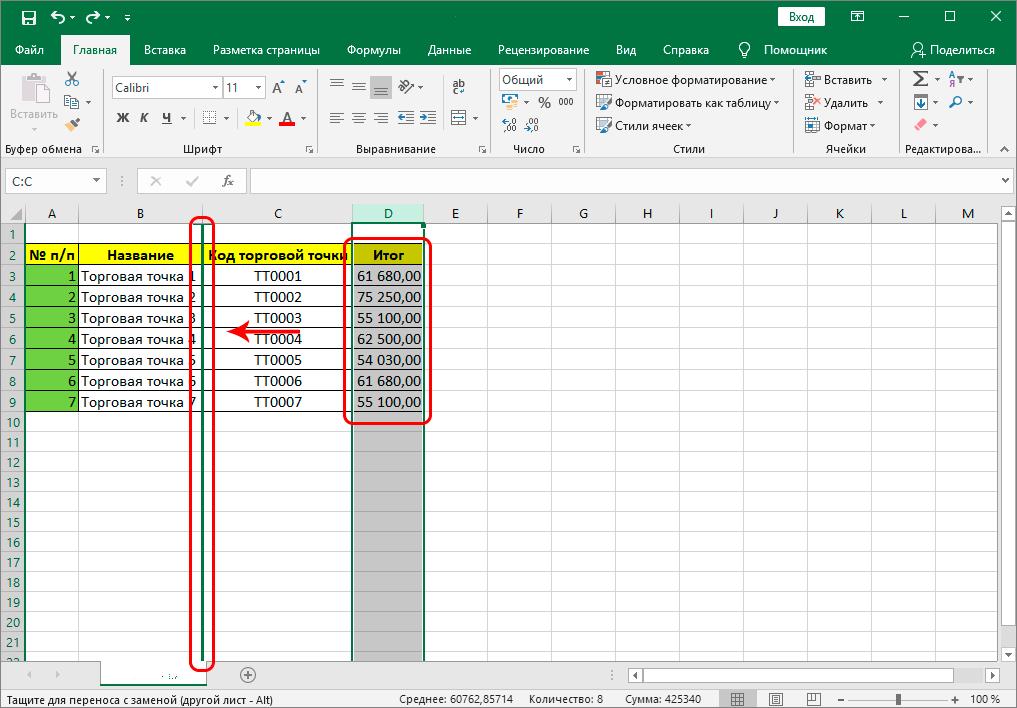
- To do this, you need to move the mouse cursor to the transferred column and select it completely.
9 - Then hover over the right or left border of any cell in the column. After that, the mouse cursor will change to a black cross with arrows. Now, while holding down the “Shift” key on the keyboard, and holding down the left mouse button, drag this column to the place in the table where you want it to be.
10 - During the transfer, you will see a green vertical line that serves as a separation and indicates where the column can be inserted. This line serves as a kind of guideline.
11 - Therefore, when this line coincides with the place where you need to move the column, you will need to release the held key on the keyboard and the button on the mouse.
12
Important! This method cannot be applied to some versions of Excel that were released before 2007. Therefore, if you are using an older version, update the program or use the previous two methods.
Conclusion
In conclusion, it should be noted that now that you have familiarized yourself with the three ways to make a column wrap in Excel, you can choose the most comfortable for you.