


Contents
By default, there is no tool that would help split cells in Excel. Therefore, if there is a need to create a complex table header, you will have to use a few tricks. They will help separate Excel cells without compromising the information in the tables. For this purpose, we use several methods.
Method one: merging followed by differentiation
Before we start the process, let’s think carefully about the structure of the table. It is advisable to even sketch it on a piece of paper. Now let’s turn to the step-by-step editing of the Excel sheet:
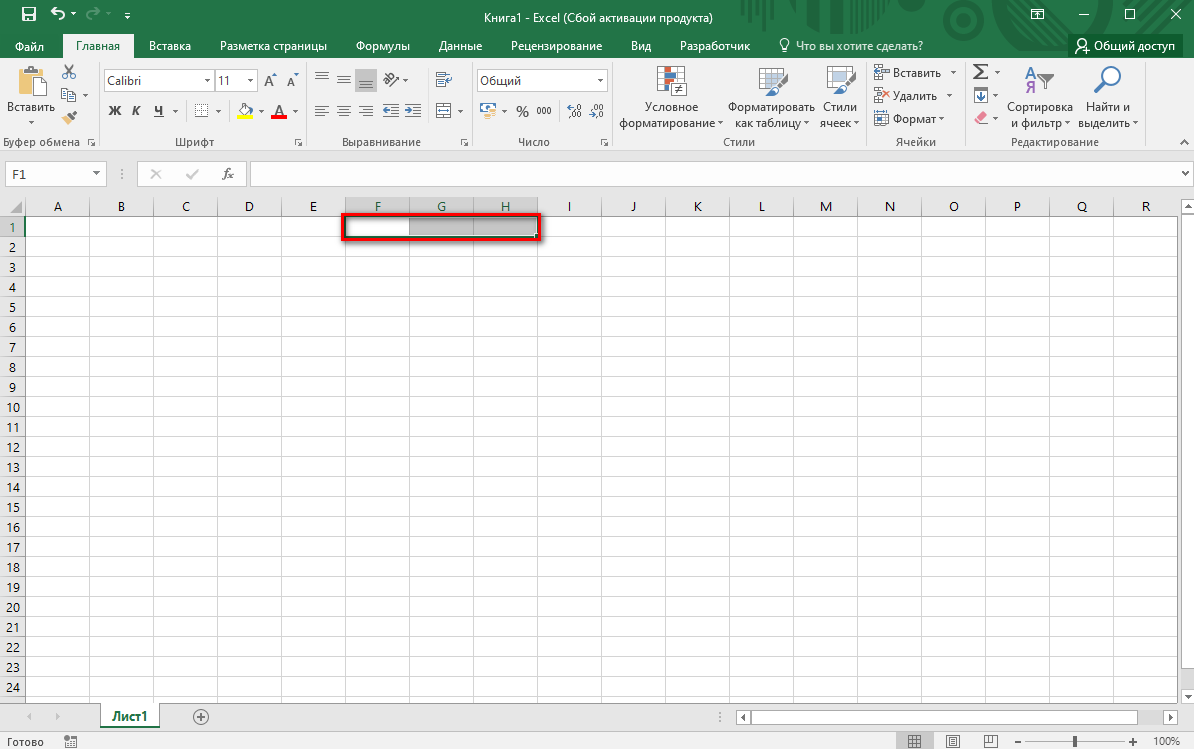
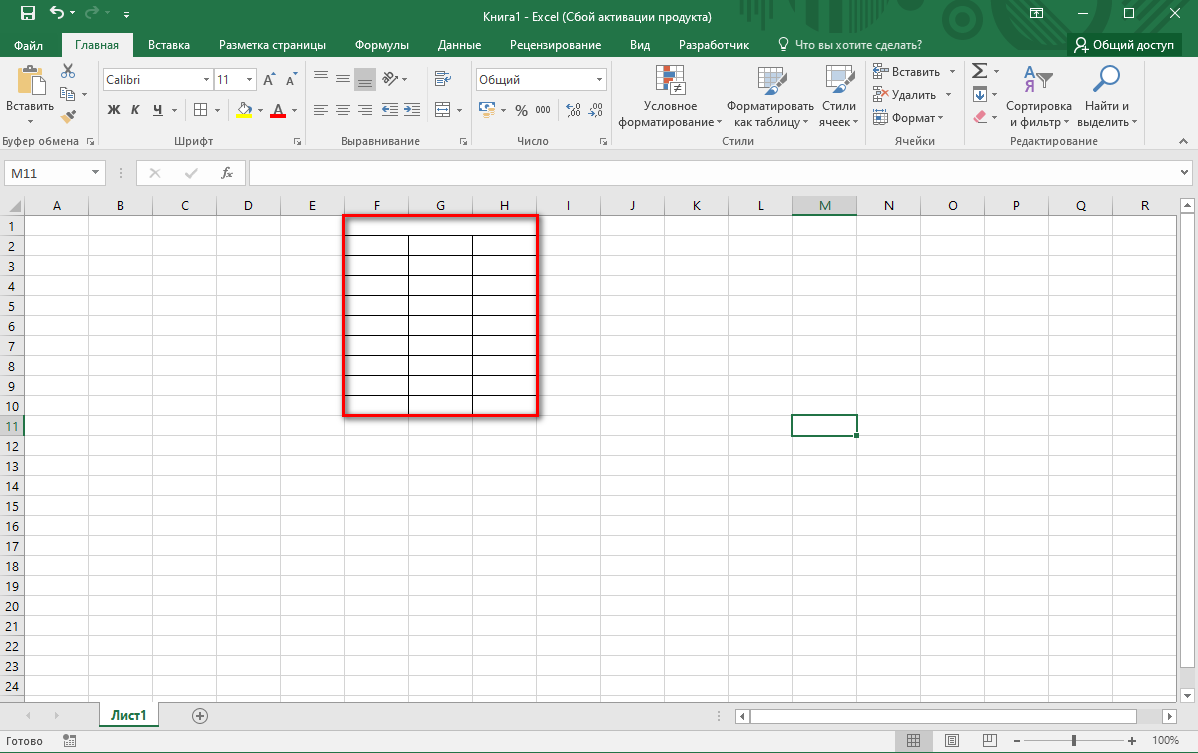
- Select two or three cells in the first row in the area where the table will be located.
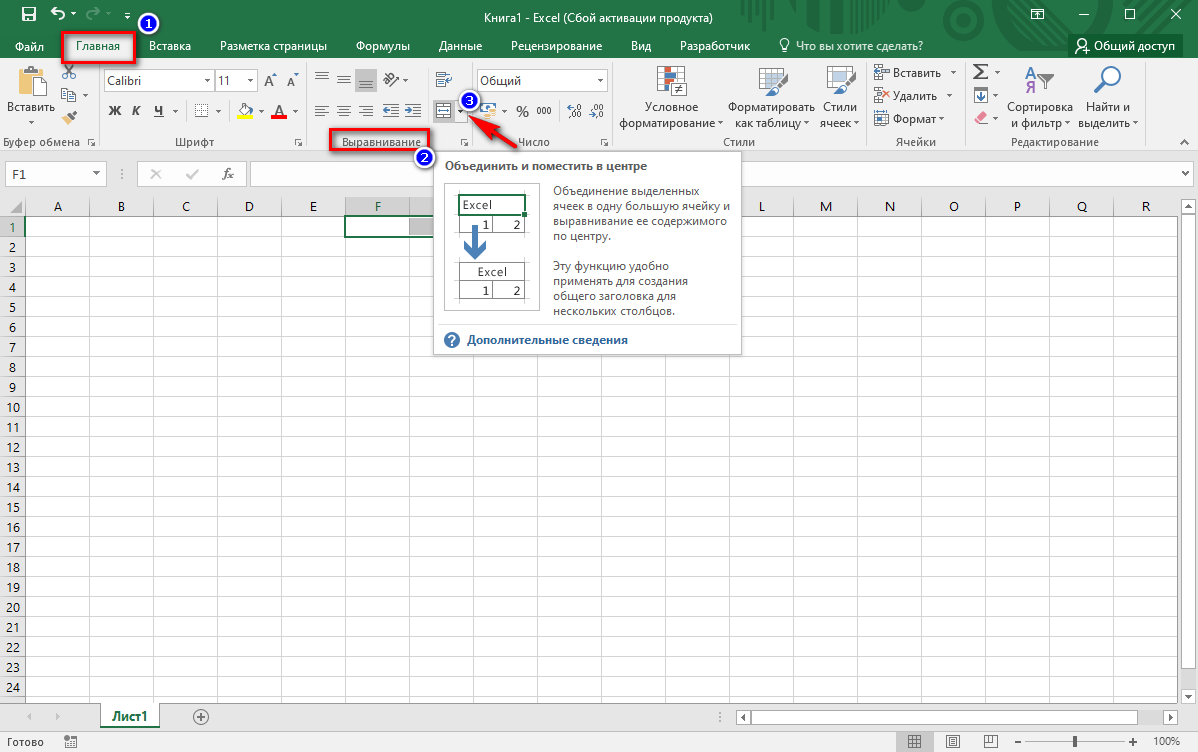
- Go to the “Home” tab, look for the “Alignment” block, in it click on the “Merge and Center” tool.
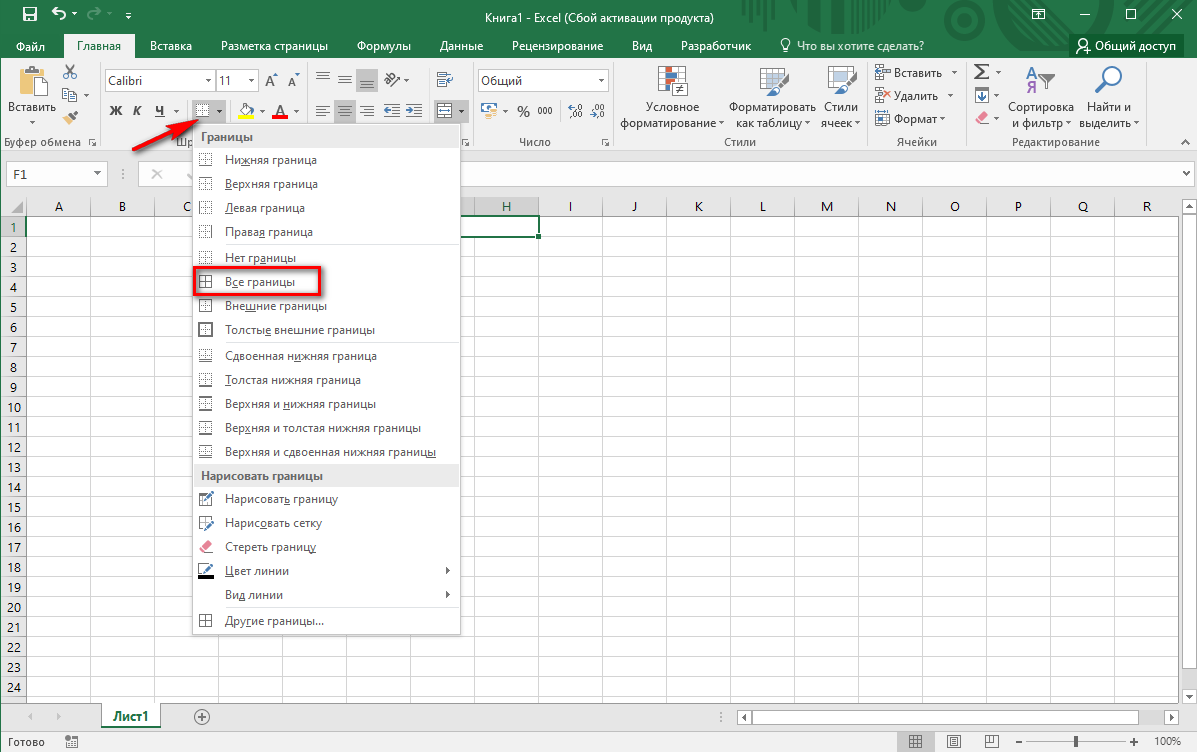
- We see that the partitions in the selected fragment have disappeared. Thus, one solid window turned out. To see this better, let’s create clear boundaries. To do this, in the “Font” block, use the “All Borders” tool.
- Now select the columns under the merged cells and set the lines along the edges of the cells in the same way. As you can see, split cells are obtained, and the upper part, designated under the header, does not change its integrity.
Similarly, you can create a multi-level header with an unlimited number of merged cells in different places on the page.
Method Two: Splitting Already Merged Cells
Let’s assume that our table already has a join in the windows of Microsoft Excel. But we will combine them just before the division for a better understanding of the example of the instruction given. After that, it will be possible to separate them to create a structural header for the table. Let’s see how this is done in practice:
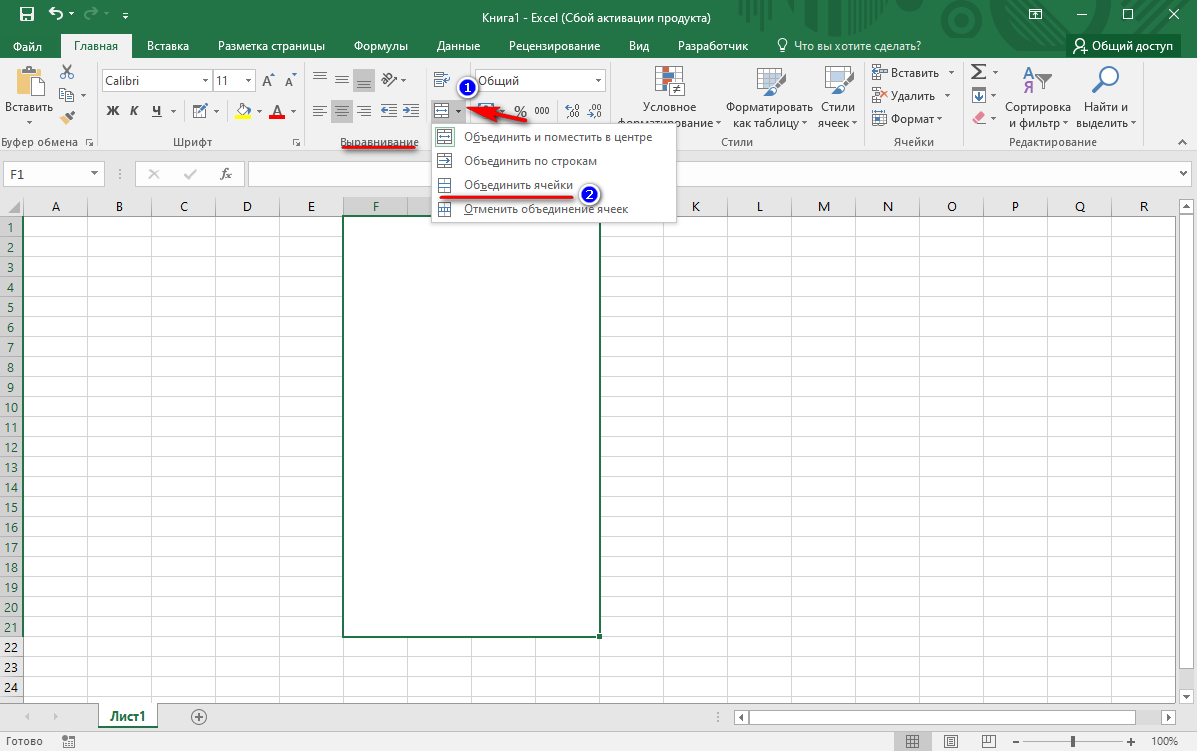
- Select two empty columns in Excel. (They can be more, depending on the need). Then click on the tool “Merge and place in the center”, it is located in the “Alignment” block. Click “Merge Cells”.
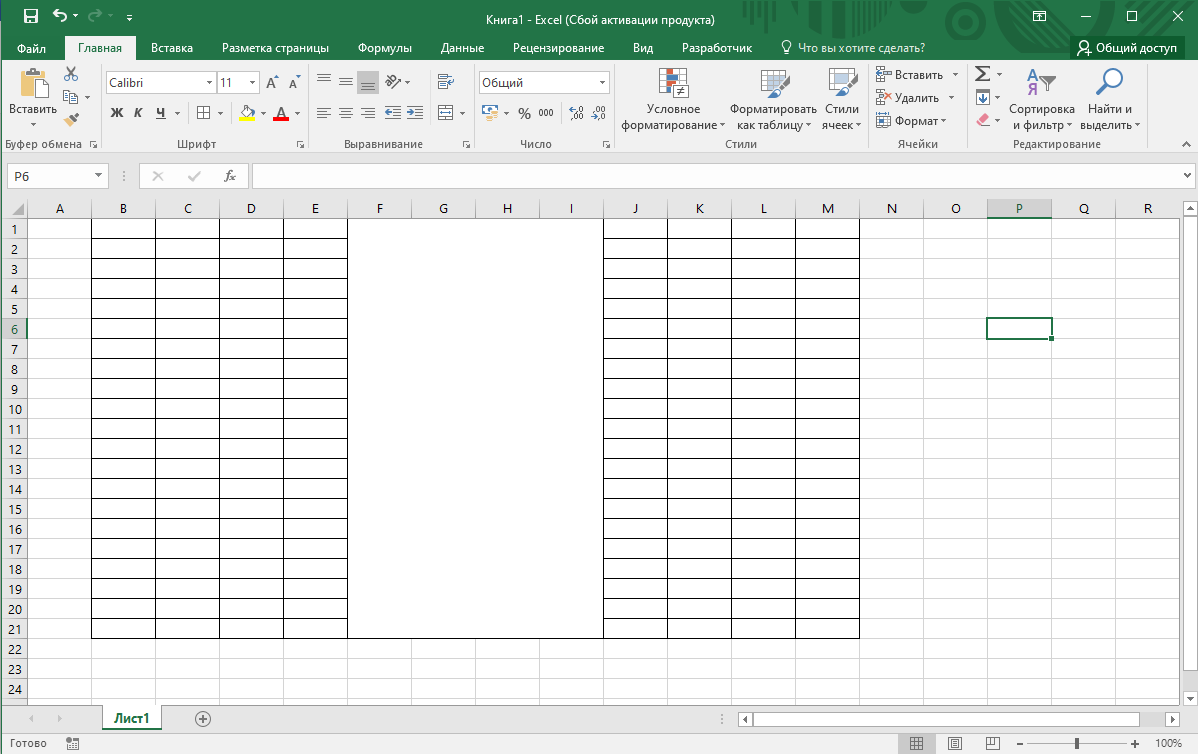
- After we insert the borders in the usual way for us (as in the previous section). We need to get a tabular format. How it will look approximately, you can see in the screenshot:
- To divide the resulting large window into cells, we will use the same Merge and Center tool. Only now, by clicking on the checkbox, we select “Unmerge Cells” – located last in the list of tools. Do not forget to pre-select the range in the e-book that needs to be demarcated.
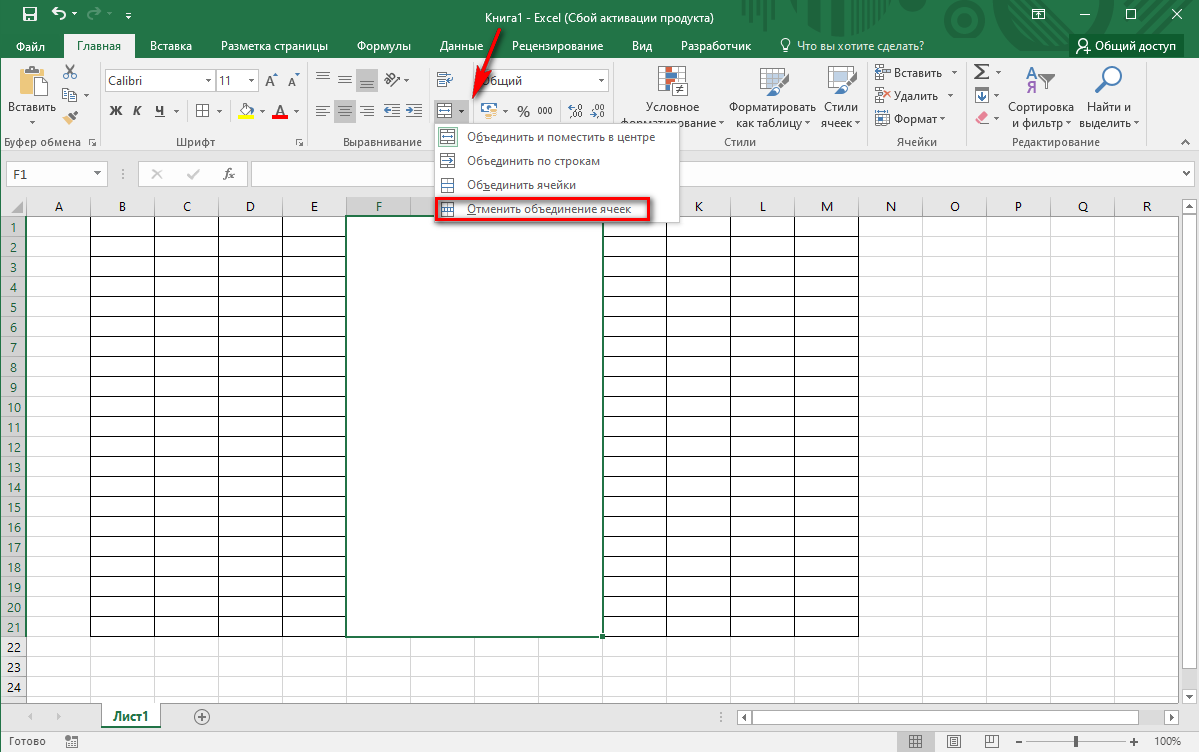
- The table will take on the form we want. Only the selected range will be divided by the number of cells that it was before the merging. You cannot increase their number.
On a note! It turns out that when dividing, we get not one window, but two different ones. Therefore, when entering data or, in particular, formulas for performing calculations, take this into account.
Method three: dividing cells diagonally
Diagonal division is done by formatting. This principle involves the separation of ordinary cells, in relation to which formatting has not been applied.
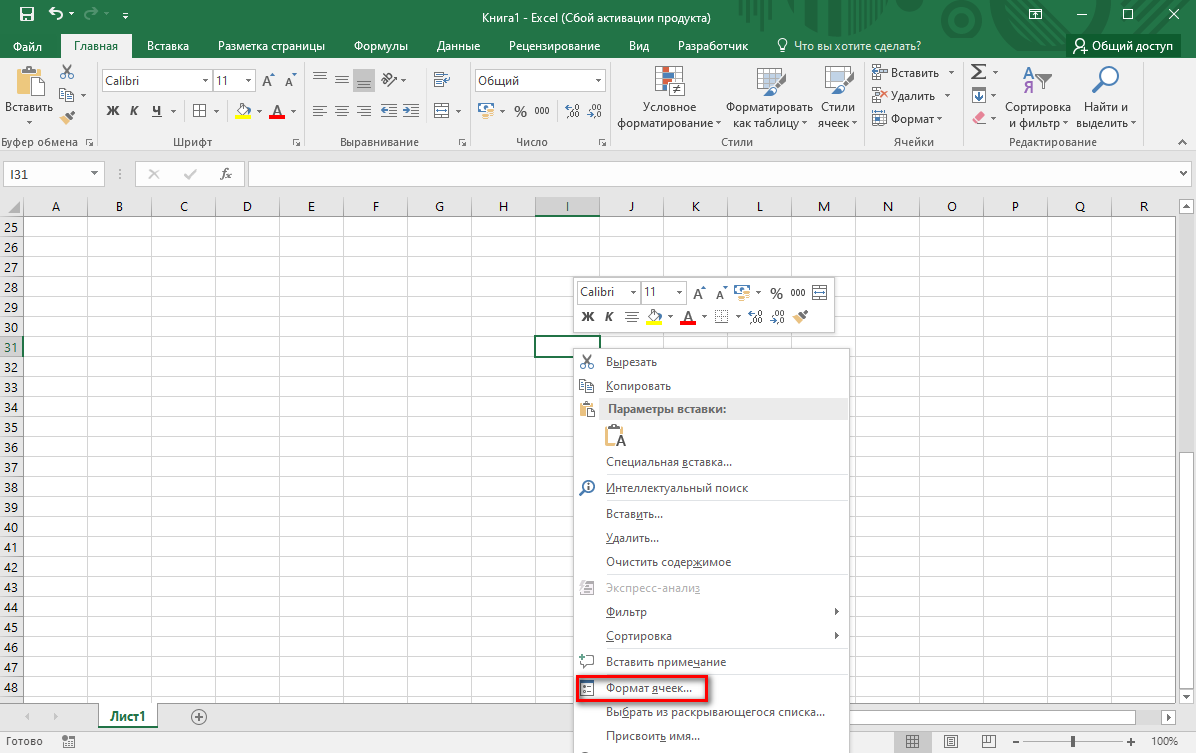
- Select the desired cell in the Excel sheet field, then right-click on it to bring up the context menu. In it we find the “Format Cells” tool.
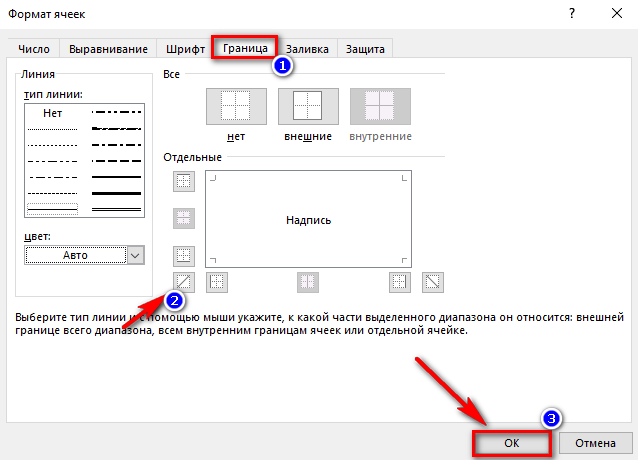
- In the window that opens, go to the “Border” tab. On the left, select the diagonal line, and then press the OK button. On the right you can find the same line, but in the opposite direction.
- On the left, there are some formatting tools in which we can choose the type of line or change the shade of the border.
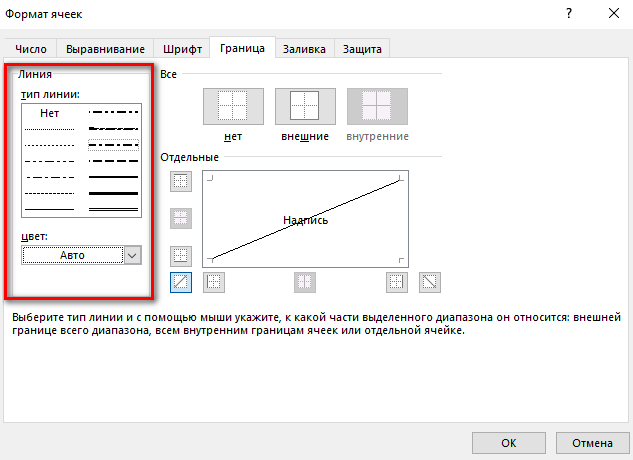
- These tools help personalize formatting.
However, a cell divided in this way still remains a single tool, therefore, in order to enter data from the bottom and top into it, you must first stretch the cell and select the appropriate font to fit the entries neatly.
On a note! If you take a cell and drag it down, then other windows in rows or columns will automatically take the same format. It all depends on which direction the sweep will be performed (down or to the side).
Method four: diagonal division by insertion
In this method, we propose to use the method in which it is necessary to insert geometric shapes. How it works, we propose to consider in this manual.
- Select one cell in which you want to insert a separator, then move to the “Insert” tab, then find the “Illustrations” section, in it click on the “Shapes” addition.
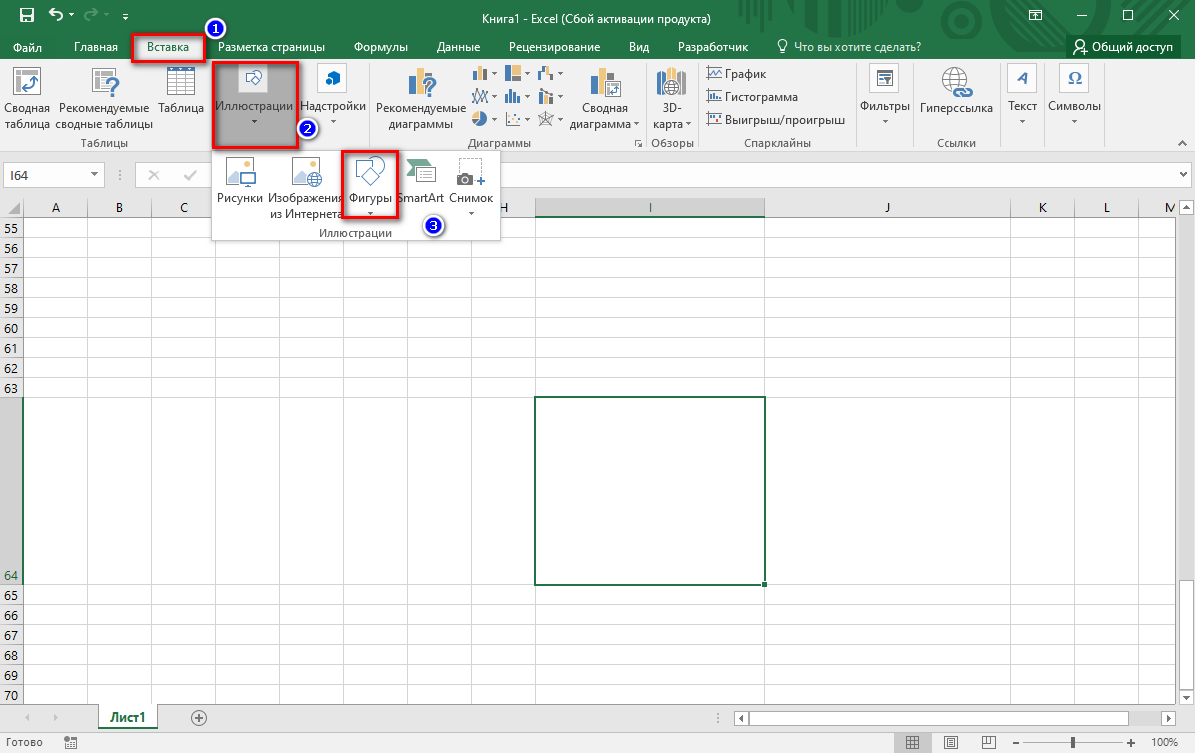
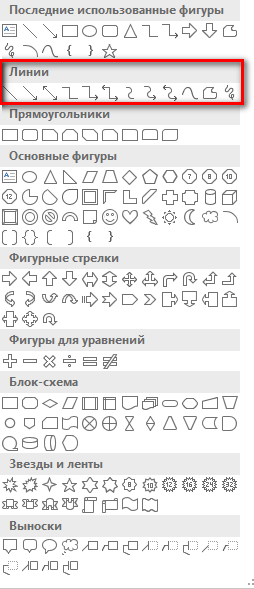
- A list of shapes that can be used opens. In it we find the section “Lines” and click on the diagonal line.
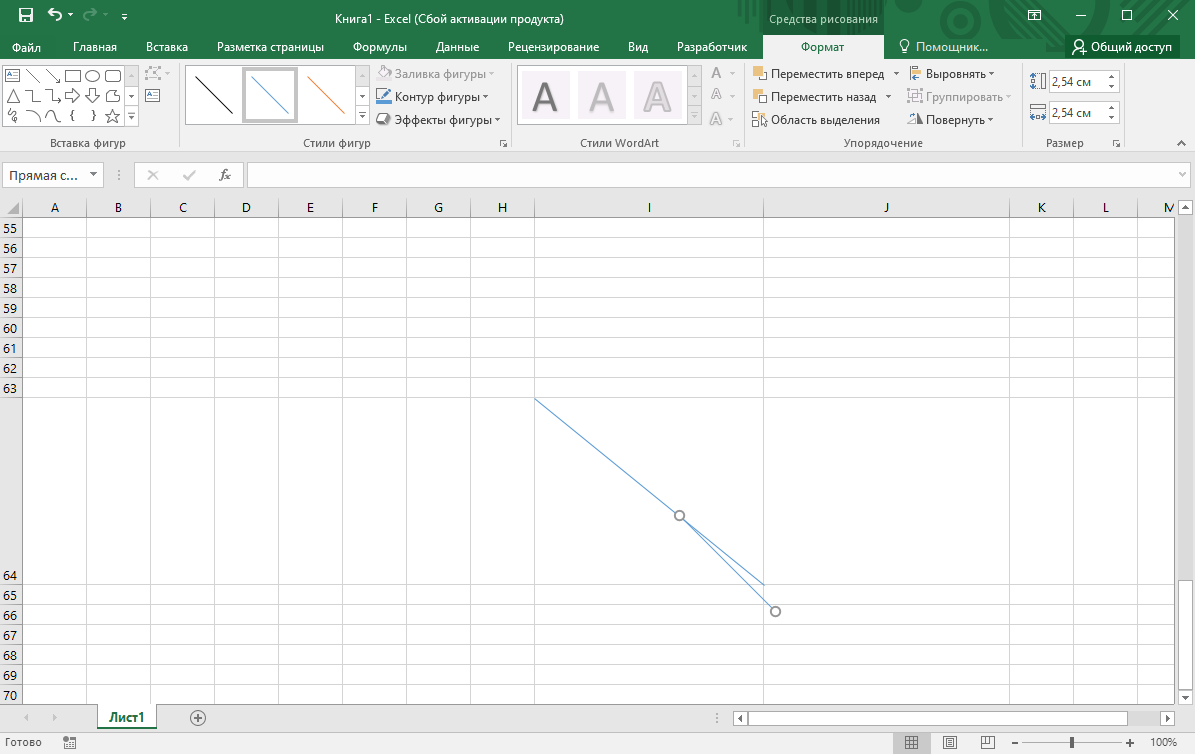
- Then we draw this line in the cell we need. In relation to it, we can use various formatting options: change the shade, thickness, line type, insert effects.
After drawing the lines, it will not be possible to write text on either side of the diagonal line. Therefore, entering textual or numeric information is necessary before drawing. In order for the line to fit later and not “cut” the text, it is necessary to correctly apply spaces and “Enter”.
On a note! A good option is to create a table with the desired types of cells in Word, and then convert it to Excel.
To summarize
Splitting cells in a Microsoft Excel eBook is a simple and useful procedure, but you should take into account that they are difficult to edit in the finished version. Therefore, we strongly recommend that you enter data before the stage of converting one window into two or more. Also, you can simply format the desired range as a table, after setting it up in the appropriate section. An even better and more comfortable option is to draw the borders manually.