


Contents
Do you have tables with data in Excel that can be resized, i.e. the number of rows (columns) can increase or decrease in the course of work? If the table sizes “float”, then you will have to constantly monitor this moment and correct it:
- links in report formulas that refer to our table
- initial ranges of pivot tables that are built according to our table
- initial ranges of charts built according to our table
- ranges for dropdowns that use our table as a data source
All this in total will not let you get bored 😉
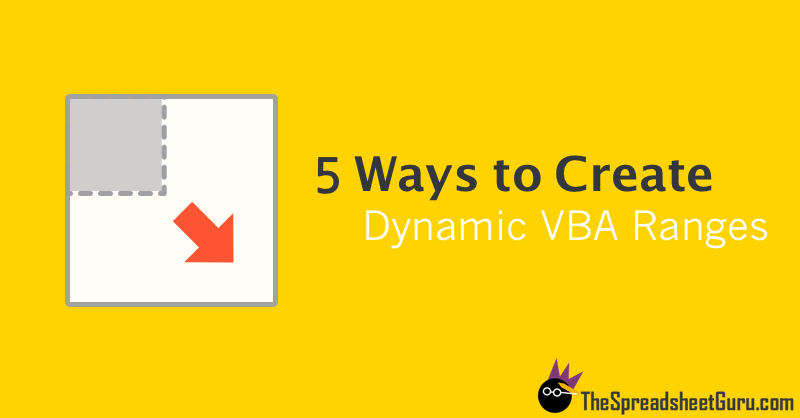
It will be much more convenient and correct to create a dynamic “rubber” range, which will automatically adjust in size to the actual number of rows and columns of data. To implement this, there are several ways.
Method 1. Smart table
Highlight your range of cells and select from the tab Home – Format as Table (Home – Format as Table):

If you do not need the striped design that is added to the table as a side effect, then you can turn it off on the tab that appears Constructor (Design). Each table created in this way receives a name that can be replaced with a more convenient one in the same place on the tab Constructor (Design) in the field Table name (Table Name).

Now we can use dynamic links to our “smart table”:
- Table 1 – link to the entire table except for the header row (A2:D5)
- Table1[#All] – link to the entire table (A1:D5)
- Table1[Peter] – reference to a range-column without the first cell-header (C2:C5)
- Table1[#Headers] – link to the “header” with the names of the columns (A1:D1)
Such references work great in formulas, for example:
=SUM(Table1[Moscow]) – calculation of the sum for the column “Moscow”
or
=VPR(F5;Table 1;3;0) – search in the table for the month from cell F5 and issue the St. Petersburg sum for it (what is VLOOKUP?)
Such links can be successfully used when creating pivot tables by selecting on the tab Insert – Pivot Table (Insert – Pivot Table) and entering the name of the smart table as the data source:

If you select a fragment of such a table (for example, the first two columns) and create a diagram of any type, then when adding new lines, they will automatically be added to the diagram.
When creating drop-down lists, direct links to smart table elements cannot be used, but you can easily get around this limitation using a tactical trick – use the function INDIRECT (INDIRECT), which turns the text into a link:

Those. a link to a smart table in the form of a text string (in quotation marks!) turns into a full-fledged link, and the drop-down list normally perceives it.
Method 2: Dynamic named range
If turning your data into a smart table is undesirable for some reason, then you can use a slightly more complicated, but much more subtle and versatile method – create a dynamic named range in Excel that refers to our table. Then, as in the case of a smart table, you can freely use the name of the created range in any formulas, reports, charts, etc. Let’s start with a simple example:

Task: make a dynamic named range that would refer to a list of cities and automatically stretch and shrink in size when adding new cities or deleting them.
We will need two built-in Excel functions available in any version − POICPOZ (MATCH) to determine the last cell of the range, and INDEX (INDEX) to create a dynamic link.
Finding the last cell using MATCH
MATCH(lookup_value, range, match_type) – a function that searches for a given value in a range (row or column) and returns the ordinal number of the cell where it was found. For example, the formula MATCH(“March”;A1:A5;0) will return the number 4 as a result, because the word “March” is located in the fourth cell in column A1:A5. The last function argument Match_Type = 0 means we are looking for an exact match. If this argument is not specified, then the function will switch to the search mode for the nearest smallest value – this is exactly what can be successfully used to find the last occupied cell in our array.
The essence of the trick is simple. MATCH searches for cells in the range from top to bottom and, in theory, should stop when it finds the nearest smallest value to the given one. If you specify a value that is obviously greater than any available in the table as the desired value, then MATCH will reach the very end of the table, find nothing and give the sequence number of the last filled cell. And we need it!
If there are only numbers in our array, then we can specify a number as the desired value, which is obviously greater than any of the ones in the table:

For a guarantee, you can use the number 9E + 307 (9 times 10 to the power of 307, i.e. 9 with 307 zeros) – the maximum number that Excel can work with in principle.
If there are text values in our column, then as the equivalent of the largest possible number, you can insert the construction REPEAT(“i”, 255) – a text string consisting of 255 letters “i” – the last letter of the alphabet. Since Excel actually compares character codes when searching, any text in our table will technically be “smaller” than such a long “yyyyyyyyyyyyyyyyyyyyyyyyyyyyyyyyyyyyyyyyyyyyyyy” line:

Generate a link using INDEX
Now that we know the position of the last non-empty element in the table, it remains to form a link to our entire range. For this we use the function:
INDEX(range; row_num; column_num)
It gives the contents of the cell from the range by row and column number, i.e. for example, the function =INDEX(A1:D5;3;4) in our table with cities and months from the previous method will give 1240 – the content from the 3rd row and 4th column, i.e. cells D3. If there is only one column, then its number can be omitted, i.e. formula INDEX(A2:A6;3) will give “Samara” in the last screenshot.
And there is one not entirely obvious nuance: if the INDEX is not just entered into the cell after the = sign, as usual, but is used as the final part of the reference to the range after the colon, then it no longer gives out the contents of the cell, but its address! Thus, a formula like $A$2:INDEX($A$2:$A$100;3) will give a reference to the range A2:A4 at the output.
And this is where the MATCH function comes in, which we insert inside the INDEX to dynamically determine the end of the list:
=$A$2:INDEX($A$2:$A$100; MATCH(REP(“I”;255);A2:A100))
Create a named range
It remains to pack it all into a single whole. Open a tab formula (Formulas) And click the Name Manager (Name Manager). In the window that opens, click the button Create (new), enter our range name and formula in the field Range (Reference):

It remains to click on OK and the ready range can be used in any formulas, drop-down lists or charts.
- Using the VLOOKUP function to link tables and lookup values
- How to create an auto-populating dropdown list
- How to create a pivot table to analyze a large amount of data