


Contents
In this lesson, you will learn how to save Microsoft Word documents, as well as learn how you can restore your work using the tool Auto recoveryif there is an emergency closing of the program, shutdown of the computer and other unpleasant things.
When creating a new document, you first need to know how to save it in order to open and edit it later. As in previous versions of the program, Microsoft Word files can be saved on your computer. If desired, the document can be saved to OneDrive cloud storage, as well as exported and shared documents directly from Word.
OneDrive was formerly known as SkyDrive. There are no fundamental differences in how these services work, just a new name for an existing service. Some Microsoft products may still use the SkyDrive name for some time.
Save and Save As
There are two ways to save a document in Microsoft Word: Save и Save as. These options work in a similar way, with some differences.
- Save: When creating or editing a document, the command is used Savewhen to save changes. This command is used in most cases. The first time you save a document, you must name the file and specify a storage location on your computer. Next, when you press the command Save, the file is saved under the same name and in the same location.
- savehow: This command is used to create a copy of a document when you want to keep the original file. Using the command Save as, you need to rename and/or change the storage location of the new file.
How to save a document
Don’t forget to save your changes when you create a new document or make changes to an existing file. Timely saving often prevents the loss of your work. Be sure to remember where you save your work to make it easier to find later.
- To save the document, find and click on the button Save on the Quick Access Toolbar.
- If you are saving a file for the first time, a panel will appear. Save as backstage views.
- Here you need to choose where to save the file and give it a name. To save the file to your computer, select Компьютерthen press Review. In addition, you can choose a service OneDrive to save the file.
- In the dialog box that appears, select a location to save the file on your computer.
- Enter a name for the document and click Save.
- The document will be saved. When further editing the document, you can again click the command Saveto save your changes.
You can save the document by simply clicking Ctrl + S on keyboard.
Using Save As to create a copy
If you want to save a new version of a document while keeping the original, you can create a copy. For example, you have a file called “Sales Report”, you can save it as “Sales Report 2”. Now you can safely edit a copy of the file, while always being able to return to its original version.
To do this, select the command Save as in the backstage view. As with the first save, you must choose where to save the file and give it a name.
How to change the default file save location
If you don’t want to use OneDrive, you’ll probably be frustrated as it’s the default location for saving files. If you find it inconvenient to select an item every time Компьютер, You can always change the default file save location.
- Click the Fileto navigate to Backstage view.
- Press Parameters.
- In the dialog box that appears Word options select Preservation and check the box Save to computer by defaultYouterethen press OK. The default save location for files will change.
Automatic recovery
As you work on documents, Word automatically saves them to a temporary folder. It is possible to restore the file using Automatic recovery, in case you forget to save your changes or a crash occurs.
How to recover a document
- Open Word 2013. If autosaved versions of the file are found, the Document recovery.
- Open the recovered file. The document will be restored.
By default, Word automatically saves every 10 minutes. If the document has been edited for less than 10 minutes, Word may not have time to autosave.
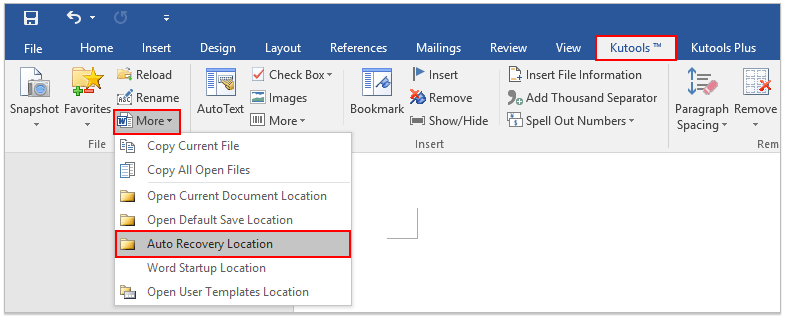
If you don’t see the file you need, you can view all autosaved files in the Backstage view. Open a tab Fileclick Versioning, And then select Recover Unsaved Documents.