Contents
In this lesson, we will analyze the main Microsoft Excel tool that allows you to print documents on a printer. This tool is Print panel, which contains many different commands and settings. In this article, we will study in detail all the elements and commands of the panel, as well as the sequence for printing an Excel workbook.
Over time, there will definitely be a need to print a book in order to always have it on hand or give it to someone in paper form. As soon as the page layout is ready, you can immediately print the Excel workbook using the panel print.
Explore the lessons in the Page Layout series to learn more about preparing Excel workbooks for printing.
How to open the Print panel
- Go to backstage view, to do this, select the tab File.
- Press print.

- A panel will appear print.

Items on the Print panel
Consider each of the panel elements print in details:
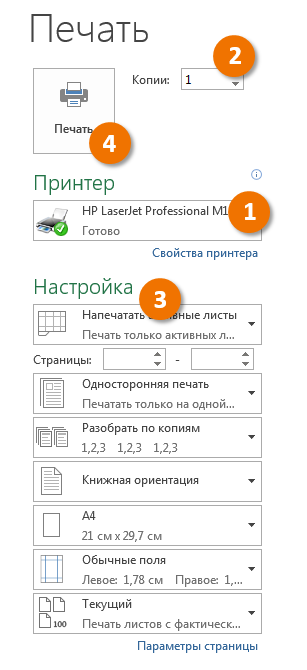
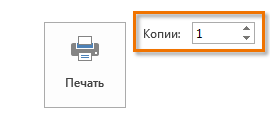
1 copies
Here you can choose how many copies of the Excel workbook you want to print. If you plan to print multiple copies, we recommend that you print a test copy first.
2 Print
Once you are ready to print your document, click print.

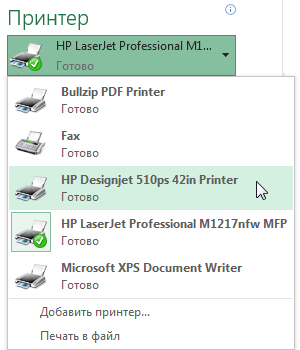
3 Printer
If your computer is connected to multiple printers, you may need to select the desired printer.
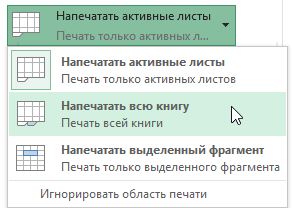
4 Print range
Here you can set the printable area. It is proposed to print active sheets, the entire book, or only the selected fragment.
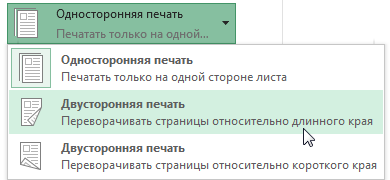
5 Simplex/Double-sided printing
Here you can choose whether to print the Excel document on one side or on both sides of the paper.
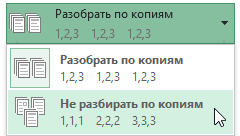
6 Collate
This item allows you to collate or not collate the printed pages of an Excel document.
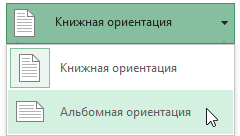
7 Page orientation
This command allows you to select Book or Landscape page orientation.
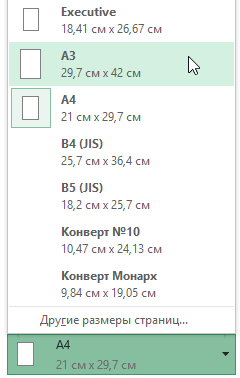
8 Paper size
If your printer supports various paper sizes, you can select the required paper size here.
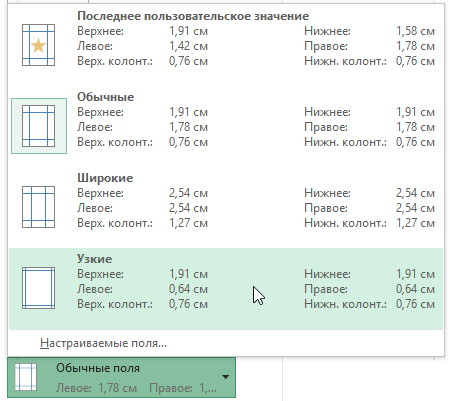
9 Fields
In this section, you can adjust the size of the fields, which will allow you to more conveniently arrange information on the page.
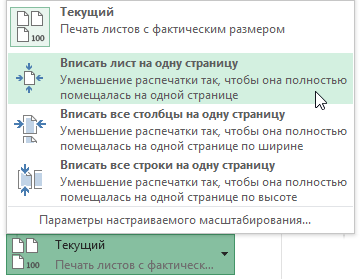
10 Scaling
Here you can set the scale at which to arrange the data on the page. You can print the sheet at its actual size, fit all the contents of the sheet onto one page, or fit all columns or all rows onto one page.
The ability to fit all the data in an Excel worksheet onto a single page is very useful, but in some cases, due to the small scale, this approach makes the result unreadable.
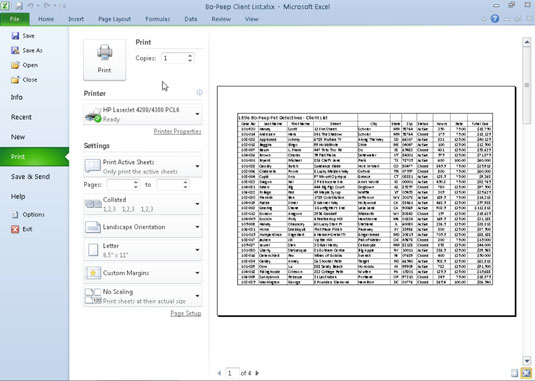
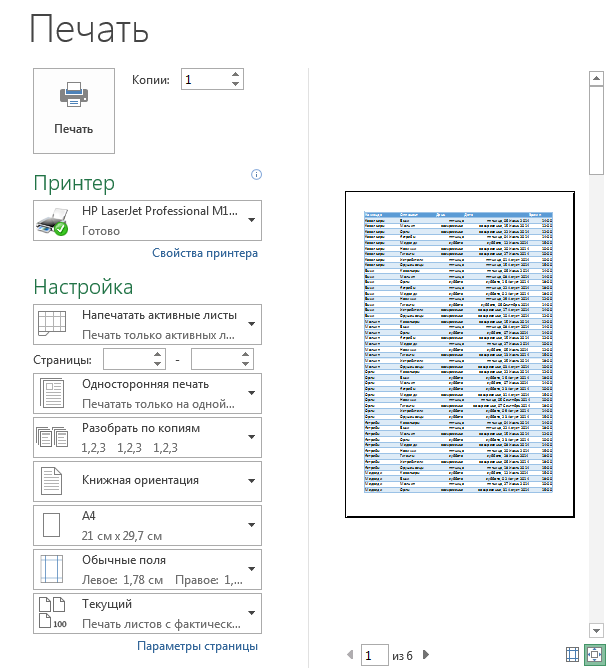
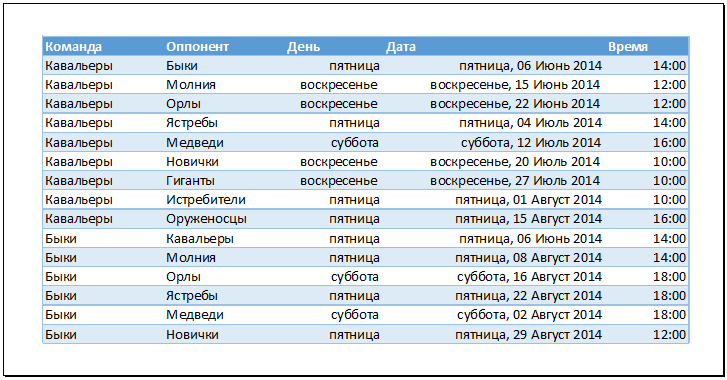
11 Preview area
Here you can evaluate how your data will look when printed.
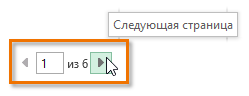
12 Page selection
Click on the arrows to see other pages of the book in Preview areas.
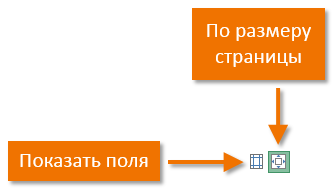
13 Show margins/Fit to page
Team Fit to page in the lower right corner allows you to zoom in or out of the preview. Team Show fields hides and shows fields in Preview areas.
Sequence for printing an Excel workbook
- Go to panel print and select the desired printer.
- Enter the number of copies to be printed.
- Select any additional options as needed.
- Press Pechat.