


Contents
Often, after finishing working with a table in Excel, you need to print the finished result. When you need the entire document, it’s easy to send all the data to the printer. However, sometimes there are situations when it is necessary to select only certain parts for printing from the entire file. In this case, you need to use the built-in features of the program, set temporary or permanent settings for printing documents.
Ways to Customize the Print Area in Excel
There are two ways to create and customize the printable area of Excel spreadsheets:
- A single program setting before sending a document to print. In this case, the entered parameters will return to the initial ones immediately after the file is printed. You will have to repeat the procedure before the next print.
- Fixing a constant printable area, so you do not need to re-adjust in the future. However, if you want to print different tables with different areas, you will have to reconfigure the program.
Each of the methods will be discussed in more detail below.
Regular adjustment of print areas
This method will be relevant if the tables you work with constantly need to change zones for printing.
Pay attention! We must not forget that if in the future you need to re-print the initial document, all settings will have to be entered again.
Procedure:
- Select all cells whose information you want to print. This can be done with the keyboard keys (navigation buttons) or by holding the LMB and gradually moving the mouse down to the desired location.
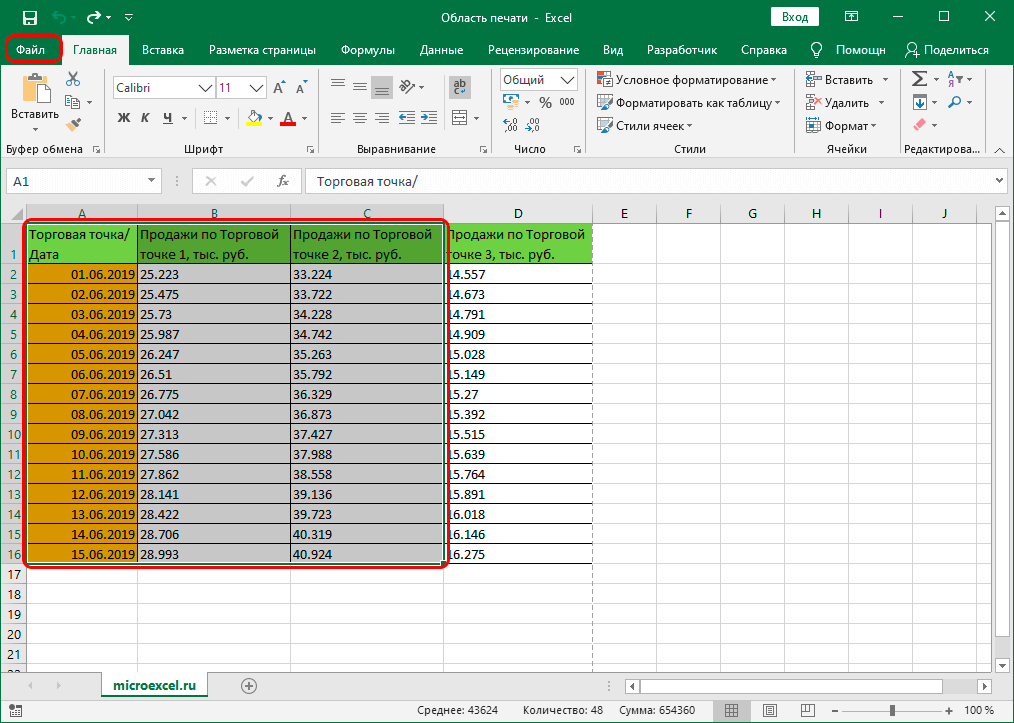
- When the required range of cells is marked, you need to go to the “File” tab.
- In the menu that opens, select the “Print” function.
- Next, you need to set the print options for the selected range of cells. There are three options: print the entire workbook, print active sheets only, or print a selection. You must select the last option.
- After that, the preview area of the printed version of the document will be displayed.
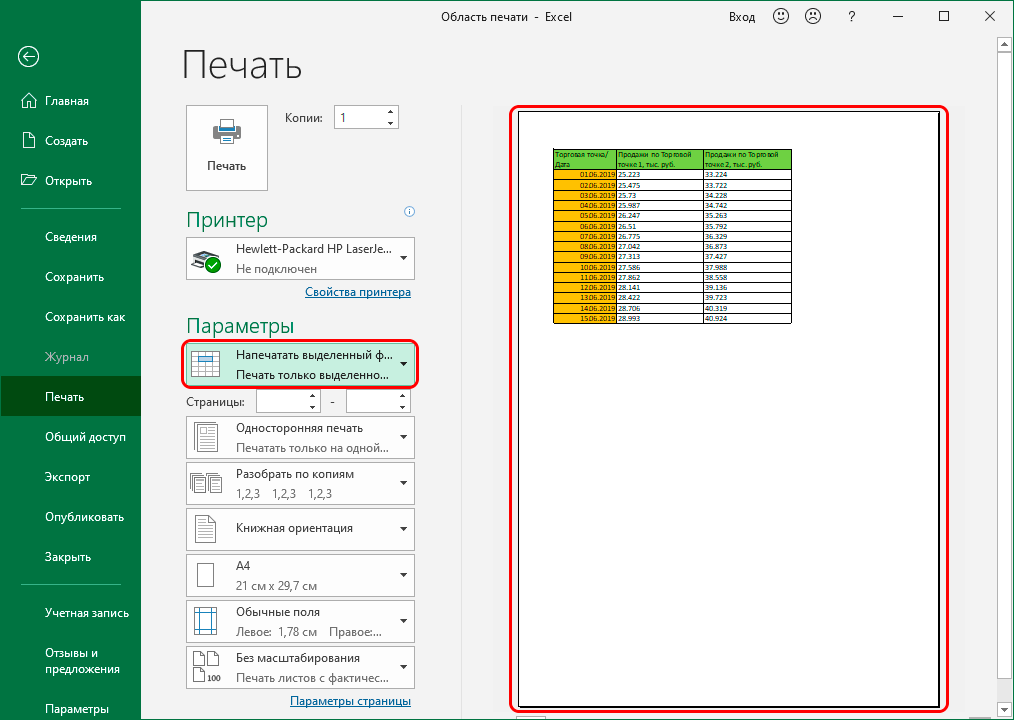
If the displayed information corresponds to the one that needs to be printed, it remains to click the “Print” button and wait for the finished printout through the printer. When printing is finished, the settings will return to the default settings.
Fixing uniform parameters for all documents
When you need to print the same area of the table (many copies at different time intervals or changing information in selected cells), it is better to set fixed print settings so as not to change the settings repeatedly. Procedure:
- Select the required range of cells from the general table (using any of the convenient methods).
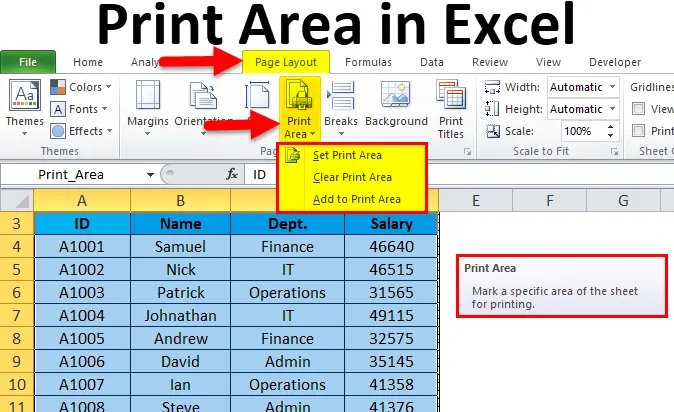
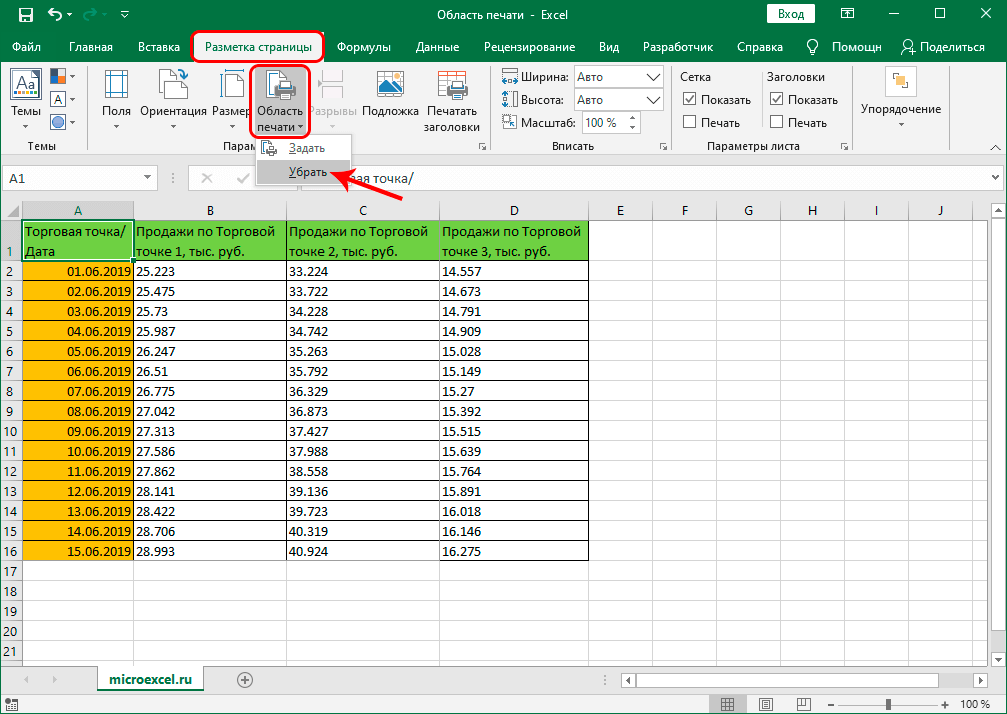
- Go to the “Page Layout” tab on the main toolbar.
- Click on the “Print Area” option.
- There will be two options for further actions – “Ask” and “Remove”. You must select the first one.
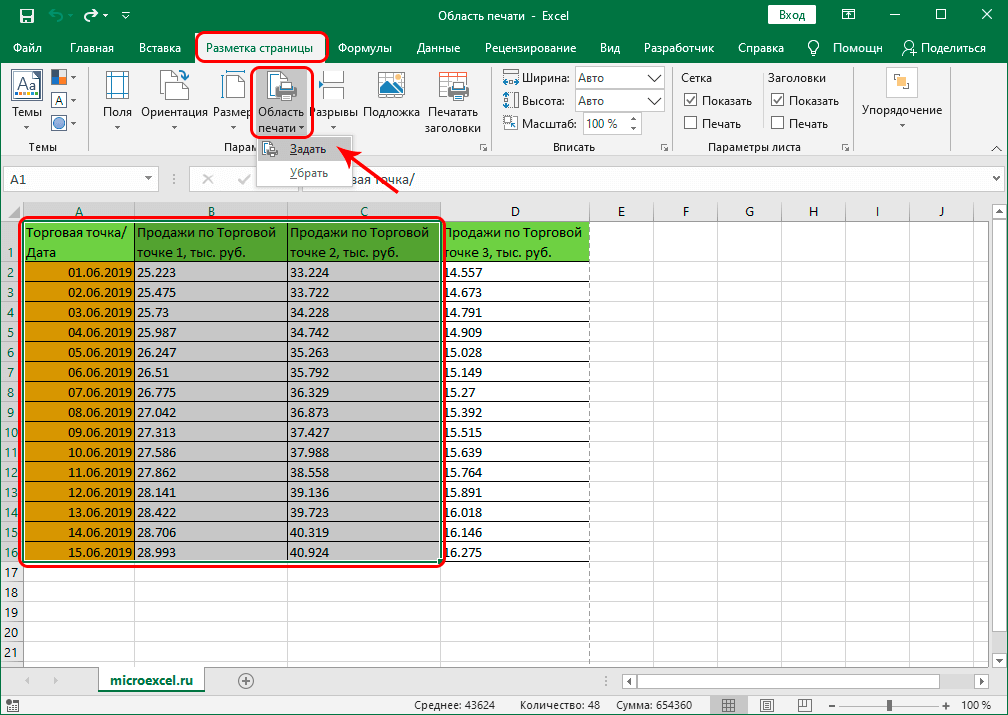
- The program will automatically fix the selected area. It will be displayed whenever the user navigates to the print section.
To check the correctness of the data, you can perform a preview through the print settings. You can save the set parameters by clicking on the floppy disk icon in the upper left corner or through the “File” menu.
Setting multiple print areas
Sometimes you need to print multiple clippings from the same spreadsheet in Excel. To do this, you need to slightly change the order of actions by adding one intermediate step:
- Select the first area for printing with the mouse buttons or the navigation keys on the keyboard. In this case, it is important to hold the “CTRL” button.
- Without releasing the “CTRL” button, select the remaining areas that you want to print.
- Go to the “Page Layout” tab.
- From the Page Setup group, select the Print Area tool.
- It remains to add the previously marked ranges, as described above.
Important! Before you start printing several areas of the table, you need to consider that each of them will be printed on a separate sheet. This is due to the fact that for joint printing on one sheet, the ranges must be adjacent.
Adding a Cell to a Set Area
Another possible situation is to add an adjacent cell to an already selected area. To do this, there is no need to reset the settings and change them to new ones.. You can add a new cell while maintaining the already set range. Procedure:
- Select adjacent cells to be added to an existing range.
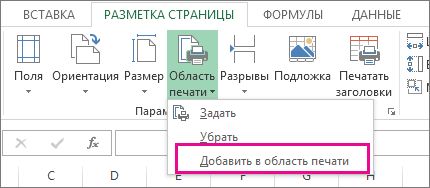
- Go to the “Page Layout” tab.
- From the “Page Options” section, select the “Print Area” function.
In addition to the standard options, the user will be offered a new action “Add to printable area”. It remains to check the finished result through the preview window.
Reset
When all documents with the required range have been printed or you need to change the settings, you need to reset the settings. To do this, just go to the “Page Layout” tab, select the “Print Area” tool, click the “Remove” button. After that, you can set new ranges according to the instructions described above.
Conclusion
By learning the procedures described above, you can print the required documents or parts of them from Excel with less time. If the table is static, a large number of new cells are not added to it, it is recommended to immediately set the ranges required for printing so that you can change the information in the selected cells without reconfiguring in the future. If the document is constantly changing, the setting will have to be repeated for each new printout.