


If you create a lot of legal or other documents where you need to refer to certain sections, then line numbering can be very useful for you. We’ll show you how to do unobtrusive line numbering on the left page margin of a Word document.
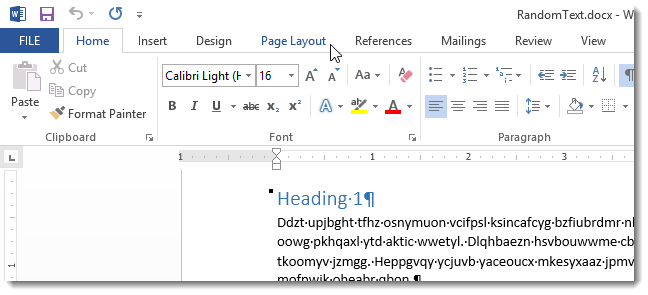
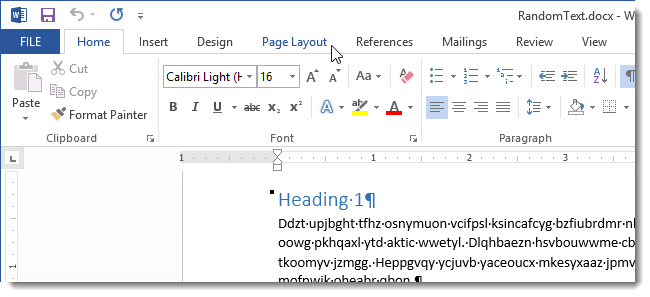
Open the Word file and go to the tab Page Layout (Page layout).
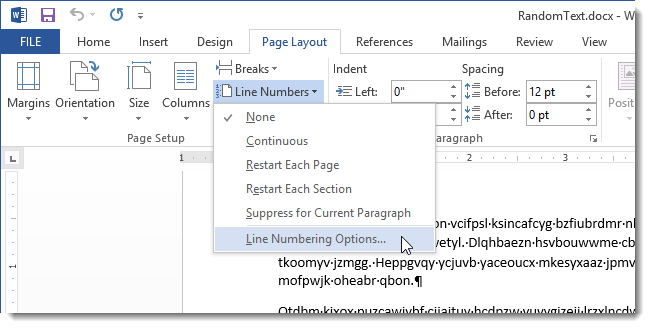
In section Page Setup (Page Setup) click Line Numbers (Line numbers) and select from the drop-down menu item Line Numbering Options (Line numbering options).
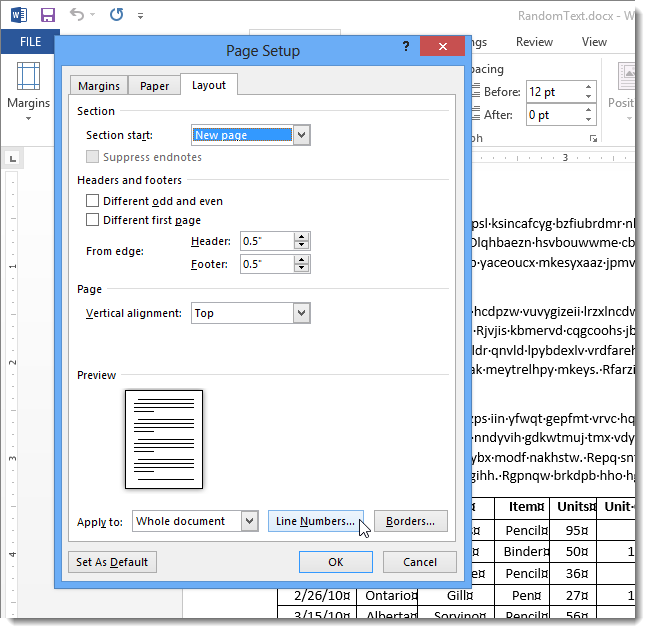
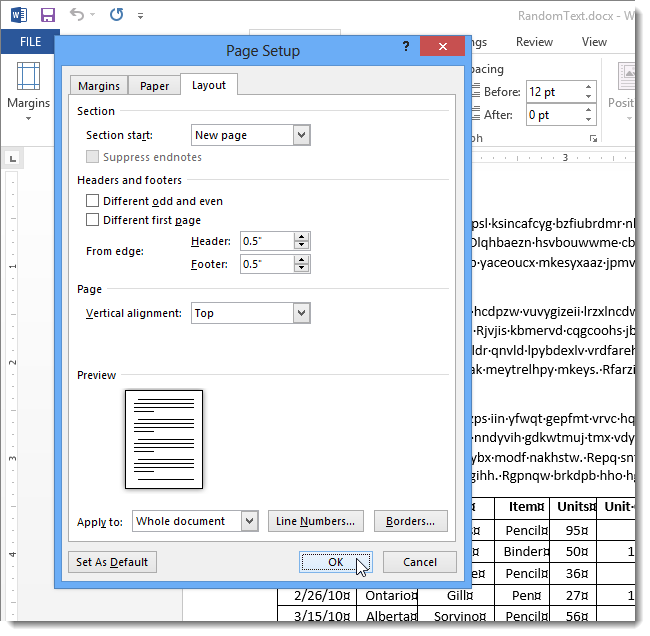
In the dialog box Page Setup (Page Setup) tab layout (Paper source). Then click on Line Numbers (Line numbering).
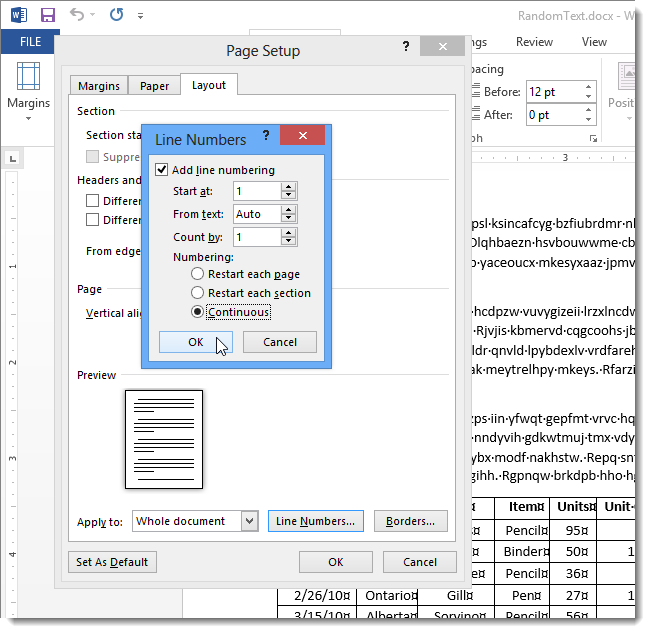
The dialog box of the same name will appear. Check the box next to the option Add line numbering (Add line numbering). Specify the number from which the numbering will start in the field Start at (Begin with). Set the numbering step in the field Count by (Step) and margin indent From text (From the text). Choose whether the numbering will start over on each page (Restart each page), start over again in each section (Restart each section) or continuous (Continuous). Click OK.
Close the dialog Page Setup (Page setup) by pressing the button OK.
If necessary, you can easily change the settings or turn off the numbering completely if it is no longer needed.