


Microsoft Office Excel often creates tables with a lot of information that is problematic to fit on one worksheet. Because of this circumstance, it is difficult for the user to compare data located at different ends of the document, and it takes a lot of time to scroll through the table to find the necessary information. To avoid such a problem, important areas in Excel can always be fixed, fixed in the visible part of the document, so that the user can quickly find the information of interest to him. This article will discuss methods for pinning and unpinning areas in Excel.
How to pin areas
There are several common ways to accomplish the task, each of which is relevant for a specific version of the program. The procedure for different versions of Microsoft Excel will vary slightly. In general, the process of fixing the necessary areas in the program under consideration is divided into the following steps:
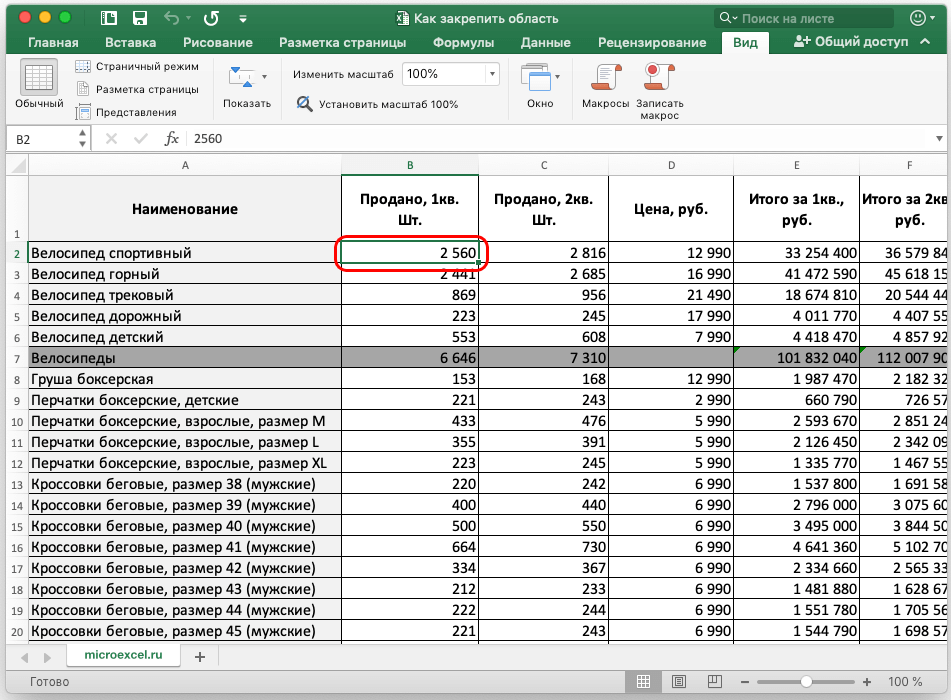
- Select the first cell in the table. This cell must be below the area that you want to pin in the visible part of the screen. Moreover, the data located above and to the left of the selected element will be fixed by the program.
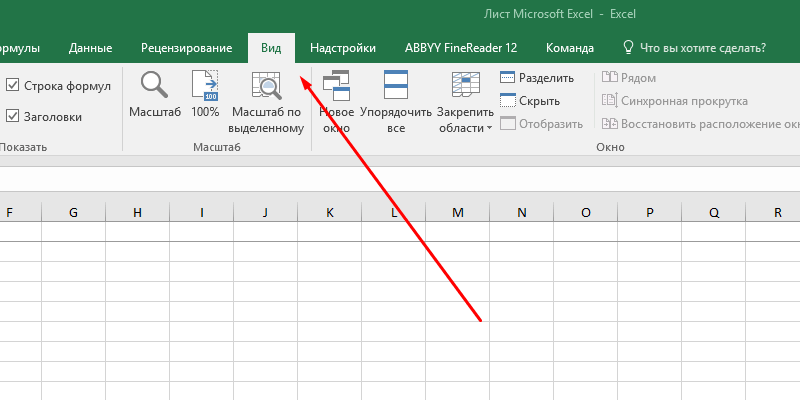
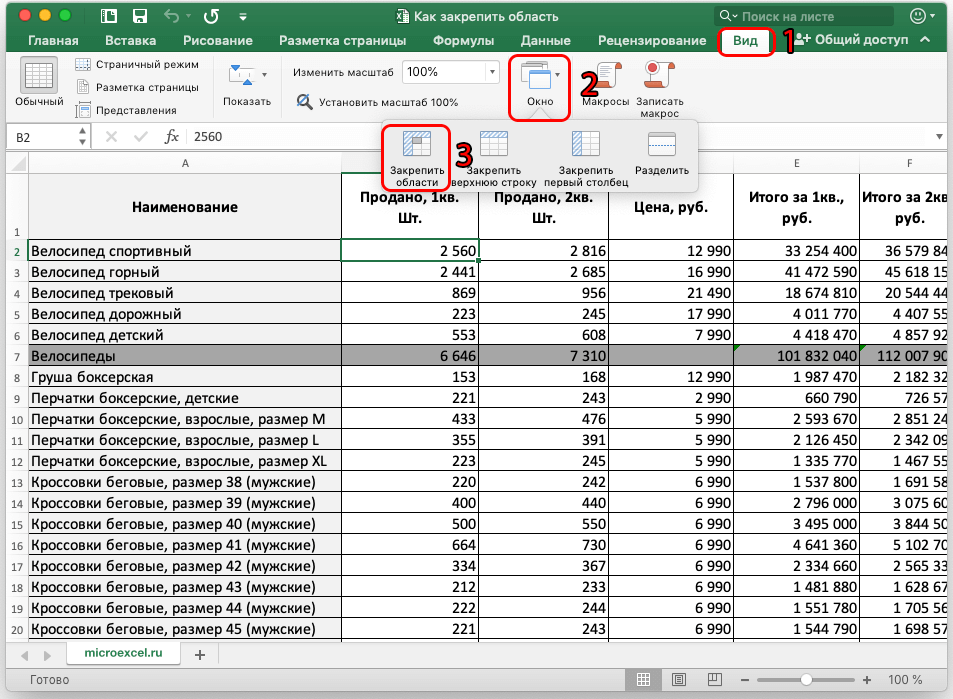
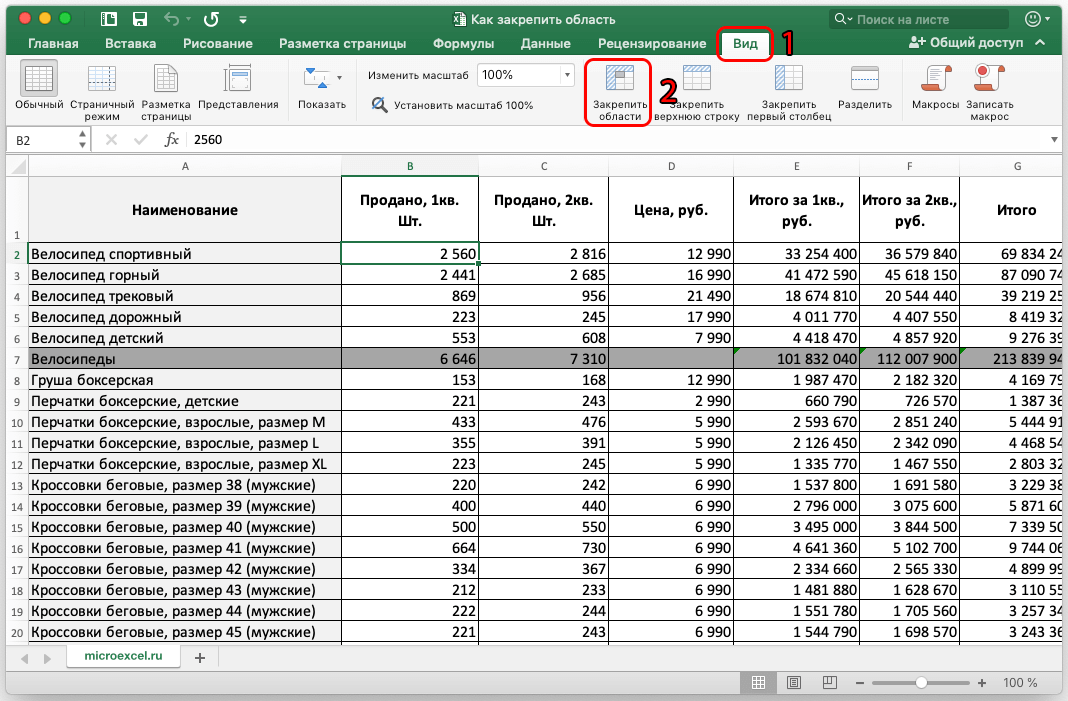
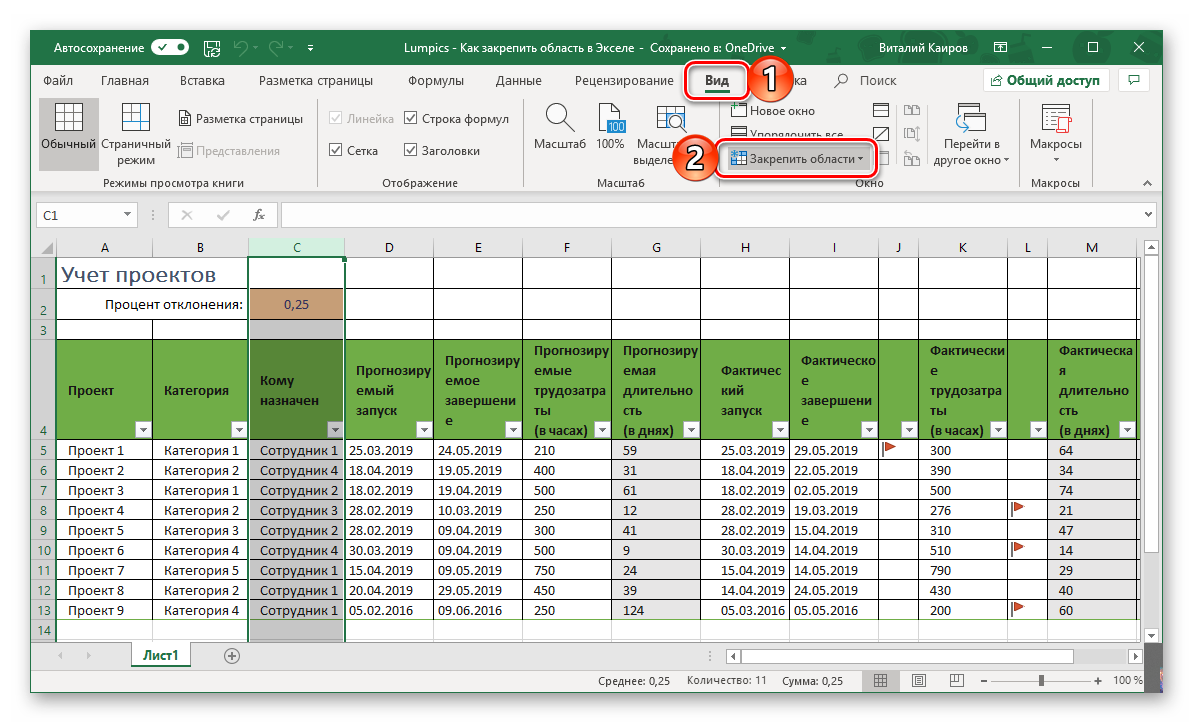
- After performing the previous manipulation, you will need to switch to the “View” tab. It is located in the options column at the top of the Excel interface.
- Next, in the opened line of values, you need to click LMB on the “Window” button once.
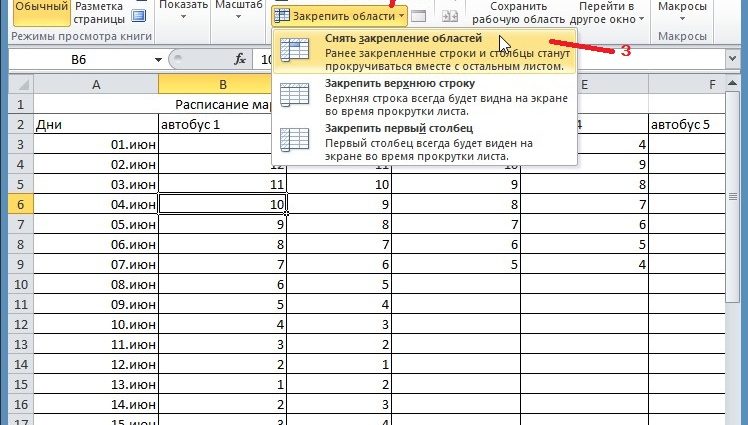
- Several tools will be displayed, among which you need to click on the “Freeze panes” icon. On wide monitors with a high resolution display, the View section immediately displays options for pinning elements. Those. You don’t have to click on the Window button.
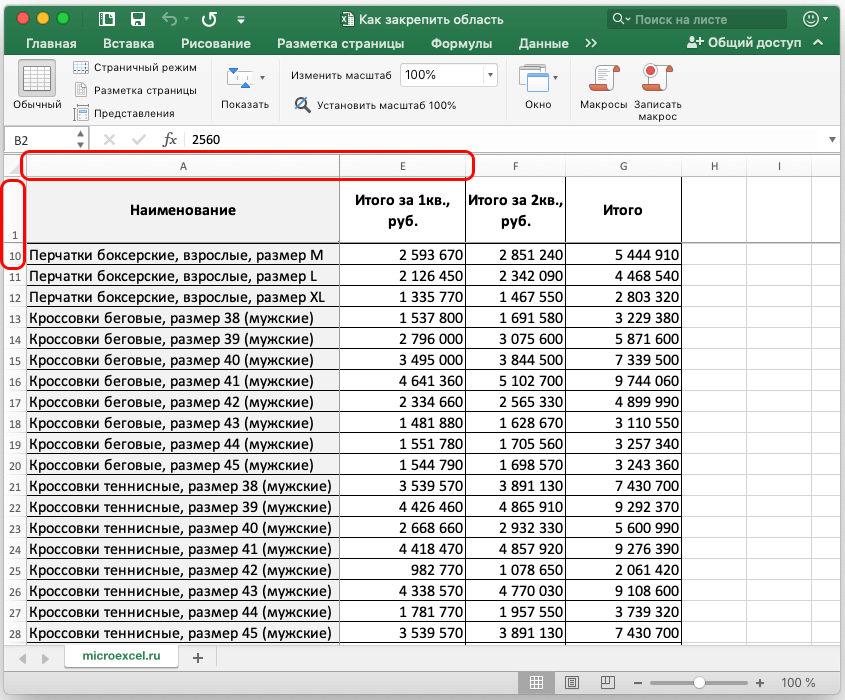
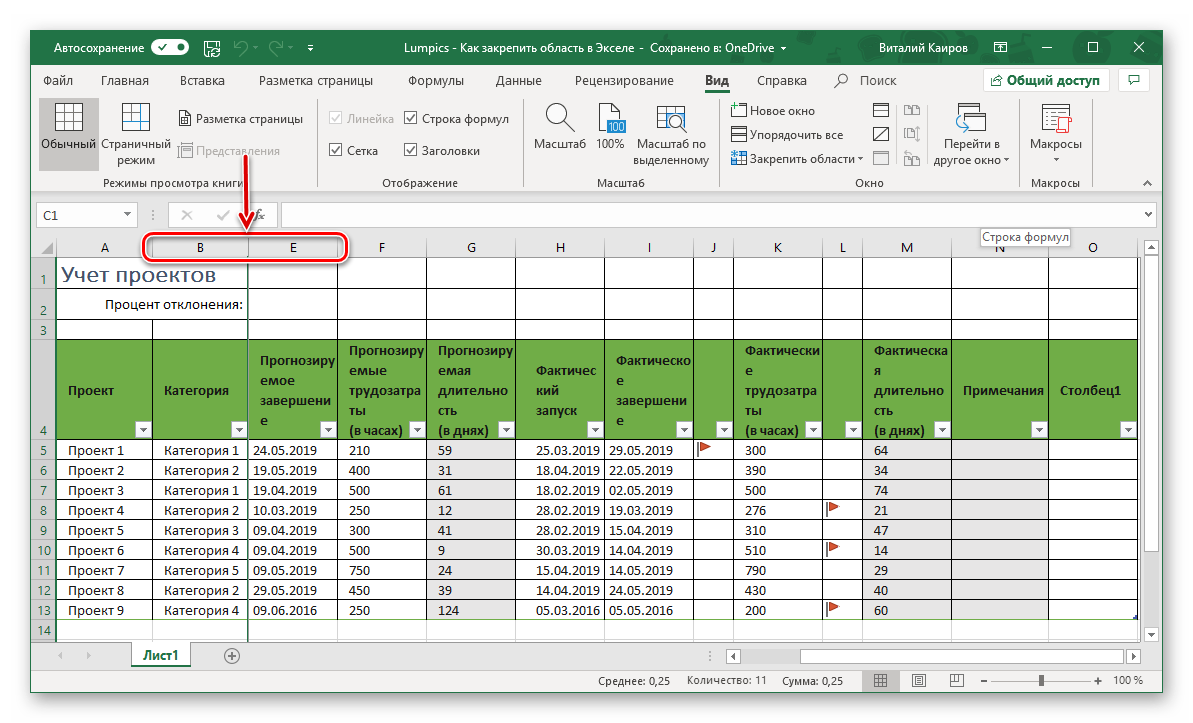
- Make sure that the previously selected area is fixed on the worksheet. Now everything that was above and to the left of the cell will be displayed in the table as you scroll down, and will not disappear from view.
- The user can also pin all cells that are above the selected line. To do this, he will need to select the desired cell in the middle of the table, and then in the same way go to the “View” tab, where click on the “Freeze areas” button. This fixing method is most relevant when a person needs to fix the table array header on each worksheet.
Pay attention! To fix the information that is located on the left side of the selected cell, you will need to select the top element of the column located to the right of the desired area, and then do the same.

How regions are unpinned
Inexperienced users of Microsoft Office Excel do not know how to unpin previously locked areas. Everything is simple here, the main thing is to follow some recommendations:
- Open an Excel document. After the appearance of the working field in the plate, you do not need to select any cells.
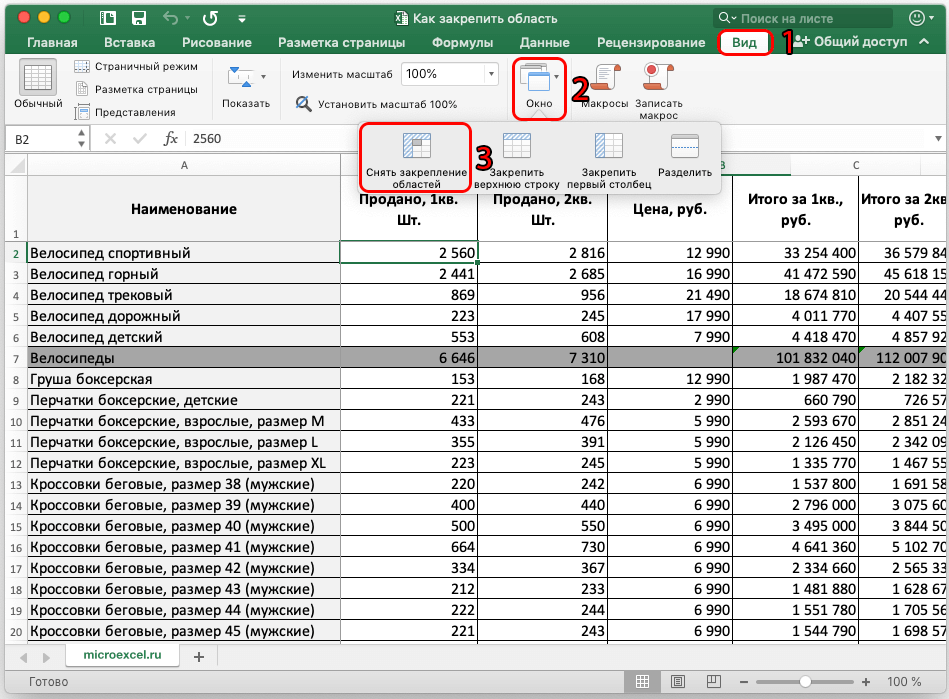
- Go to the “View” tab in the options ribbon at the top of the program window.
- Now you need to click on the “Window” button to open a subsection with pinning elements.
- LMB click on the inscription “Unpin regions”.
- Check the result by scrolling down the table. The fixation of the previously selected cells should be cancelled.
Additional Information! Detaching areas in Excel is done in exactly the reverse order compared to fixing them.
How to freeze an area from columns
Sometimes in Excel you need to freeze not rows, but columns. To cope with the task quickly, you can use the following algorithm:
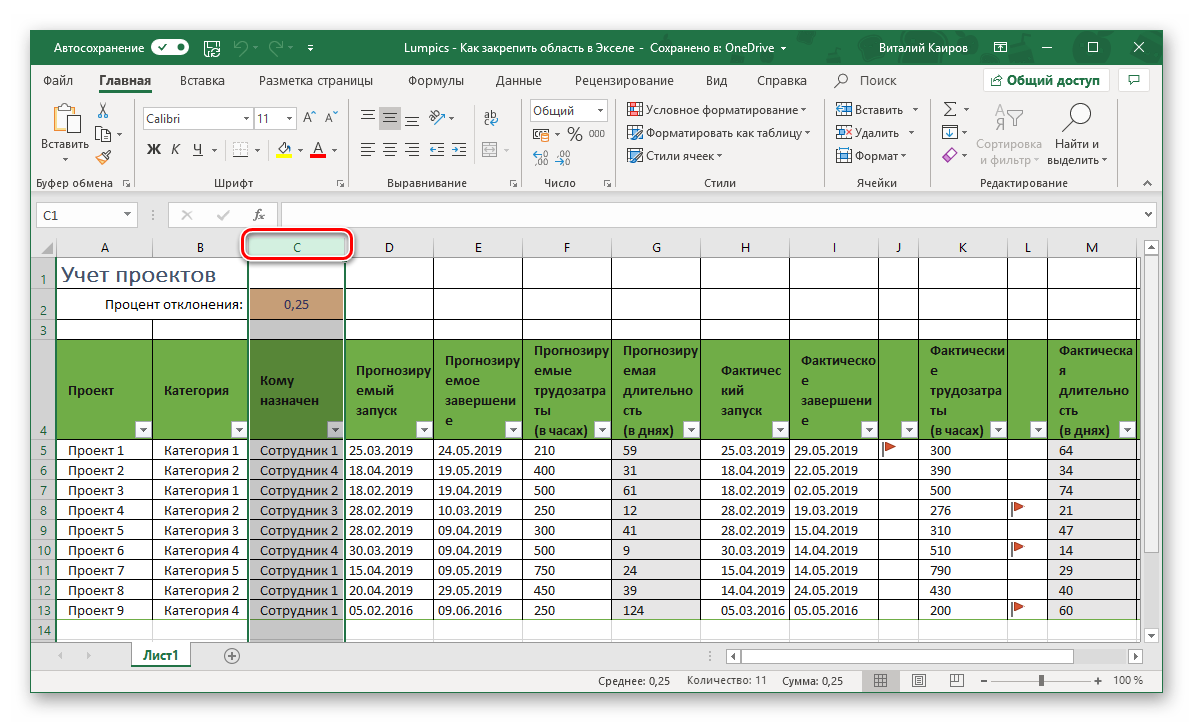
- Decide on the columns that need to be fixed, find out their numbers, which are written on top of the array in the form of letters A, B, C, D, etc.
- Use the left mouse button to select the column that follows the selected range. For example, if you need to fix columns A and B, then you need to select column C.
- Next, you need to similarly go to the “View” tab and click on the “Freeze Areas” button to fix the desired range of columns on each worksheet.
- In the context type window, you will need to select the first option for fixing rows and columns of tables.
- Check result. At the final stage, you need to scroll down the document and make sure that the designated area does not disappear from the worksheet, i.e. attached to it.
Conclusion
The tool for fixing areas in Excel saves time for users who work with a large amount of information. A pinned item will always appear on the worksheet as you scroll through it. To quickly activate such a function, you must carefully read the above information.