


Contents
Autumn transplant of thuja to a new place
Thuja is an evergreen, unpretentious plant. It is often used in landscaping for planting in groups and separately. To transplant thuja painlessly, you need to know when and how it is best to transplant it.
Why transplanting thuja in the fall is a favorable time
A thuja hedge protects the garden from prying eyes. Globular dwarf bushes adorn the site. Tall, slender varieties of thuja, similar to cypress trees, are reminiscent of hot countries. But in order for them to really please the eye, you need to transplant them correctly.
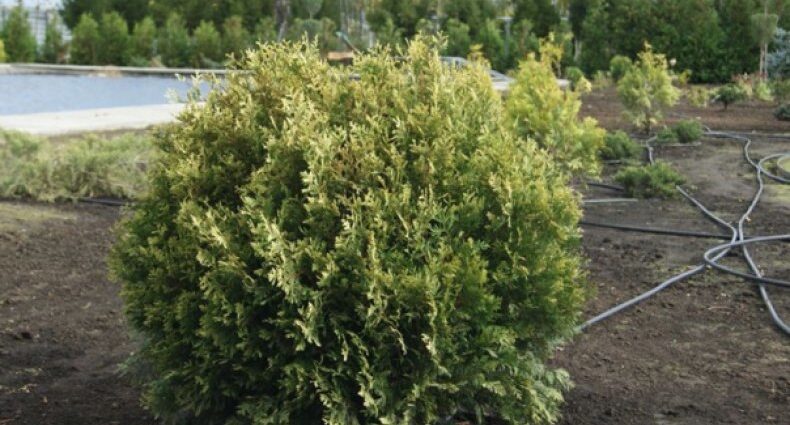
Thuja transplant is carried out in early autumn
Early autumn is the best time for transplanting. The beginning of September is suitable for planting thuja in the northern regions, and the last decade of the month is good for the south. In this case, in hot weather, it is not difficult to water the shrub abundantly, and in frost it can be covered.
In time, the transplanted thuja will have time to take root in the place before the cold weather. If you plant a shrub in the spring, then a sudden heat can destroy the still not matured plant and burn the needles.
How to choose a new place for a thuja transplant
In order for the shrub to show its best qualities, you need to choose a transplantation site, taking into account its preferences. Thuja grows well and develops in sunny areas. It will grow in the shade, but in this case the crown will not be so thick and green.
Depending on the shape and size of the shrub, choose a suitable place:
- if this is a planting of a group of plants, a hedge, for example, the distance between them is maintained up to 1,5 m;
- the spherical shape of dwarf thujas requires space;
- if an alley is planted, the distance between the rows is left up to 5 m.
On a properly selected area, thuja looks spectacular and sets off other types of plants and shrubs.
How to plant and care for thuja
A suitable substrate for a shrub is a mixture of turf, sand and peat – 1: 1: 2 parts, respectively. If a sapling from the store with burlap on the roots, it is not removed, it will rot and become fertilizer for the seedling. If the plant is transplanted from one place to another, then it is dug in, an earthen ball is formed, the vertical roots are carefully cut off and transferred to sacking.
How to plant:
- Dig a planting hole 40 cm wider and 25 cm deeper than the size of an earthen ball.
- Water the pit with water to shrink the earth.
- Place a 10 cm thick drainage made of expanded clay, broken brick or stone on the bottom.
- Put 50 g of nitroammophoska.
- Add some of the mixture.
- Place the seedling, distribute the roots, sprinkle with the remaining mixture and then earth.
- Do not deepen the root collar.
- Form a hole, water, mulch with organic matter.
Now you need to support the seedling with proper care.
The seedling is watered abundantly daily, especially if there is no rain. After a while, the earth in the hole will begin to sink. It is regularly replenished. In the first year, the plant is sheltered from the sun so that the needles do not burn.
Tui in the garden are islands of greenery and summer joy even in the snowy season.