Sooner or later, each of us is faced with something unknown. Of course, it is much more accurate to collect well-known and proven whites, chanterelles and mushrooms. But I want to expand – to whom the horizons, to whom – the range of mushroom dishes. What if you meet an unknown mushroom? Of course, take pictures!
On WikiMushroom.ru, in the Mushroom Identifier by Photo section, you can post photos of mushrooms unknown to you and get an answer: what kind of mushrooms are they, are they edible, and, possibly, recommendations for cooking.
However, unfortunately, not every photograph can be easily and one hundred percent likely to identify a mushroom.
It is about how to photograph a mushroom correctly, what points should be highlighted in the photo, we will talk in this article.
First of all, a photograph will be very informative and useful for determining directly, as they say, “from the scene”, that is, how the mushroom grew. Examples:
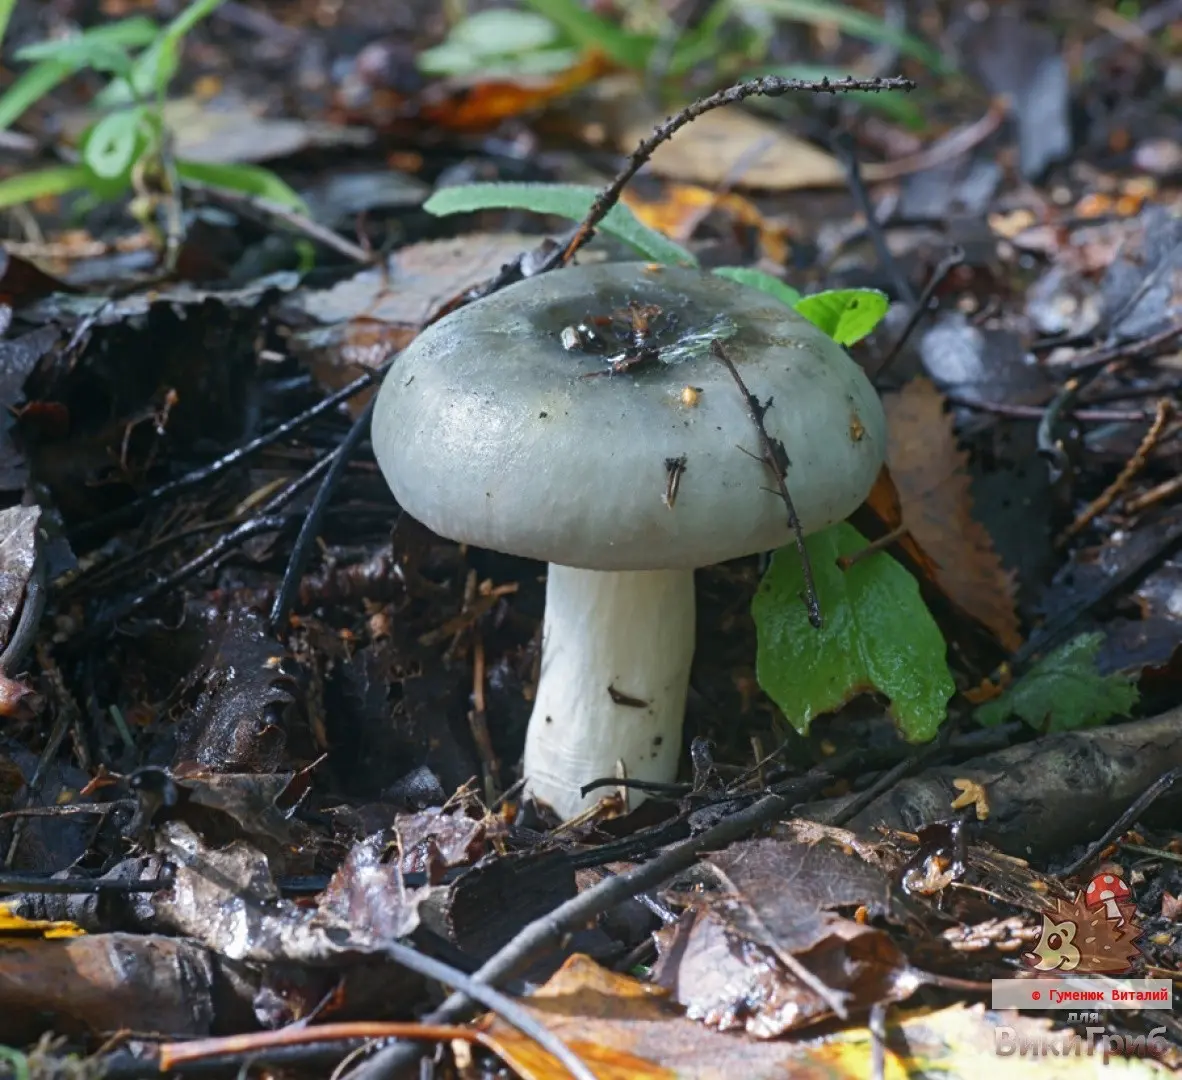
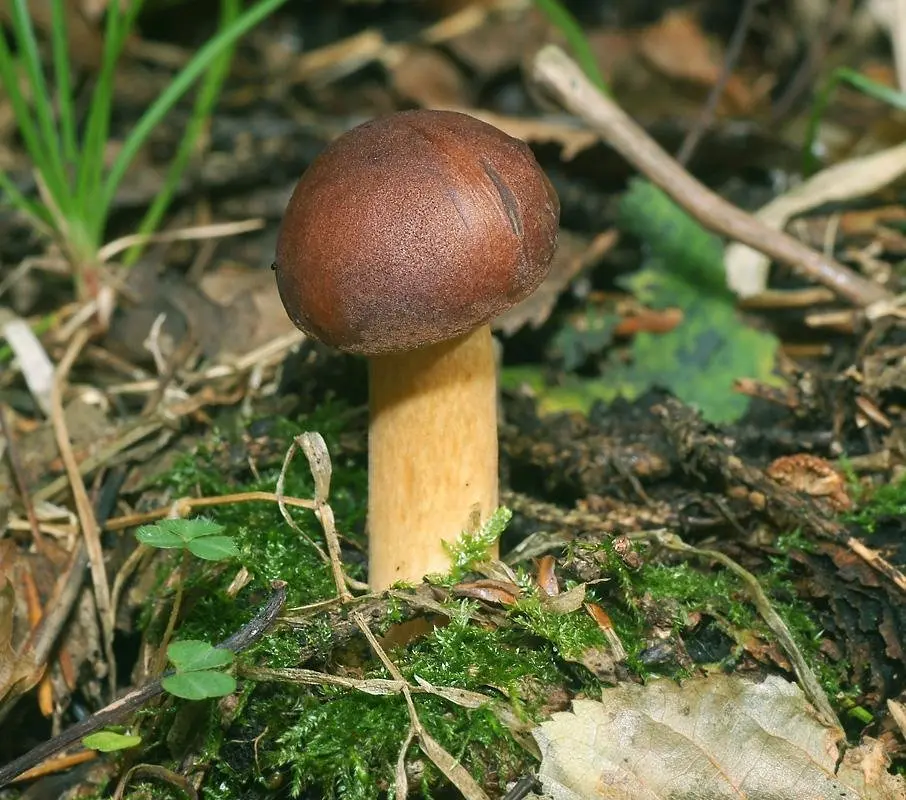
But one such photograph is absolutely not enough to determine. Why? – Yes, because the most important details are not visible: what is under the hat? Plates, “sponge” (tubular hymenophore) or “needles”? In the examples above, one mushroom has a lamellar hymenophore, the second one has a tubular hymenophore, but this is completely invisible from the photo.
Therefore, be sure to take a photo of the underside of the hat:
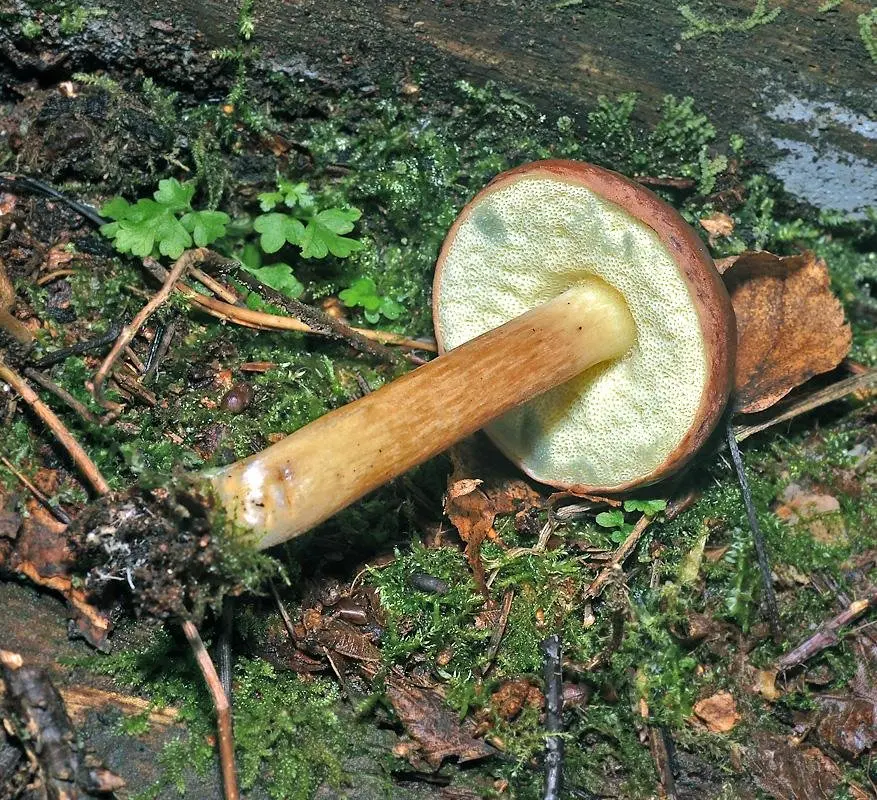
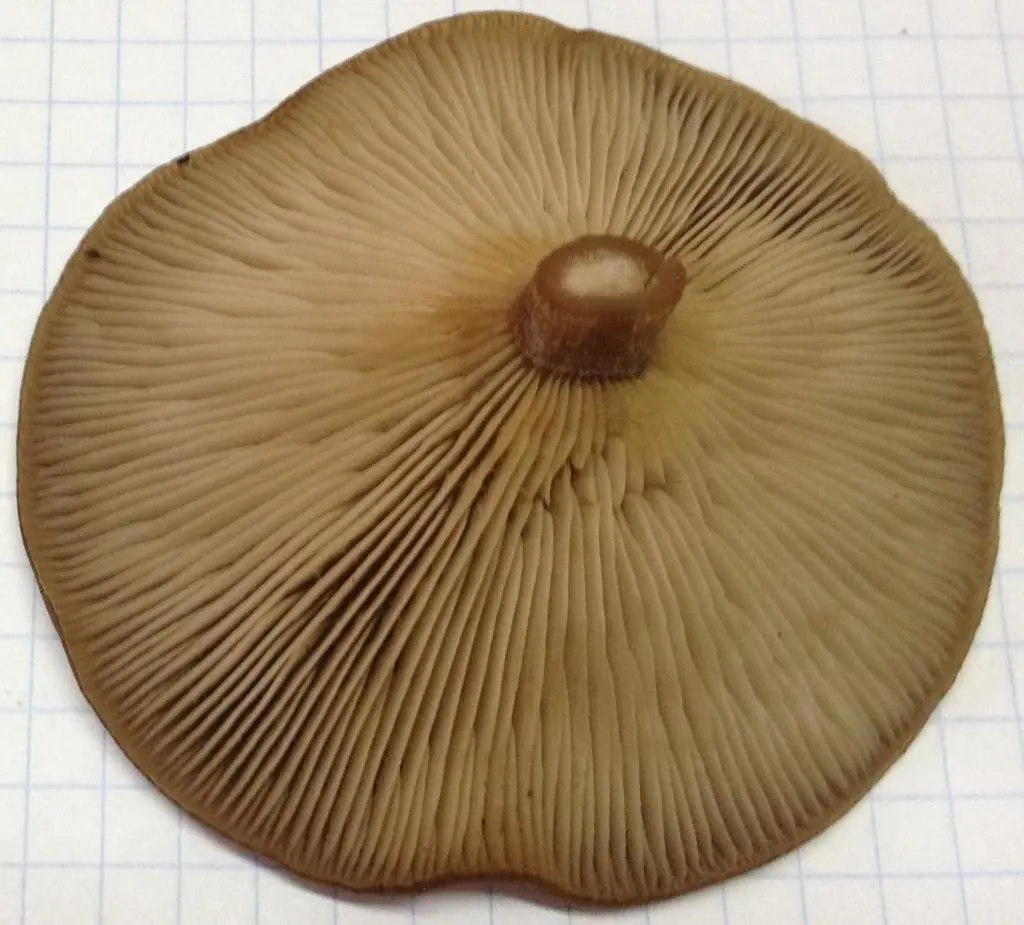
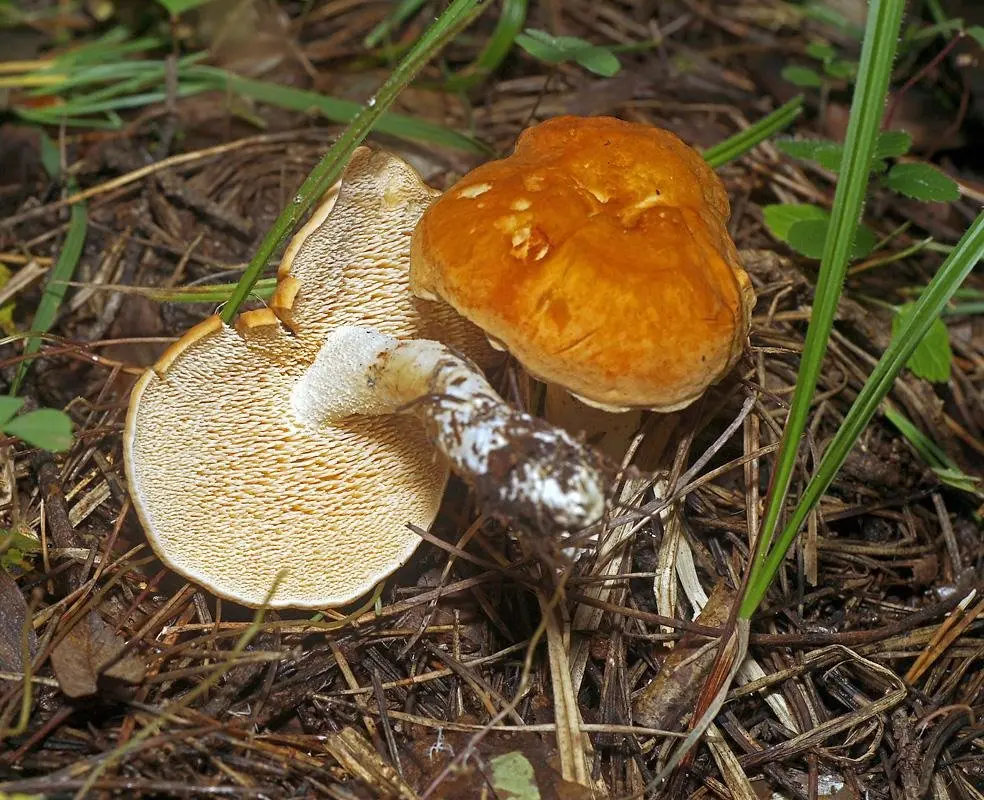
And it is very good if the place of attachment of the hat and legs is in focus.
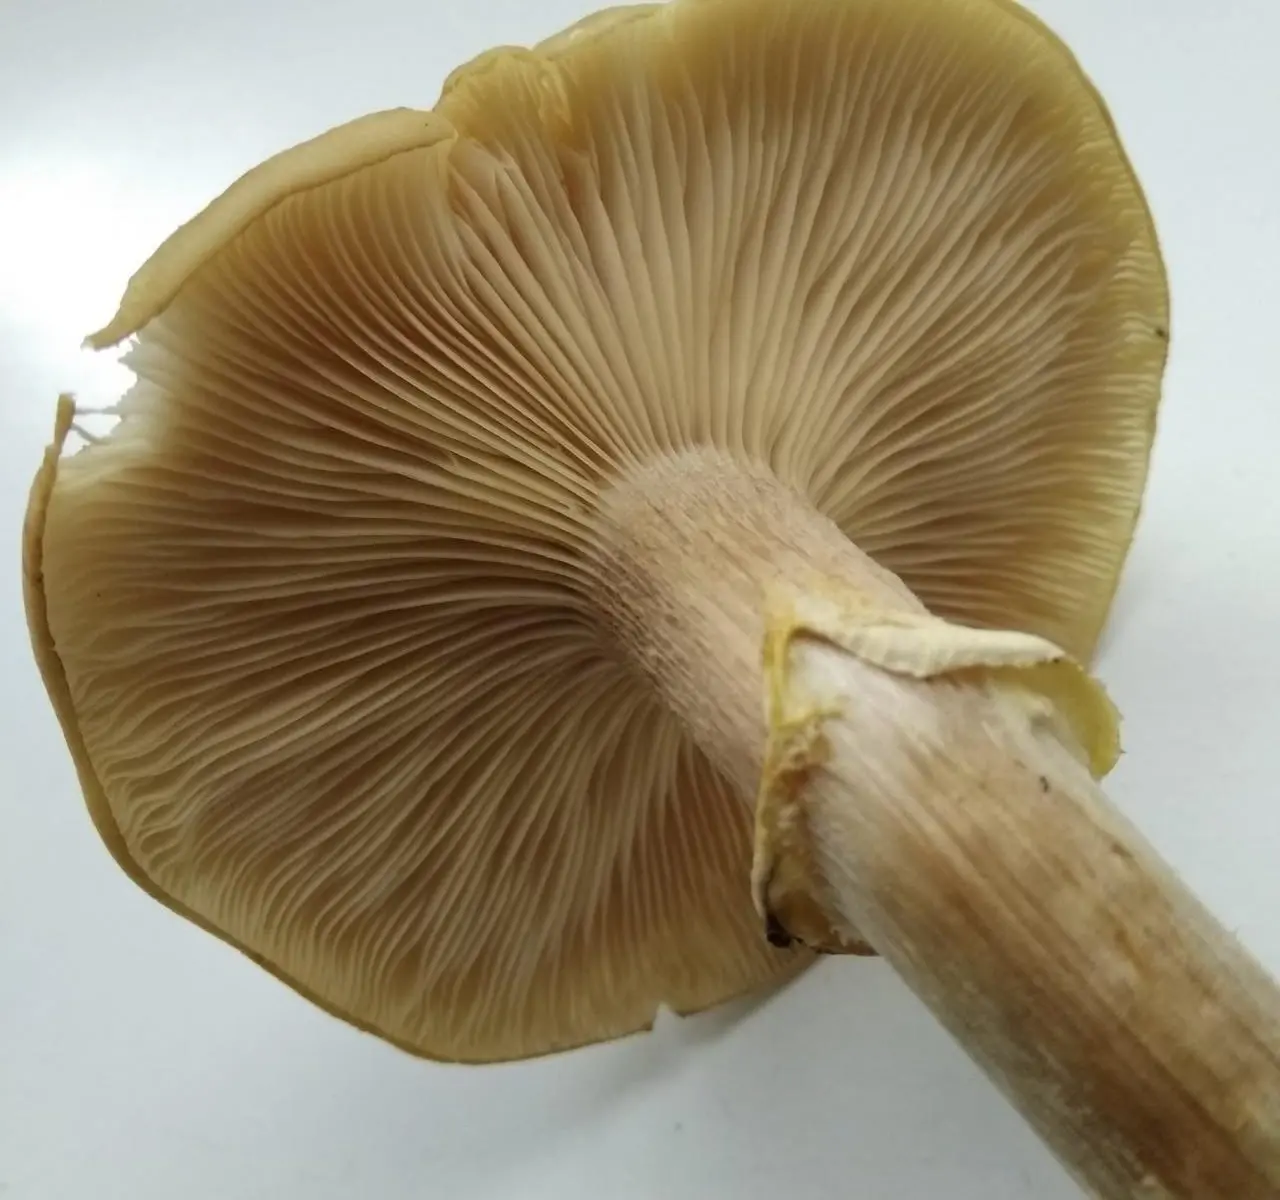
An important detail for determining is the stem of the mushroom, as a whole, especially the bottom, in no case cut or peeled.
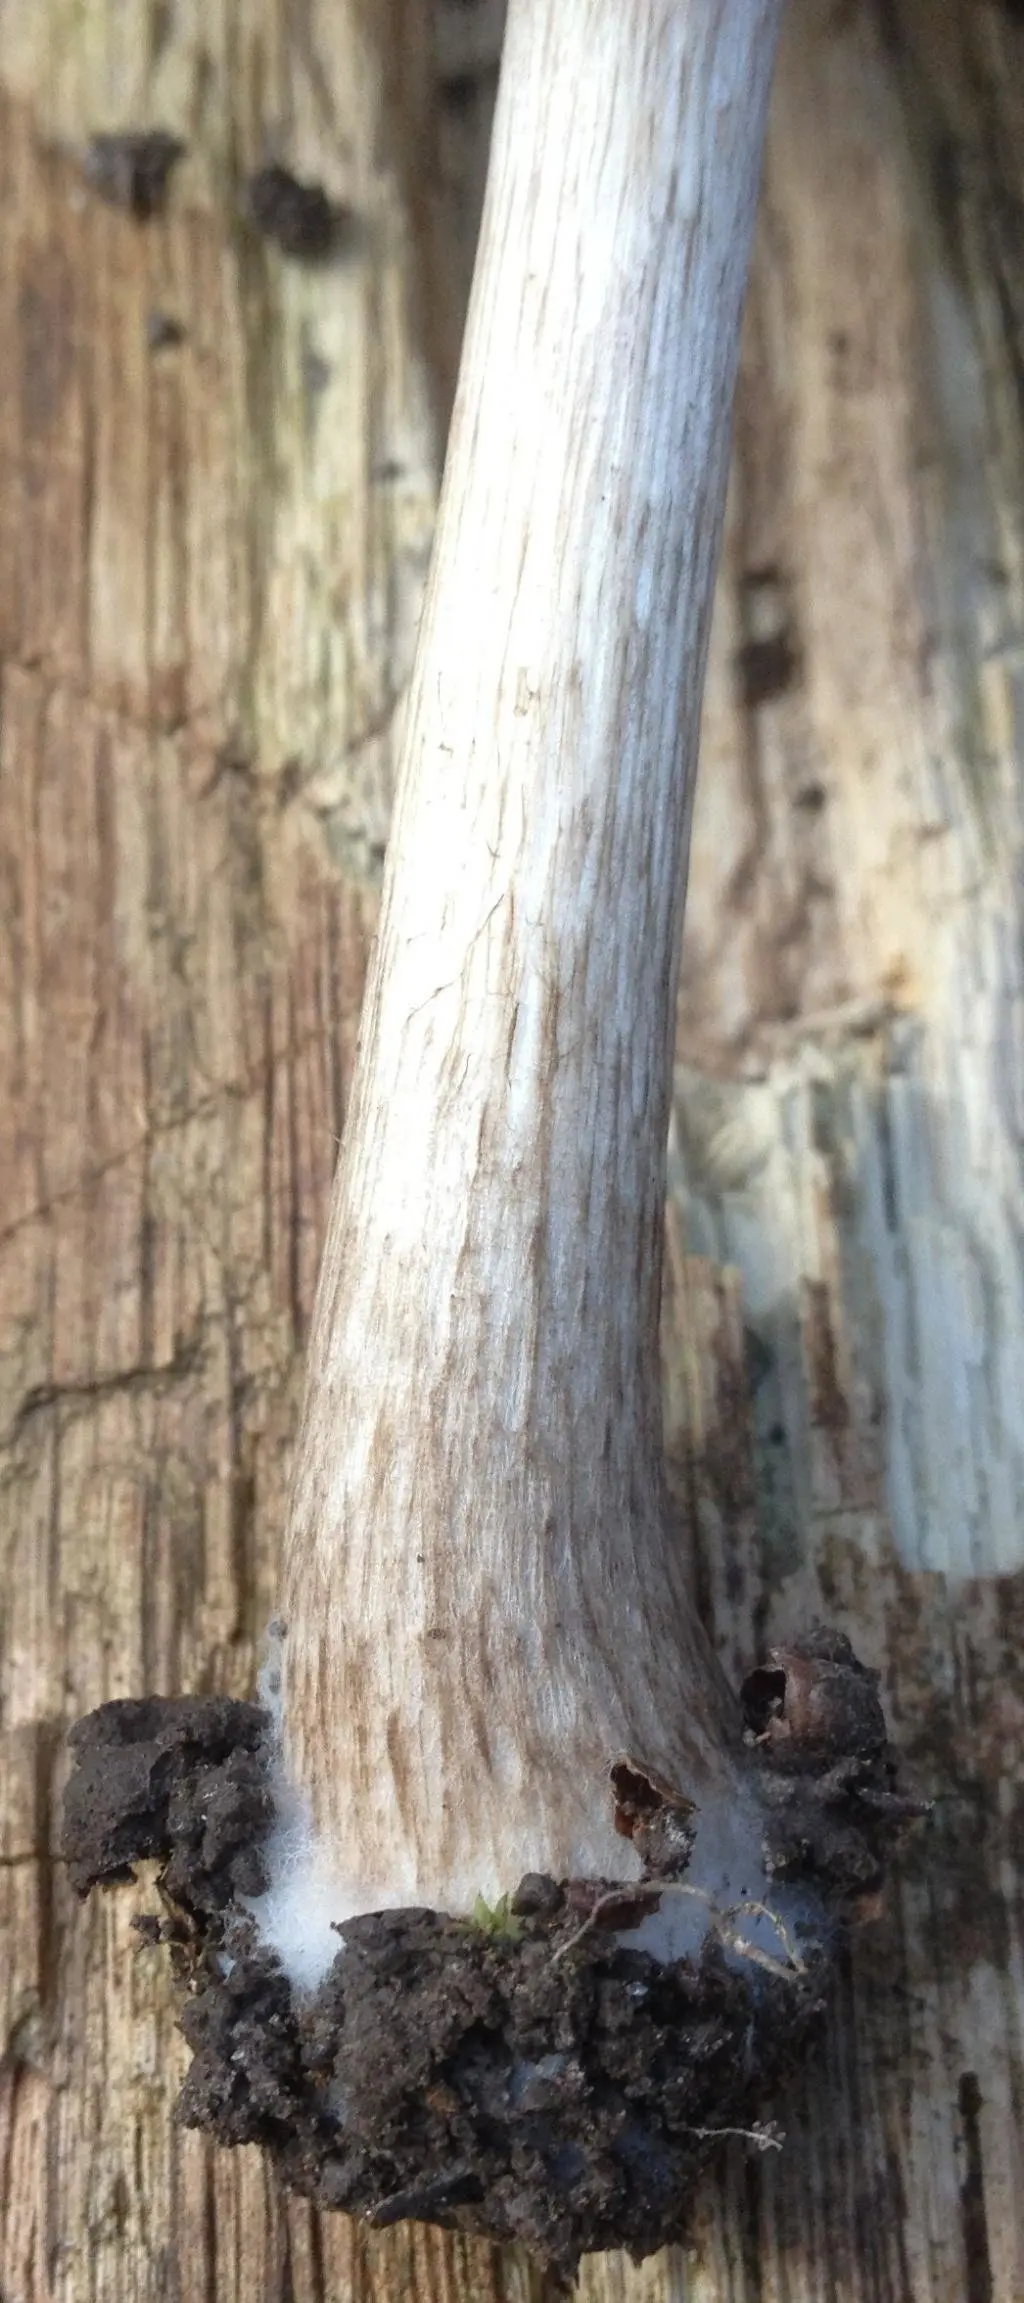
If the mushroom has a veil or a ring on the stem, the remains of the veil on the hat – take a photo in which this particular detail is visible in close-up.
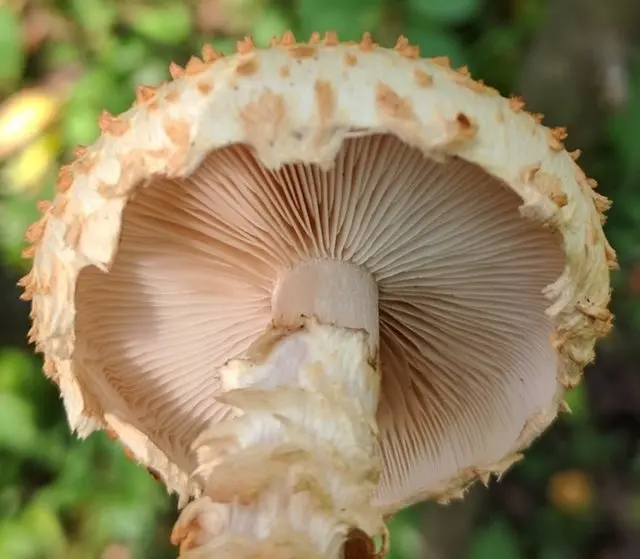
If a mushroom changes color when cut or pressed, it would be good to photograph it after the color change:
It is quite clear that not everyone has professional cameras, and the color reproduction of photographs taken with a mobile phone often goes “no one knows where”, and lighting plays a very important role. Therefore, if you take a photo at home, put the most ordinary sheet of white paper under the mushrooms.
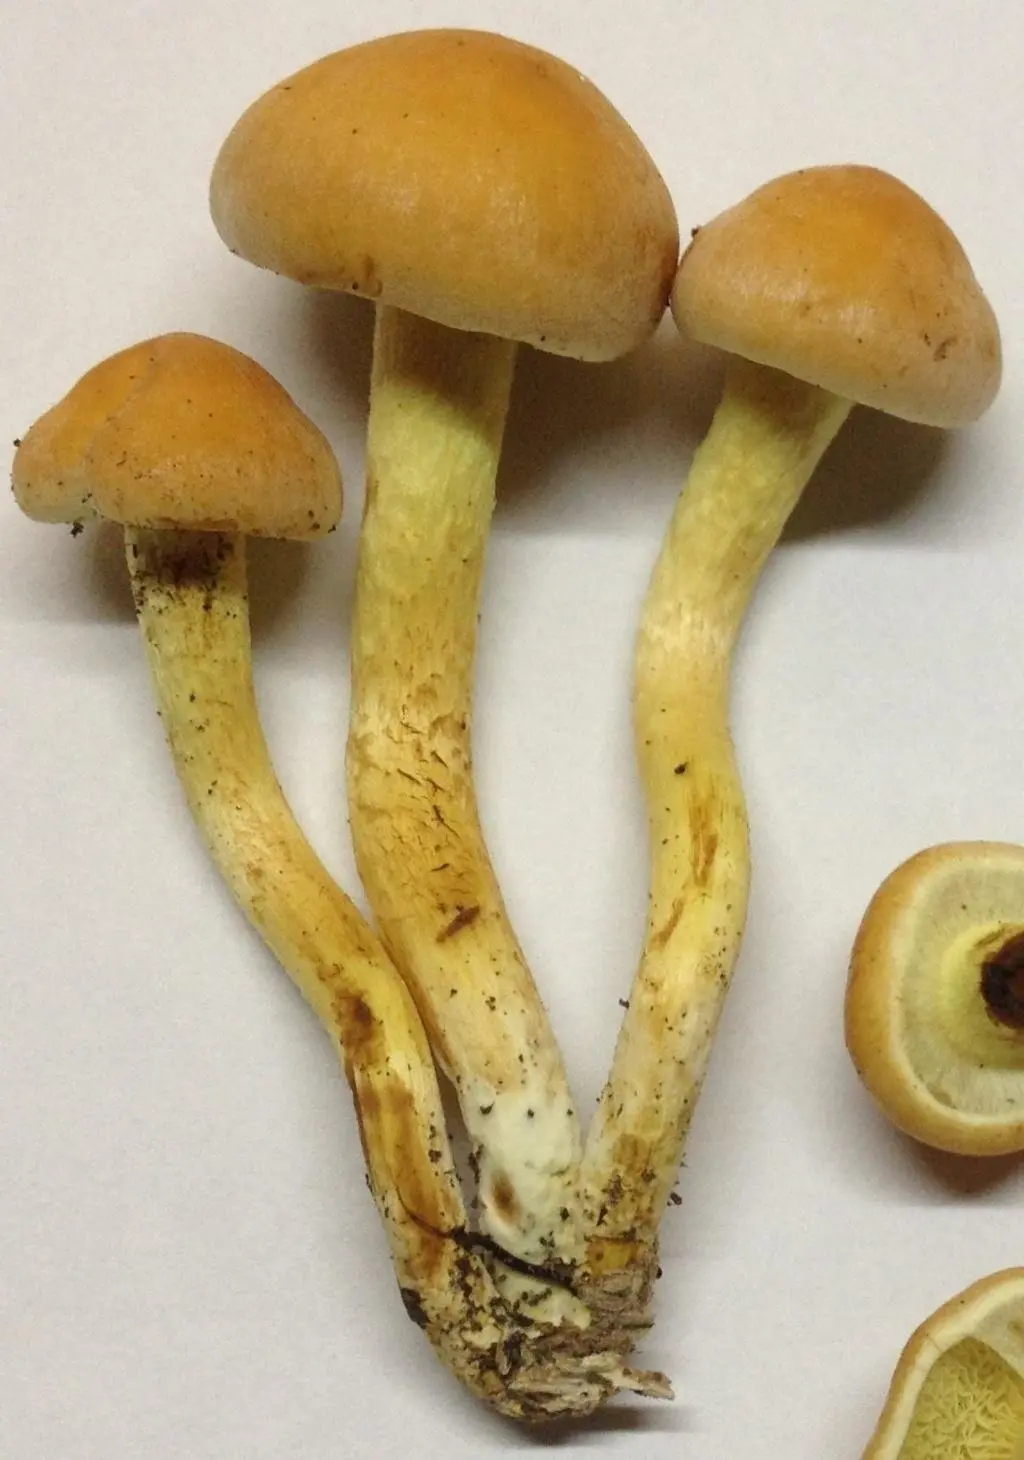
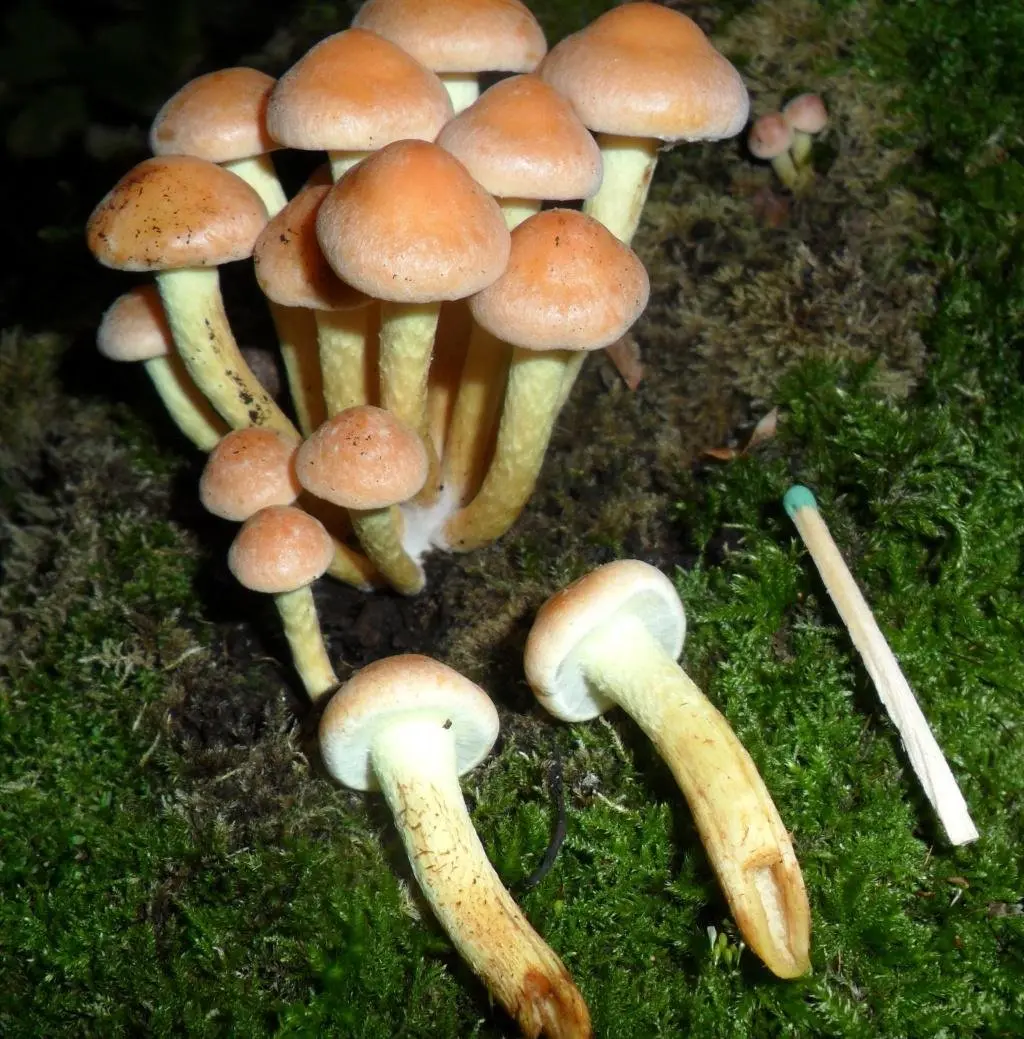
Estimating the size of the mushroom is also very important, but this does not mean that you need to carry a ruler with you into the forest. For photos in the forest, use any objects that will allow you to estimate the size, it can be a match or a matchbox, a lighter, keys, in a word, anything with an understandable size.
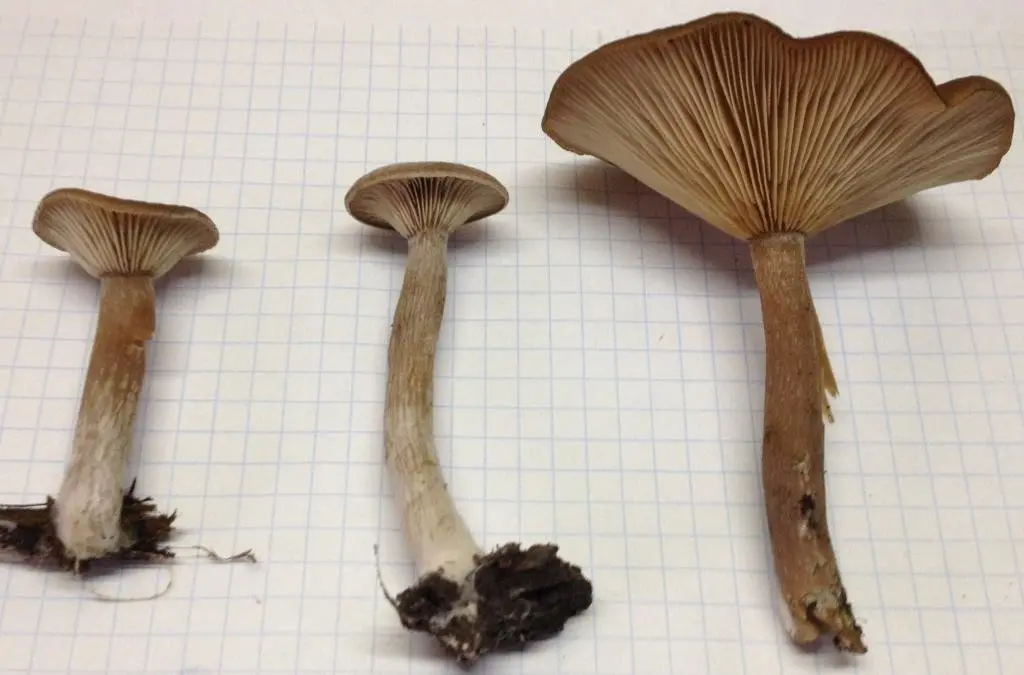
For photographs of small mushrooms at home, it is ideal to use a sheet from the most ordinary school notebook “in a box”.
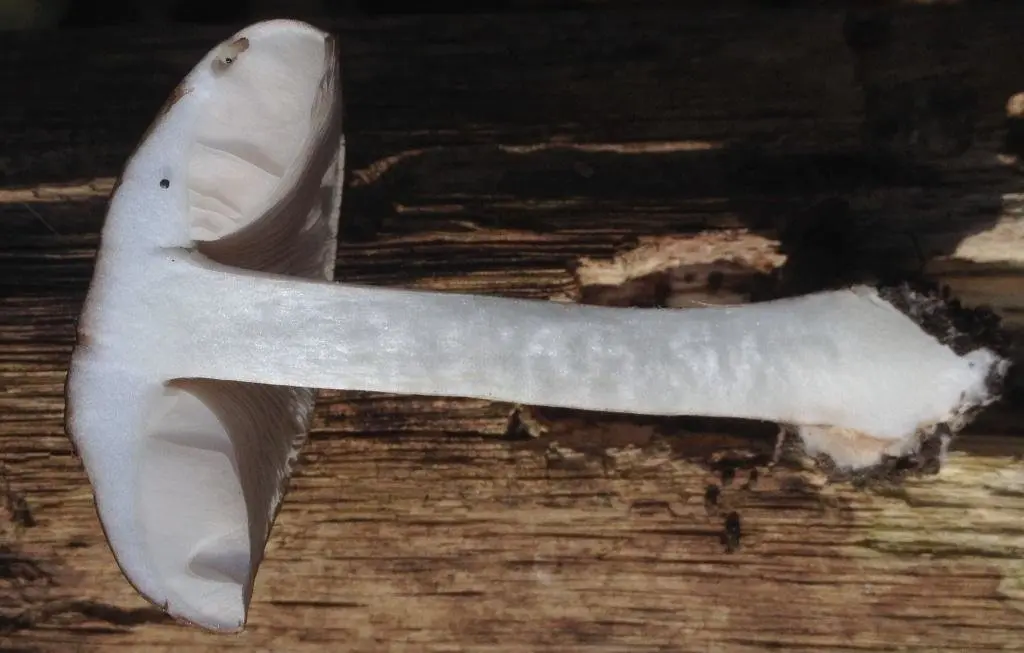
And finally, the mushroom in the cut. Such a photograph in some cases can greatly facilitate the exact determination.
I consider it necessary to warn: it happens, unfortunately, that even with the most “correctly” photographs taken, it is not possible to identify the mushroom quickly enough. But this is no reason to despair! There are many wonderful finds waiting for all of us in the forest, and if some mushrooms temporarily hang in “mysteries” for the time being, this will not spoil the impressions of the “quiet hunt”.
Photographs used in this post with permission from the authors.


