We get the imprint of spore powder (“Spore print”)
Sometimes, in order to accurately identify the fungus, it is necessary to know the color of the spore powder. Why are we talking about “spore powder” and not the color of the spores? One spore cannot be seen with the naked eye, but if they were poured en masse, in powder, then they are visible.
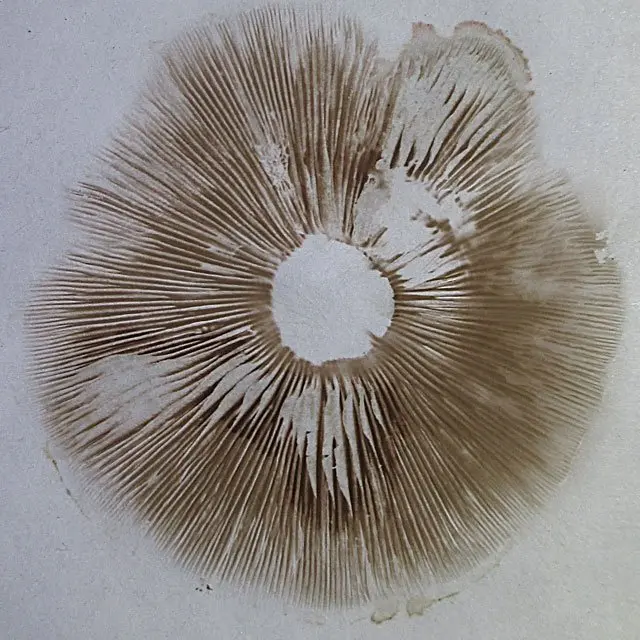
In foreign literature, the term “spore print” is used, short and capacious. The translation turns out to be longer: “imprint of spore powder”, the word “imprint” here may not be entirely correct, but it has taken root and is used.
Before starting the procedure for obtaining a “spore print” at home, carefully examine the mushrooms in nature, right at the place of collection. Adult specimens generously scatter spores around them – this is a natural reproduction process, because mushrooms, or rather, their fruiting bodies, do not grow in order to get into the mushroom picker’s basket: spores ripen in them.
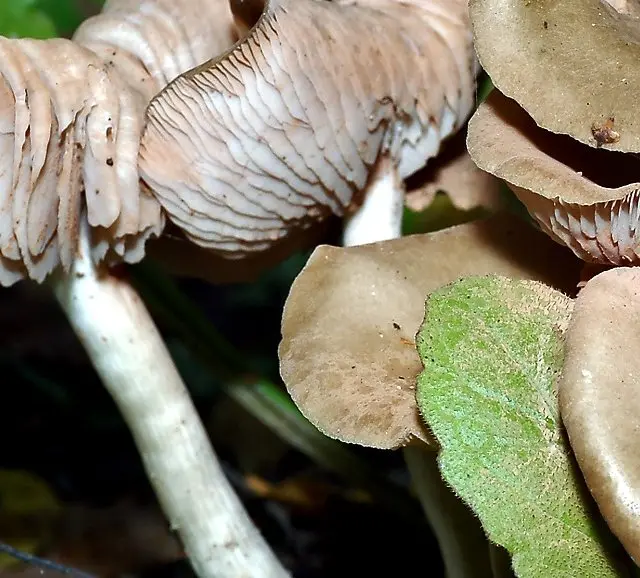
Pay attention to the colored dust covering the foliage, grass or the ground under the mushrooms – that’s it, spore powder.
Examples, here is a pinkish powder on a leaf:
But the white powder on the leaf under the mushroom:
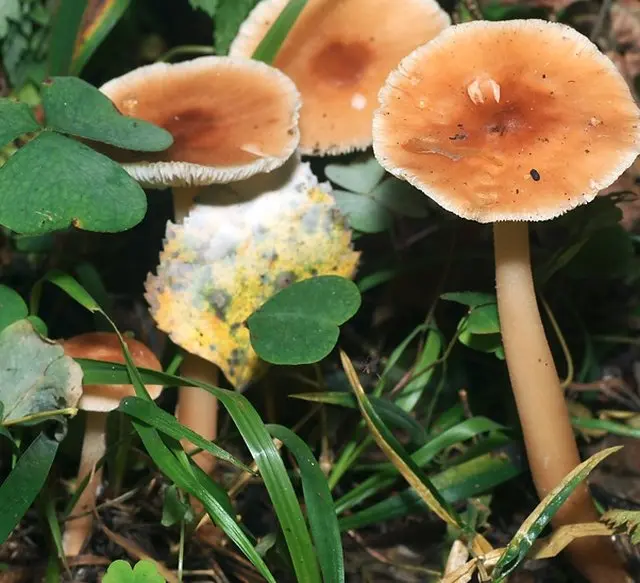
Mushrooms that grow close to each other sprinkle spores on the hats of their undersized neighbors.
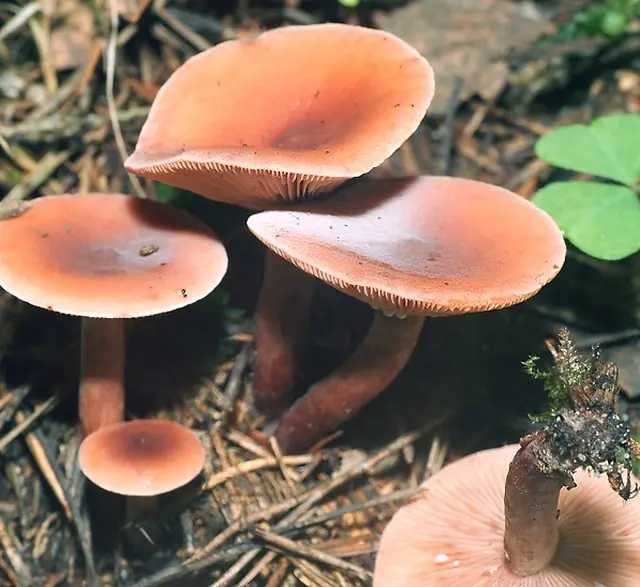
However, under natural conditions, the spore powder is carried away by the wind, washed off by rain, it can be difficult to determine its color if it is poured onto a colored leaf or a bright hat. It is necessary to obtain an imprint of spore powder in stationary conditions.
There is nothing difficult in this! You will need:
- paper (or glass) where we will collect the powder
- a glass or cup to cover the mushroom
- Actually, the mushroom
- a little patience
To get a “spore print” at home, you need to take a relatively mature mushroom. Mushrooms with unopened caps, or too young, or mushrooms with a preserved veil are not suitable for imprinting.
Washing the mushroom selected for the spore print is not recommended. Carefully cut off the leg, but not just under the hat, but so that you can put the hat on this cut as close as possible to the surface of the paper, but so that the plates (or sponge) do not touch the surface. If the hat is too large, you can take a small segment. The top skin can be moistened with a couple of drops of water. We cover our mushroom with a glass to prevent drafts and premature drying of the hat.
We leave it for several hours, preferably overnight, at normal room temperature, in no case in the refrigerator.
For the dung beetle, this period can be reduced, everything happens too quickly for them.
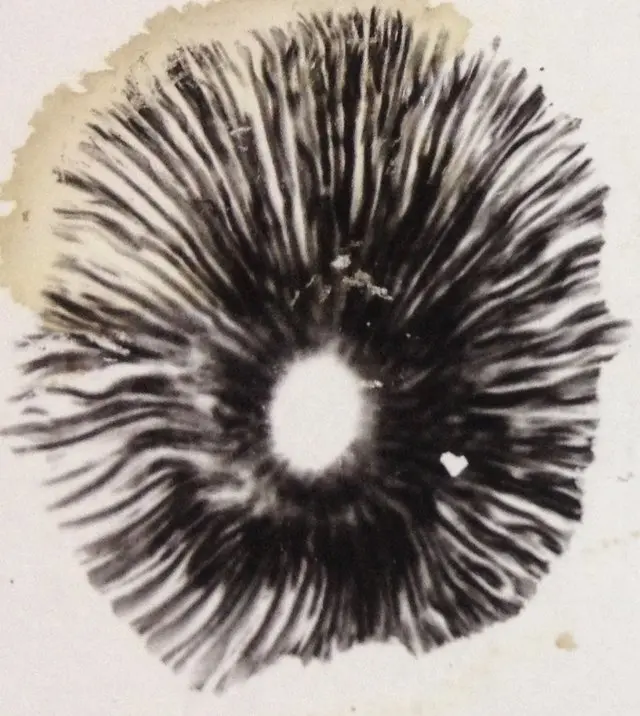
For relatively young mushrooms, it may take a day or even more.
In my case, only after two days we managed to get a print of such intensity that you can make out the color. The quality was not very good, but it helped to clearly identify the species, the powder is not pink, which means it is not an entoloma.
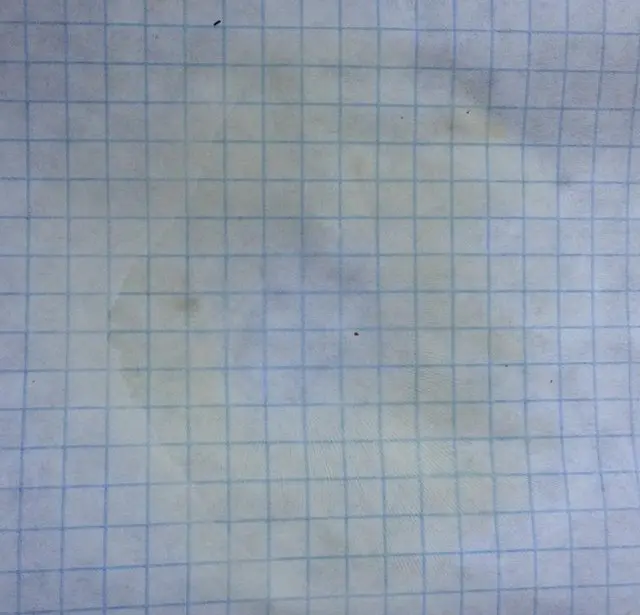
When you lift the cap, be careful not to move it, do not smear the picture: the spores fell vertically down without air movement, so that we will see not only the color of the powder, but also the pattern of plates or pores.
That, in fact, is all. We received an imprint of spore powder, you can photograph for identification or just “for memory”. Do not be embarrassed if the first time you do not get a beautiful picture. The main thing – the color of the spore powder – we learned. And the rest comes with experience.
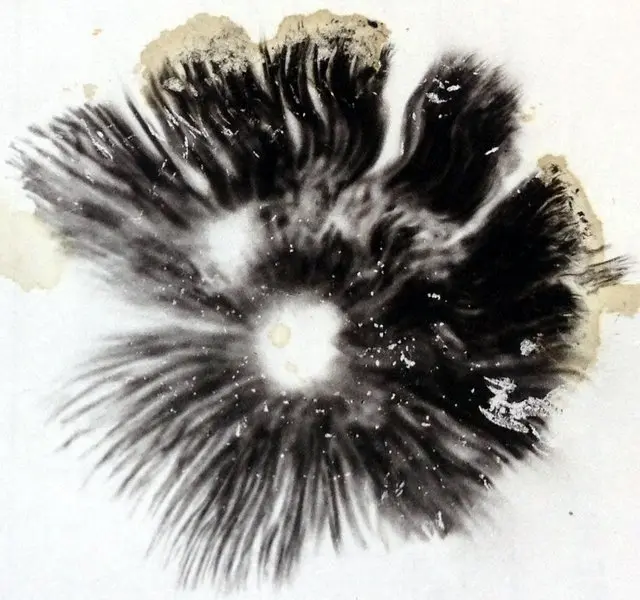
One more point remained unspecified: what color of paper is better to use? For light “spore print” (white, cream, cream) it is logical to use black paper. For the dark, of course, white. An alternative and very convenient option is to make a print not on paper, but on glass. Then, depending on the result, you can view the print, changing the background under the glass.
Similarly, you can get “spore print” for ascomycetes (“marsupial” mushrooms). It should be noted that axomycetes scatter spores around themselves, and not down, so we cover them with a wider container.
Photos used in the article: Sergey, Gumenyuk Vitaly


