Contents
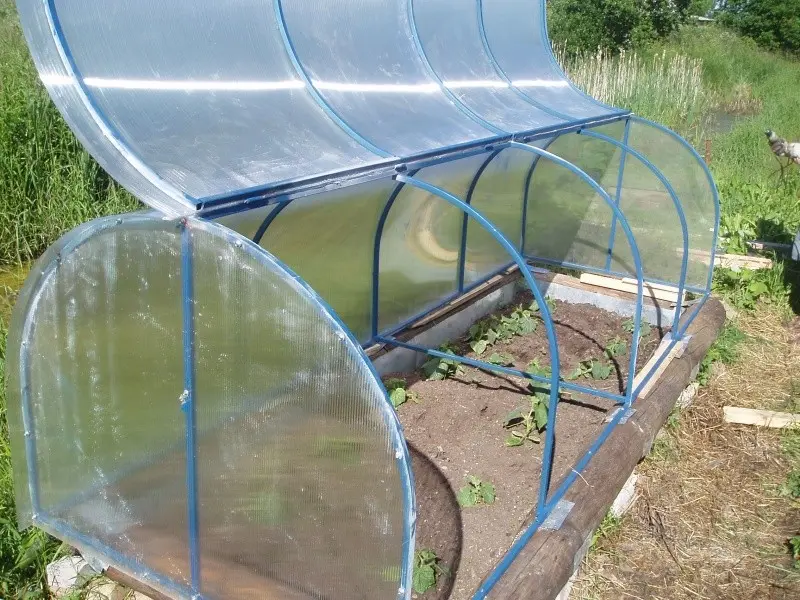
Any hostess would like to have a comfortable and functional greenhouse in her summer cottage. Its existence could facilitate the cultivation of heat-loving vegetables, melons. For a budget option, a greenhouse made of polypropylene pipes is perfect. It will take no more than an hour to build it, but you will get a simple and reliable, collapsible, portable, fairly presentable greenhouse.
Advantages of polypropylene
The most important advantage of greenhouses made of polypropylene is their low cost. You can also come up with any configuration and easily place your offspring in any corner of the site. Convenience and ease of disassembly will allow you to remove the greenhouse for the winter or move it to another summer cottage next year.
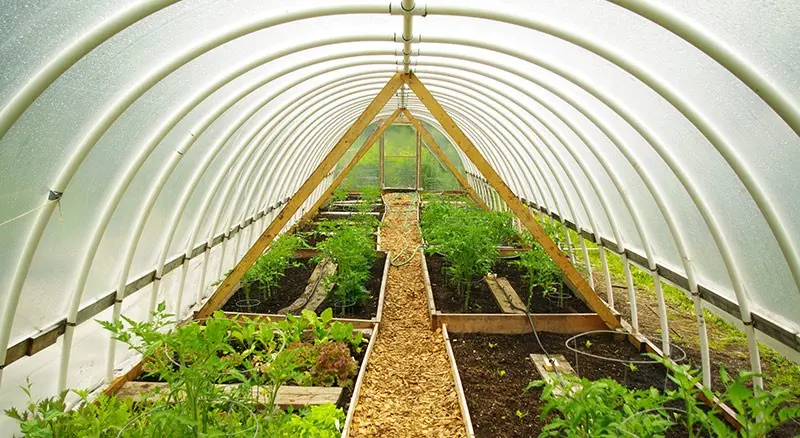
Using polypropylene pipes, you get a durable, heat-resistant and environmentally friendly material. And finally, you want to make a greenhouse with your own hands – then polypropylene pipes are what will allow you to show all your creative imagination. The facts speak for themselves:
- polypropylene is resistant to high temperatures (up to 85 C) and pressure of 25 atmospheres;
- not subject to rust, rot, limestone deposits, corrosion, bacterial activity, easy to clean;
- In addition, polypropylene pipes are used to transport drinking water, which indicates that its chemical and physical properties meet the necessary requirements.
Drawings and diagram
From polypropylene, you can make a frame for both arched and gable greenhouses. The assembly principles of these two frames are different. An arched greenhouse is easier to manufacture, so if you want to do everything yourself, we recommend starting with it (see the drawing in Figure 1).
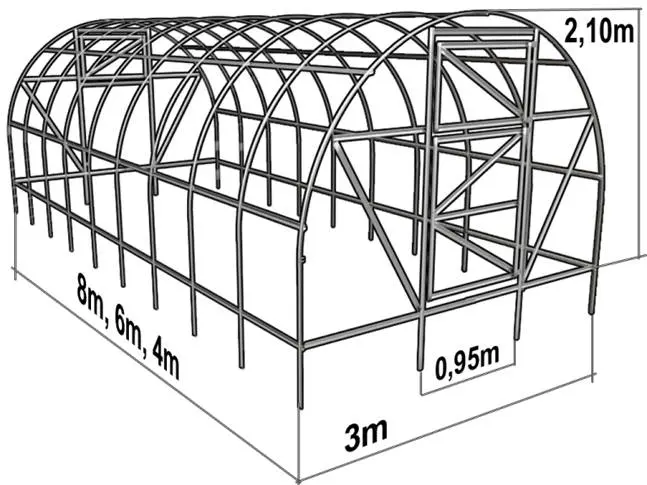
Fig. 1 Drawing of an arched greenhouse
When installing polycarbonate on a greenhouse, you should follow some rules:
- it is not necessary to hermetically close the lower edge of the polycarbonate sheet, for example, with adhesive tape, because through small holes along the edge, proper air circulation inside the sheet is ensured;
- remember that polycarbonate is sensitive to shock; during installation, you need to use special support boards;
- the upper edge of the sheet must be closed with a profile to prevent insects, dust and moisture from getting inside;
- polycarbonate sheets can draw moisture in the storage room, make sure that your warehouse is dry;
- You can remove the protective film only after all installation work;
- in order to bend a sheet of cellular polycarbonate, it must be installed in a vice and pulled by hand along the cells of the sheet.
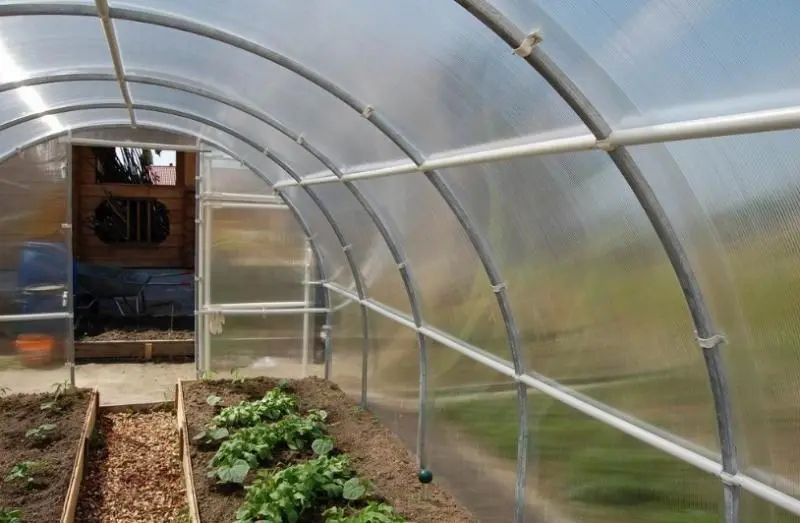
Study the documents according to which you purchased polycarbonate, since sheets can only be laid on the arcs of polypropylene pipes at a certain radius. If you plan to place vertical partitions inside the greenhouse with your own hands, the honeycomb must be placed in a vertical position.
The process of creating a gable greenhouse from polypropylene pipes is not much more complicated than an arched one, it is somewhat reminiscent of a constructor game for adults. But the problem remains the docking of plastic parts. You will need a special high temperature soldering iron.
Video “Polypropylene pipes in the construction of a greenhouse”
Foundation
To make a polycarbonate greenhouse with your own hands, it is recommended to install a strip foundation. Further, holes are drilled in it and polypropylene pipes are fixed.
Replacing this type of foundation will be segments of reinforcement, which should be buried 50-60 cm into the ground. If a segment of 30-40 cm remains above the ground, this will be enough to hold the structure together. Pipes need to be put on fittings, but if not, your greenhouse will be blown away by the wind to the neighbors.
There is another way: drive metal pipes in the corners and along the length of the frame. It is also necessary to connect them by welding along the base. Arcs of plastic pipes are screwed to them with clamps. To calculate the number of plastic pipes for the frame, you should determine the number of polycarbonate sheets. The drawing shows the schematic length of the structure, a multiple of the number of 4 sheets.
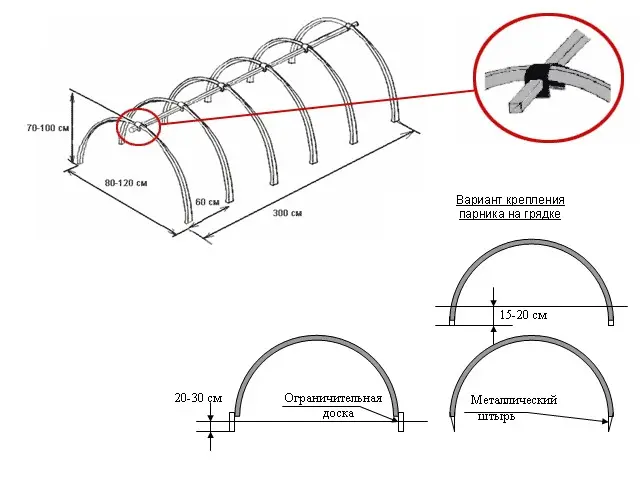
Fig. 2 Drawing of a greenhouse made of 4 sheets of polycarbonate
The greenhouse will turn out to be a standard width of 3 meters. Choose the height of the greenhouse based on the length of the polycarbonate sheet, the maximum possible length is 12 meters.
Installation work
To successfully install a greenhouse with your own hands on a summer cottage using polypropylene pipes and polycarbonate, you need to prepare the surface. On the land allotted for the greenhouse, drive stakes to a depth of 25 cm. This is the main condition that helps not to unbend the pipes. You can also build a foundation of wooden blocks, put together a frame. If your frame is assembled rectangular, the diagonals will be equal. To fix the frame, reinforcement bars are driven in at the corners from the inside.
After studying the drawings and following the instructions, we assemble the frame. It will be necessary to machine the tees so that the pipe passes through them. We fix the tees with self-tapping screws – this will give us the opportunity to disassemble the structure for the winter with our own hands. For the strength of the greenhouse and its greater stability, we recommend putting all the tees on glue. True, in this case, the greenhouse will not be collapsible. We put arches and connections, prepare doors and windows for the greenhouse, and assemble them according to our drawings.
The last step in the construction of the greenhouse will be the installation of cellular polycarbonate with your own hands. Its service life is 12-15 years. The main thing during installation is to observe the condition of the cells being perpendicular to the ground. Thus, moisture that has got inside will flow out freely and will not freeze in winter. Mandatory fixation of polycarbonate with thermal washers.
Commissioning
Of course, for the successful operation of a greenhouse, it is not enough to build and install it. Inside the greenhouse, it is required to prepare soil and fertilizers, plan holes, think over lighting and, if necessary, heating in the room.
The soil can be prepared in several ways:
- mix peat, sawdust and Kemira combi solution;
- we prepare a mixture of ordinary earth with peat and sand. Add fertilizer before planting seedlings;
- a mixture of sod land, humus, sawdust. Before planting seedlings, the prepared mixture must be disinfected.
Due to insufficient sunlight, and plants sometimes need up to 14 hours of special light for vegetative growth, it is customary to install special lamps in greenhouses, only blue or red spectrum. There are many lamps, use reflectors for better lighting.
So, a greenhouse using polypropylene pipes is a good inexpensive option for suburban areas with a limited area. Greenhouses are quite light, reliable and will serve you for ten years.
Video “We make a greenhouse with our own hands”
In the video you will learn what should be done to get a high-quality and reliable greenhouse. The main tips and useful recommendations are outlined.


