Contents
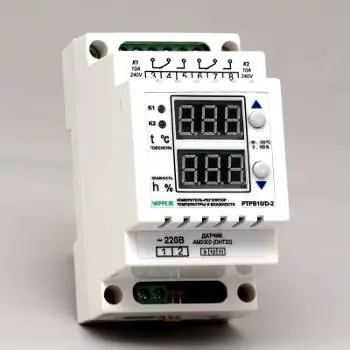
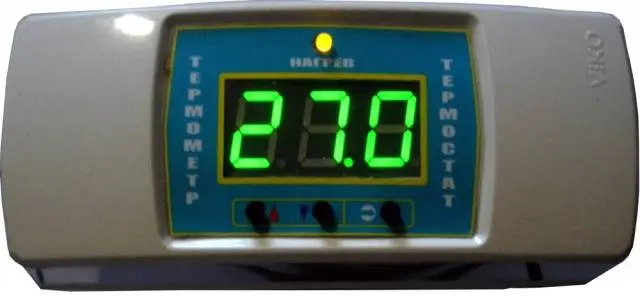
For the incubation of eggs, poultry farmers use home-made and factory-made incubators. The appearance of the device resembles an ordinary box, to which an electronic control unit is connected – a thermostat. Its task is to maintain the set temperature throughout the incubation period. Now we will consider what thermostats with an air temperature sensor for an incubator are, and on what principle they work.
Varieties of thermostats
There are many types of thermostats. Some are suitable for connecting to an incubator, others are not, others, in general, can only be used to take readings, and are not capable of controlling the operation of the actuator. Let’s see what thermostats are found on store shelves:
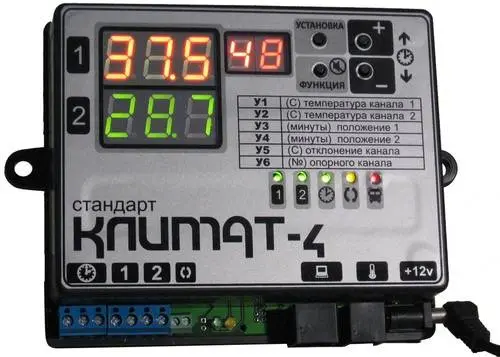
- Electronic models have high sensitivity and low error, which is very important when incubating eggs. The device consists of two elements: a temperature sensor and a control unit. A thermistor is used as a sensor. The temperature is controlled by changing the resistance. A thermotransistor can also serve as a sensor. In this embodiment, the control is carried out by changing the passing current. The sensor is installed inside the incubator near the eggs. The control unit is an electronic key that controls the operation of the heating elements installed inside the incubator. The signal to the electronic device comes from the temperature sensor, and the unit is installed outside the incubator.

The maximum error of the electronic thermostat for the incubator is 0,1оC, which cannot harm the eggs being incubated.
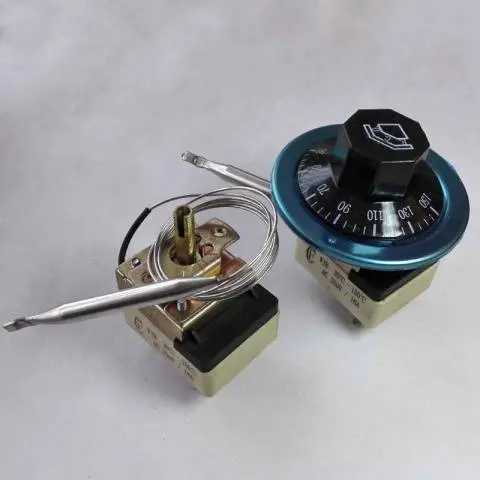
- A mechanical controller is the simplest mechanism equipped with a temperature-sensitive plate. It does not operate on mains voltage. A mechanical controller is used to adjust the temperature in gas ovens and other similar household appliances.

- The electromechanical thermal relay works on the principle of a mechanical counterpart, but with a network connection. A thermoplate or a sealed capsule with contacts filled with gas is used as a temperature sensor. Heating or cooling of the sensitive elements of the sensor actuates the contacts. They open or close the circuit through which the voltage goes to the heating element. Previously, enthusiasts made such a thermostat for an incubator with their own hands from old parts left over from broken household appliances. Its disadvantage is the large error in temperature control.

- Another electronic device is PID controllers. Their difference lies in the smooth way to adjust the temperature. The electronic key does not break the circuit supplying current to the heater, but reduces or increases the voltage. From this, the heating element works at full strength or half, due to which a smooth temperature control is obtained.

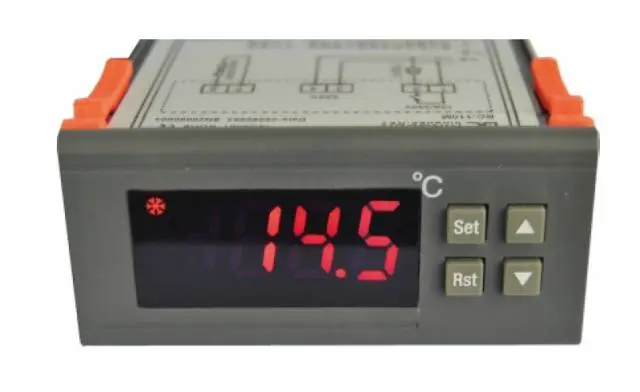
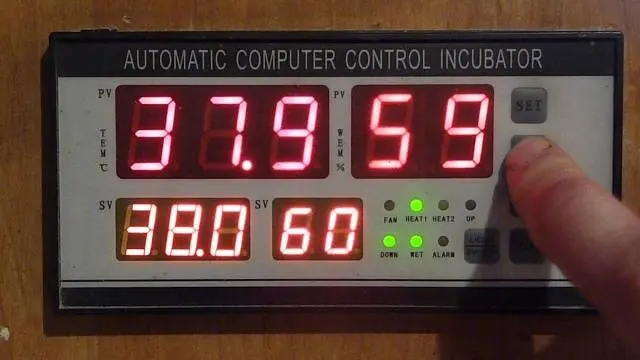
- Digital devices with on-off control allow automatic adjustment of temperature and humidity. Such a thermostat is used in an automatic incubator with additional functions. The person is just watching what is going on. The mechanism of the automatic incubator turns the eggs on its own, the electronic device monitors the temperature and humidity levels, turns on the fan, etc.

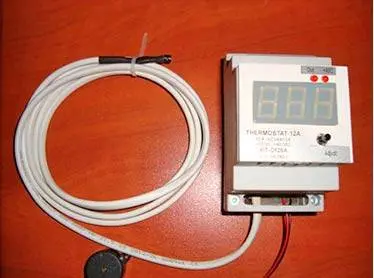
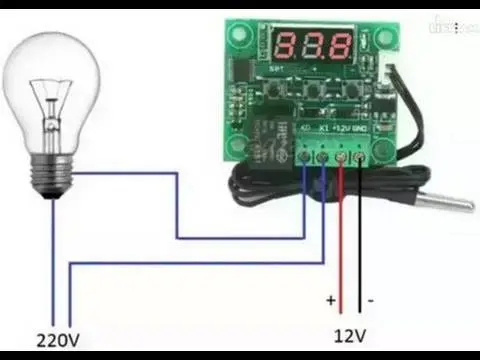
- The 12 volt digital thermostat is designed to improve simple incubators. An electronic device monitors the temperature, and a relay serves as its control mechanism. Here, a heater or fan is connected to its contacts. That is, a person gets the opportunity to connect an actuator operating from 12V DC and 220V AC. The incubator, which has a 220V and 12V thermostat in one device, can even be powered from a car battery in case of an emergency power outage.

- A thermostat can serve as an automatic device for incubating eggs. The device consists of an actuator – a heater and a controller – a thermostat. Even a fan heater can act as a heater. Homemade incubators are usually equipped with a thermostat, for example, from the body of an old refrigerator.

From the entire list of thermostats for a conventional household incubator, it is better to choose an electronic model with a temperature sensor. The device with a small error is suitable for incubating even those eggs that are sensitive to the slightest temperature difference.
Connection and operation of the thermostat
An assembled thermostat for an incubator with your own hands or a device bought in a store works according to the same principle:
- The heating element in the incubator is an ordinary incandescent lamp or heating element. Rarely, a fan heater is used in home-made designs. This executive element is connected to the relay contacts or the electronic key of the thermostat.
- This circuit necessarily contains a temperature sensor: a thermistor, a mechanical thermoplate, etc. When the temperature limit inside the incubator reaches its maximum, the sensor sends a signal to the electronic unit, and it will disconnect the circuit using a relay or key. As a result, the de-energized heater cools down.
- When the temperature has reached a minimum, the reverse process occurs. When the circuit is closed, voltage is applied to the heater, and it starts to work.
You ask how to connect a thermostat? Yes, very simple. In the purchased incubator, the thermostat is already installed and ready for use. If the device is purchased separately, then along with the instructions there is a diagram of its connection. Depending on the model, there may simply be terminals on the device case or wires may already come out. All outputs are usually marked with markings indicating where and what to connect. The user only needs to connect a temperature sensor, a heater to the device and plug the device into a socket.
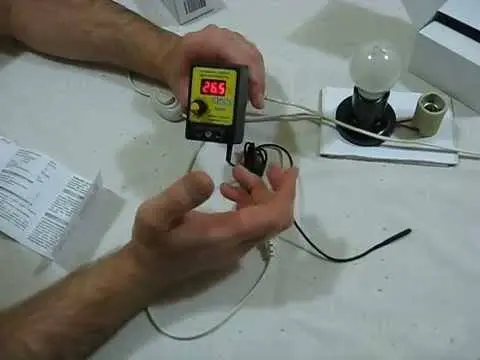
Connecting a thermostat with a humidity sensor follows a similar principle. Such a model will simply have an additional output of terminals or wires. This is where the humidity sensor should be connected.
Homemade thermostat
To make a homemade thermostat for an incubator, you need to be able to read an electronic circuit, use a soldering iron and understand radio components. If you have such knowledge and materials, then you can try to assemble a transistor controller, where four incandescent lamps are used as a heater. The photo shows one of these thermostat schemes for an incubator, but other, more complex options can be found on the Internet.
The video shows a homemade controller:
Overview of prefabricated thermostats
In the store, the consumer is offered a large selection of controllers with various technical characteristics. Before making a choice, you need to find out what power the heater is capable of working with. After all, it depends on how many eggs can be sent for incubation at a time.
Dream 1
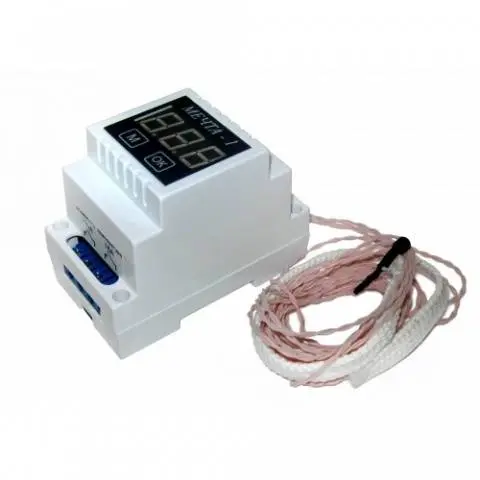
The multifunctional thermostat is designed to control humidity and temperature in the incubator. The device is not afraid of power surges, plus it additionally controls the automatic turning of eggs. All information from the sensors is displayed on a digital display.
Digital hygrometer
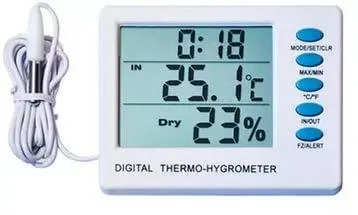
A very practical device with sensors allows you to control the temperature and humidity level inside the incubator. Information is displayed on a digital display. However, the hygrometer is only a controller. The device does not control the operation of the heater, fan or other actuator.
TCN4S-24R
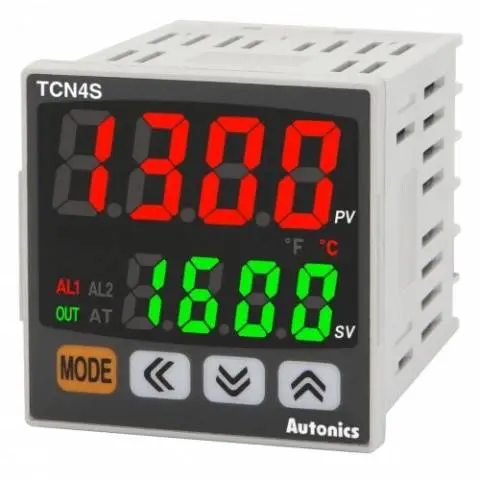
The Korean thermostat is equipped with a PID controller. There are two electronic displays on the body of the device, where all information is displayed. The measurement takes place at intervals of 100 milliseconds, which is a guarantee of accurate readings.
Aries
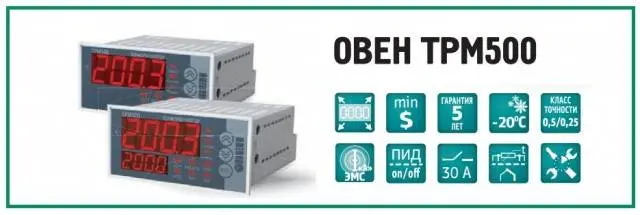
A series of these devices with a PID controller was not originally intended for incubators. They have been used in the industry. Resourceful poultry farmers have adapted the device for incubating eggs, and it successfully copes with the task.
The video provides an overview of the Chinese controller:
Conclusion
The choice of models of thermostats is huge, but you should not buy cheap devices of unknown origin. During incubation, such a controller may fail and all eggs will simply disappear.


