Contents
Any vegetable grower will agree that keeping fresh garlic until the next harvest is more difficult than growing it. The fact is that this bulbous culture does not have a high ability to lie for a long time, it quickly becomes moldy, rots, and closer to spring it begins to germinate and wither. Whatever the housewives do not come up with in order to store the heads of garlic could be all winter. A variety of methods are used: from old and well-tested, to relatively new ones, such as storage in glass jars.
harvesting garlic
The preservation of garlic is influenced by many factors, including proper (timely) cleaning and preparation for storage. So that the garlic heads can lie all winter and not rot, it is necessary to dig out the garlic in time, preventing it from overripening. It is important here to know when which variety to dig.
Everyone knows that garlic is winter (planted in autumn) and spring, which is planted in spring. Accordingly, the harvest time for both varieties is different. Winter garlic is dug up at the end of July. The main signs of its ripening are yellowed lower leaves, as well as a cracked seed box on the arrow (experienced gardeners leave a couple of arrows to later determine the maturity of the garlic heads).
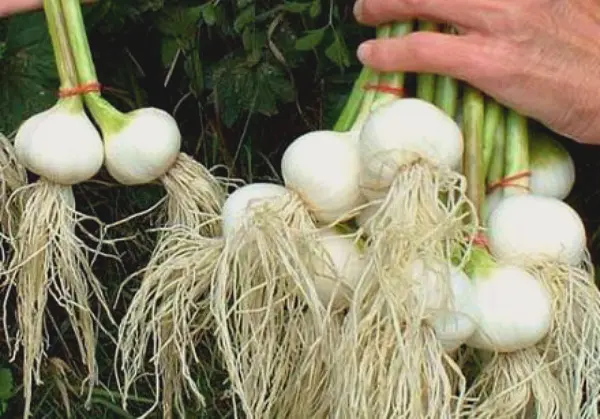
Harvest time for spring garlic is determined by signs such as stem lodging, drying, and thinning of the flakes that cover the tines. As a rule, this happens at the end of summer, and garlic heads are removed from the garden at the end of August.
It is important to know that the timing of the collection of garlic is very limited. If it is not dug up in time, it will overripe and become unsuitable for storage.
The fact that the bulbs are overripe can be recognized by the following signs:
- the head easily crumbles into individual teeth;
- the scales are completely cracked;
- young roots began to grow in the root region.
Such a crop cannot be stored for the winter, so it is better to use it immediately for food.
Before removing the garlic from the garden, it is necessary to carry out some preparatory work: stop watering 2–4 weeks before digging, and rake the ground from the bulbs a little – this will speed up their ripening. Harvesting is carried out in dry and, if possible, in warm weather. It is best to dig the heads with a shovel or garden pitchfork. This must be done very carefully so as not to damage the teeth, and thereby prolong their storage. It is recommended to start harvesting in the morning so that the bulbs can dry out in the fresh air until evening.

Preparing for storage
The dug out garlic should be cleaned from the ground with your hands and laid out in rows together with the stems right on the garden bed for further drying. The stems are left so that the plants can still receive useful substances from them for 4–5 days. Some gardeners leave the heads to dry in the garden for several days, arguing that such bulbs become more resistant to decay and can be stored longer. Others recommend immediately harvesting and drying it under a canopy or indoors.
You can decide for yourself how to dry the garlic bulbs. If the weather is hot, you can leave the crop to ripen in the garden, but you need to slightly cover the heads with leaves so that they do not get sunburned. If the air is cool or rain is possible, it is better to dry the heads indoors, but it must be dry and well ventilated.
Garlic bulbs dry indoors for 2-3 weeks depending on the weather. Their readiness is evidenced by peeling scales, which by this time should become thin and slightly transparent. Now the bulbs need to be cut from the stems and roots. This procedure is performed using secateurs or scissors. The roots are cut to 3 mm, stems – up to 5-10 cm.
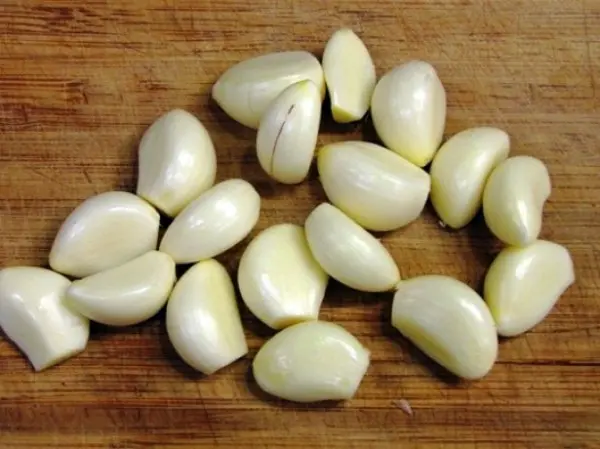
As you know, there are several ways to store garlic for the winter, but since this article describes its storage in a jar, the preparatory measures will only apply to this method.
To extend the storage of bulbs, you can do the following procedures:
- lightly scorch the roots of each head on an open fire (fire, stove, with a lighter) – this will prevent the sprouting of teeth;
- disinfect the bulbs with oil (0,5 l of sunflower oil should be heated well, add 10 drops of iodine to it, mix everything, then dip the garlic heads in oil, then dry in the sun) – the procedure helps to keep the bulbs from mold and rot.
These activities are optional if the crop is harvested on time, and the subsequent drying of the garlic heads is done in accordance with all the rules. But in the event that the bulbs are a little overripe, or were dug out in rainy weather, these simple procedures will serve as additional protection that prolongs the storage of the product.
Video “How to dig and store garlic”
This video will give you answers to questions about how to determine the timing of garlic harvesting, why it does not store well, how to increase its keeping quality.
Why a bank?
The main condition under which long-term storage of garlic is achieved is the cessation of air and microbes. You can create such conditions only in a sterilized container, and a jar is the best suited for this. In a sterilized and then dried jar, garlic cloves can stay all winter without drying out and without losing their taste.
Storage Rules
As already mentioned, first of all, the jars need to be prepared – sterilized and dried (wiped) well so that no moisture remains in them.
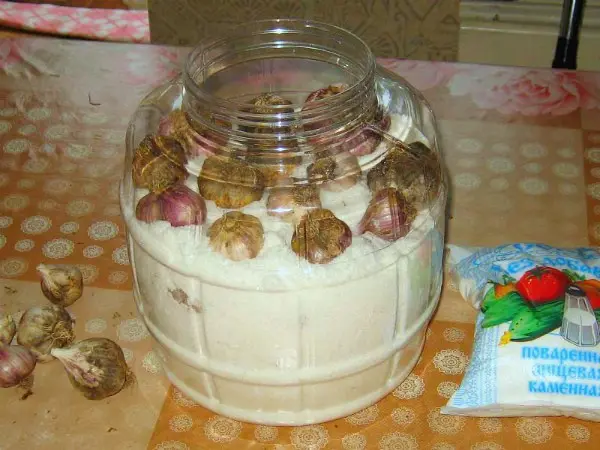
There are several ways to store garlic bulbs in jars.
The first and the easiest. Whole heads are folded into a prepared jar of any size and closed with a nylon lid. In a cool place, such a product can be stored for several months.
The second way. The bulbs cut off from the stems are placed in a jar in layers, sprinkling each with flour. A final layer 2-3 cm thick is poured on top. It should completely cover the bulbs, and thereby prevent air from reaching the heads. This method helps to preserve the product for a long time, unless, of course, the top layer of flour is damaged.
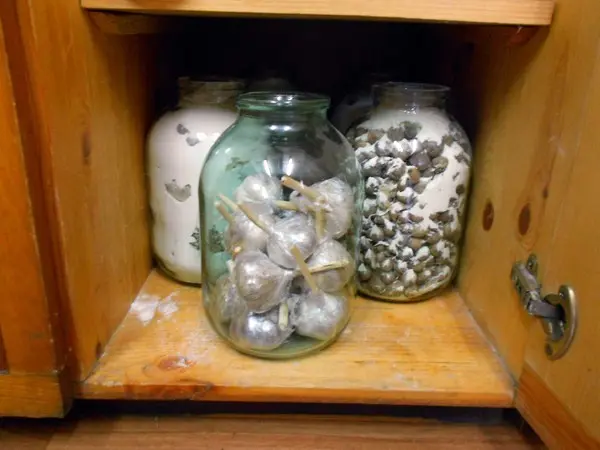
The third way. The heads are stacked in a jar in layers, by analogy with the previous method, but instead of flour, the layers are sprinkled with salt. Salt perfectly disinfects the product and allows it to be stored indefinitely.
Method four. The heads must be disassembled into teeth, cleaned, placed in a jar and filled to the top with sunflower oil. In conclusion, the container needs to be shaken a little so that the oil is evenly distributed and covers each clove. If desired, salt, herbs, peppercorns can be added to the jar – they will betray the original taste not only of the cloves, but also of the oil, which can then be used to dress salads.
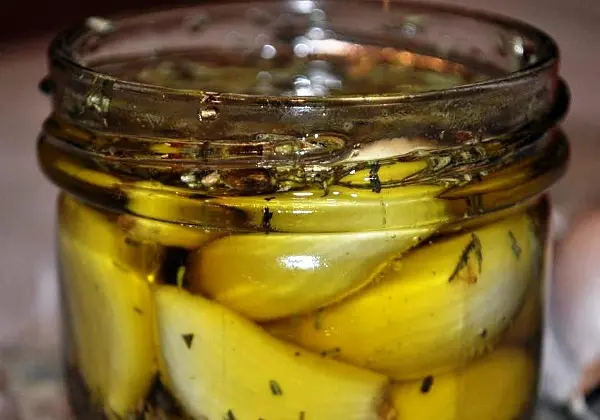
Method five. The product prepared in this way is often used in Mediterranean cuisine. It involves filling the peeled teeth with wine, and it doesn’t matter if it’s white or red. You need to store such a blank in the refrigerator.
And the last way is the sixth. The teeth need to be crushed, or twisted with a meat grinder. Next, place the product tightly in a prepared jar, pour a thin layer of vegetable oil on top. You also need to store the workpiece in the refrigerator, spend it as needed, without fear that the product may deteriorate.
It should be noted that methods 4–6 involve storing peeled garlic, so they are more troublesome to perform, but then such a product is very convenient to use.
Video “An effective way to store garlic in a jar”
The author of this video channel is in a hurry to share the ideal way to store garlic bulbs and talks about all the important nuances.


