Contents
Preparation of conservation is a rather laborious process. In addition, not only the preparation of blanks, but also the preparation of containers takes a lot of time. To speed up this process, many different methods have been devised. Some sterilize jars in the oven, others in a slow cooker. But the fastest method is to sterilize the jars in the microwave. In this article, we will talk in detail about how to do it right.
Why sterilize jars
Sterilization of jars and lids is a mandatory step in the canning process. Without it, all efforts can go down the drain. It is sterilization that guarantees the safety of blanks for a long time. Why can’t you just wash the containers well? Even with very thorough washing, it is impossible to get rid of all microorganisms. They can be completely harmless to human health and life. But over time, the waste products of such microorganisms can carry a great danger.
Accumulating in closed jars, they become a real poison for humans. Noticing the presence of such bacteria can be difficult, as at first glance, the workpiece may seem quite suitable for consumption. Surely everyone has heard such a terrible word as botulism. This infection can be fatal. And the source of this toxin is precisely the preservation, which was not properly stored.
Therefore, glass containers for blanks must be sterilized without fail. This is the only way to protect yourself and your family from harmful microorganisms. You can read below how to do it correctly and quickly. In addition, you can see a photo of this process, as well as a video.
How to sterilize jars in the microwave
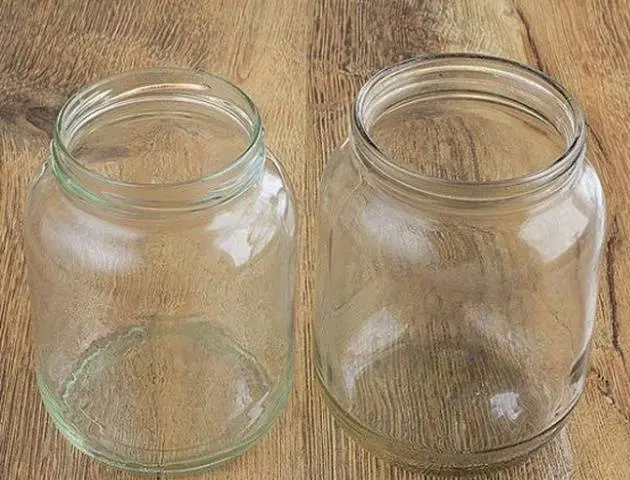
First of all, you need to thoroughly wash each jar. Don’t skip this step even if the jars look clean. It is recommended to use regular baking soda. Then the containers are dried, leaving upside down on a towel.
It can be difficult to find time for preparations, as it usually takes a lot of time. Housewives have to prepare vegetables and fruits for hours. So you also need to boil each jar. But I really want to prepare as many goodies as possible for the winter. In this case, sterilization in the microwave is a real salvation.
In addition to being time consuming, sterilization also creates some inconvenience that makes the whole process unbearable. First, all the jars are boiled in water for a long time, which is why the kitchen is filled with steam. Then they need to be carefully removed from the pan so as not to burn your fingers (which often fails). And sterilizing jars over a pot of steam is even more difficult.
Previously, many doubted that sterilizing blanks in the microwave was safe. But over time, they became convinced of the practicality and harmlessness of this method. The main thing is not to put containers with lids in the microwave.
Sterilization of jars in a microwave oven is carried out in several ways:
- without water;
- with water;
- immediately with preparation.
Sterilization of water jars
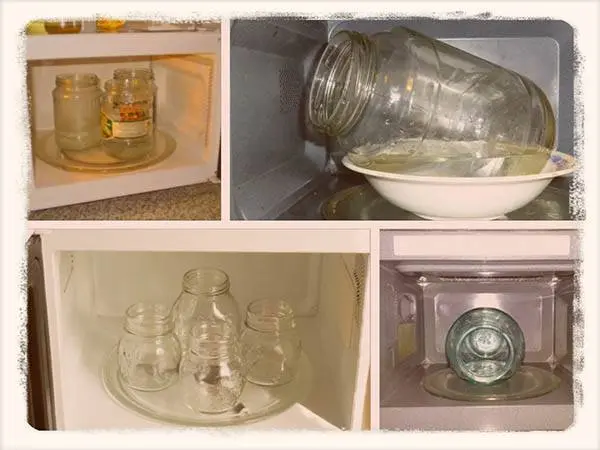
Most often, housewives sterilize jars in the microwave with the addition of water, thus, the same effect is obtained as after sterilization over steam. It happens like this:
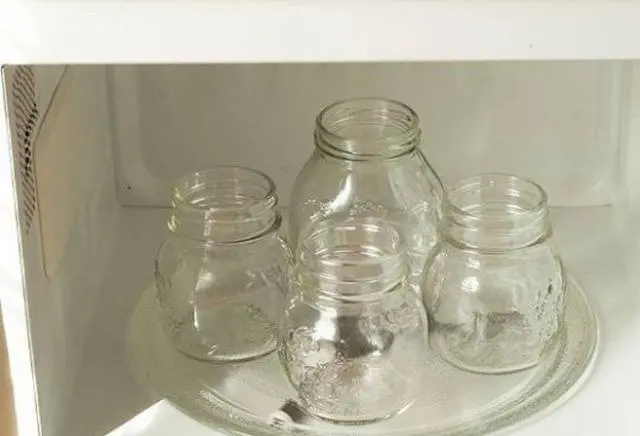
- Banks are first washed with the addition of soda and a small amount of water is poured into them. The liquid should fill the jar by 2-3 cm. For these purposes, it is better to take filtered water, since ordinary tap water can leave a coating.
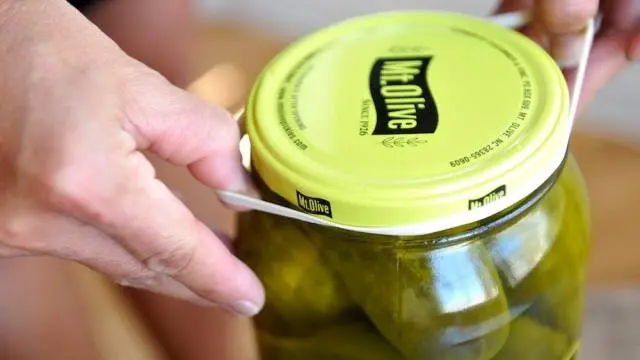
- The containers are now ready to be placed in the microwave. Never cover jars with lids.
- We put the microwave on maximum power.

- How long does it take to sterilize containers? Set the timer for 2 or 3 minutes, depending on the size of the jar. Usually, this method sterilizes half-liter and liter containers. However, there are ovens that can easily accommodate a three-liter jar. In this case, sterilization will take longer, at least 5 minutes. Since microwaves can be of different capacities, it may take more or less time. In order not to be mistaken, you need to watch the water. After it boils, the jars are left in the oven for another couple of minutes and turned off.
- To remove the container from the microwave, use special oven mitts or a dry kitchen towel. The main thing is that the fabric is not wet. Because of this, a sharp jump in temperature will occur and the jar may simply burst. In order not to risk, get the container with both hands, and not by the neck.
- If there is water left in the jar, then it must be poured out, after which the container is immediately filled with a workpiece. While you roll up one jar, the rest can be laid upside down on a towel. Each next jar is turned over immediately before filling it with the finished product. Thus, the temperature will not fall as quickly.
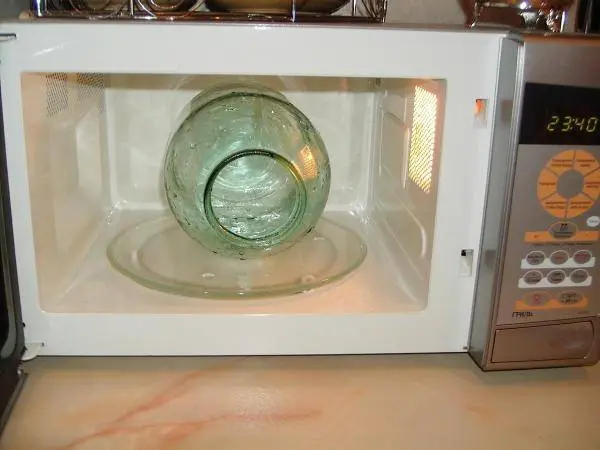
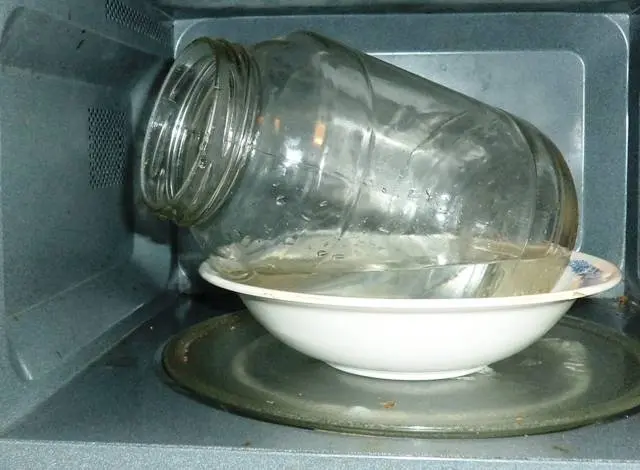
Usually about 5 half-liter jars are placed in the microwave. If you need a larger container, for example, a three-liter jar, then you can lay it on its side. At the same time, be sure to put a cotton towel under it and pour some water inside the container.
Sterilization without water
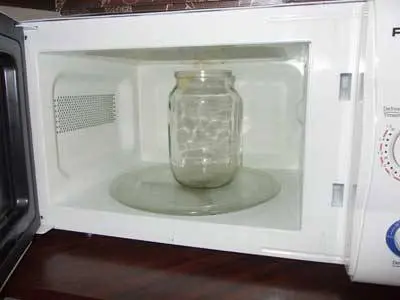
If you need completely dry containers, then you can use the following method. Banks must be washed and dried on a towel. After they are completely dry, place the containers in the oven. Next to them, you need to put a glass of water (2/3 filled). If you pour a full glass of liquid, then in the process of boiling it will pour over the edges.
Next, turn on the microwave and wait until the water is completely boiled away. Usually 5 minutes is enough for this. Then the jars are taken out of the microwave, as in the previous method. Hot containers are immediately filled with jam or salad.
Advantages of this method
Although this method has some disadvantages, advantages prevail. No wonder many housewives have been using it for a long time. The main advantages include the following:
- It is fast and very convenient compared to the classical sterilization method.
- Several cans are placed in the microwave at once, due to which the preservation process is faster.
- The microwave oven does not increase the humidity and temperature in the room.
You just need to put the disassembled bottle in any dish with water. Then turn on the microwave and wait about 7 minutes.
Conclusion
Experienced housewives have long been using microwave ovens to sterilize cans of blanks. It is very easy to do and, most importantly, fast. We are sure that the methods described above will facilitate your work, and you will be able to prepare even more conservation for the winter.