


Contents


Preservation for the winter is always a responsible and troublesome process. Sterilizing jars in the microwave has become popular relatively recently. You will learn about the advantages of the new method and the secrets of successful processing from our article.
Pros and cons of microwave sterilization
Sterilization is a stage without which no conservation can do. It is necessary for the destruction of pathogenic microorganisms on the walls of glass containers. If the blank is placed in an unprepared jar, the product will quickly deteriorate and become unsuitable for consumption.
Advantages of microwave sterilization – simplicity and speed
With the development of modern technology, housewives are increasingly using microwave ovens for disinfection.
In addition to safety, the advantages of this method are also:
- Processing speed. Sterilization time in the microwave is only a few minutes.
- Effective destruction of microbes. Bacteria, in addition to hot steam, are affected by microwave waves.
- Maintain normal humidity and temperature levels. Unlike a steam bath, a microwave does not spoil the microclimate.
- Bank safety. With proper handling, the risk of damage to glass containers is reduced.
However, the method also has a number of disadvantages:
- Small capacity. Do not sterilize containers larger than 4 liters. Large jars (3 l) must be processed separately, laying them on their side.
- Energy consumption. When using a microwave oven, electricity consumption increases significantly.
- Inability to sterilize lids. Do not heat metal objects in a microwave oven.
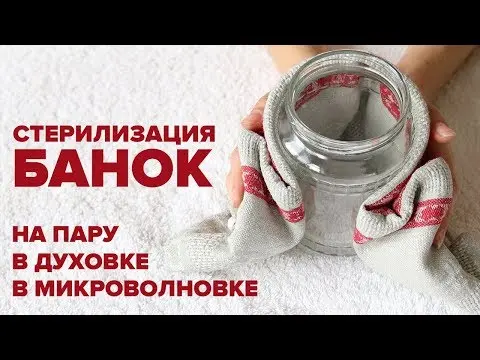
Video “Sterilization of cans: 3 ways”
This video shows how to sterilize glass containers in the microwave, oven and steam.
Jars preparation
In order for the preservation to stand all winter and not deteriorate, it is necessary to approach the preparation of glass containers very seriously. Banks should not have cracks or chips. Otherwise, they may burst during sterilization. It is necessary to carefully examine them and, if there is the slightest damage, replace them with intact ones.
Selected containers must be washed well. It is better to use laundry soap or soda, as detergents are poorly washed out. The procedure is carried out with an iron brush, under a powerful pressure of running water. Be sure to dry the jars before placing them in the microwave.
Lids should also be carefully inspected, rinsed and sterilized for 15 minutes.
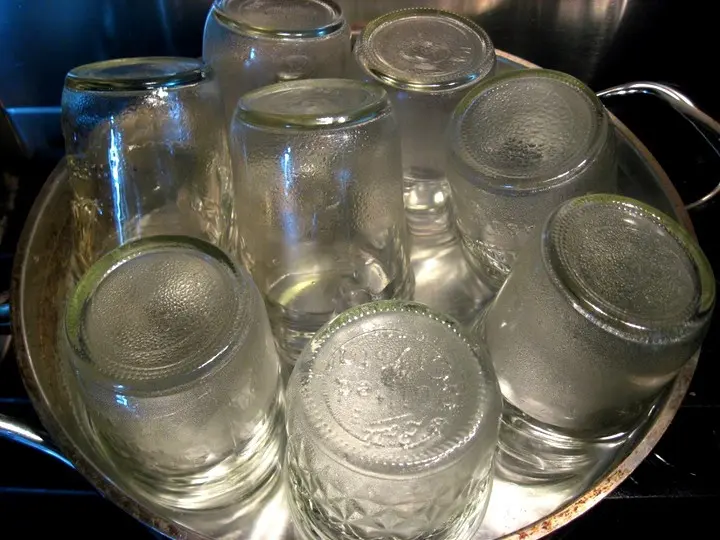
Steam treatment
The simplest and most commonly used method. It consists of the following steps:
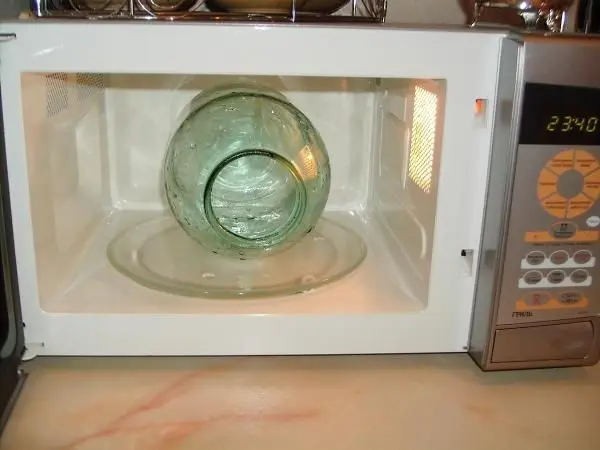
- Liquid is poured into clean, dry jars so that it covers the bottom by 2–3 cm. The water must be filtered, otherwise scale will form on the walls.
- Put the container on the rotating plate of the microwave oven in such a way that nothing interferes with its movement. Three-liter jars are placed on their side, laying a dry towel folded in several layers.
- For processing containers up to 1 liter, set the power to 1000 W and sterilize for 4 minutes. Larger cans languish for 7 minutes at 650 watts. You need to make sure the water boils. For safety net, it is recommended to sterilize the jars for 1-2 minutes longer than the allotted time.
- Disinfected containers are removed with dry tacks, the liquid is drained and wiped dry with sterile gauze. Banks are placed on a dry towel upside down. They are kept in this position until conservation begins.
In order for the glass container not to burst, its temperature should not differ greatly from the blanks. Thus, hot marinade is poured into warm jars, and cooled ones are used for cold.
Author’s advice
The container is pretreated with steam
Dry sterilization
The principle of operation is that after processing the container does not need to be dried additionally. To properly disinfect containers, you need to follow a few rules:
- Only dry cans are processed. They are placed on a rotating plate in a circle, and a glass of water is placed in the middle. 3-4 cm is not added to it, so that the liquid does not splash when boiling.
- Set the power to 750 W and sterilize for 5 minutes.
- After the time has elapsed, the containers are removed with a dry towel and the workpieces are laid out.
Sterilize jars with blanks
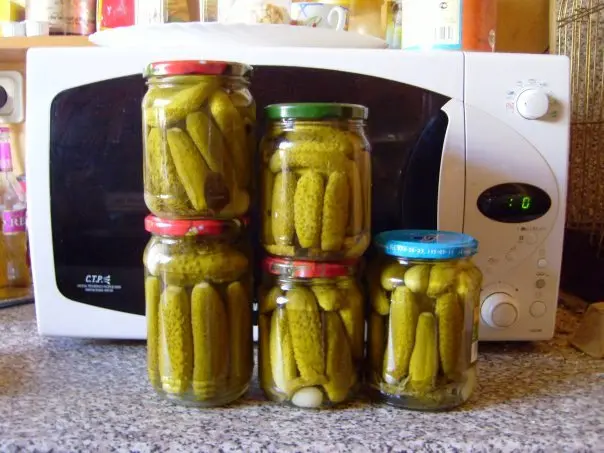
You can sterilize not only empty jars. Sometimes the process is carried out together with blanks. Pasteurization is carried out at a temperature not exceeding 100 °C. This helps the products retain more nutrients, however, such seamings should be stored in a cool place. Before the procedure, remove all lids from the containers.
If vinegar is present in the marinade, it is not necessary to process the container additionally.

Table: rules for sterilizing jars with blanks
With salty foods
The main rule for sterilizing jars of salty foods is that they should be ⅔ full. The rest of the workpiece gets after processing. Otherwise, the boiling marinade will splash out and stain the microwave. The procedure is performed as follows:
- Filled containers are placed on a rotating plate, avoiding contact with the walls.
- Simmer for 3 minutes at maximum power.
- Withstand conservation for another 5 minutes with the microwave oven turned off.
- Remove the jars with a dry tack and allow to cool.
- Add the workpiece to the brim, and then roll up.
You can sterilize both empty and filled jars
With raw berries and fruits
The method is well suited for harvesting fresh currants, gooseberries, raspberries, strawberries, lingonberries, cherries or cherries for the winter. The sterilization procedure is very simple and includes several steps:
- Sugar syrup is prepared on the basis of purified water. Sweetness is selected individually.
- Washed fruits are carefully sorted out without removing the seeds. Spoiled or rumpled berries and fruits are not suitable for preservation.
- The workpiece is scattered over the banks, leaving 5 cm from the neck.
- Pour in the syrup so that it covers the fruits, and sterilize for 5 minutes at maximum power.
- With a dry towel, jars are taken out of the microwave and topped up with the remaining syrup.
with jam
It is necessary to lay out the jam in jars in such a way that at least 5 cm is left to the edges. This will prevent the contents from pouring onto a rotating plate. The algorithm for processing filled containers is simple:
- The containers are placed in the microwave so that the glass walls do not touch each other.
- The procedure is carried out at maximum power for 6 minutes.
- Hold for another 5 minutes with the door closed and the microwave oven turned off.
- Remove with dry potholders, cool and roll up with a kitchen key.
Microwave sterilization is a quick and effective method for processing canning jars. Observing all the rules, you can not worry about the safety of winter preparations. They will not explode, will not become cloudy and will last until spring without any problems.
Author: Svetlana Golitsina
Loading…