


Contents
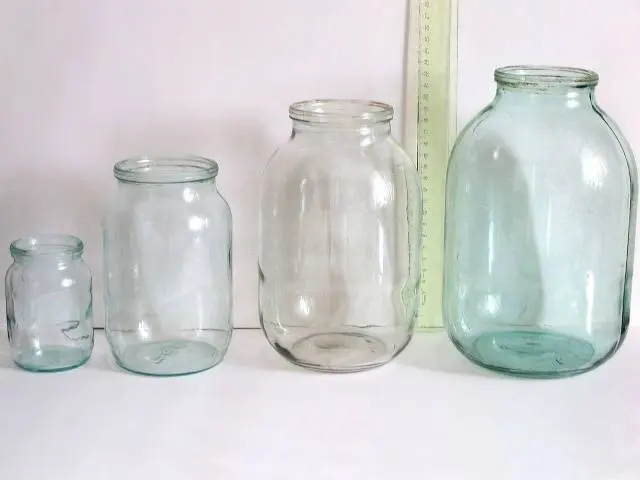
Most often, for homemade preparations, we use glass containers with a capacity of 0,5 to 3 liters. It is easy to clean, inexpensive, besides the transparency provides good visibility of the product. Of course, no one forbids making twists in larger or smaller jars, we simply indicated the most commonly used sizes.
But you can’t use just cleanly washed dishes for preservation, they need to be sterilized. Otherwise, the lid will swell and instead of a delicious salad or jam, we will get a spoiled product that is only suitable for a trash can. Sterilizing jars at home will allow us to avoid this.
Selection and preparation of jars
For winter preparations, only cans can be used without the slightest damage, since cracked ones cannot be hermetically sealed and the products will definitely deteriorate. It is especially important that there are no small chips at the neck that are difficult to notice.
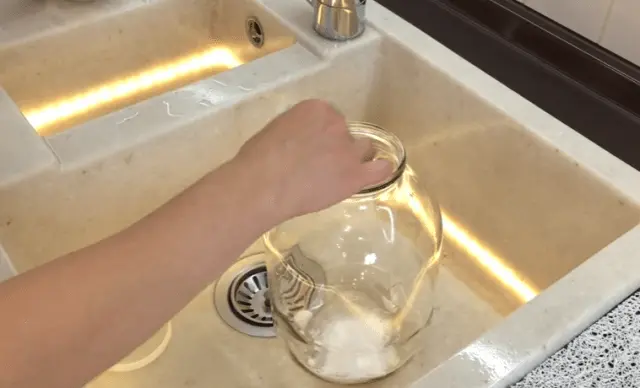
Before sterilizing jars, wash them with baking soda, mustard, or any dish detergent. After using chemicals, rinse the container with water acidified with vinegar or citric acid.
High temperature sterilization methods
There are many recipes for sterilizing jars, we will try to tell you about all of them, and you will choose the right one for yourself.
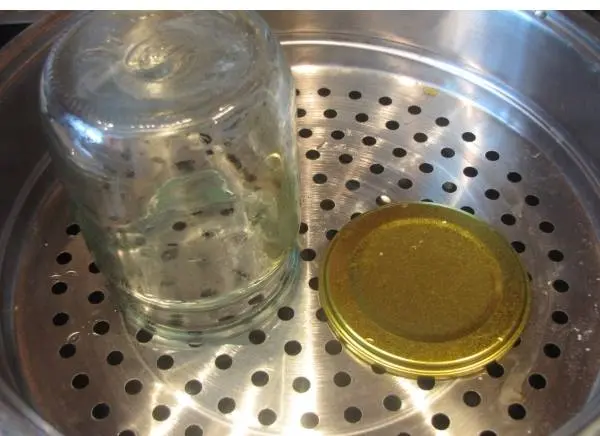
Steam treatment
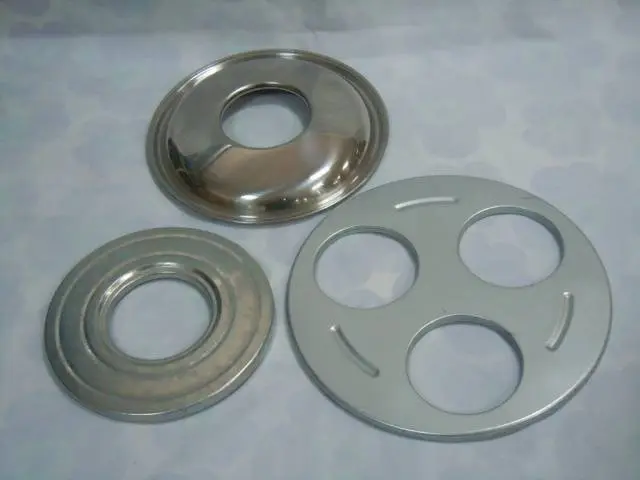
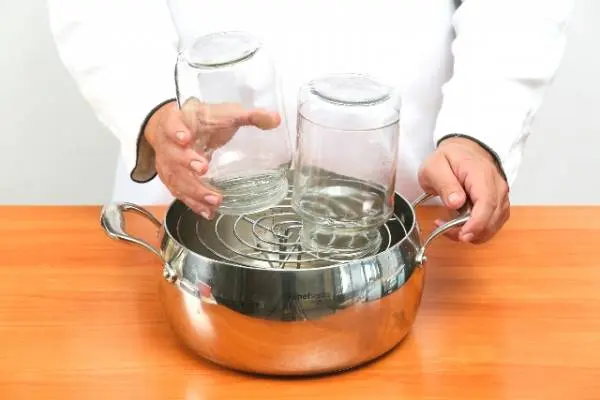
In this way, banks were sterilized by our mothers and grandmothers. It is quite reliable, it just takes a lot of time, because each container is processed separately. You will need utensils for boiling water and a special pad for sterilizing jars. It is a lid-like metal circle with a hole in the middle. Many housewives have adapted to use a metal sieve or grate for sterilization.
Pour water into the boiling dish, cover with a grate or overlay and wait until the water boils. Put jars on top, the sterilization time will depend on their volume. Boil:
- half liter jars – 10 minutes;
- liter jars – 15 minutes;
- two-liter jars – 20 minutes;
- three-liter jars – 25 minutes.
Spread a clean, preferably ironed fabric on a flat surface and, after steaming, fold the containers at some distance from each other, laying on their side. When removing hot sterile jars, hold them by the sides with both hands and use clean, dry potholders or rags.
The boiling water
According to this recipe, three-liter jars should not be sterilized. It is good for small non-standard-sized containers that can be put all in one pan or basin.

Place a towel or wooden grate on the bottom of the dishes for sterilization, place cleanly washed jars on top and fill with cold or warm water so that it covers them completely. Put on a small fire so that the glass does not crack, boil for 5-10 minutes.
Oven
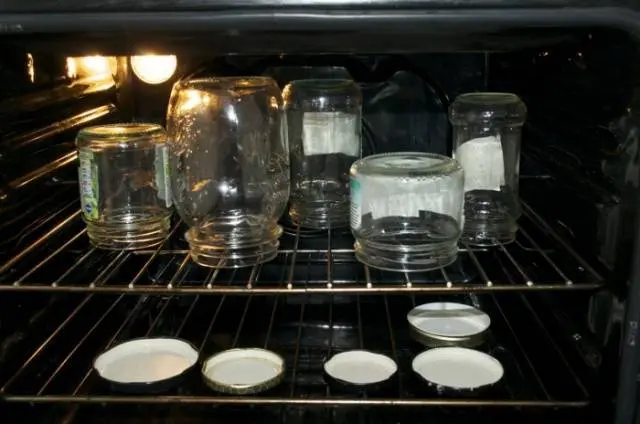
For housewives who do not have time to mess with each jar separately, their processing in the oven is more suitable, and it doesn’t matter whether it is gas or electric. So you can sterilize many different-sized containers at once. Moreover, you use the same amount of gas or electricity as you use to sterilize one jar for blanks, and there will be no need to constantly look into the saucepan and check if the water has boiled away.
To do this, place well-washed glass containers on a clean grate with their neck down in a cold oven. Turn it on at 150-170 degrees, wait until the temperature reaches the desired mark, and count 15 minutes. Turn off the oven and wait 20 or even better 30 minutes before opening and removing the sterilized jars.
Double boiler
Pour water into the steamer and clean the top nozzle. Place canning jars in it with their necks down, put on fire, turn on the electric for 15 minutes. Gently remove the container with a dry oven mitt and lay it on a clean towel.
Microwave oven
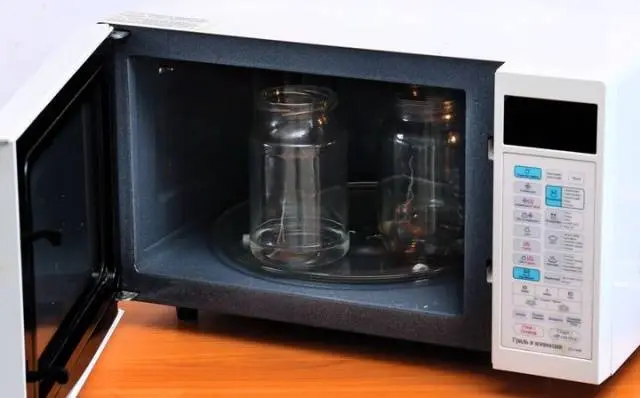
One of the recipes for disinfecting half-liter and liter containers is microwave treatment. This method of sterilization is especially good in hot weather, when the kitchen is already full of air.
Pour 1,5-2 cm of water into the bottom of the jars, put in the microwave and turn it on at full power. Processing time – 5-7 minutes.
multivarka
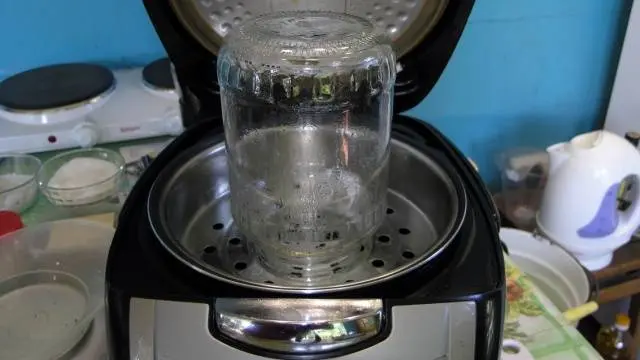
We note right away that this recipe is the worst (if you do not use the slow cooker as a double boiler):
- firstly, you can’t put a lot of cans in it, and the sterilization time is 1 hour;
- secondly, they need to be covered with lids, and, for example, nylon, you can’t boil for so long;
- thirdly, only jars of small volume can be sterilized in this way;
- fourthly, if the multicooker has been used for some time, it is very difficult to wash the rubber gasket in the lid so that something can be sterilized in the apparatus.
But since such a method exists, we will tell you how to apply it correctly.
Wash the canning jars, bowl and lid of the multicooker. Place the containers in the bowl, fill them to the top with water and tightly cover with lids. Add water to the maximum mark, close the lid. Select the “soup” program, and leave the default time (it differs for different models).
At the end of sterilization, the jars can be removed and the water drained.
Disinfection without heat treatment
We looked at ways to sterilize jars using high temperatures. It is hard to imagine that someone would need to clean them without cooking for canning. But just in case, know that it is possible to obtain sterile dishes in nature or in unsanitary conditions.
Manganese solution
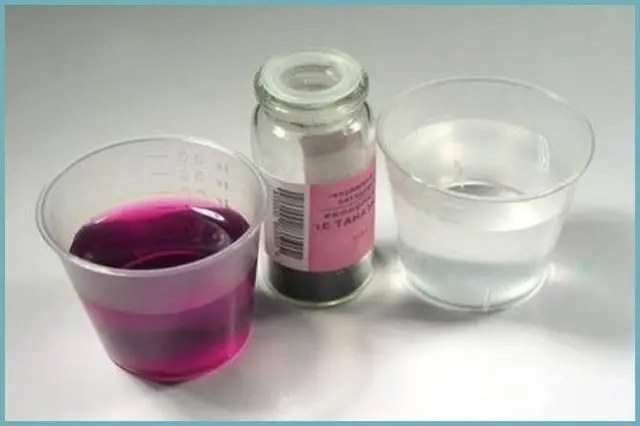
Wash the jars and rinse as thoroughly as possible with a rich pink solution of potassium permanganate. It is desirable to protect hands during sterilization with medical gloves.
Pure alcohol
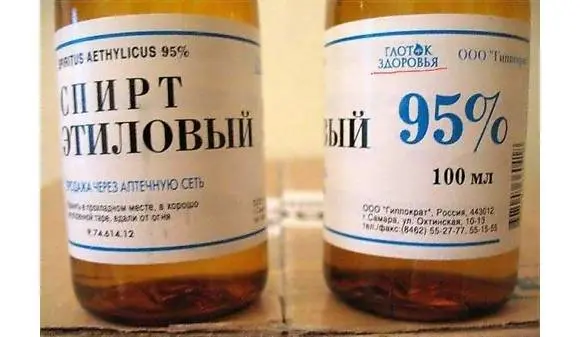
Pour 100 ml of 95% ethyl alcohol into a clean jar, close the lid or press it firmly against the neck with your hand. Shake vigorously several times so that the liquid gets on the lid and wets all the walls. Pour the alcohol into the next container, and cover the sterile container with a lid and set aside.
Cap sterilization
Often, housewives carefully sterilize jars, while the lids are simply doused with hot water, and then they are surprised that the blanks have deteriorated. They blame poorly washed products, high storage temperatures, sigh that salt was saltier 20 years ago, and vinegar was more acidic. We have considered many recipes for sterilizing jars, it is the turn to pay attention to the lids.
To begin with, they must be thoroughly washed and only then subjected to heat treatment.
RњRμS,R ° F “P” Roes ‡ RμSЃRєRёRμ

Lids made of metal and tin are enough just to boil for 3-5 minutes. They can be placed along with jars in a slow cooker or double boiler.
Nylon
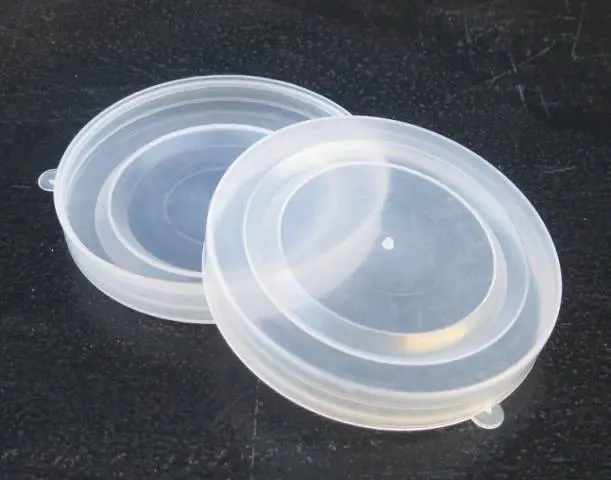
Often the sterilization of these lids confuses housewives. In fact, the task is simple. Place plastic or nylon lids in a clean small saucepan, cover with boiling water. Do not take it out until the water has cooled down enough that you can put your hand in it for a few seconds.
Glass
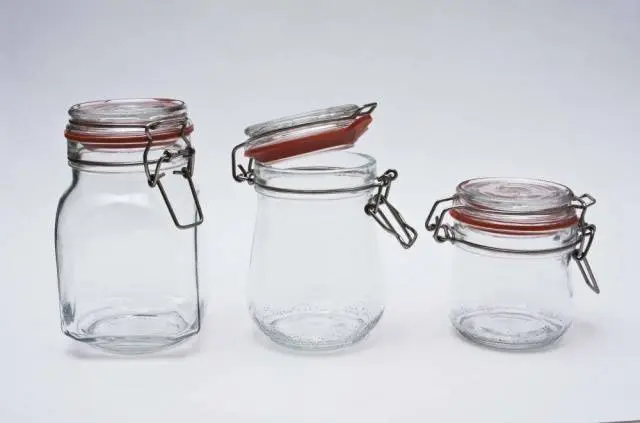
Lids made of glass and fastened with iron clamps are sterilized together with jars, and gaskets are boiled separately.
Conclusion
As you can see, there are many simple ways to sterilize containers for winter preparations. Choose the one that suits you best.