


The second half of summer is an equally important period for gardeners and gardeners. Planting does not require much attention both in spring and early summer. However, the harvest is ripening. And it is important not only to remove it in time, but also to save it.
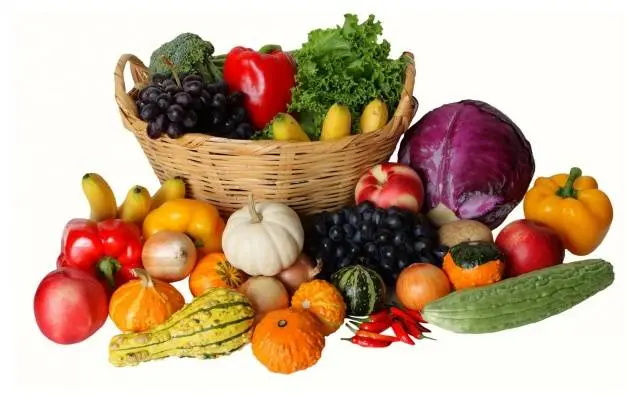
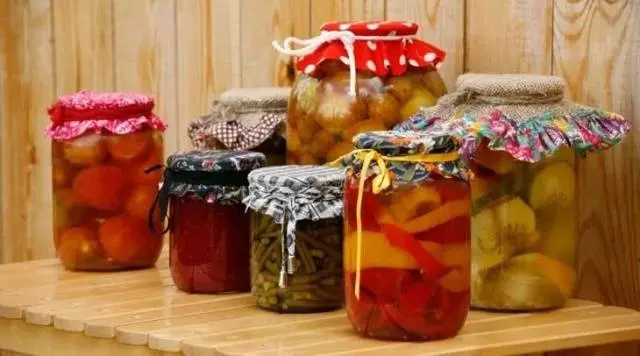
Vegetables, berries and fruits, unfortunately, have a very limited shelf life. Therefore, they can only be preserved through processing and conservation. The preservation process is aimed at stopping the vital activity of fungi, bacteria and microbes that cause rotting products.
In any process, including conservation, observance of mandatory rules is required: the cleanliness of products and containers, the time spent on their heat treatment.
The successful preservation of products is largely determined by the sterility of dishes. There are many different sterilization methods. However, most of them, for one reason or another, have a number of disadvantages. Sterilizing jars in a gas stove oven is:
- 100% reliable method that kills pathogenic microflora;
- It takes from 10 minutes to half an hour;
- You can immediately process the required number of required jars;
- The method is simple, even those hostesses who have little experience in harvesting can handle it.
Preparation of jars for sterilization
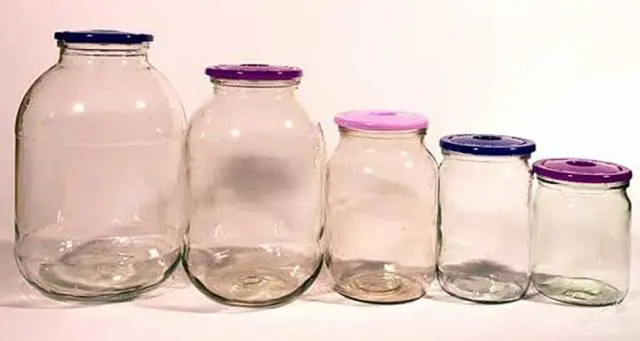
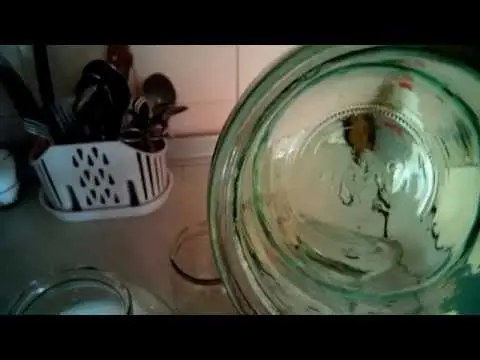
Jars that will be exposed to high temperatures in a gas oven should be inspected for external damage. They should not have chips or cracks. External damage may not cause even more damage to the container, however, it will break the seal of the canned food, which will cause them to spoil.
You should also check jars for compatibility with lids. Lids should fit snugly when screwed on. You can check by pouring water into a jar, twisting the lid, wiping it well, turn it upside down. Not a drop of liquid should leak out.
Screw caps that will be sterilized in the oven should not have stains, traces of metal destruction, irregularities, deformation, which can cause damage to the workpieces.
Glass jars that have metal fasteners, clips cannot be sterilized in the oven.
The next stage in the preparation of jars before sterilization in a gas stove oven: washing them. Experienced housewives recommend using proven detergents: soda or laundry soap, which have additional disinfectant properties, do not leave streaks, and are washed off well.
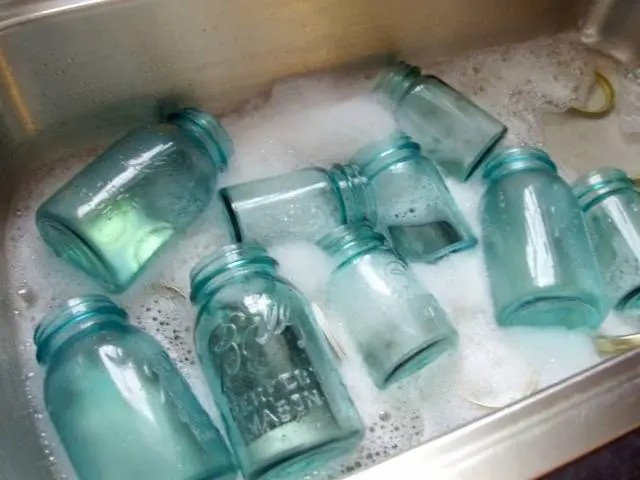
In the presence of strong contamination or residues from previous preparations, it is recommended that the jars be pre-soaked in warm or hot water with the addition of detergents for 1-2 hours.
To wash jars intended for long-term storage, use a sponge with which you wash only such containers or introduce a new sponge into circulation, as used ones can retain fat residues, food particles, which will inevitably violate sterility.
Watch a helpful video:
Sterilization process
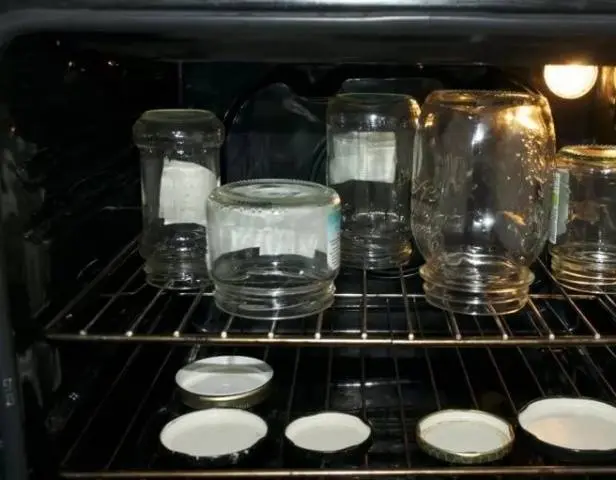
Prepared clean jars are placed in a cold oven at a short distance from each other to avoid possible damage.
It does not matter how the banks stand: on the bottom or on the neck. If you put the jars in the oven immediately after washing, then it is better to put them upside down, so limescale does not form inside, which is harmless to future blanks, it just looks ugly.
Light the fire at low power to gradually heat the jars. The thermometer should be at 50°C for about 5-10 minutes, then the gas power should be added to raise the temperature to 180°C by the same amount.
Time to sterilize empty jars of gas stove oven:
- Jars from 0,5 l to 0,75 l – 10 minutes;
- 1 liter jar – 15 minutes;
- From 1,5 l to 2 l – 20 minutes;
- 3 liter jar – 30 minutes;
- Lids – 10 minutes.
After sterilization is completed, the oven is turned off and slightly opened so that the dishes cool slightly. Do not wait for the jars to cool completely, because, firstly, the whole point of the process is lost: the cold surface of the jars ceases to be sterile, it is again inhabited by bacteria, microbes, fungi. And secondly, it is safer to lay out hot blanks in warm or hot containers.
Then, armed with potholders or a towel, which must be clean and completely dry, you can pull out the jars, placing them not on the bare surface of the table, but on a towel-covered one. Further, jars can be filled with prepared products.
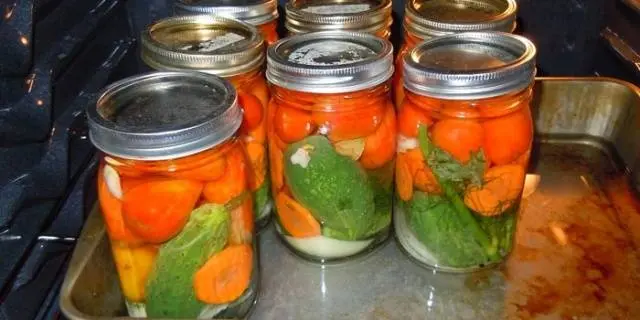
Sterilization in a gas oven is also suitable for filled jars. They are placed in a cold oven, turn on the gas and set the temperature to 150 ° C. It will take some time to observe the blanks: as soon as bubbles appear that rush up, you can set the timer for the required time:
- 0,5-0,75-liter jars can withstand 10 minutes;
- 1 liter – 15 minutes;
- 1,5-2 liter 20 minutes;
- 3 liter 25-30 minutes.
In order not to waste time waiting for the appearance of bubbles, you can do otherwise: turn on the gas in the oven at medium power. In 5 minutes, the oven will warm up to 50 ° C, then the gas should be added for another 5 minutes to a temperature of 150 ° C. Then turn off the oven and use the residual heat for another 5-10 minutes. Following this, you can remove the jars for further corking.
The jars are pulled out, immediately rolled up with sterile lids and placed under a blanket for gradual cooling.
Conclusion
Sterilization in a gas oven increases the safety of winter preparations. Most of us don’t have a cold basement to store them. Usually, a closet in an ordinary city apartment becomes a place of storage. Due to the influence of high temperatures, microbes and pathogenic bacteria are destroyed, due to which the shelf life of processed products increases. The method is not only reliable, but also very simple in technical execution, it saves time, which is very valuable in the summer.