Contents
Painted walls are becoming more and more popular. But sometimes you want to dilute their monotony with something. The easiest, fastest, cheapest and most effective way is to use wall stencils for painting. The drawing is graphic, clear and bright. Such objects can fit into any environment. But the best part is that the work takes from several minutes to several hours.
Of what do
Stencils for wall decor for painting are divided into reusable and disposable. Various materials are used depending on the purpose. Disposable, mostly paper. From thick white or colored paper. Reusable stencils for walls for painting are:
- From vinyl film. The film can be of different density, transparent or colored. A convenient option, if adapted – the paint spreads easily on a flat surface. Without skill, it is easy to stain a drawing or an adjacent wall. Periodically, the stencil made of PVC film must be cleaned of paint.

This is a colored vinyl film, but it can also be transparent or white. - Polyvinyl chloride a few millimeters thick. It is usually used for applying plaster patterns. Holes are filled with mass. After setting the composition (a few minutes), it is removed and cleaned.

Stencils for volumetric drawings are made from sheets up to 4 mm thick - Cardboard. Do-it-yourself stencils for walls for painting are made from cardboard. This is the most convenient material for self-cutting.
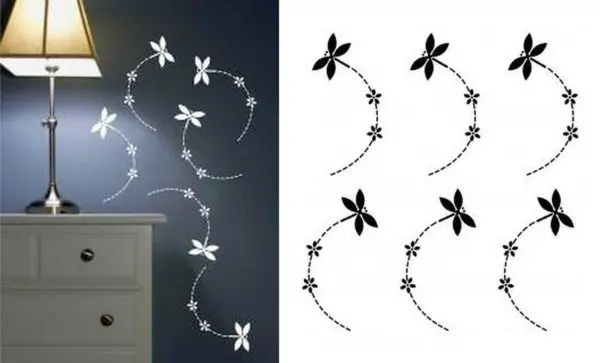
A few words about vinyl stencils for painting walls. They can be in the form of sheets or rolls. If you are going to cover a large wall surface with one pattern, it is advisable to take several identical patterns. They can be attached to each other. So the work progresses faster – a large area is processed at a time.
Varieties of stencils
Stencils for walls for painting are different not only in the material from which they are made. They differ in the type of drawing:
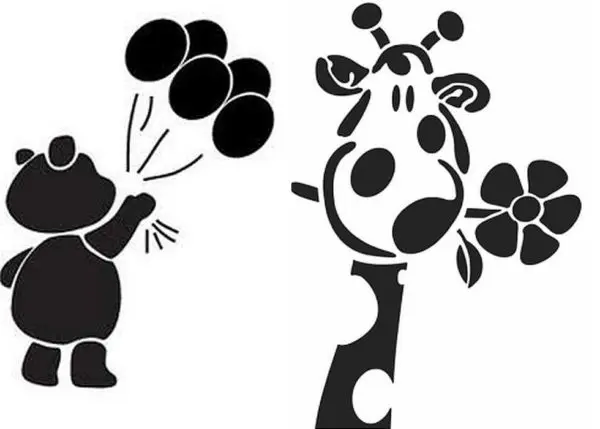
- Simple or single. The entire drawing is painted in one color. If desired, you can make a gradient – from a darker shade to a lighter one. But that’s all. Parts of other colors are not provided.


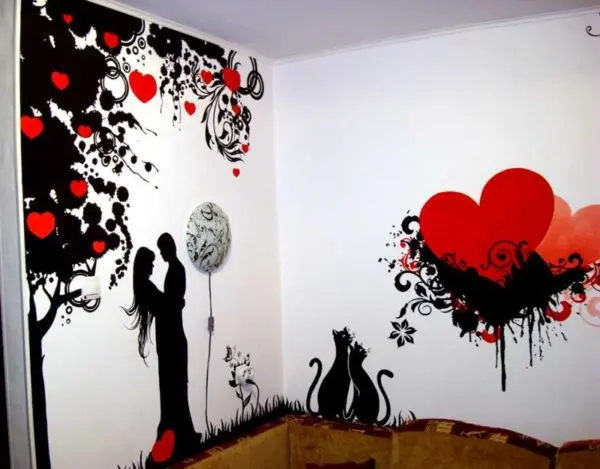
You can make a simple disposable stencil out of paper - Combined or multicolor. This is a whole series of patterns, each of which is painted over with paint of a different color. In order for the details of the picture to match, marks are applied to them. When the stencil is placed on the wall, these marks are combined.

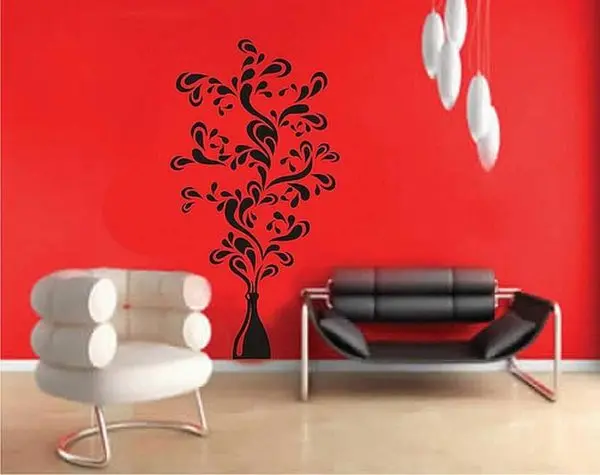
For this picture, two stencils were boring – for black and red - Reverse or anti-stencil. This template is cut out in the opposite way, that is, what is cut out in ordinary templates remains in this one and it is these parts that are attached to the wall. Then the paint is applied, but it paints the areas not covered by the stencil. It turns out around him a halo of a different paint, and the drawing itself remains the base color.

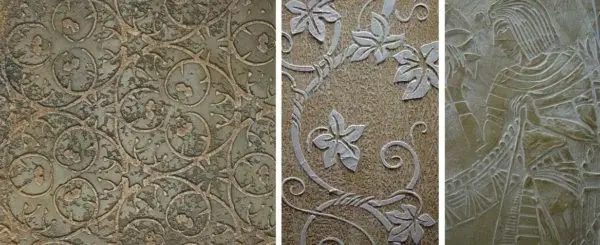
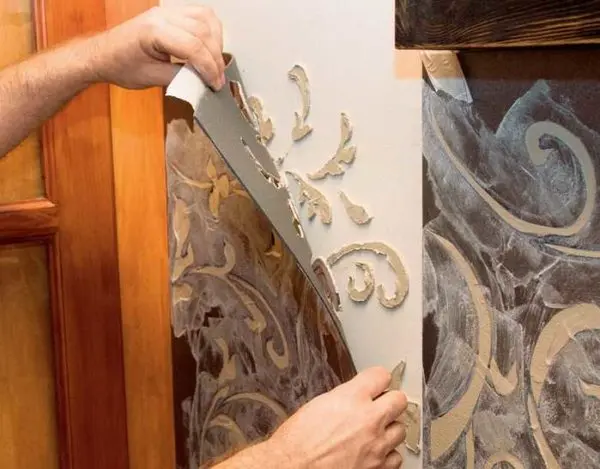
Here’s what happens when using an anti-stencil - For large drawings. Now there are decorative plasters and putties on sale. They can also be used for painting on walls. Stencils for them are made special – thick, made of polyvinyl with a thickness of up to 4 mm. When drawing a picture, the slots are filled with putty, remain until dry. It turns out a three-dimensional drawing.


Such or similar drawings can be obtained when working with three-dimensional stencils
The easiest way to work with simple templates To start, you can try this type of pattern. If you are confident in your abilities, you can work with more complex combined ones. When working with them, remember that you can remove the film only after the paint has dried.
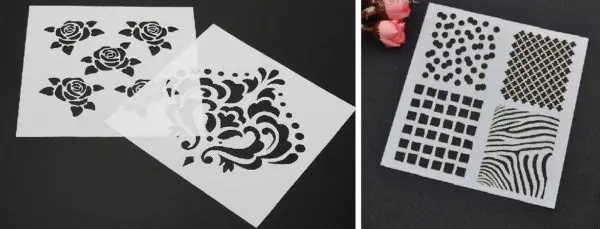
Where to get the templates
On sale there are ready-made templates for decorating walls. They are all made from vinyl film as it is flexible, durable and lightweight. If you don’t like the ready-made templates, there are two options:
- Order production from an outdoor advertising or booklet printing company (often the same company). They have special equipment – plotters, which cut out the necessary outlines on vinyl. Moreover, some of them can develop a stencil for you from a photograph.
- Do it yourself. If you have artistic ability, it is likely that you can draw the pattern yourself. If not, download the version you like, enlarge it to the required size and print it out. Take a thick (not packaging) cardboard, put a carbon paper, on top – a drawing. Everything needs to be well fixed so that it does not move. Outlining the drawing, transfer its contours to cardboard. Then cut out with a sharp knife. To make cutting easier, put something soft under the cardboard (a piece of felt, for example). So the edges will be smoother. In general, when making it yourself, you need to be careful – every burr or unevenness spoils the overall impression.
Independent production of stencils is a painstaking task. If that doesn’t scare you, you can go for it. You can try to work with film. It requires a very thin and sharp, but inflexible blade. If there are even small defects – a burr, uneven edges – everything must be corrected. In general, good luck to you.
How to work with stencils
You can apply a picture not only on painted walls, but also on wallpaper, plastic, glass, etc. That is, stencils for walls for painting can be used not only to decorate walls, but also to decorate furniture facades, for example. Unless strongly embossed surfaces are suitable. You can’t normally apply paint to them. All others fit. Moreover, acrylic paint is compatible with almost all. They can be in a jar or aerosol. Everyone knows the advantages of acrylic: the paint lays well on both smooth and porous surfaces, dries quickly, does not fade for a long time, and has almost no smell. That is why stencils for painting walls are usually painted over with acrylic paints.
What to work
If an anti-stencil is used, then paint is applied only from a cylinder. You can’t achieve such an effect with other tools (except with a spray gun). When spraying paint, the balloon is located 25-35 cm from the surface to be painted. It is better to choose the distance by conducting a “feather test” on a piece of old wallpaper. So you will accurately select the duration of the issuance of paint, and movement, and distance. And one more thing: when working with a spray can, it is necessary to additionally protect the territories adjacent to the stencil – so that an unnecessary part of the wall does not turn out to be painted from careless movement.
When working with all other templates, you can apply:
- a piece of foam rubber;
- a brush with a short and thick pile;
- sponge roller.

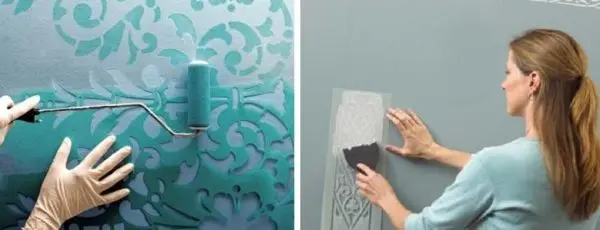
Stenciled paint can be applied with a brush, roller or sponge
In any case, we take the paint in limited quantities. If there is a lot of it, it will flow under the stencil, ruining all the work. Therefore, having dipped the brush / foam rubber / roller into the paint, we wring it out well. The amount of paint can be controlled by swiping several times over an unnecessary sheet of paper / piece of wallpaper.
What and how to fix
So that the stencils for walls for painting do not move, they must be fixed on the wall. There is a special glue for this. It is applied in a thin layer on the reverse side of the stencil, after which it is attached to the wall. After the work is done, it is not a problem to remove it. Moreover, it does not damage the surface.
Another option is double-sided masking tape. Note! Definitely masking tape. Unusual. If you use a normal one, it will damage the wall – most likely, a piece of paint will remain on the adhesive tape. Or vice versa, part of the sticky composition will be on the wall. Which is no better. But the masking tape acts approximately like the glue described above: it holds well, and does not leave marks after peeling off.
Scotch tape is easier to buy and cheaper, so most use it. We cut it into small pieces, remove the protective film on one side and glue it to the stencil. You need pieces in the corners – that’s for sure, but they may also be needed in the middle of the long side of the sheet or somewhere else. It is important that the stencil is held well and that it is not possible to move it.
The procedure for transferring the picture to the wall
You need to work with a stencil for painting walls like this:
- Preparing the surface. It must be dry and clean. Ideal if the walls were recently painted. If not, clean them thoroughly. There should be no grease or any other stains. If you have to wash the wall, it must be well dried. If you need to remove dust, you can do it with a vacuum cleaner and a brush with a long nap. Then we take a slightly damp cloth and collect the remnants. Leave to dry. Further work can only be done after the walls are dry.


Vertical or horizontal, it doesn’t matter. It is important that it “fits” into the interior. - We put a stencil on the wall, mark the control points by which we will check the position of the stencil.
- Remove the protective film from the adhesive tape, combine the control points, glue.
- We take a sponge / brush / roller, dip into the paint, wring it out, paint over the details.
- Let it sit for a few minutes for the paint to dry. Carefully remove the stencil from the wall, clean off the paint.
Then, if necessary, repeat the procedure. The next time you need to check if the paint left over from the previous time has dried. Can only be used after complete drying. Having dried several times, the paint forms a crust of solid thickness. This may cause it to flow between the stencil and the wall, or the shape of the pattern will change. Therefore, after several applications, remove the paint.
Features of working with a three-dimensional stencil
To form a three-dimensional image, you can use textured paint, putty, decorative plaster, liquid wallpaper and other similar compositions. In stores you can find special formulations, but they are very expensive. In this part, the choice is yours, all of the above compositions are suitable.
All of the materials listed above have a pasty consistency. There is no point in applying them with a brush or roller. You need a small spatula, preferably plastic, flexible. If not, you can use a piece of any plastic. Even an old plastic card will do.
We take a certain amount of the composition on a spatula, fill the cavities with it, immediately removing the excess with the same card. At this stage, it is necessary to ensure that there are no air cavities left, and the surface filled with plaster / putty is even. If you have ever worked with plaster, there will be no problems. Everything is exactly the same.
After the composition has set, but even before it is completely dry, remove the stencil. In this case, the edges of the pattern are torn, uneven. Don’t worry, this is normal. Do nothing, just wait for the final drying. Now we take sandpaper with medium or fine grain (depending on the composition that was used) and grind all the nervousness. In general, everything. Further, if you want, you can paint the resulting ornament, but that’s another story.
https://youtube.com/watch?v=QbAygjnQ2NU%3F
Choosing a place for a stencil
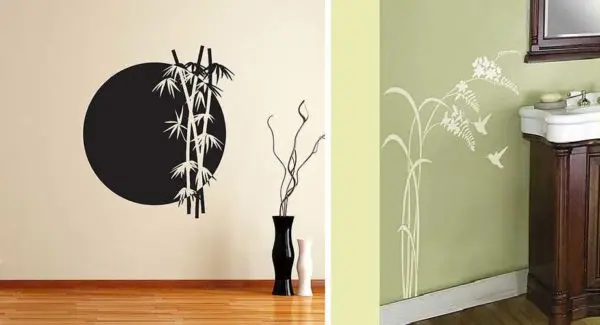
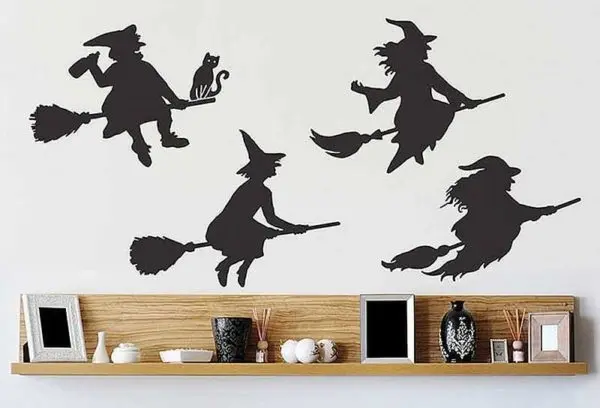
The drawing looks best on an empty or almost empty wall. Here the choice is not limited. You can choose a stencil that will attract attention to yourself. Such a wall becomes an accent.
If the wall is not too busy – there is a piece of furniture near it, but its large surface is free, pick up a stencil that will make the furniture “play out”. There are drawings that play with a sofa or a mirror, turning everything into a single composition.
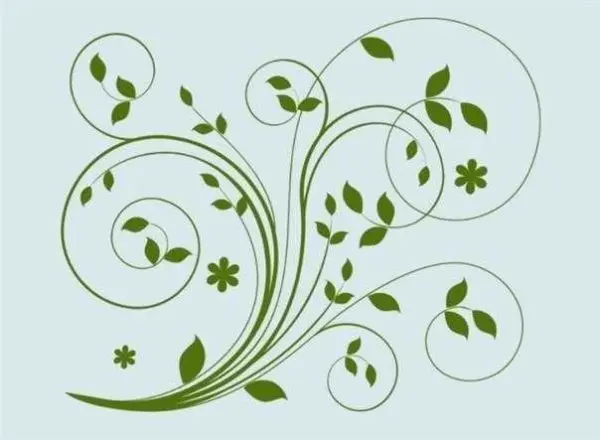
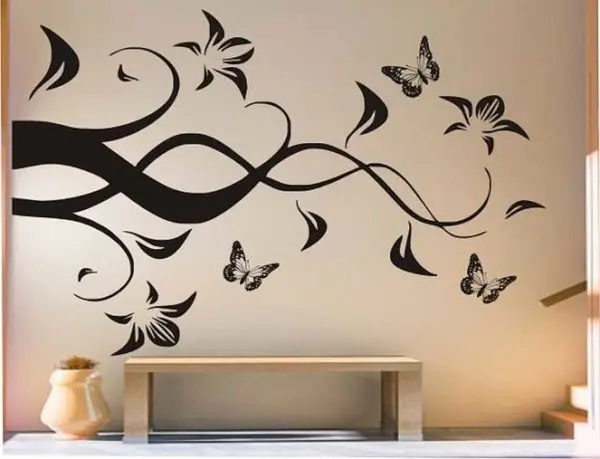
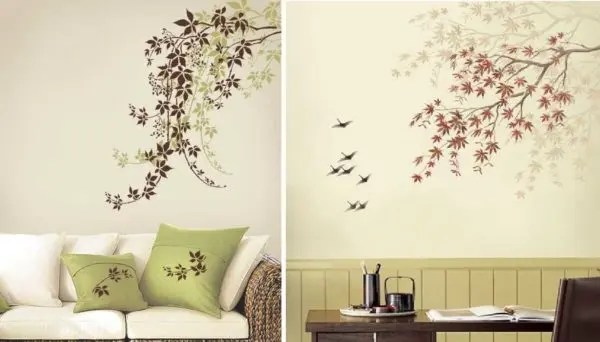
Tall and narrow stencils near doors and windows fit well. Usually these are floral ornaments. When choosing them, be guided by the style of decoration of the room. If the decor is colored, choose the colors that are found in the interior.
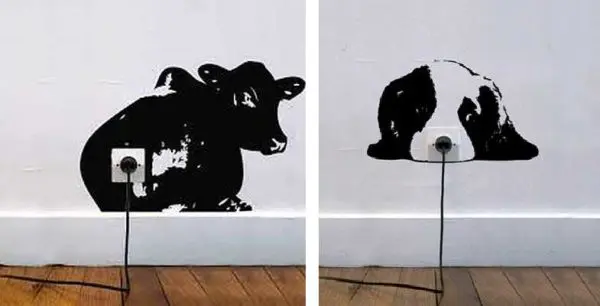
Small drawings that play with sockets and switches look very good. This is one of the decoration techniques – if something cannot be hidden, we will transfer attention to it. In this case, it works great.
Type of stencil for rooms for various purposes
Stencils for walls for painting are selected depending on the type of room. There are universal drawings: geometric, floral ornaments, landscapes. They are suitable for any room, corridor, kitchen, etc. You can find a lot of them, in various versions. And under strict minimalism, and under chic classics or romantic Provence. Moreover, the matter is often not only in the drawing itself, but also in the selection of paint. The same pattern will look different in black and pink. And this is worth remembering.
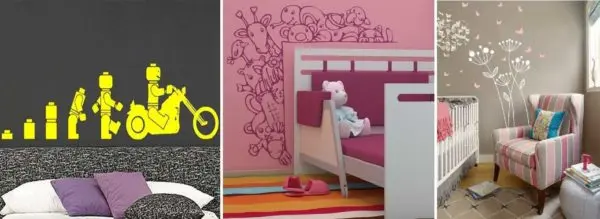
There are stencils for walls to be painted with thematic drawings that are appropriate only in certain rooms. For example, in the kitchen, thematic pictures with food and products are usually used. In nurseries, cartoon characters are often drawn for smaller children, for teenagers – heroes of games or anime.
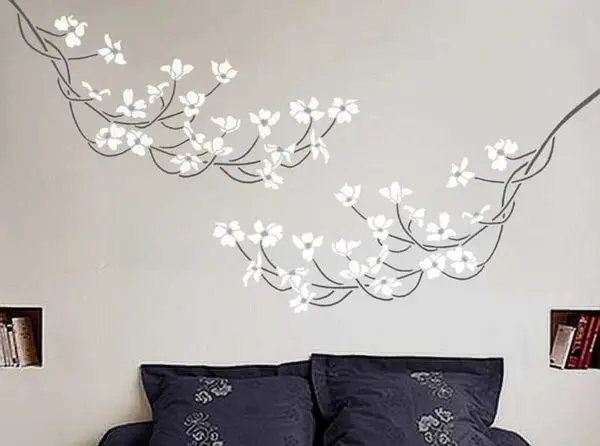
For bedrooms, they try to find more calm drawings. Even if it’s a men’s bedroom. Here you need to relax and the atmosphere should be appropriate.
In other rooms – corridors, living rooms, dining rooms – neutral images are selected that will appeal to people of different ages. These are all the same plant motifs or landscapes.
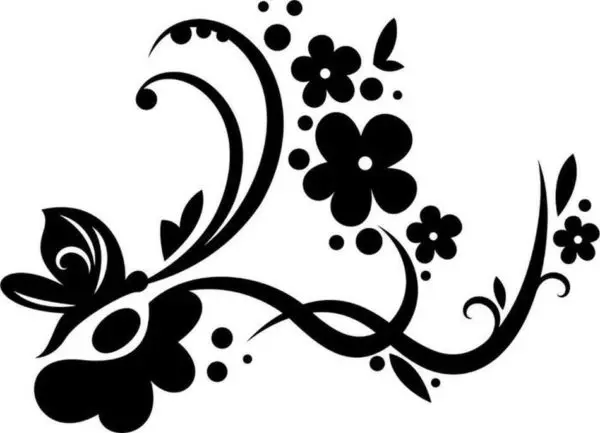
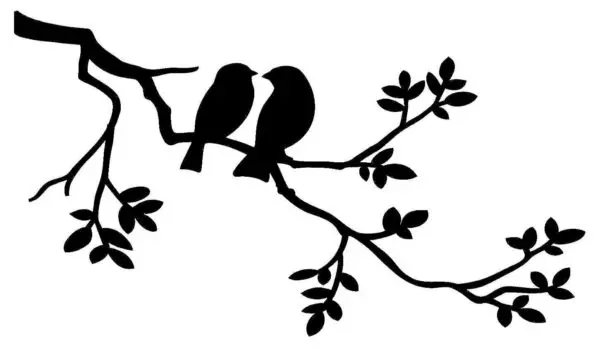
Stencils for walls for painting: photo
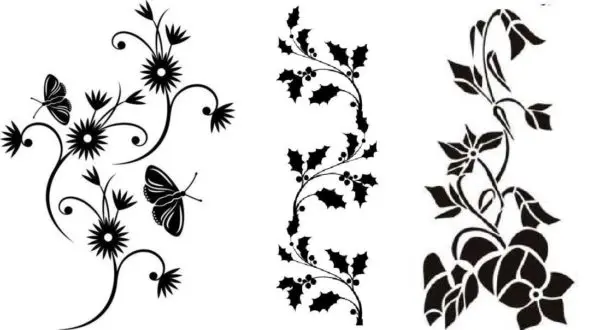
The number of possible drawings cannot be counted. Different styles, elements, sizes. Graphic, fantasy, from cartoons, based on paintings, photos, schematic and realistic images of flowers, insects, animals, trees … In general, there is everything. You just need to find. Some interesting options are collected in this section. Perhaps you will like something.