
Currant is considered not only tasty, but also a very healthy berry. At the same time, it is not necessary to purchase seedlings of such a useful plant, because it is quite possible to prepare and plant cuttings on your own. This article will be devoted to the methods of planting currants with cuttings.
Material preparation
If you already have a currant bush that gives very tasty berries, and you want to harvest a much larger crop, then cuttings can be prepared from this bush for future planting. Remember that only properly prepared cuttings will give exactly the harvest that you expected. So, let’s take a closer look at the process of preparing the material. There are several types of cuttings – lignified and green.
Lignified blanks are taken from annual shoots. To ensure a higher survival rate after planting, it is recommended to cut the material only from healthy and strong bushes that give a good harvest, both in volume and in taste.

Procurement of material for future planting is carried out either in early spring or autumn. Some gardeners advise that two processes can be combined at once: harvesting material and spring pruning. If you do this in the spring, then you need to wait until the shoots are fully ripe.
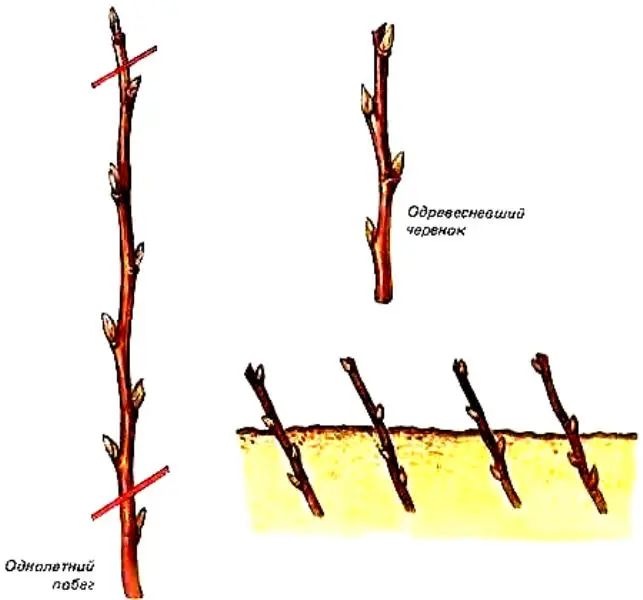
Branches with a diameter of more than six millimeters are considered the most suitable shoots, while the length of the cutting should be about 15 centimeters.
Remember that the amount of nutrients in it depends on the length of the harvested shoot, but then you will get slightly fewer currant bushes at the output. The choice is yours, to get a small amount of material with a high degree of survival in the spring, or to prepare a lot, but at the same time reduce the possible survival. When harvesting the material, the cut on the shoot should be above the kidney. For these purposes, it is better to use a well-sharpened and clean secateurs. The cut is made, stepping back from the kidney 1 cm up. Thus, a “thorn” remains above the cut. From the bottom of the taken shoot, you need to make an oblique cut under the lower kidney. In the future, the development of young roots will occur in the gap between the nodes, as well as under the kidneys.

During the preparation of the material, it should be borne in mind that the upper part of the shoot is not suitable. It is best to take its middle part. Annual shoots are also suitable for harvesting green cuttings. They are harvested at the moment when the transition from green to lignified shoot occurs. A shoot is considered suitable in this situation, which has retained its flexibility, but breaks with a sharp bend. This type of material, in case of hot weather, is harvested only early in the morning. In the case of cloudy weather, this procedure can be done throughout the day.
When harvesting green cuttings, the rules change slightly:
- the top of the shoot is considered optimal, since it is it that takes root best after planting;
- the length of the workpiece can vary from 8 to 12 cm;
- on a cut shoot there should be about four leaves;
- for several lower leaves (one or two), the leaf plate must be shortened (its complete removal is allowed). The leaf stalk is preserved. If the leaves are large, then it is cut in half;
- the bottom cut is made at a distance of 0,5 cm from the lower kidney, while the upper one is slightly higher than the upper kidney;
- cuts are made straight (using a sharp knife or secateurs).
Such cuttings should be stored only in a humid environment – for this, the cut shoot is placed in a wet burlap, and then only wrapped in a plastic bag.
After the shoot has been cut to improve rooting ability, the branches are tied into bundles and the lower ends are dipped approximately 1,5 or 2 cm into a solution of a special growth substance. This solution is prepared as follows: 1 mg of heteroauxin, 20 mg of indolylbutyric acid are diluted per 24 liter of water (temperature about 10-50 degrees). Top the prepared solution with a damp cloth. In this position, it should stand for 12 to 24 hours. Immediately after such treatment, you can proceed directly to planting.
Rules for planting cuttings
You can plant previously harvested material in spring, summer, and autumn. For example, it is possible to plant woody blanks in autumn or spring. But it is advisable to plant green shoots in the summer. Depending on the type of planting material, the method of planting will differ.
Planting currants with lignified cuttings:
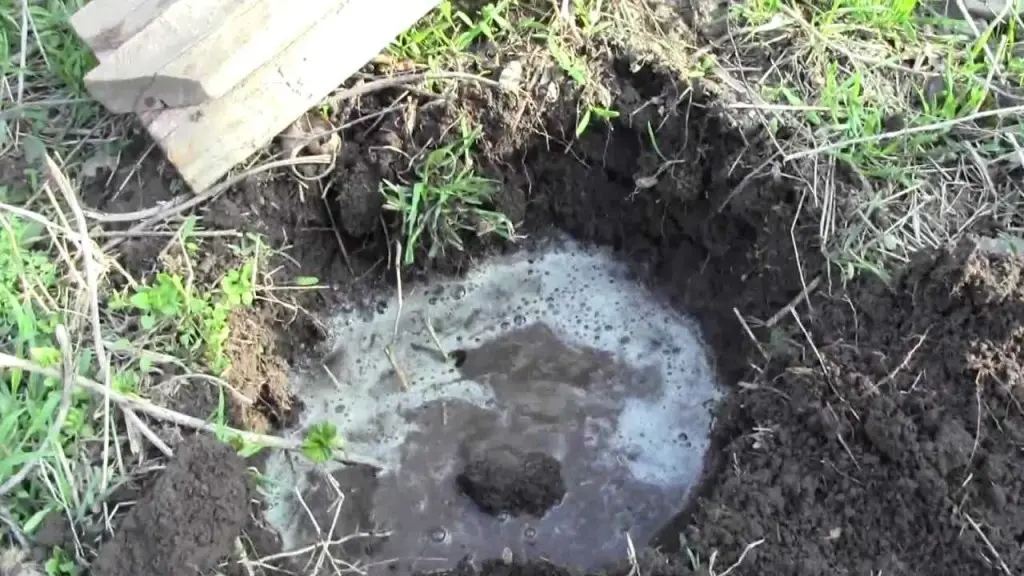
- at the very beginning, you need to prepare trenches – this will improve the survival rate of cut shoots. The earth in such trenches must be dug up to the depth of a bayonet shovel. You need to prepare trenches in the fall if you want to have time to plant an escape in wet ground. Excess moisture will only speed up the rooting process;
- at the bottom of the trench, it is necessary to pour a previously prepared mixture of rotted manure with compost;
- plant cooked shoots at an angle of 45 degrees.

The scheme of preparation and planting of lignified currant cuttings
If you plant the harvested material before winter, then the main thing is not to miss the moment when the buds on the shoot enter the dormant stage (late September or early October for black currants and late August for red ones). If you are late, then the risk that the shoots will not take root will increase dramatically.
For ease of further care of the bushes, it is recommended to plant along the cord, keeping a distance of about 10-15 cm. A distance of about 40 cm should be left between the rows. After planting, it is necessary to mulch the soil with humus or peat. The thickness of the layer should be an average of 3-5 cm. If in the fall the young bushes have already taken shape, they can be moved to another place.
Planting currants with green cuttings:
- the earth needs to be dug up by an average of 20 cm and leveled;
- pour a layer of a mixture of peat and sand (1:1 or 2:1) or river sand on top (layer thickness about 4 cm);
- water the soil abundantly;
- it is best to plant plants at a distance of 8 cm from each other. Row spacing – 5 cm;
- plant harvested shoots straight, to a depth of 2-2,5 cm;
- Water generously after planting.

Then, when the planting process is completed, the planted shoots are tightly closed and shaded with gauze, whitewash, branches, etc.
By observing all the above rules and features of planting currant cuttings, you will achieve excellent results.
Video “Planting currant cuttings”
In this video, you can view the entire process of this option for planting currants.


