


To obtain a better distillate, distillers use different methods: from upgrading a moonshine still to buying a distillation column. An intermediate option is a wash or strengthening column.
Due to the formation of a moving film on the inner walls during operation, it is also called film.
The design differs from the classic distiller in appearance, the principle of operation and the degree of the final product.
The beer column allows you to get alcohol up to 90% of the fortress. As for quality, the level of purification directly depends on the skill of the distiller. The more experienced the moonshiner, the better the distillate, but in any case it falls short of the characteristics of rectified.
Design and selection of materials
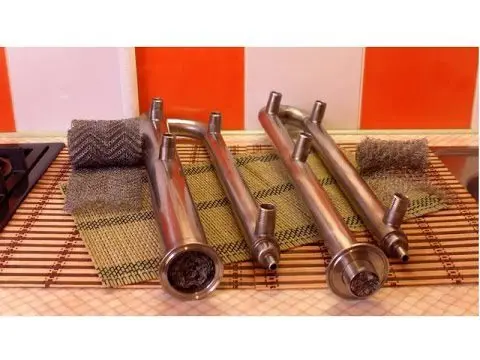
The classic reinforcing column consists of the following parts:
Alembic
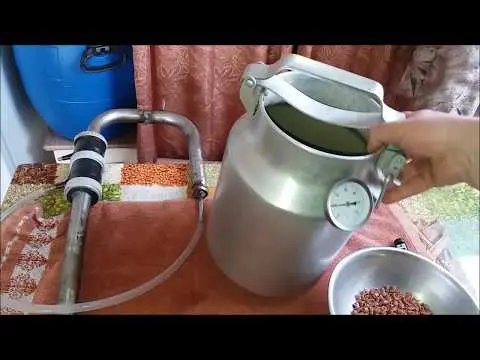
As a basis, you can take a pressure cooker, a milk flask, a beer keg, a container from a classic distiller, etc.
Copper or stainless tube – the column itself
The optimal diameter is 2,5-5 cm, the height should be 30 times the first indicator.
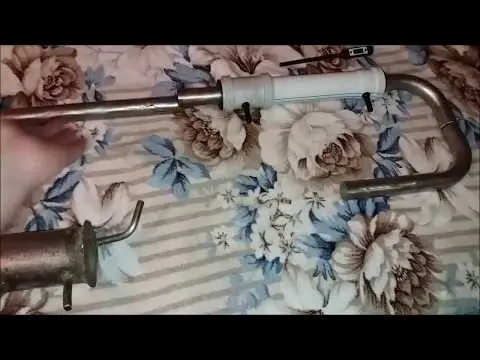
Dephlegmator (pre-cooler)
The coil can be built into the pipe or located outside. It is installed at the top of the column and should occupy approximately 25% of its length. It is optimal to take a ready-made cooler, but you can make the device yourself. It is recommended to equip the device with a regulator (for example, from a heating battery).
Steam line
It is a metal tube with a diameter of about 1 cm.
Refrigerator
For cooling, a classic device is used, which is part of any distiller.
You will also need 2 thermometers (one is installed on the tank, the second – in the upper part of the column, just above the pre-cooler) and connecting elements: nuts, couplings, adapters, clamps, silicone seals, tubes, etc. Home craftsmen make reinforcing columns from stainless steel or copper. Both options are good in their own way: steel is more affordable, copper conducts heat better.
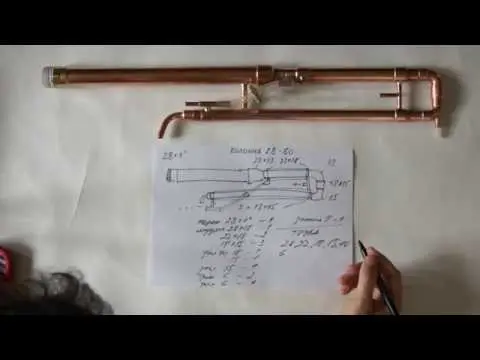
Stages of work and drawings
It is difficult and impractical to describe the whole process in detail; it is better to focus on diagrams and videos in the work. In general terms, the process looks like this:
Tank and column connection. To do this, a corresponding hole is made in the cube lid, a flange / threaded fitting is installed, and a pipe is installed. It is convenient to use a clamp connection to fasten the elements.
Deflector manufacturing. The simplest option is an external coil – winding a copper tube along the contour of the column, but you can use the design with a water jacket, mount it as a separate unit and connect it from above, taking care of the water inlet and outlet pipes.
Preparation of holes for thermometers. One is made in the tank lid, the second is done at the top of the column, between the reflux condenser and the refrigerator.
Assembly and installation of the main refrigerator with pipes for water supply / drainage. A jumper with a faucet is sometimes made between two vertical pipes, but this element is not mandatory.
If desired, the device can be improved: connect several dephlegmators, fill the pipe with nozzles, install automation, etc. In order for the column to work efficiently, it is very important to ensure a stable water supply. The device does not need to be insulated.
Relevance: 09.02.2019
Tags: Vodka, mash, moonshine, Moonshine stills and accessories