


Contents
It is difficult to find a person who would not admire gladioli. They bloom at the end of summer and for a long time delight the eye with their multicolor. Grow gladiolus in the open field and in a pot method. In the autumn, before the onset of frost, the bulbs are dug up, dried without removing the scales, and removed for storage for the winter.
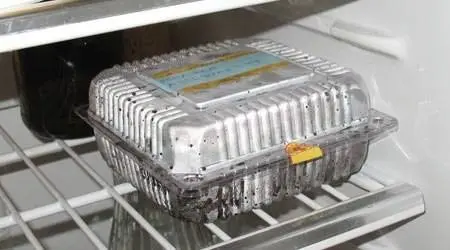
In a city apartment, the bulbs are put in a vegetable storage box on the bottom shelf of the refrigerator. In a private house – in the basement, wrapping planting material in newspapers. With the advent of spring, flower growers have a question about how to prepare gladioli for planting in spring. This is an important step in growing a bulbous plant. If you take out the stored bulbs at the wrong time, the abundant flowering of gladioli will not subsequently occur.
How to set deadlines
So, let’s deal with the question of when to pull gladioli out of the refrigerator or basement for germination and planting. In each region, spring begins at different times. Bulbs by the time of landing in the ground should not outgrow. After all, gladiolus is not planted in cold soil. If you get the bulbs late, then buds form on the peduncles, but the gladioli will not have time to bloom.
You just need to take a regular calendar, calculate when it gets warmer around the street, take away 30-40 days – you get an approximate time when you should do gladioli bulbs. Germination of planting material is necessary for the formation of powerful sprouts.
We figured out the question of when to germinate gladioli. Now you need to figure out how to prepare the bulbs for planting in the spring.
Preparing gladioli for germination
We clean the scales
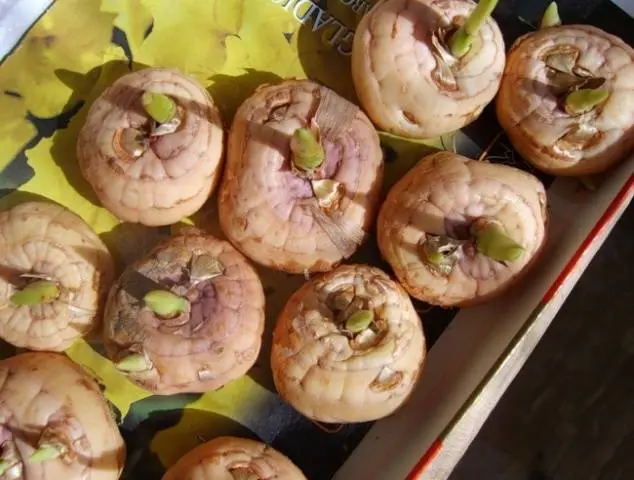
First, the scales covering it are removed from each bulb. This is necessary in order for the arrows to grow freely. You need to clean carefully. When cleaning the cap at the place where the sprout appears, you must act with extreme caution so as not to damage the sprout.

First of all, we find out if there are pests on gladioli, such as thrips, aphids. If you look closely, you can see them with the naked eye. It is possible that during storage some of the bulbs dried out, wrinkled, or wet or dry rot appeared on them. What to do, throw away planting material?
All other bulbs can be pickled or treated.
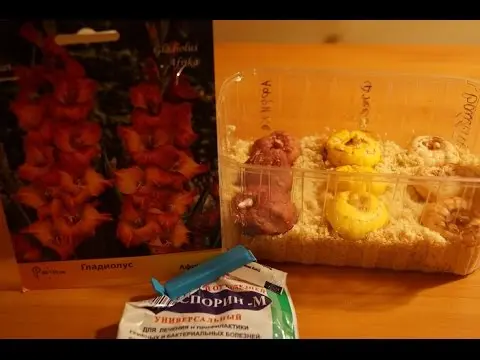
Etching of planting material
Peeled gladiolus bulbs must be pickled to kill fungal, bacterial diseases and pests. There are different ways to process planting material:
- The drug “Maxim”, “Fundozol” is effective. The bulbs are dipped into the solution for an hour. This time is enough, because the drugs are potent.
- Works well when disinfecting a solution of potassium permanganate. Here you need to be careful.
- If the bulbs are still sleeping, a thick solution is prepared for dressing. If they have already sprouted, you need to use pink, so as not to burn the sprouts and roots. Planting material is kept in a solution of potassium permanganate for at least 3 hours.
- After pickling, the corms are washed with running water.
We saturate with microelements
To get healthy plants, disinfection alone is not enough. Bulbs need trace elements. You can feed gladioli already at the germination stage.
This will require:
- liter can of water. If it is from the tap, you need to defend;
- potassium permanganate at the tip of a knife;
- a pinch of boric acid;
- ammonium molybdide;
- copper sulfate;
- magnesium sulfate and zinc.
All components are combined, bulbs are placed in the resulting composition for half a day. In the future, gladiolus will bloom earlier, the flower stalks will be more powerful, and the flowers will be larger.
This event also helps to resolve the issue of how to prepare gladioli bulbs for planting.
Handling Damage
Gladiolus in the spring may be damaged. It is impossible to leave any sores on the bulbs, they will continue to develop and destroy the plant. Processing is carried out after disinfection and “vitaminization” of the bulbs.
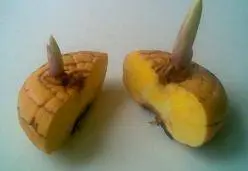
Small spots are signs of scab or fusarium, you can simply pick it out with a knife and burn the cut with brilliant green. If the spots on the sides of the planting material occupy a large area, you need to take a sharp knife and cut it to living tissue. The place of the cut on the bulb should be sprinkled with crushed activated carbon or greased with brilliant green. Once the edges are dry, the disease can no longer spread.
Bulbs are cut not only to remove damage. If the planting material is large, and 2-3 sprouts have formed on it, you can cut the bulb into pieces. Treat the cut points with green paint.
For information on how to properly prepare gladioli for planting after a long winter, see the advice of a grower. Cool video:

Growing gladiolus bulbs
Novice flower growers make the mistake of planting gladioli directly into the soil, without prior germination. In this case, flowering is very late, you may not have time to admire the skewer before the onset of frost.
That is why gladiolus must be decomposed for germination after they have been processed.
This can be done in different ways. Experienced flower growers involved in the cultivation of gladioli have their own secrets. But they don’t make a secret out of them. Consider different ways to germinate bulbs.
On dry paper or cloth
After the bulbs have been prepared in an appropriate way, they are slightly dried by laying them out on a dry towel. The bottom of the box is lined with dry paper or cotton cloth. You need to lay out in one layer at a certain distance from each other. The box is placed in a bright, warm room.
The room should not be humid, otherwise not only the tops, but also the roots will start growing.
in sawdust
Sometimes wet sawdust is used to germinate gladioli. The substrate is specially poured twice with boiling water to wash off the resin. Planting material is laid out on squeezed and cooled sawdust with the bottom down, slightly pressed. In this case, roots appear on gladioli. They can grow deep into the sawdust.
If all the activities for the preparation and germination of gladioli are carried out correctly, then soon it will be possible to observe how the sprouts and rudiments of the root system appear.
About one of the ways to germinate bulbs in this video:
What to do if the bulbs woke up in the middle of winter
Sometimes, looking through the planting material, flower growers find that already in February, some bulbs began to wake up. How to proceed in this case? It remains the option of potted cultivation of gladioli.
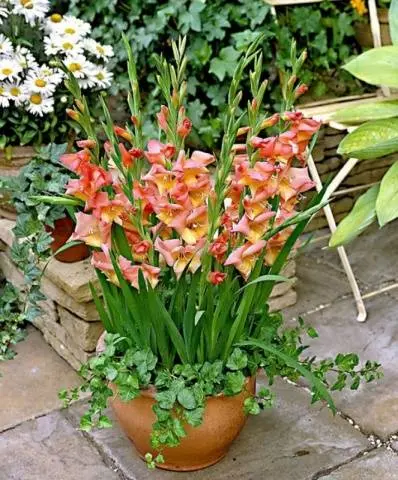
All preparation activities will be identical to those described in the article. In addition, it is not necessary to germinate planting material. The bottom of the pots is covered with drainage, fertile soil is added and planting material that has awakened ahead of time is laid out. It remains only to take care of the landings. With the onset of heat, the pot is taken out into the street. By this time, gladioli have time to bloom.
To summarize
If you do not do spring preparation of bulbous plants, you can not only be upset by weak flowering, but also lose your favorite varieties due to the development of diseases. Preparation of gladioli for germination and planting begins in late March – early April. The soil on the street warms up around May 15 (it all depends on the region). Bulbs with strong sprouts take root well in open ground, bloom earlier.
Immediately before planting, gladioli bulbs are treated with root growth stimulants and copper sulfate. Your labors will be justified by the lush flowering of gladioli.