Contents
Planting winter garlic only seems to be a difficult and inaccessible process for inexperienced gardeners. In fact, everything is much simpler and requires minimal knowledge in biology and botany. In this article, we will look at the main points that you need to know when planning to grow winter garlic: when to plant, how to select seeds and prepare the soil, when to wait for the result of your efforts.
Peculiarities of growing
Winter garlic shoots, so both bulb cloves and seeds can be used for propagation. At the same time, the plant is resistant to low temperatures, developing in coolness much faster. From each clove, a bulb is formed with a developed root system, which contains from 7 to 12 cloves, depending on the variety.
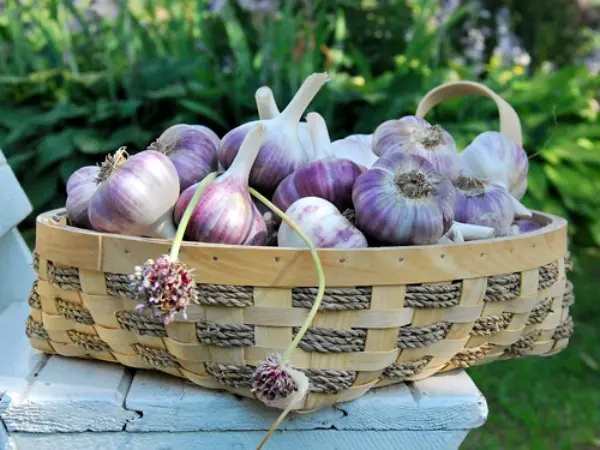
Since winter garlic is planted before winter, it is important to properly prepare both the plant itself and the area where it will grow. This is quite easy to do, since, as already noted, winter varieties are adapted to the cold.
Terms of planting
As soon as you have removed the plants from the future place for planting winter garlic, preparation should begin. You should be guided by weather conditions and forecasts for your region, so that you plant cloves 45-55 days before the first frost.
When to plant winter garlic? Depending on the variety, planting can begin from the end of August. According to the lunar calendar for 2022, the favorable dates for landing are September 26, 27, 30, as well as October 1, 4, 5, 11, 12. This time is quite enough for the garlic to develop a good root system, fully adapt to the conditions in the garden and be ready for the cold.
It is not recommended to plant garlic: September 1, 16; October 16; 14 and 29 November.
Preparing the soil and garlic
The place where the plant will be planted plays a big role. For garlic, such a place would be a dry, well-lit area, without stagnant moisture. The soil should be loamy with low acidity, rich in organic matter. You need to start preparing the site one and a half months before planting.
Garlic will survive the winter well if you choose the previous plants wisely.
Be sure to observe crop rotation. So that you understand – when a plant grows in one place for several years in a row, toxins, harmful fungal microflora accumulate in the soil, insect pests equip their nests.
Therefore, you should not plant a crop after garlic. But it grows well after cucumbers, peppers, eggplant, pumpkins, zucchini, tomatoes, potatoes and early ripening cabbage. These plants saturate the soil with nitrogen and phosphorus, which contributes to the good development of garlic. It is not recommended to plant this crop after late-ripening potatoes, Jerusalem artichoke, radishes, turnips, carrots. They take all the useful substances from the soil, and it does not have time to recover by the time the garlic is planted.
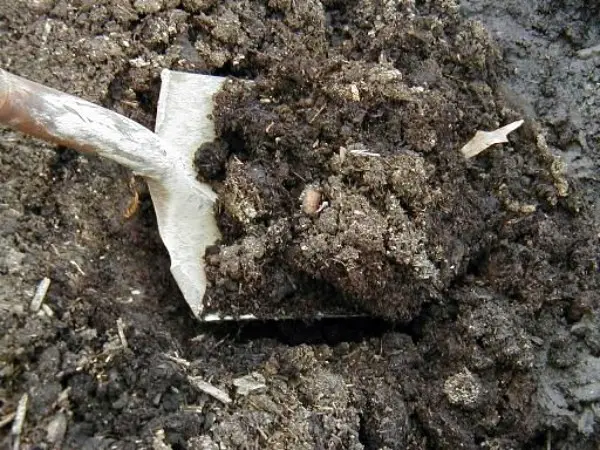
Be sure to fertilize the selected place during the digging of the site. You can use both ready-made fertilizer mixes, which are sold in garden stores, and mix them yourself. For example, you can take 1 bucket of mullein or horse manure, 1 tablespoon of double superphosphate, 10-12 grams of nitrophoska, 1 cup of slaked lime and add this mixture to 1 square meter of land. You can also replace nitrophoska with 15 grams of potassium salt, and double superphosphate with 20 grams of simple superphosphate. A more saturated “cocktail” of fertilizers will turn out if you take 5 kilograms of humus, 30 grams of double superphosphate in granules, 25 grams of potassium salt.
The soil must be dug up to a depth of at least 25 centimeters, since the root system develops well and grows in garlic. After you dig and level the ground, water the area with a strong solution of copper sulfate to disinfect and better fertilize the soil.
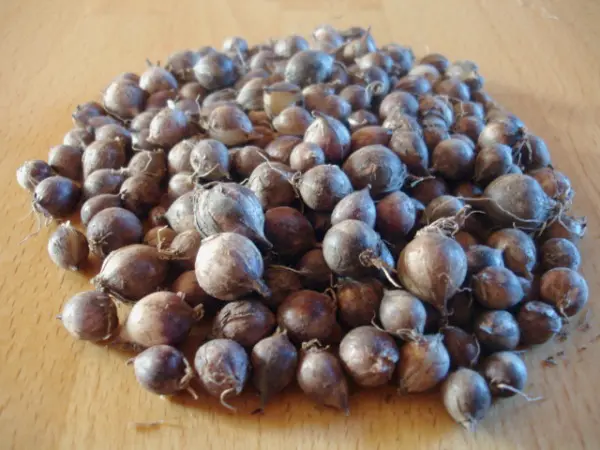
It is also important to prepare the material for planting. Select the largest cloves you have. Remove the scales from them, carefully inspect for damage, flaws, mold and rot. Even slightly spoiled cloves should be thrown away. Remove the “mother’s bottom” from each clove selected for planting so that it does not interfere with the germination of the roots.
It is good if the seed was collected from plants that grew in your area, because this means that the culture will not only take root well, but also give a rich harvest.
Make sure the parent plant is healthy and the cloves have been stored in a cool, dry place.
Planting material should be soaked for a day in potassium permanganate (add potassium permanganate crystals to warm water until it turns pink) or in a solution of copper sulfate (mix 10 tablespoon of copper sulfate in 1 liters of water). You can disinfect and harden the cloves in a shorter time by placing them in ash liquor for 2 hours (2 liters of ash are boiled for 15 minutes in 5 liters of water, the solution is cooled and filtered before use).
Landing
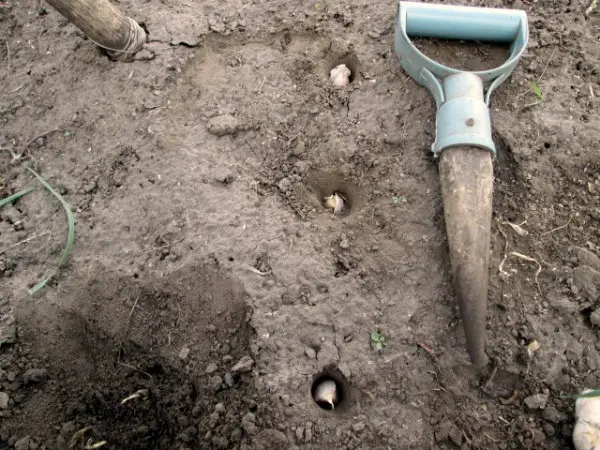
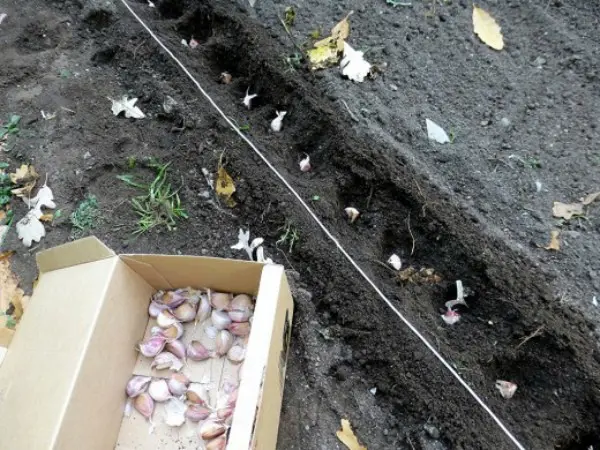
The correct planting depth is the key to a successful wintering of winter garlic, as well as a guarantee that in the spring it will quickly break through the ground and grow. Make furrows in a pre-fertilized area with a depth of 10-15 centimeters, pour 3 centimeters of clean river sand on its bottom (you can ignite it in the oven or rinse it with a solution of copper sulphate). Lay the cloves with the sharp ends up and cover with earth. Water the beds and mulch with straw, peat, spruce needles, leaves. The distance between the teeth should be 10-12 centimeters, and between the beds – 20-23 centimeters.
Before the onset of cold weather, the beds can be additionally covered with plastic wrap or roofing material. However, as soon as the snow falls, you need to remove it so as not to spoil the wintering of garlic cloves.
You can also plant cloves in two tiers. To do this, the first layer of cloves is laid in pre-prepared furrows with sand, they are covered with earth, and then the second layer of cloves is laid out at a depth of 5-6 centimeters and again covered with earth. After the beds are watered and carefully mulched.
Video “Sowing winter garlic”
This film is about planting winter garlic. You will learn when and how to plant, what are the requirements for planting material.


