Contents
One of the most popular vegetables in the vast Slavic lands is onion. Especially in various dishes, the following types are widely used: multi-tiered, leek, batun, onion. Some varieties are grown for green petals, while others are grown for turnip use. But there are many summer residents who do not stop there and develop their knowledge and grow special varieties of crops that are less common in Our Country.
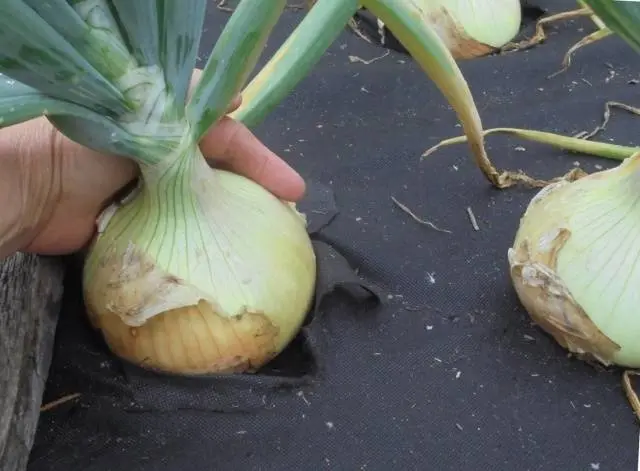
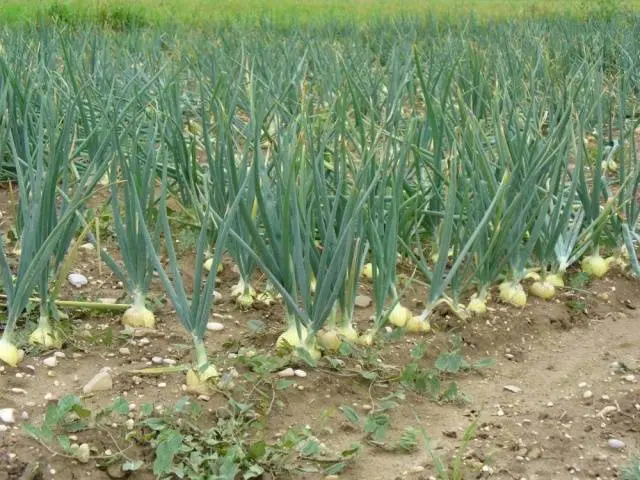
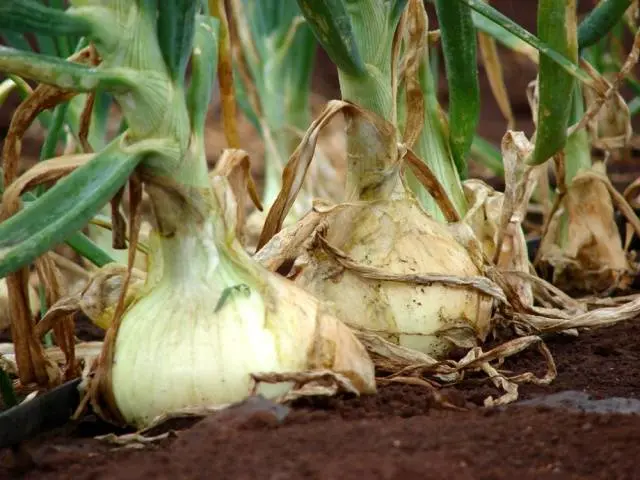
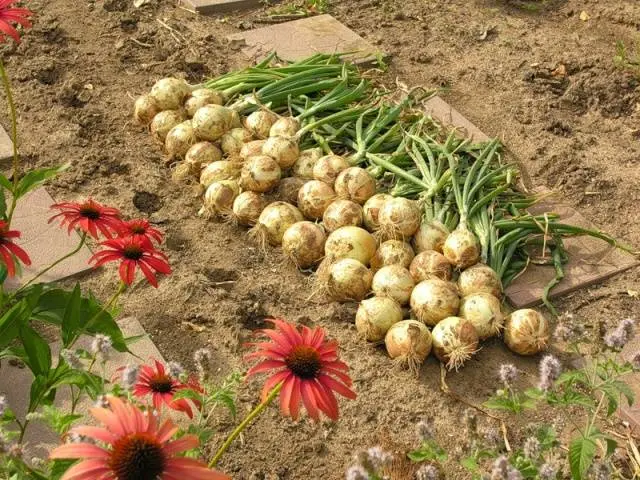
One of these varieties is the Exhibition onion. This is a mid-season type of vegetable crop. It was bred in Holland and has a relatively large size. Subject to the elementary rules for the care of Exhibition onions, many gardeners get an excellent harvest, for example, from 1 m2 collect 3 kg of culture. One bulb weighs an average of 120–500 g. In addition to the fact that the Exhibition is large, it is also in demand by consumers due to its excellent taste. It has a pleasant sweetish taste, without bitterness. Exhibition refers to salad varieties, therefore it is a perishable product. This article will discuss how to grow Exhibition onions, as well as the features of caring for them.
Growing in boxes, cassettes, cups
The seedling method of growing Exhibition onions is a rather complicated and troublesome business. However, this growing technique allows you to grow the largest bulbs. Seeds are sown in the first decade of February, but before that they are prepared.
Preparation of seeds for sowing consists of three stages:
- The seed is kept in warm water for several hours.
- The seeds are then wrapped in wet material. They should lie there for several days.
- Planting material is being disinfected. To do this, a solution of manganese is made, at the rate of 1 g per 1 liter of water. Seeds should be in solution for 8 hours. The temperature of the solution should be about 400C.
Another important stage is the preparation of containers and soil for sowing seeds. To prepare the soil, you will need rotted mullein, soddy soil and humus in a ratio of 1:9:9. This mixture is filled with containers for planting Exhibition onions. Plastic cups, boxes and cassettes can be used as containers. Seeds are sifted thickly. The depth of the hole for sowing should be approximately 1,5 cm. The sown planting material is covered with plastic wrap or glass. The place where the seedlings will germinate should be warm and shaded. 10 days after the appearance of sprouts, you need to remove the film or glass and move the Exhibition bow to a sunny place. To accelerate the growth and development of onions, weekly fertilizing with mineral fertilizers can be carried out. They are diluted at the rate of 0,5 g per 1 liter of water.
in snails
Experienced gardeners grow Exhibition onions in so-called snails, which they themselves make from a substrate for laminate flooring. This method is very convenient if you have little space for growing seedlings.
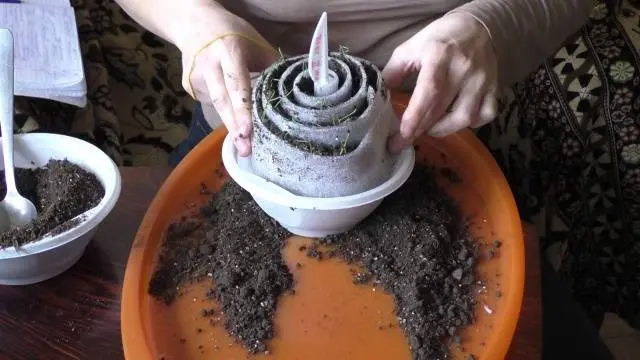
In the process of growing onions in snails, a small amount of soil is required. In addition, ready-made snails take up little space on the balcony. A greenhouse effect is created in the snails, due to which the seeds germinate perfectly.
We suggest you watch a video on how to plant onions in snails. In the video, not our onion variety is used for the example of sowing, but the principle of cultivation is the same:
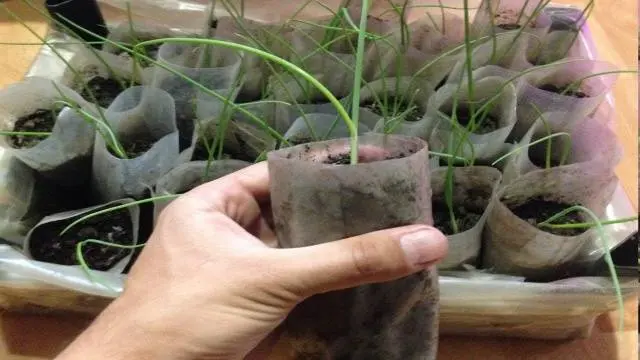
Sowing on toilet paper
Some gardeners use regular toilet paper to sow Exhibition seeds. It is cut into strips having a width of about 3 cm. A paste is also prepared in advance. When sowing seeds, it should be cold. Paste recipe: 0,5 cup of water is 1 tsp. starch, all this is stirred and brought to a boil over a fire until it thickens. The paste should not boil. The cooled paste is applied to the paper with a toothpick in small drops. The distance between the droplets should be at least 5 cm. The seeds are immersed in the droplets of the paste.
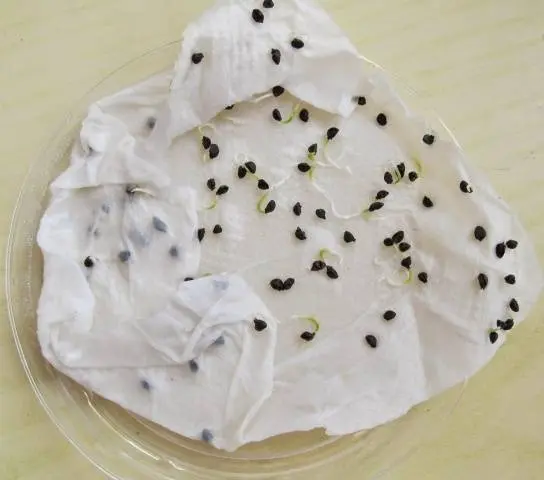
In order for the seeds to have enough nutrients, fertilizer can be added to the chilled paste. The dried strips are twisted into rolls and placed in plastic bags before landing in the ground. The technique was appreciated for the fact that during the growing season there is no need for weeding onions. In addition, this reduces the consumption of seeds. Seeds germinate within 10 days.
The optimum temperature for seed germination can vary between 20-25℃. So that the seedlings do not stretch out, after the seeds begin to sprout en masse, the temperature in the room is reduced to 150C. Landing containers can be taken out to the loggia. The film is removed and the seedlings are provided with enough light. Once a day, seedlings are opened for ventilation. Further onion feeding is carried out every 10 days. Both organic and mineral fertilizers are applied.
Care
In the future seedlings of bulbs of the Exhibition variety, it is necessary to provide high-quality care. The air temperature should be maintained within 10–220C. As mentioned above, you need to provide onions with timely watering. Water for irrigation should be separated and warm. It is equally important to ventilate the room in which the seedlings grow.
After 2 months, about 2 weeks before planting in open ground, the young onion is hardened by taking it out to the balcony or to the street. During this period, potassium nitrate is introduced into the soil at the rate of 1 g per 1 liter of water. If the onion greens begin to loll, then trim it, leaving 10 cm above the ground. The cut part can be used to prepare spring salads.
Transplantation in open ground
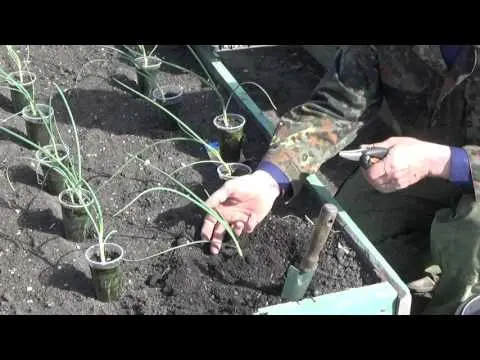
In the first decade of May, when the Exhibition onion is strong enough, it can be planted in open ground, deepening the roots by about 3 cm. The place of permanent dislocation of the culture should be illuminated. The soil should be neutral-acid, moisture-absorbing, loose and breathable.

Holes are made in the soil and spilled with water, seedlings are planted at a distance of about 20-30 cm from each other. Each bulb is separated and planted in a hole, pressing the soil around it. After transplanting, the seedlings are watered daily.
Weed control
To protect the Exhibition onion from pests and diseases, carrots should be planted near it. These 2 cultures do an excellent job with all the parasites that threaten them. Potassium, nitrogen, magnesium and phosphorus can be suitable as mineral fertilizers. But everything needs moderation, and fertilization is no exception. If you overdo it, then irreparable harm will be done to the cultures. Follow the instructions for the preparations and then you will be able to feed the onions correctly.
In July, watering is significantly reduced. So, the bulbs will be able to ripen, which will contribute to their longer storage.
Pest and disease control
No matter how the gardener takes care of the Exhibition onion, from time to time he gets sick. To cope with such circumstances, you need to have certain skills.
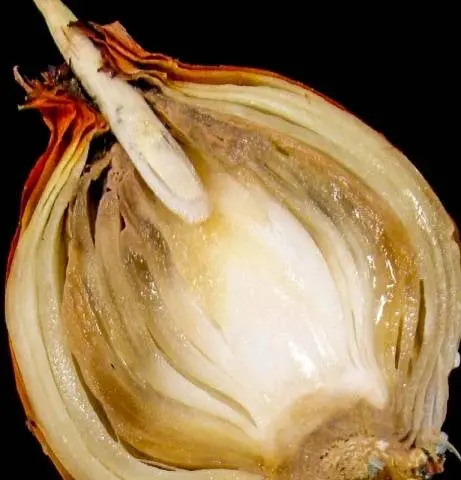
The most common onion ailment is rot, which affects the bottom of the plant. It is most often noticeable when the vegetable has ripened. As a result, the bulb softens and rots; long-term storage of a diseased vegetable is impossible. When the rot has already been detected, it will not be possible to save the bulb. Therefore, the disease must be prevented by providing proper care for the Exhibition onion. It is unacceptable that water stagnates on the beds. Before planting seedlings, it is necessary to drain the soil. To do this, its upper layer is removed and drainage is made of sand, gravel and turf by 3 cm, drainage is sprinkled with a small layer of earth, and then the vegetable is planted.
Another common onion disease is smut. Manifested in the appearance of translucent dark gray stripes located on the leaves. The affected areas of the culture are removed. To avoid the formation of the disease, plant onions on the same bed no earlier than 4 years later. That is how long fungal spores retain their ability to spoil onions.
Gray rot is manifested in the rotting of the neck of the onion head, and then all its parts. Affected bulbs must be destroyed, thus securing healthy ones. If the agrotechnical rules are observed, the disease can be prevented.
The stem nematode is caused by a small worm with a size of up to 0,5 mm. Twisted and light onion feathers are the first sign of illness. The bulbs, when damaged by a stem nematode, rot and crack, as the worm multiplies inside. The diseased plant must be urgently removed, because, otherwise, the worm will crawl onto a healthy onion. To avoid this disease, it is important to observe crop rotation, timely liming the earth and using only healthy planting material.
With proper care and the use of healthy seeds, growing Exhibition onions is not that difficult. And after 70 days, you can enjoy the sweet taste of the plant without shedding a single tear.
We also invite you to watch a video about the features of growing onions: