Contents
According to reviews and photos, Kakadu pepper attracts with its large weight, unusual shape and sweet taste. The variety is suitable for growing in greenhouses and film shelters. Plantings are provided with the necessary temperature conditions, watering and fertilizing.
Botanical description
Characteristics and description of the Kakadu pepper variety:
- mid-season variety;
- 130-135 days pass from the appearance of sprouts to harvest;
- height up to 1,5 m;
- spreading bush.
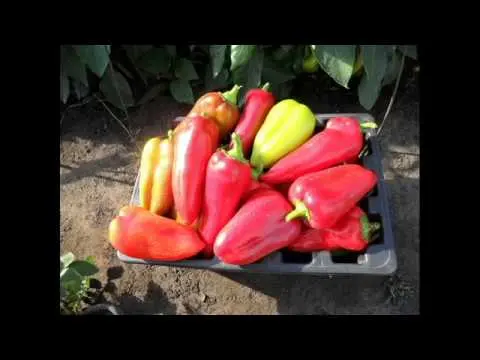
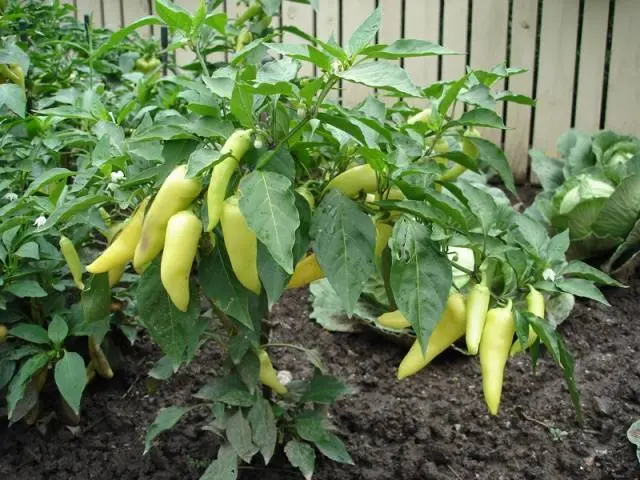
The fruits of the Kakadu variety have a number of features:
- weight up to 500 g;
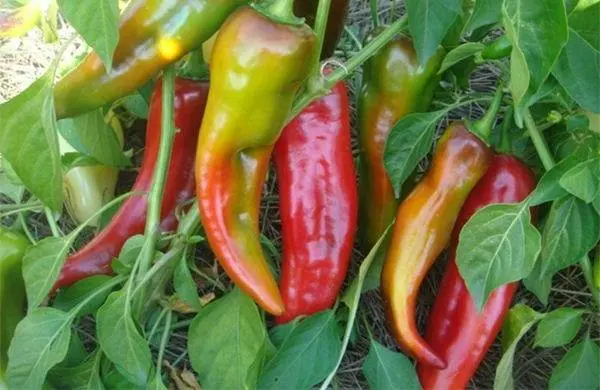
- elongated, slightly curved shape;
- saturated red or yellow color;
- length up to 30 cm;
- wall thickness 6-8 mm;
- fragrant, sweet pulp;
- yield per bush – up to 3 kg.
The Kakadu variety is used fresh for cooking first courses, side dishes, salads and snacks. It is added to homemade pickling, lecho and sauces.
The fruits can be harvested green before reaching maturity. In this case, the duration of their storage will be about 2 months. After harvesting, it is recommended to process the crop as soon as possible.
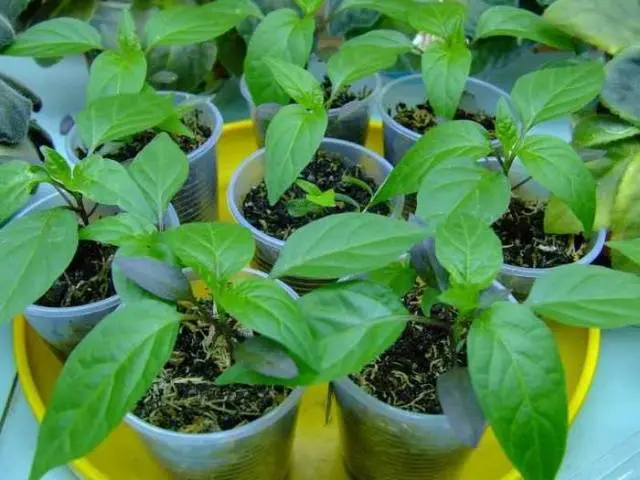
Getting the seedlings
The Kakadu variety is grown in seedlings. Seeds are planted in containers at home. For the development of seedlings, a certain temperature regime, watering and top dressing are required. The grown peppers are transferred to a greenhouse or greenhouse.
Preparing for planting
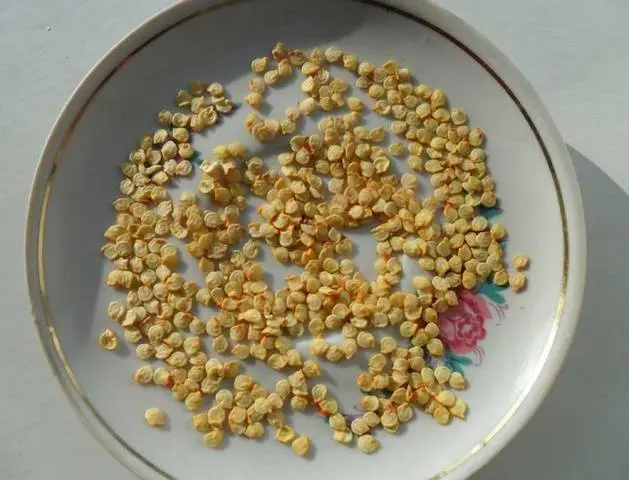
Kakadu seeds are planted at the end of February. First, the planting material is placed in a damp cloth and kept warm for 2 days. So increase the germination of seeds and stimulate the emergence of sprouts.
The soil for planting the Kakadu variety is prepared in the fall by combining certain components:
- compost – 2 parts;
- coarse sand – 1 part;
- country land – 1 part;
- wood ash – 1 tbsp. l.
The resulting soil mixture is calcined in the oven or microwave. It is allowed to use purchased soil intended for growing peppers. The treated soil is placed in containers, its surface is leveled and planting is started.
The seeds are buried by 1,5 cm. 5 cm is left between them. When using boxes, the Kakadu variety requires a pick. Planting seeds in peat pots will help to avoid it.
Crops of the Kakadu variety are watered and covered with film or glass. Seeds actively germinate at temperatures above 20 degrees.
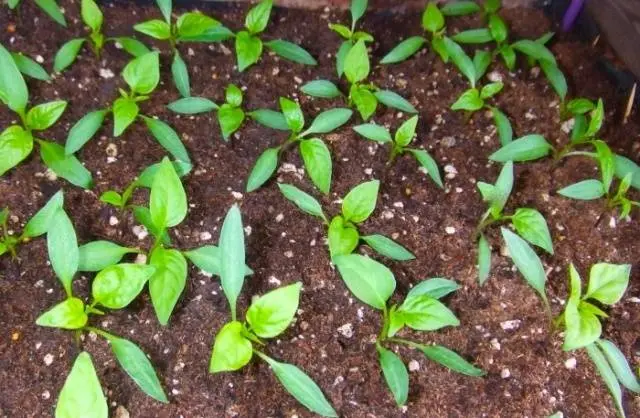
seedling conditions
After germination, Kakadu peppers are rearranged to a lighted place. In the daytime, the temperature is maintained at 26-28 degrees, at night, 10-15 degrees are enough for seedlings.
The soil should receive moderate moisture. Excess moisture provokes the spread of diseases and rotting of the root system. Its deficiency also negatively affects peppers, leading to wilting and curling of the leaves.
For 12 hours, Kakadu seedlings are provided with access to light. If necessary, install artificial lighting.
When plants have 2 leaves, they are transplanted into separate containers. Before being transferred to greenhouse soil, peppers are fed twice:
- after picking or forming 2 sheets;
- 14 days after the first feeding when forming 3 sheets.
For seedlings, liquid fertilizer Agricola, Fertik or Mortar is used. 7 days before planting in the greenhouse, peppers need to be hardened. Plantings are rearranged to a balcony or loggia, where they are first left for 2 hours, gradually increasing the time the plants spend in the open air.
Planting peppers
Kakadu peppers are transferred to the greenhouse 2 months after seed germination. Such seedlings reach 30 cm in height, have a strong stem and about 12 leaves. In the greenhouse, the soil should warm up to 15 degrees, which usually occurs in May.
The preparation of the greenhouse and soil begins in the fall. The soil is dug up and fertilized with organic matter. When re-digging in the spring, add 50 g of fertilizers with potassium and phosphorus and 35 g of ammonium nitrate per 1 sq. m.
After tomatoes, potatoes, eggplants and any varieties of pepper, planting is not performed. Rotation of crops avoids soil depletion and the spread of diseases.
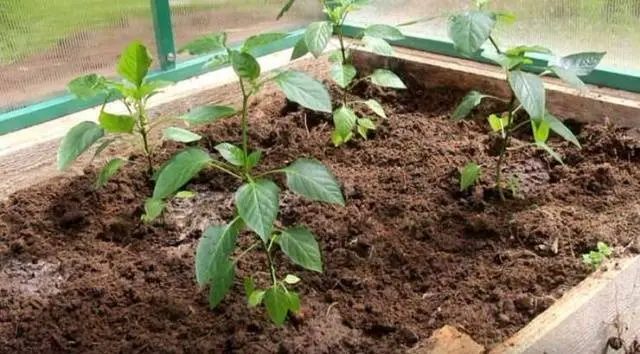
Holes 12 cm deep are prepared for peppers. 40 cm are left between plants. If several rows are organized, 80 cm are left. It is most convenient to place the plants in a checkerboard pattern to avoid thickening and facilitate planting care.
Kakadu peppers are transferred along with an earthy clod into prepared holes. The soil under the plants is compacted and mulched with peat.
Care scheme
According to reviews and photos, Kakadu pepper gives a high yield with constant care. Peppers require watering, fertilization and the formation of a bush. So that the plant does not break under the weight of the fruit, it is tied to a support.
Watering peppers
Variety Kakadu need constant watering. Moisture is applied in the morning or evening hours. Water should settle in barrels and warm up, only after that it is used for irrigation.
Before flowering, peppers need to be watered once a week. When fruits are formed, the intensity of moisture application is increased up to 2 times a week. Watering is stopped 10 days before harvesting.
Each plant needs 3 liters of water. To prevent the formation of a crust after watering, loosening is mandatory. It is important not to damage the plant roots.
For large planting areas, drip irrigation is organized. Uniform flow of moisture occurs through the pipes.
Planting top dressing
The first dressing of the Kakadu variety is performed a couple of weeks after the transfer to greenhouse conditions. To do this, take bird droppings, which are diluted with water in a ratio of 1:20. When using mullein, the proportion is 1:10. 1 liter of fertilizer is enough for each plant.
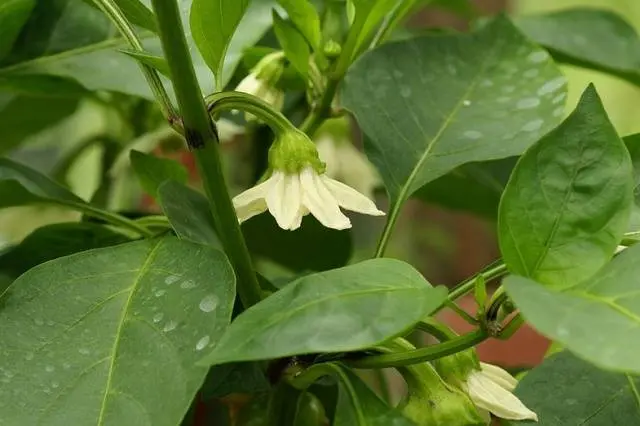
During the flowering period, plantings are sprayed with a solution based on boric acid (4 g of the substance per 2 liters of water). To attract pollinating insects, 200 g of sugar is added to the solution.
The last top dressing is carried out when the peppers ripen. Take 2 tsp per bucket of water. potassium salt and superphosphate.
All solutions with mineral substances are applied under the root of the plants. Processing is carried out in the morning or evening, when there is no exposure to the sun.
Shrub formation
According to its characteristics and description, the Kakadu pepper variety is tall. If you do not pinch its shoots in a timely manner, then the pepper will grow and give a small crop.
Kakadu pepper is formed by removing all side shoots up to the first fork. By removing excess leaves, the plant will direct its forces to fruit formation.
When pinching a bush, its leaves and branches are cut off, leaving 2 cm in length. As a result, 2-3 shoots are left. Weak branches are removed first.
Each pepper should have no more than 25 flowers. The rest of the buds pinch.
Protection against diseases and pests
To protect the Kakadu variety from fungal diseases, plantings are treated with Oksikhom or Phytodoctor. During the growing season do not use products containing copper.
Peppers are attacked by aphids, spider mites, gall midges, wireworms, and bears. For pest control, insecticides Fufanon, Karbofos, Aktellik are used. Preparations are used in strict accordance with the instructions.
Folk remedies are considered effective against insects: tobacco dust, infusion of garlic or onion peels. Root crop traps are effective from the wireworm and the bear.

Reviews of gardeners
Conclusion
The Kakadu variety is planted indoors. This method of planting is relevant in regions with difficult climatic conditions. Kakadu pepper has an unusual elongated shape, sweet taste and good yield. The culture is grown in seedlings. Peppers are cared for by watering and fertilizing.