If the farm has a mini-tractor, then it is imperative to have attachments to automate the harvesting process. The device can be bought at the store, but the price does not always suit the consumer. If desired, a potato digger and a potato planter for a mini-tractor can be made independently. Moreover, the first attachment can be used not only for digging potatoes, but also for harvesting other root crops.
Varieties of potato chips
This type of attachment is always fixed to the rear attachment of the mini tractor. Structurally, potato diggers are divided into single-row and double-row models. In addition, there is another difference – according to the principle of work. Two types of potato diggers are mainly used for the mini tractor:
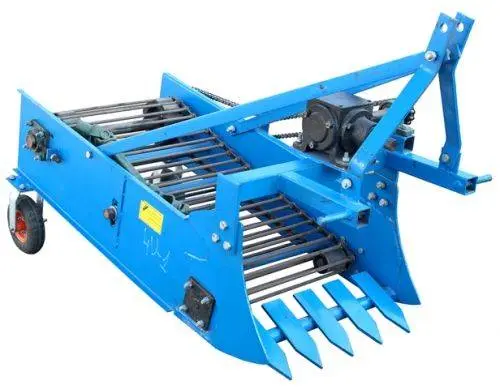
- The most complex in design is considered a conveyor potato digger. In front, it has a plowshare, which, when the digger moves, cuts the ground. Together with the soil, the tubers fall onto a conveyor made in the form of a lattice of steel rods. This is where the potatoes are cleaned from the soil. Conveyor-type models are expensive and are most often used on farms.

- A vibrating potato digger is simpler. It also has a plowshare for cutting the soil. Here are just a table of rods made not in the form of a conveyor, but simply thoroughly welded. The soil cut with a plowshare with root crops falls on this grate, which vibrates from movement. Such a digger is also referred to as a roar. The tubers are thrown up by vibration on the rods, and they are cleared of the soil. For home use, a vibration model is better suited.

There are several more potato diggers for a mini-tractor, but this is more homemade, although there are also factory-made ones. Let’s look at them:
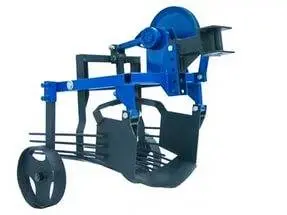
- The simplest in design is a fan-shaped potato digger for a mini-tractor, and according to the principle of operation, it resembles a vibration counterpart. In this design, the potato digger is made of hiller, and rods in the form of a fan are welded to it from behind. On this grate, the potatoes are peeled. Fan diggers are best used with a walk-behind tractor.

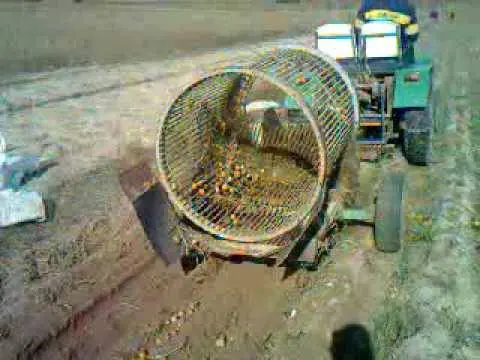
- The drum potato digger cleans the tubers from the soil due to the rotation of the lattice structure. Its disadvantage is damage to the skin of the potato. The drum is connected to the power take-off shaft by a direct drive. A ground cutting knife is installed in front.

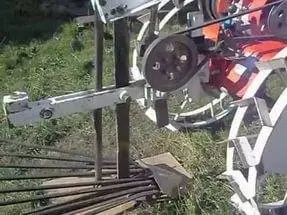
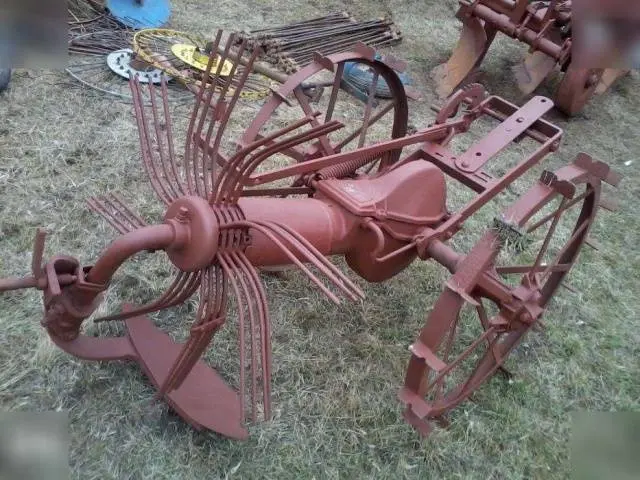
- A rather interesting horse-drawn potato digger, imported to us from Poland. Its local craftsmen remake it into motoblocks and tractors. A knife is installed in front of the digger. While moving, he cuts the soil and understands it along with the tubers. Behind the knife there is a rotating fan made of steel rods, which is driven by wheels with lugs. So he throws the tubers away from the knife.

The owner tries to add something of his own to each digger. Modification of the mechanism leads to the emergence of new designs.
Self-made potato digger
When making a homemade potato digger for a mini-tractor, it is better to give preference to a vibration model. In the photo, we suggest looking at the drawings of such a design, where the dimensions of all nodes are indicated.
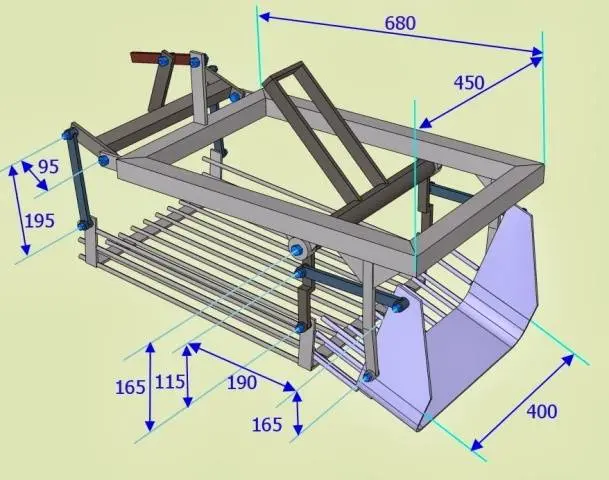
To some, the design will seem complicated and the thought will immediately flash – I’d rather buy it. Do not despair. Let’s look at how to assemble such a digger with your own hands:
- Homemade design must be durable. The main load falls on the frame, so the choice of material for it must be approached wisely. The main frame is welded from a corner with a section of 60×40 mm or a channel. You will need a piece of sheet steel 5–8 mm thick. Kerchiefs are cut from it to reinforce the corners of the frame and other nodes, on which a large load falls. The service life of a do-it-yourself digger depends on the quality of the steel and the connection of the nodes. For fixing, welding or bolting is used. The knot will be stronger with the combined connection method.
- After the frame is made, they begin to assemble the elevator, that is, the grate where the tubers will be cleaned. Of the materials you will need a rod with a diameter of 8-10 mm, as well as sheet steel for the manufacture of the case. First, a lattice is welded from rods and steel strips. A shaft is attached to the finished structure, which will make the slatted table vibrate during the movement of the digger. In the final, the elevator is installed on the frame, where it is firmly fixed with a bolted connection.
- Now you need to make the plowshare itself, which will cut the ground. Here you need to take strong steel so that it does not bend in the ground. The workpiece is bent, giving a shape, as shown in the diagram. A steel pipe with a diameter of 200 mm can be used as a blank for the plowshare. The cut off piece needs to be cut along in one place with a grinder. After that, the ring is unbent, giving it the shape of a plowshare. The edge of the finished knife is sharpened on a sharpener. The plowshare is attached to the elevator and the frame with bolts with a diameter of 10 mm.
- The next step is to make a wheel mount. Here, each master chooses a convenient option for himself. You can simply fix the shaft with bearings to the frame on the racks or install the hubs separately on each side of the digger.
- The final work is the manufacture of fastening the digger to a mini-tractor. It all depends on the design features of the technique. It is optimal to visit a retail outlet and see the device of the towing mechanism for this model of a mini-tractor. By the same principle, make a homemade mount.
On this homemade digger is ready. Now you need to choose the wheels on which it will move. Two options are considered here: steel or rubber. It is better to have two pairs of wheels on the farm. For hard dry soil, steel wheels are best suited. You may even have to weld lugs. The type of tread depends on the soil and is selected individually. On wet and loose ground, it is better to roll a digger on a rubber track. It will sink less under its own weight into the ground.
The video shows a homemade potato digger:
Varieties of seedling potatoes
A homemade potato planter for a mini-tractor is very difficult to manufacture. Although skilled owners manage to make it in order to save on purchases. In the photo, we presented a diagram of one of the designs of the potato planter. According to this principle, you can assemble a home-made towing device for a mini-tractor.
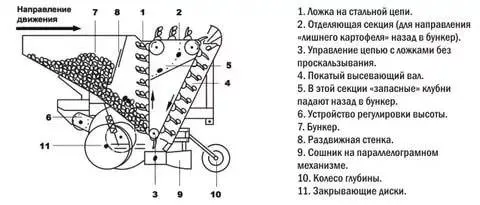
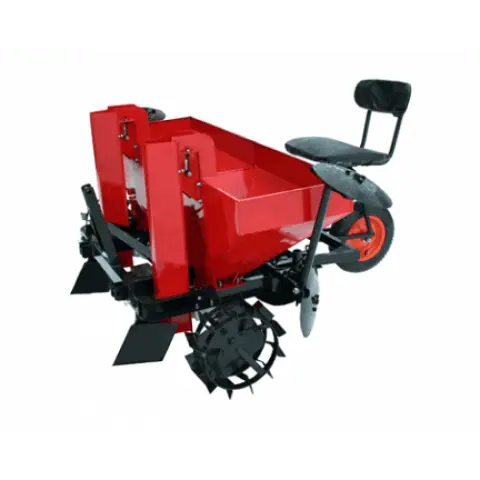
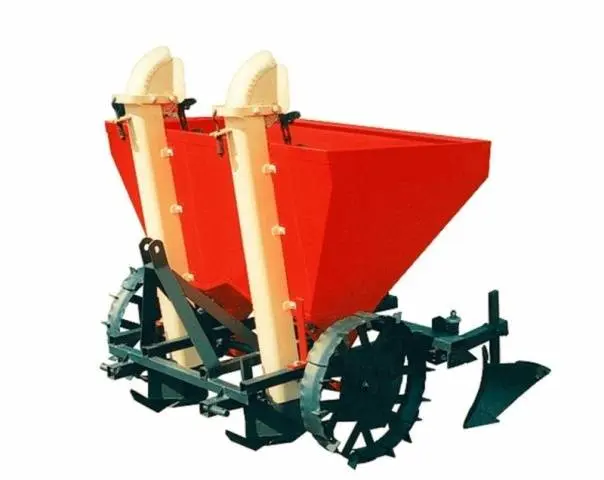
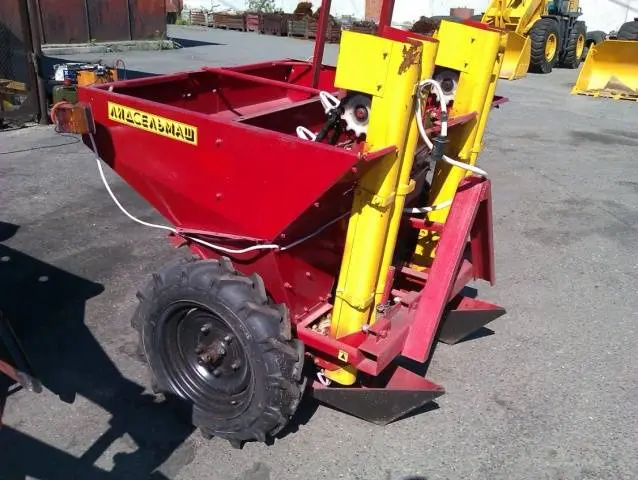
And now let’s look at how the models of factory-made potato planters look like:
- The two-row potato planter for the KS-2MT mini-tractor is more suitable for the MTZ-132N model. The design has two containers for potatoes with a volume of 35 liters. If necessary, the row spacing is adjusted during planting of tubers.

- Automatic mounted potato planters S-239, S-239-1 are also two-row. The planting depth of tubers is from 6 to 12 cm. There is a mechanism for adjusting the row spacing.

- The two-row potato planter for the L-201 mini-tractor can hold up to 250 kg of planting tubers in the basket. The design is equipped with a mechanism for adjusting row spacing.

Depending on the model, the cost of potato planters varies from 24 to 80 thousand rubles. Not very cheap and potato diggers. Here it is worth thinking about the independent manufacture of attachments. The work is difficult, but economically justified.


