


Contents
Any gardener, amateur gardener or farmer has no idea how you can cultivate your land without using a rake – be it ordinary garden or industrial. With this tool, you can work the soil, harvest and keep the entire area clean. What types of rakes exist, what kind of work are they intended for and how can you make a wooden rake yourself?
Description of construction
Garden rakes perform a variety of functions: loosening the beds, cleaning the area from dry leaves, mowed grass and weeds, etc. This is the best assistant for gardeners, gardeners and farmers. The design of this tool is extremely simple: a handle on which a transverse bar with teeth is mounted. Based on their purpose, the configuration also changes: the number of teeth, their shape, length, thickness, material, and more.
The working part of the rake is made of various materials, on which the strength and weight of the entire tool directly depend:
- painted iron – relatively heavy, rapid tooth distortion, high wear;
- steel – durable, but heavy;
- hardened aluminum – has the best ratio of quality and weight;
- plastic and plastic – light and maneuverable, but fragile;
- wooden – quite strong and light.

For farms and large agricultural lands, special rakes-tedders are produced – a machine that is designed for raking and tedding mowing.
Rake types
In order for the work carried out on the site to be as efficient as possible, but with minimal effort, you need to use various types of rakes for their intended purpose. Straight rakes are the most versatile type. In this type, the teeth are perpendicular to the handle, slightly bent inward. They are great for:
- for raking leaves;
- soil loosening;
- leveling the earth after digging;
- extraction of the remaining roots.
Among the traditional types, rakes with twisted teeth are distinguished – they better break up piles of earth and fluff up the soil well. Homemade wooden rakes usually have a wide base with short teeth. Their main purpose is the cleaning of dry weeds and mowed grass. For this type, wooden or aluminum cuttings are often made.

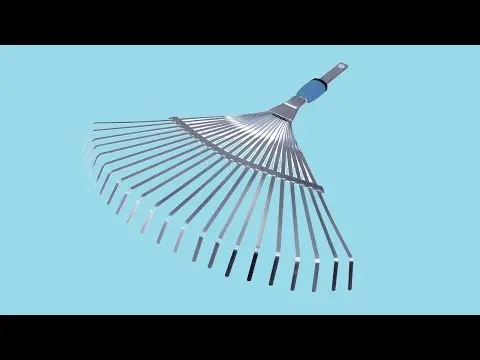
Fan rakes consist of a base that resembles an open fan. The teeth are long thin rods bent at the ends. Often such a rake is used:
- for raking out leaves and small debris from hard-to-reach places;
- lawn cleaning before mowing;
- lawn thinning.
When choosing a fan rake, it is worth considering some design features: in order not to injure young plants, it is better to use equipment with plastic teeth; for work along fences and in corners, triangular rakes, etc., are perfect. In agriculture, different types of rakes are also distinguished, depending on the features of the arrangement of mechanisms:
- tape
- wheel tedder rakes (GVK);
- wheel-finger, which also belong to the GVK;
- transverse, etc.

Among the units of the GVK class, experts call the following models the best: GVK-6, GVK-7, GVK-3, GVK “Solnyshko”, GVK-2,5KT. In particular, GVK-6 perfectly rakes dried grass, hay and straw into swaths of a certain size, and also teds swaths so that the grass mass is collected in an airy, not twisted swath. The principle of operation of the GVK is that during the movement of the unit, the impellers rotate and move the grass with their fingers to the length of the wheel grip. After the passage of all the wheels, the hay moves towards the central axis, thus forming a swath. Now many craftsmen make such units with their own hands, adapting equipment, terrain, crops, etc. to their needs and characteristics.
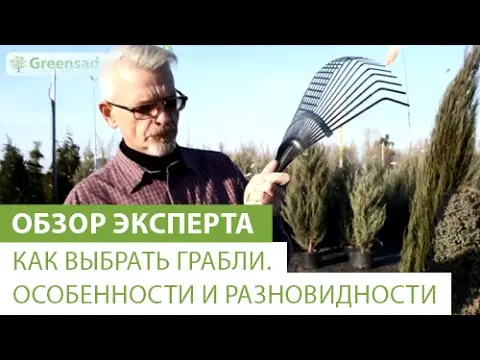
Video “Varieties of rakes”
This video talks about the types of rakes. You can also find out which species is best suited for your land.
We make a cutting
In order to get a reliable and convenient do-it-yourself rake handle, it is best to start with the choice of wood:
- pine – not afraid of moisture, light enough, but fragile;
- birch – is the best option, combining sufficient strength and low weight, easy to process;
- beech – in terms of its qualities, it is as close as possible to birch, but requires additional processing;
- poplar – also refers to the best options for quality, weight and ease of processing;
- oak is the most durable material, but heavy and difficult to process.
For self-production of the cutting, you can take non-standard material – the trunk of a young tree (the best are: hazel, aspen or maple). Select the desired length of the workpiece and check that it is free of defects (knots, cracks). Additionally, grinding or painting the finished cutting is not worth it, since the very smooth surface of the cutting will rotate and rub dropsy, calluses. It is very important that the ready-made stalk fit well and securely fasten in the rake holder. You should also cut the stalk so that it does not go beyond the planting nest.
How to make a work surface
Now in specialized stores and on the market you can easily find different types of rakes, but wooden rakes are quite rare, so you can easily make them yourself. They consist of a handle, a main part with teeth and a coupling. To make a wooden rake, you should take several types of wood: a lighter one (pine or spruce) is suitable for a handle, and a hard one (elm, oak, mountain ash, etc.) for a plank-block and teeth.

Make a block up to 60 cm long, 5 cm wide, 3 cm high from a bar. Plane it with a planer. Then, with a drill, make holes for the teeth (10-15 mm) in the block at a distance of 40 mm from each other. Make square blanks for the teeth from the material of your choice. Then cut out the desired number of teeth with a knife. Their length should be 10-12 cm.
Please note that the head of the teeth must be made 1–2 mm larger than the holes made in the block. The shape of the teeth can be arbitrary, but always with pointed ends. Plane a cutting from a straight branch, sharpen one end, sand the surface with sandpaper. Make a cut 25 cm at the other end of the handle and fix it with a sleeve and nails. Then spread the sawn parts 15 cm apart and also sharpen them. Do-it-yourself homemade rakes are ready!
Video “How to make a fan rake”
In this video you can see the option of making a fan rake with your own hands.
Author: Svetlana Galitsina
Loading…