


By default, when you create a new table, all cells have black borders that are printed with the document. However, just in case you hide cell borders, there are also grid lines that are meant to help you see where each table cell is located.
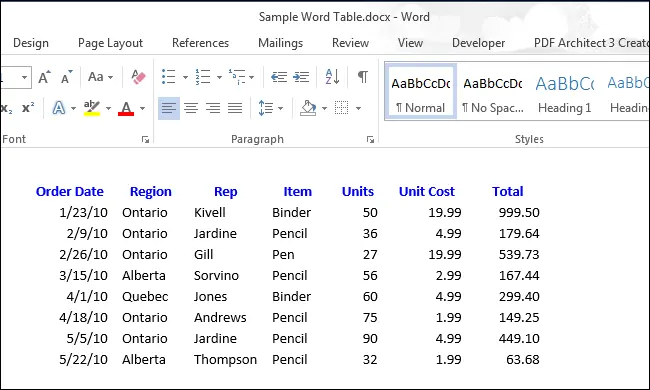
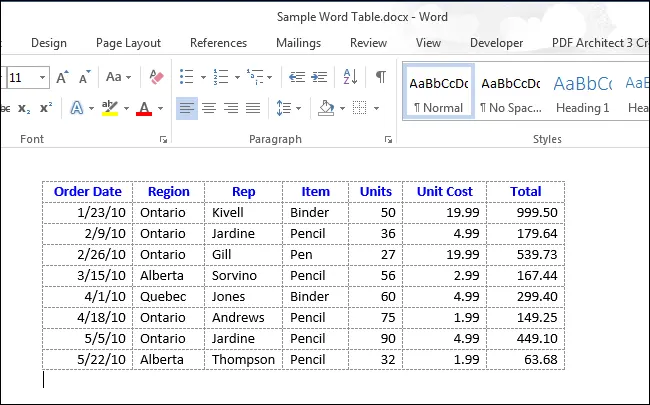
The picture below shows an example of a table with solid borders in each cell.

If in such a table you make all the borders invisible, and the grid lines will not be displayed, then viewing and perceiving data (especially when the table is large) can become very difficult. However, there are situations where hiding grid lines is a must. Next, we will show how this can be done.
To make the grid lines visible, hover over the table. A table selection icon will appear in the upper left corner.
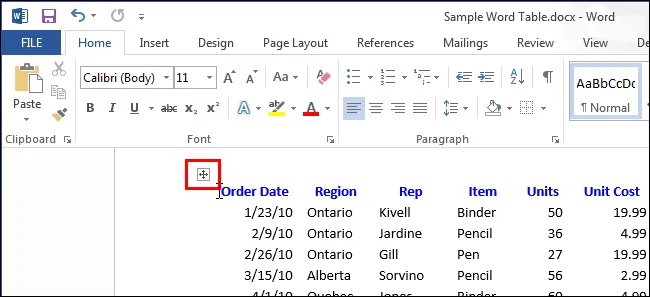
When you move the mouse cursor over the icon, the pointer takes the form of a cross-arrow. Click on the icon to select the entire table.

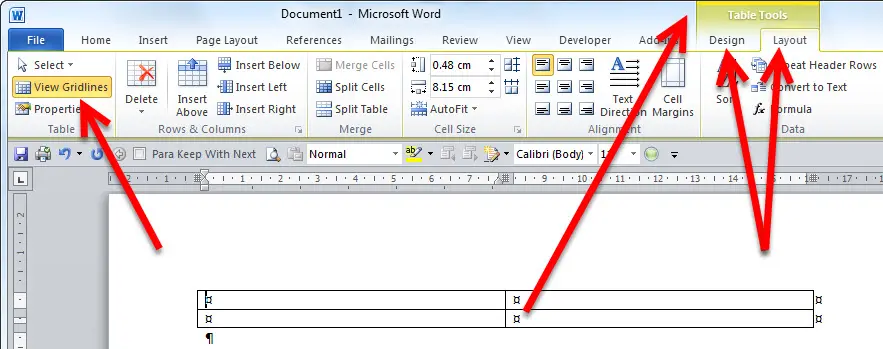
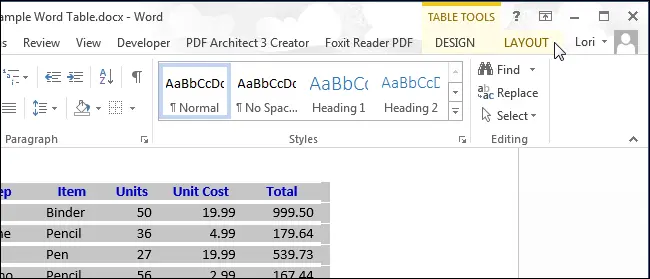
Then go to the tab Work with tables | Layout (Table Tools | Layout).
In section Table (Table) click command Show grid (View Gridlines).
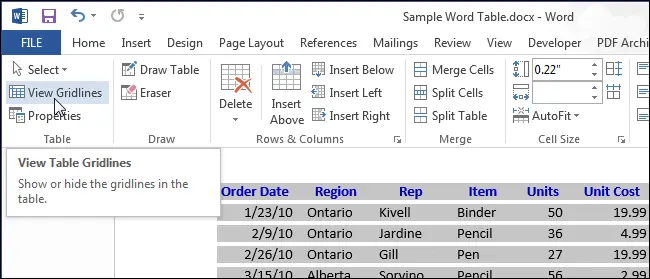
Grid lines are now displayed in the table.
To disable the display of grid lines, select the table and click again Show grid (View Gridlines).
Note: Team Show grid (View Gridlines) Shows or hides the grid lines for ALL tables in your document. By the way, the grid lines are not printed.