


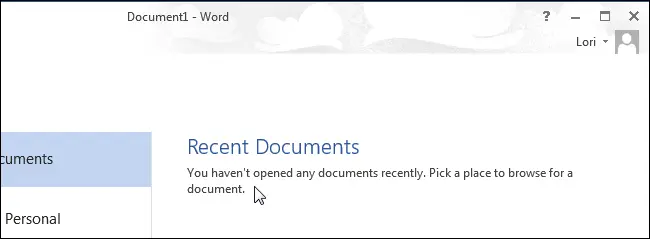
The Recent List in Office applications shows a list of the files you recently opened. This list appears on the Home screen when you launch Office applications, and also in the File > Open (File > Open), giving you quick access to documents you frequently open.
Note: We will describe the necessary steps using Microsoft Word as an example, but the same steps will work in Excel and PowerPoint.
There are situations when you need to hide the list of recent documents. Perhaps a third party will be working on your computer and you don’t want them to see what files you have open and have easy access to them. You can remove some items from the list of recent documents and even clear it completely.
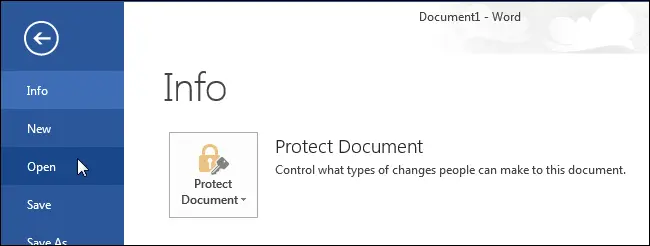
To remove an item from the list, open the tab File (Queue).

In the menu on the left, click Open (Open) or use the keyboard shortcut Ctrl + A.
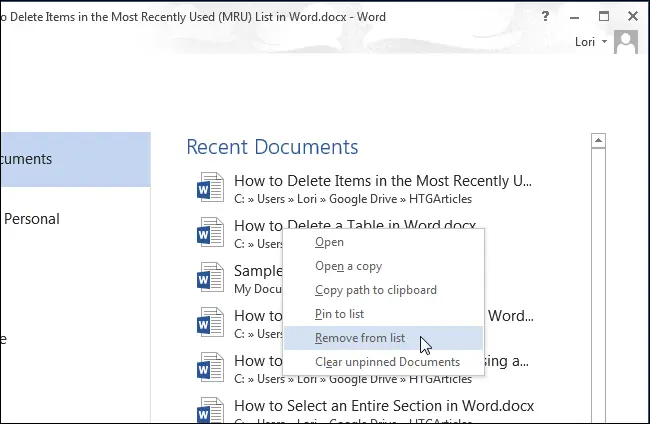
On the right side of the window Open (Open) contains a list of recently opened documents. Right-click on the item you want to remove from the list and select from the pop-up menu Remove from list (Remove from list).
Note: This action will not be prompted for confirmation and cannot be undone!
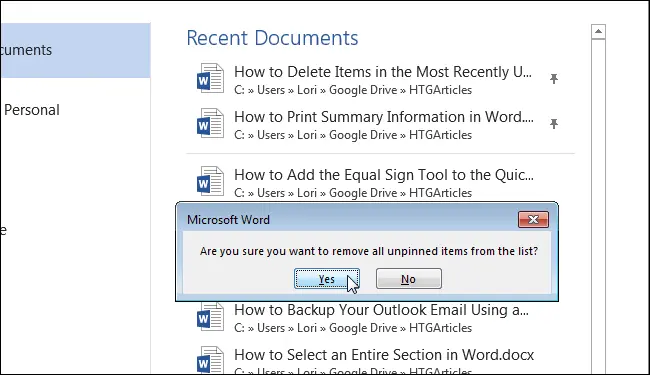
You can remove all documents from this list, except for pinned ones, by selecting from the pop-up menu Clean up loose documents (Clear unpinned Documents).
Note: This action cannot be undone either!
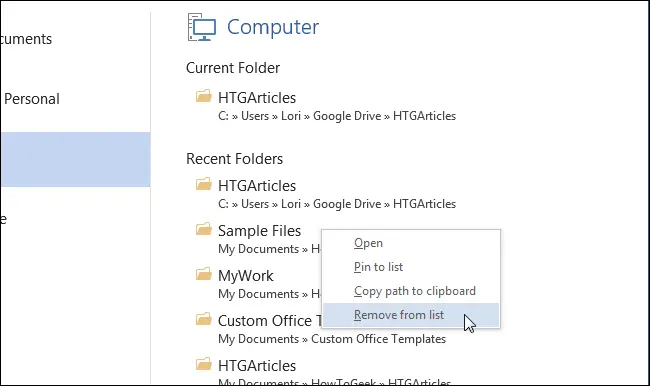
In addition, you can remove items from the list Recent folders (Recent Folders). In the window Open (Open) select OneDrive, Компьютер (Computer) or other storage you added.
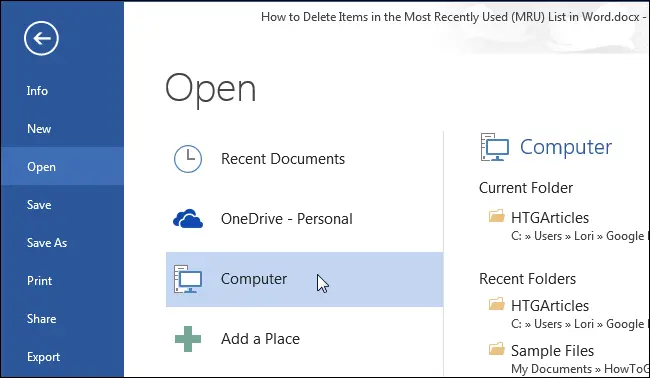
To remove a folder from the list Recent folders (Recent Folders), right-click on the one you want to delete and select from the pop-up menu Remove from list (Remove from list).
Note: Do not click on the folder with the left mouse button. This will launch a dialog box Opening a document (Open).
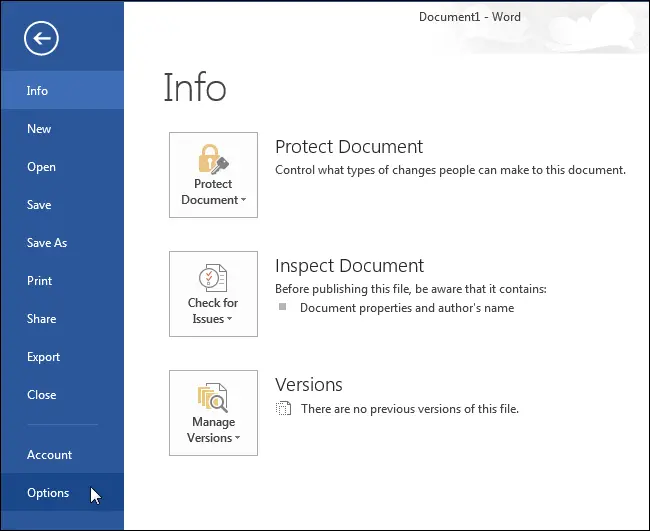
You can set the number of documents to be displayed in the list, or disable the display altogether. To set the number of documents that appear in the recent list, go to the tab File (File) and in the menu on the left, click Parameters (Options).
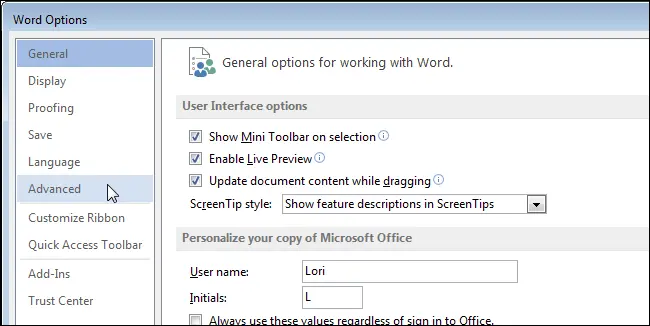
On the left side of the dialog box Word options (Word Options) click Additionally (Advanced).
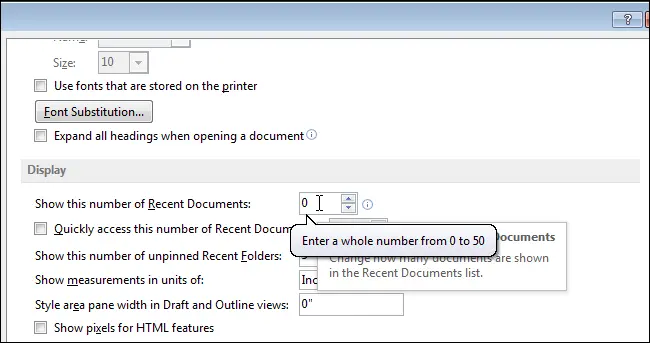
Scroll down to the parameter group Screen (Display). In field Number of documents in the recent files list (Show this number of Recent Documents) enter the number of documents you wish to see. If you want no documents to be displayed in the list, then enter zero
Note: You can also change the value in the input field using the arrows next to the field.
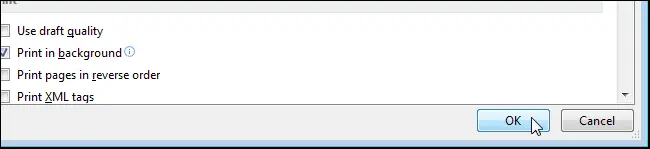
Press OKto save changes and close the dialog Word options (Word Options).
If you entered zero (0), then no documents will be shown in the list of recent documents, even though you have recently opened some of them. To display the items in this list again, change the value in the field Number of documents in the recent files list (Show this number of Recent Documents). The old list items will return to their places, at least the amount you specify.
In addition, you can set up a keyboard shortcut to have quick access to the last document you opened in Word.