


Contents
In some cases, it becomes necessary to protect the information in the cells of an Excel document from being changed. Cells with prescribed formulas or cells with data on the basis of which calculations are carried out are subject to such protection. If the contents of such cells are replaced, then the calculation in the tables may be violated. Also, data protection in cells is relevant when transferring a file to third parties. Let’s look at some of the most common ways to protect cells from changes in Excel.
Turn on cell protection
A separate function to protect the contents of cells in ExcelUnfortunately Excel developers did not foresee. However, you can use methods that allow you to protect the entire worksheet from changes. There are several ways to implement such protection, which we will now get acquainted with.
Method 1: Using the File Menu
As the first method, consider enabling the protection of an Excel sheet through the File menu.
- First, select the contents of the worksheet. To simplify this process, just click the triangle at the intersection of the coordinate bars in the upper left corner. For those who like to use hot keys, there is a convenient quick combination “Ctrl + A”. When you press the combination once with an active cell inside the table, only the table is selected, and when you press it again, the entire worksheet is selected.
- Next, we call the pop-up menu by pressing the right mouse button, and activate the “Format Cells” parameter.
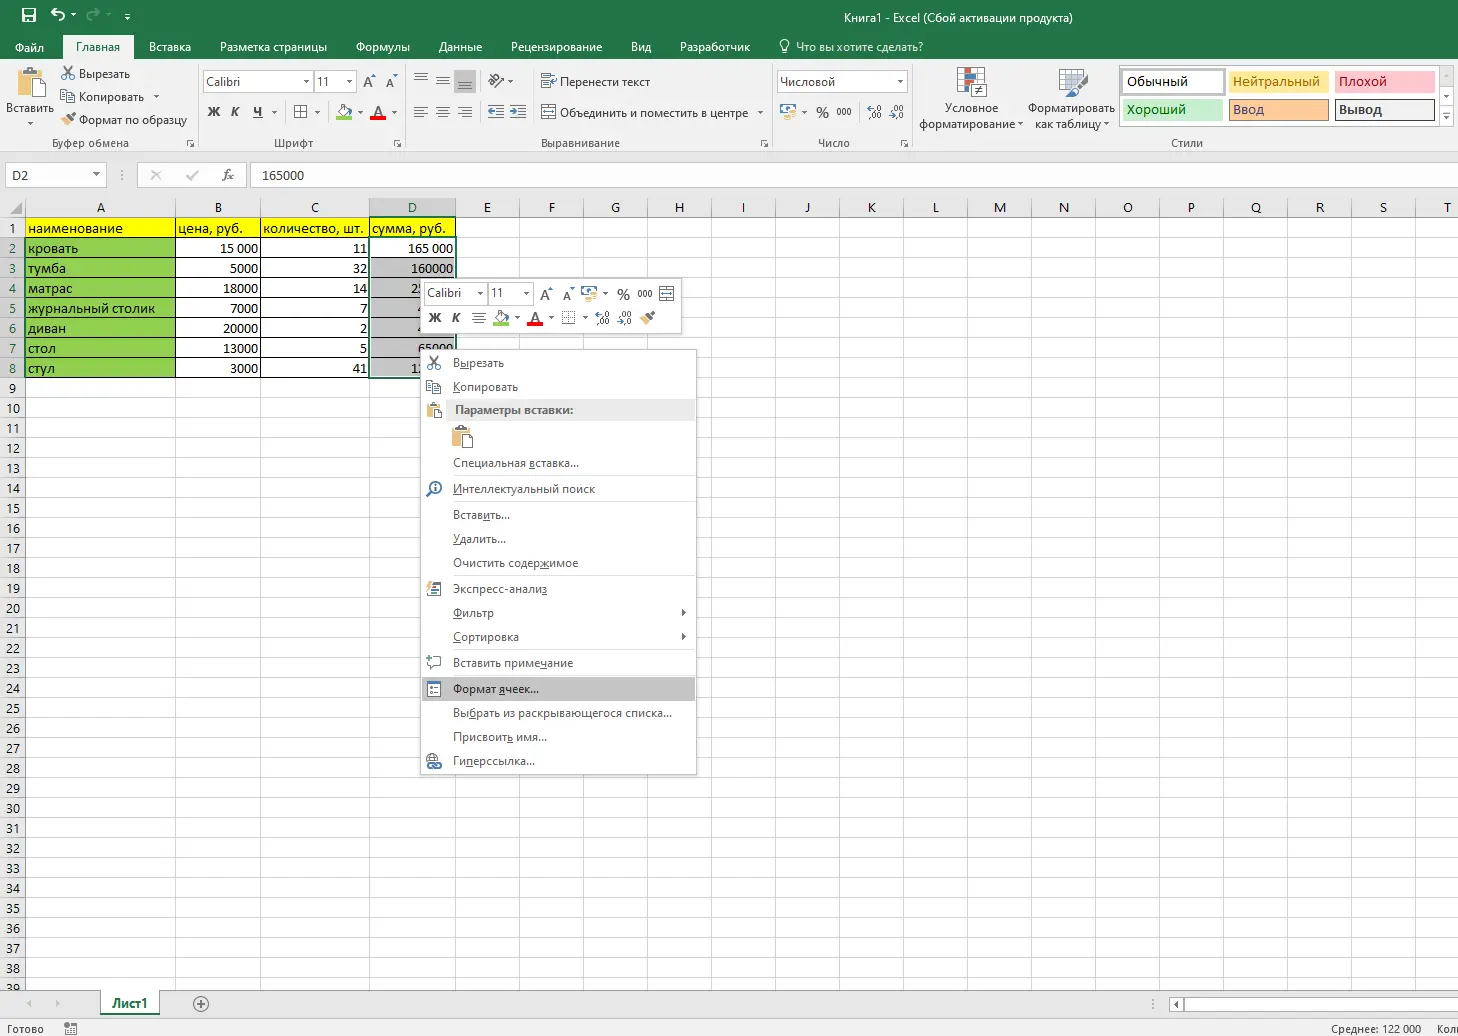
- In the “Format cells” window, select the “Protection” tab and uncheck the box next to the “Protected cell” parameter, click the “OK” button.
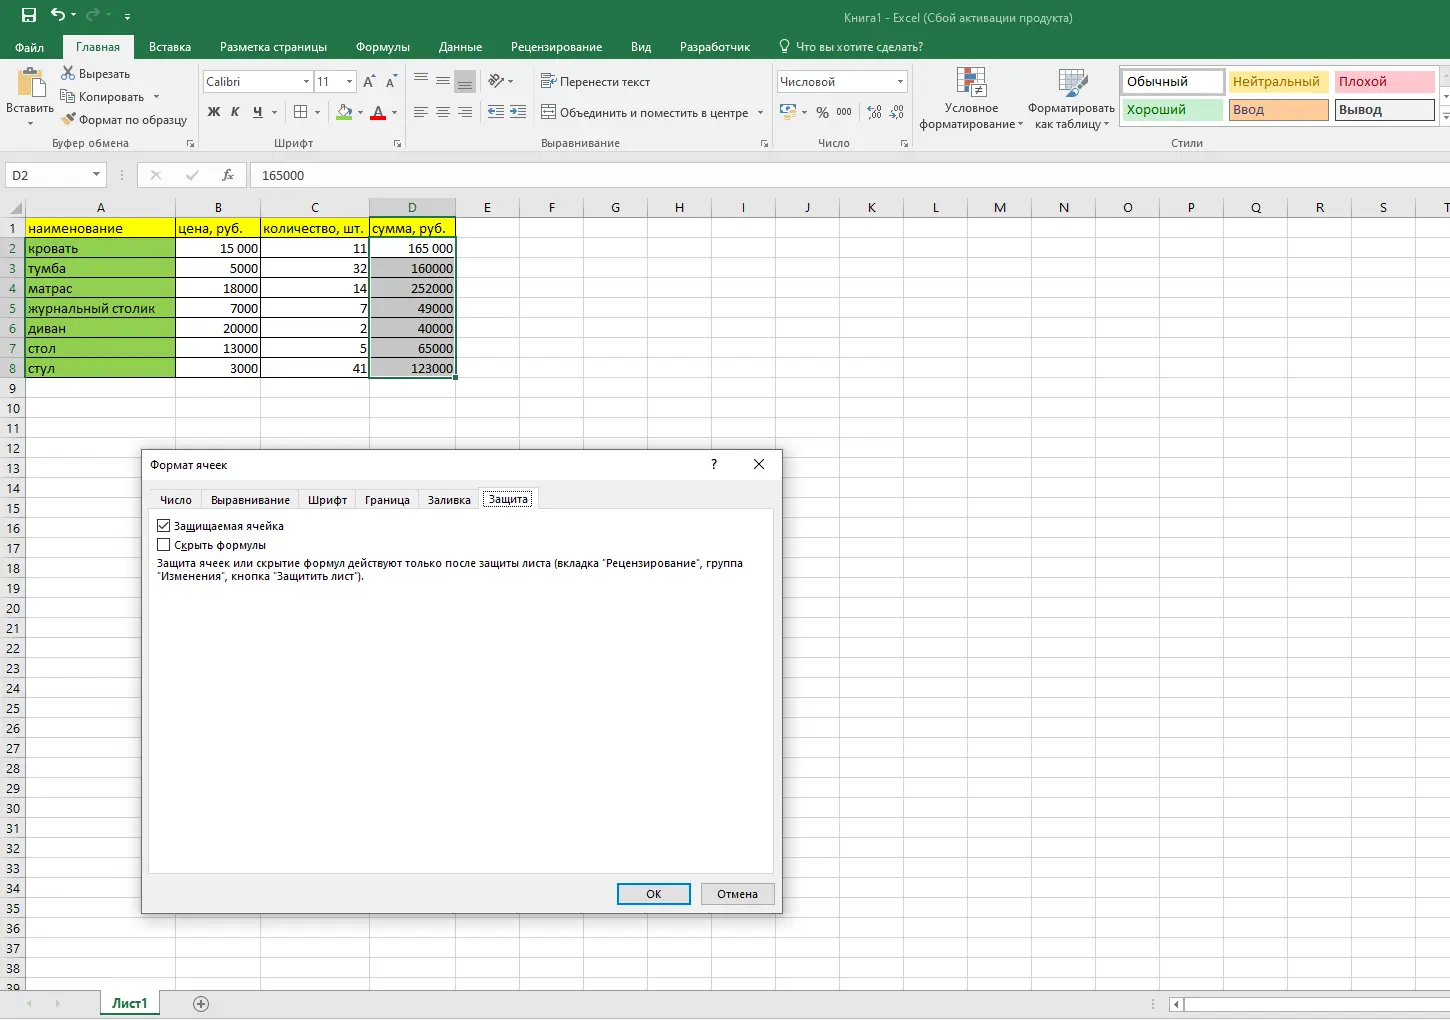
- Now we select the necessary area of cells that need to be protected from unwanted editing, for example, a column with formulas. Again, select “Format Cells” and in the “Protection” tab, return the checkmark in the line “Protected Cells”. Exit the window by clicking OK.
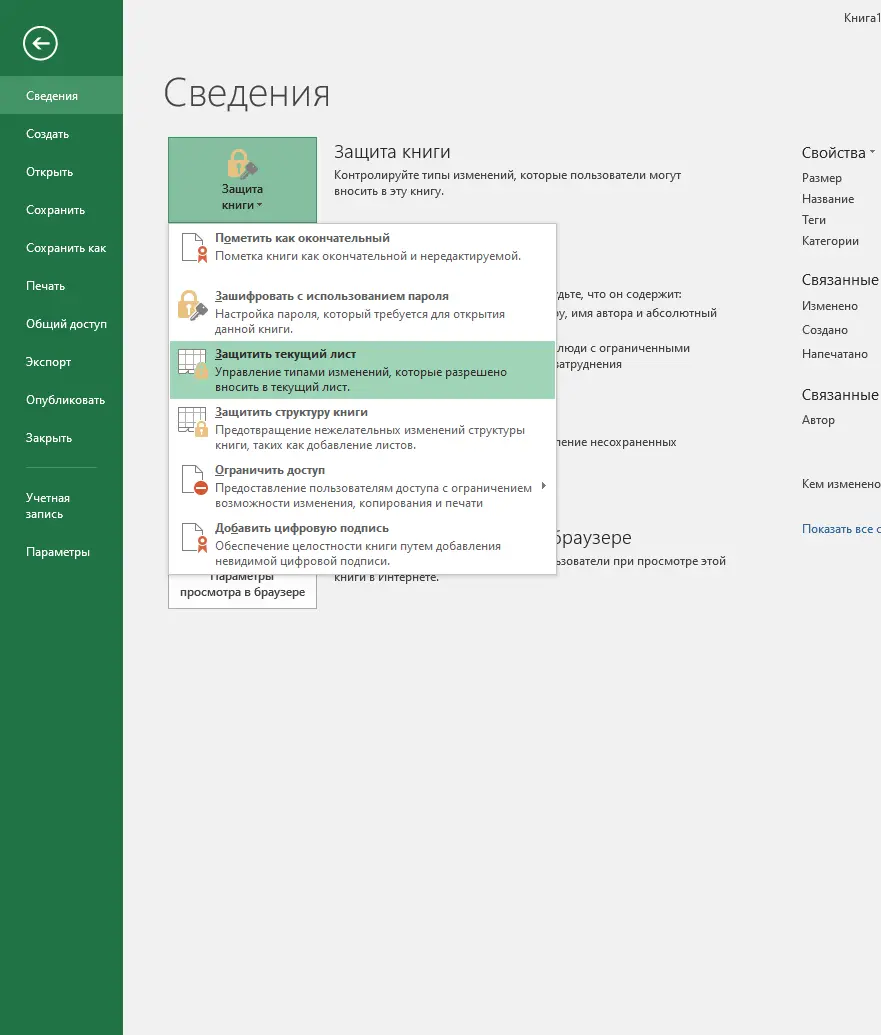
- Now let’s move on to protecting the worksheet. To do this, go to the “File” tab.
- In the “Details” parameter, click “Protect the workbook”. A pop-up menu will appear in which we go to the “Protect current sheet” category.
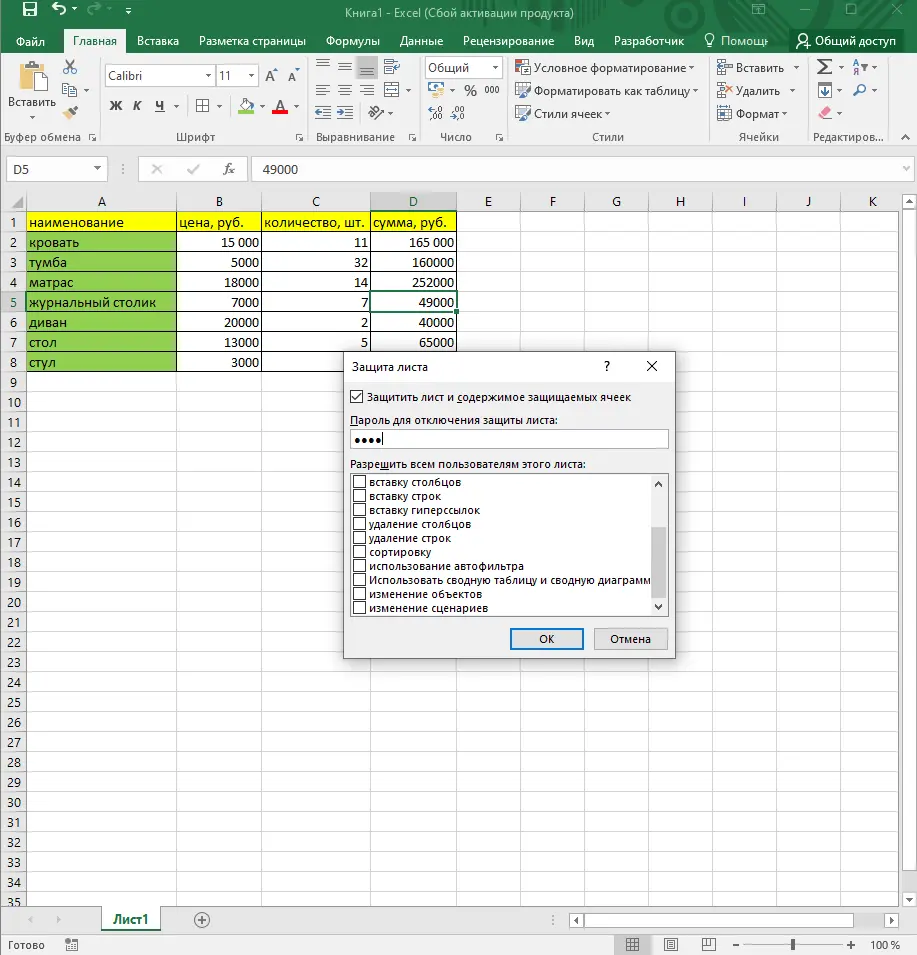
- A small window will appear, where in front of the “Protect the sheet and the contents of protected cells” parameter, check the box if it is not available. Below is a list of various criteria that the user fills in at their discretion.
- To activate protection, you must enter a password that will be used to unlock the Excel worksheet.
- After entering the password, a window will appear in which you need to repeat the password and click “OK”.
After these manipulations, you can open the file, but you will not be able to make changes to protected cells, while the data in unprotected cells can be changed.
Method 2: Review Tab Tool
Another way to protect data in the cells of an Excel document is to use the tools in the Review category. The sequence of actions is as follows:
- First you need to repeat the first 5 points from the previous method of setting protection, that is, first we remove protection from all data, and then we set protection on cells that cannot be changed.
- After that, go to the “Review” tab and find the “Protect Sheet” option in the “Protect” category.
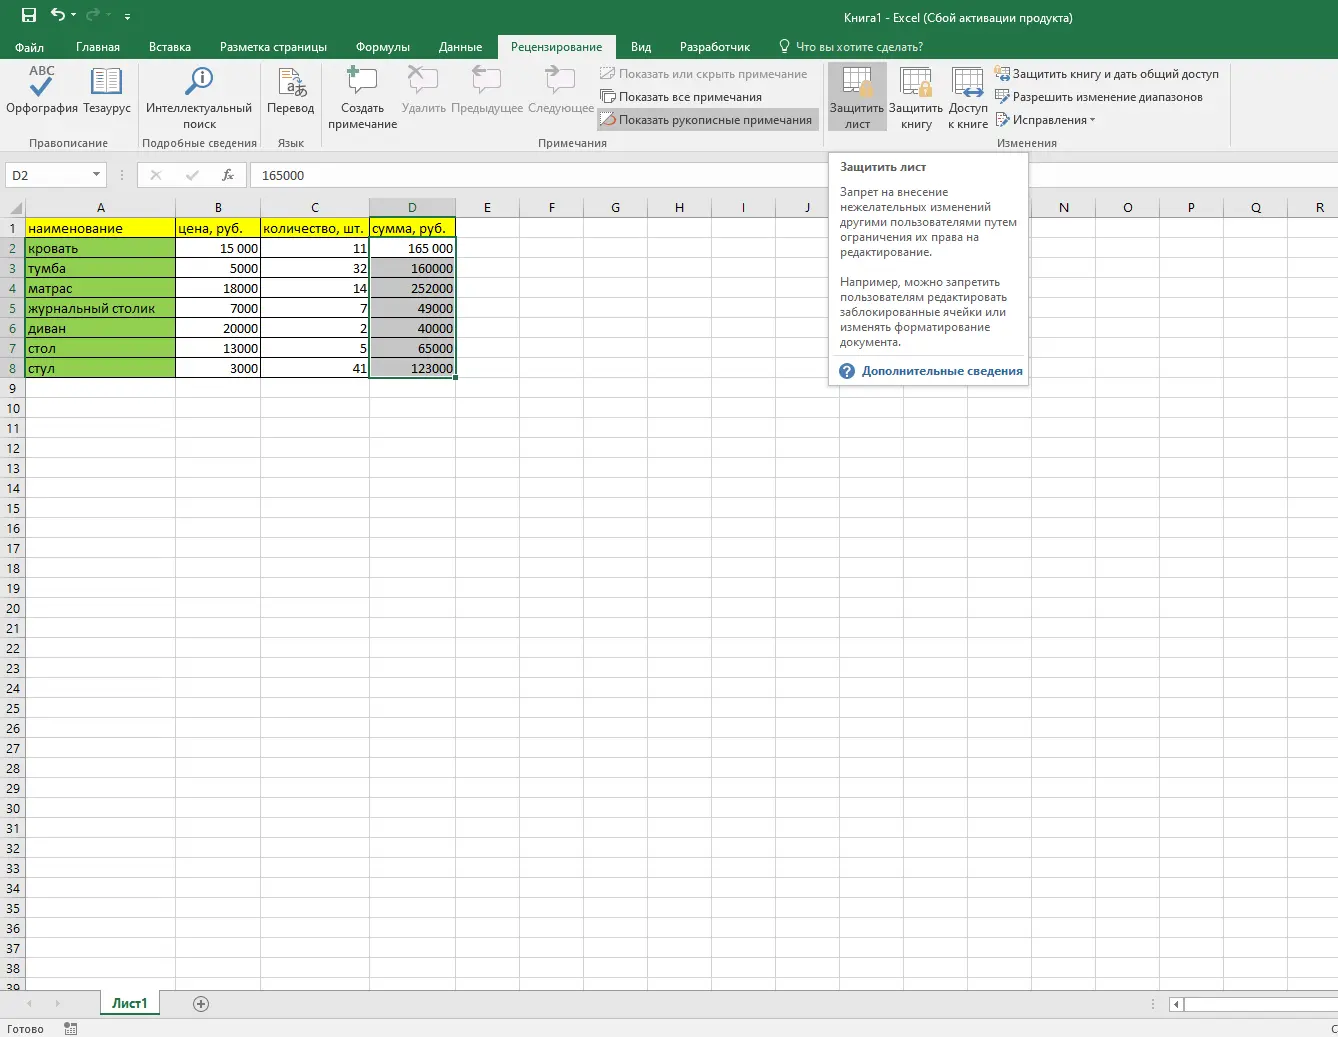
- When you click on the “Protect Sheet” button, a window for entering a password will appear, the same as in the previous method.
As a result, we get an Excel sheet, which contains a number of cells that are protected from changes.
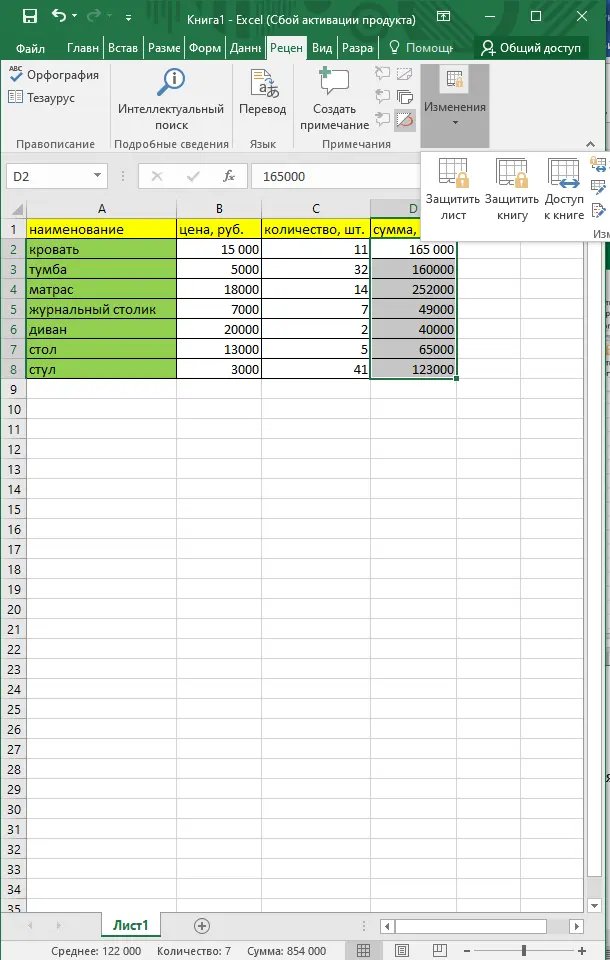
Pay attention! If you work in Excel in a horizontally compressed form, then when you click on the block of tools called “Protection”, a list of commands is opened, which contains available commands
Removal of protection
Now let’s figure out how to work with cells that have been protected from changes.
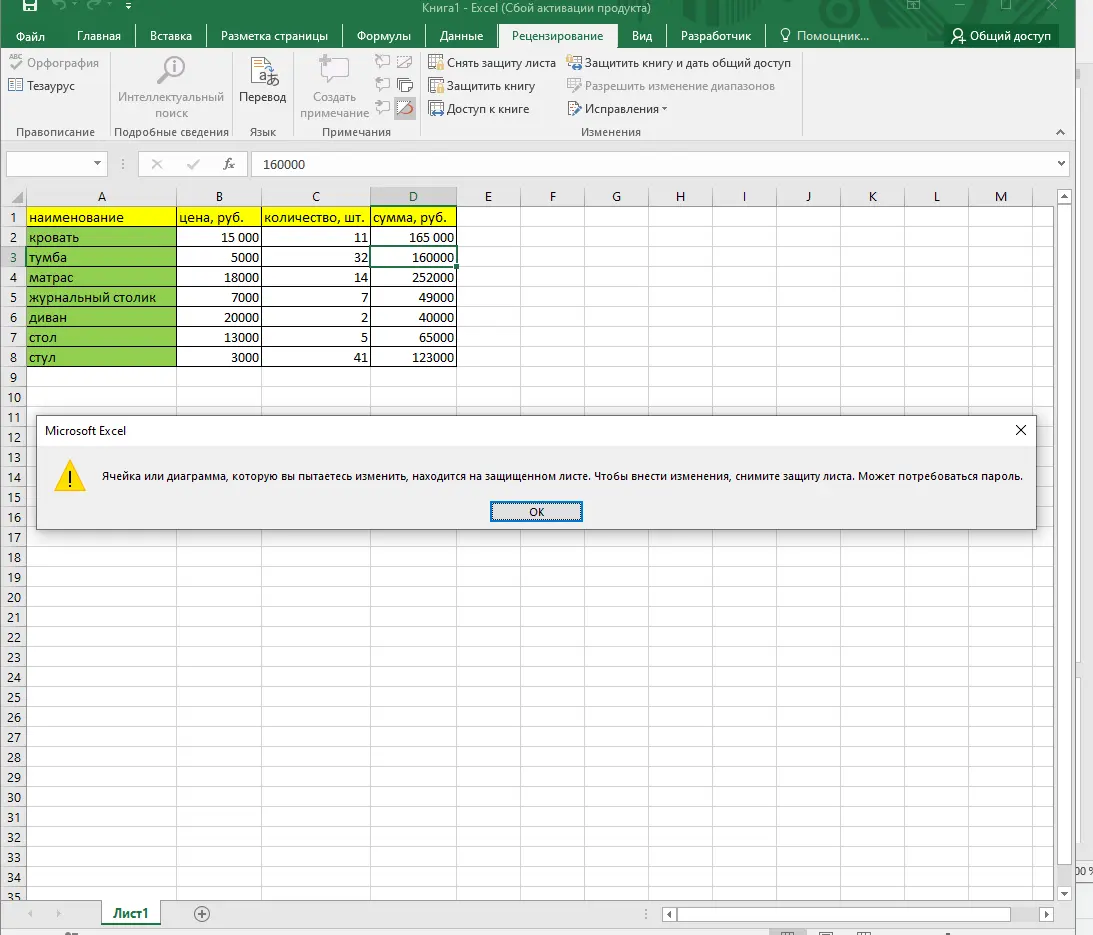
- If you try to enter new data in a protected cell, you will be warned that the cell is protected and that you need to remove the protection.
- To remove protection, go to the “Review” tab and in the “Protection” block we find the “Unprotect sheet” button.
- When you click on this option, a small window appears with a field for entering a password.
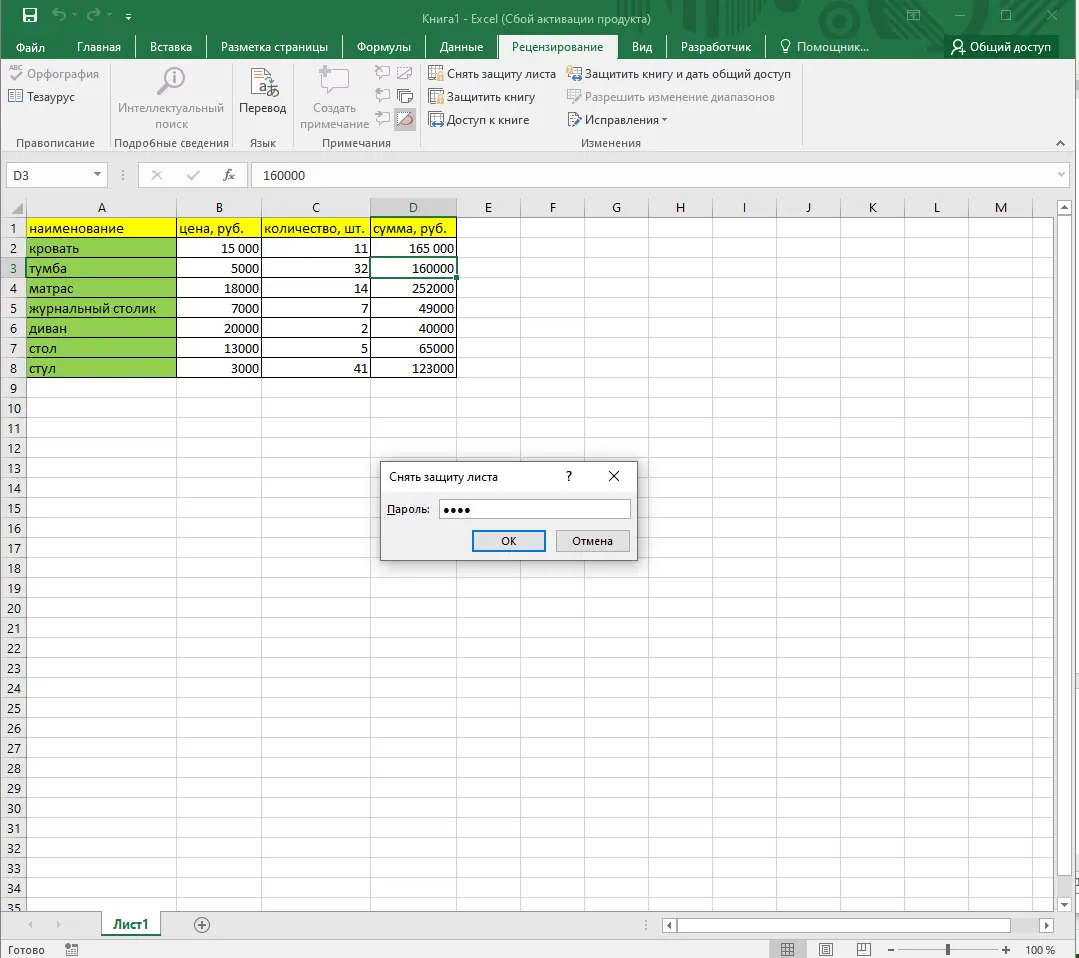
- In this window, enter the password that was used to protect the cells and click “OK”.
Now you can start making the necessary changes to any cells in the document.
Important! Choose a password that is easy to remember but difficult for other users to guess.
Conclusion
As noted earlier, there is no special function in Excel to protect selected cells from unwanted changes. However, there are several fairly reliable methods that allow you to restrict access to the data contained in the file, or at least protect the document from correction, which can ruin the work on which a lot of time and effort has been spent.