Contents
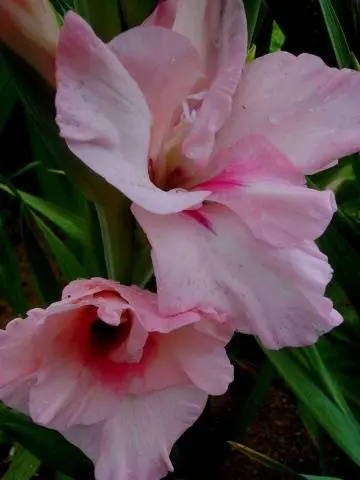
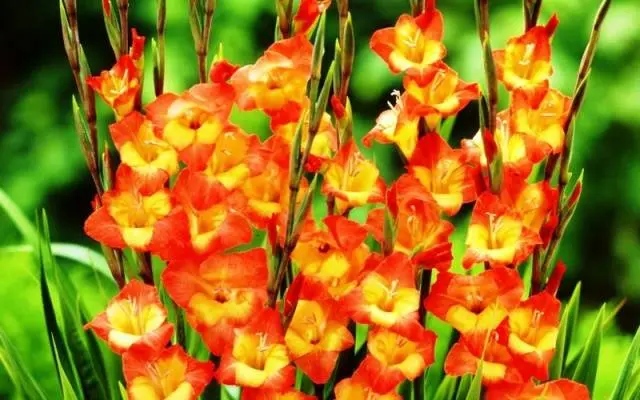
According to a beautiful legend, gladioli grew out of the swords of two best friends who refused to fight against each other in gladiator fights. The sharp and long leaves of these flowers really look like blades, which is probably why gladioli are also called skewers.
Many gardeners are afraid to get involved with these flowers, believing that they are difficult to grow.
But, as practice shows, you don’t need to know any special tricks to get beautiful flowers on your site. The most important thing is to properly prepare the corms for spring planting.
What is the processing of gladiolus bulbs, how to properly store planting material, and what rules should be followed during planting – about this article.
Selection of planting material
It does not matter where the gardener will take his first gladiolus bulbs from: he will accept them as a gift from his neighbors in the country or buy them for a lot of money in a specialized store. In any case, the owner must be able to distinguish high-quality planting material from bulbs unsuitable for planting in the spring.
So, in choosing corms, you need to focus on the following factors:
- Young gladiolus bulbs, which have already bloomed no more than once, are considered more suitable for purchase. In this case, the bulb will be high, not flattened, it will have a small bottom and one or two buds – the makings of peduncles.
- When accepting corms as a gift, you can choose those that have not yet bloomed at all. But these should be healthy and fairly large bulbs, with a small bottom. You can recognize such planting material by the absence of last year’s peduncle. But the onions must have the makings of at least one kidney.
- The so-called female bulbs obtained as a result of too dense planting of gladioli (for example, when flowers are grown for cutting) are completely unsuitable for propagation. Such corms are incorrectly formed due to a lack of necessary elements; they will not produce flower stalks.
- You should never give money for old gladiolus corms that have already bloomed more than four times. They are easy to recognize by their flattened shape, moreover, the bottom of such an onion will be very large. You can try to propagate old corms by dividing them into several parts according to the number of buds.
- From children, with proper preparation, you can also get a good peduncle. But you should not buy such planting material – there is a high risk of paying for greenery, and not for flowers.
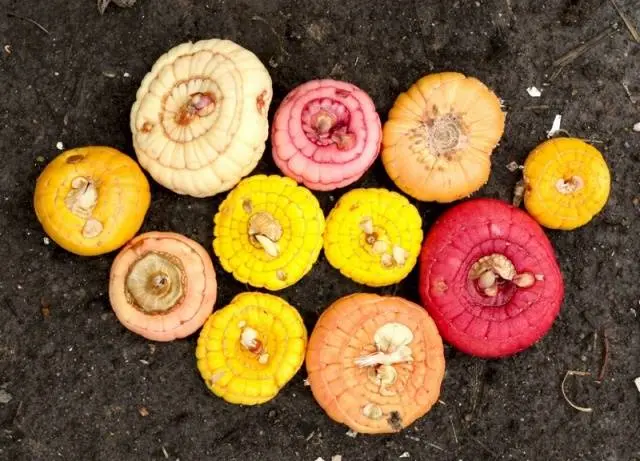
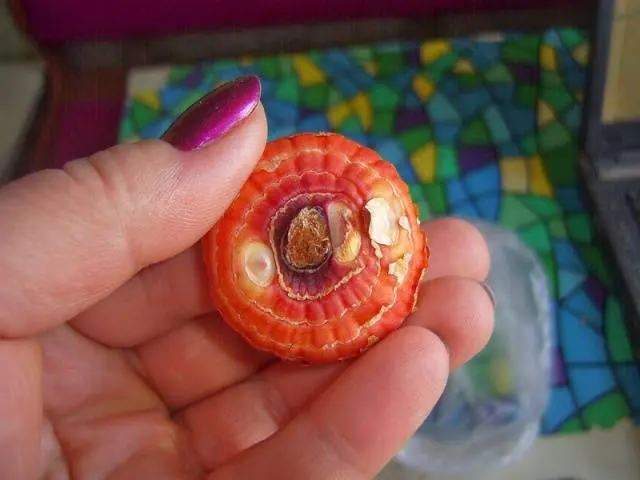
- Bulbs for planting must first of all be healthy. Their surface is shiny, without dark spots and rot. The onion should be firm, not shriveled or softened. In the upper part of a healthy tuber, buds are visible, and tubercles, the beginnings of the root system, should be visible from below.
As a rule, such flowers are more susceptible to disease, require more complex processing and care. It is better to start with the most common varieties of gladioli – they are the easiest to grow.
How to store corms in winter
The processing of gladiolus bulbs is, of course, very important, but no less important is to be able to properly collect and store planting material in the autumn-winter period. After all, it depends on this how many bulbs will sprout and turn into beautiful flowers.
Collecting bulbs is necessary when:
- plus temperature outside;
- the land between the flowers is dry;
- stem and leaves of gladiolus dried up;
- no hard frost yet.
If all conditions are met, then the bulbs will be fully ripe, dry and ready for long-term storage.
Unfortunately, not in all regions of Our Country, the climate allows you to keep the corms in the ground for as long as they need for the final formation. After all, early frosts, heavy and prolonged rains are not uncommon here – all this has a bad effect on the quality of planting material and significantly increases the risk of infection of the bulbs with fungal diseases.
In order for the bulb to complete its formation faster, it is recommended to cut the stem of the gladiolus a week before digging it out – only 10-15 cm of the peduncle are left.
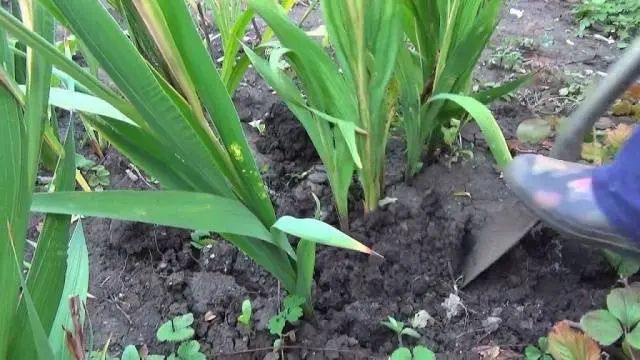
In dry and warm weather, they begin to dig out the bulbs. Before that, gladioli stop watering somewhere in 10-14 days. The earth around the flowers is carefully dug up and slowly pulled by the stem or its cut – the bulb should easily come out of the ground. If the roots hold it, it means that the corm is not mature enough yet, it is better to give it a few extra days.
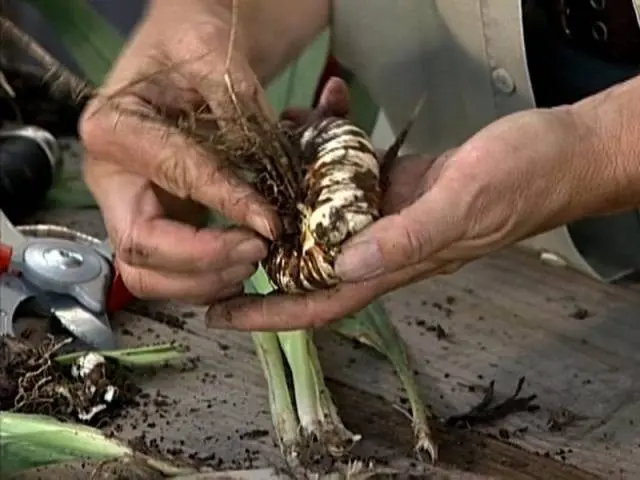
The dug bulbs must be cleaned of the ground, remove the old dry roots by cutting them with a pruner or scissors (leave about a centimeter of rhizomes). Also cut flower stalks, leaving only a couple of centimeters. If the stem is easily separated from the gladiolus tuber, you can remove it altogether.
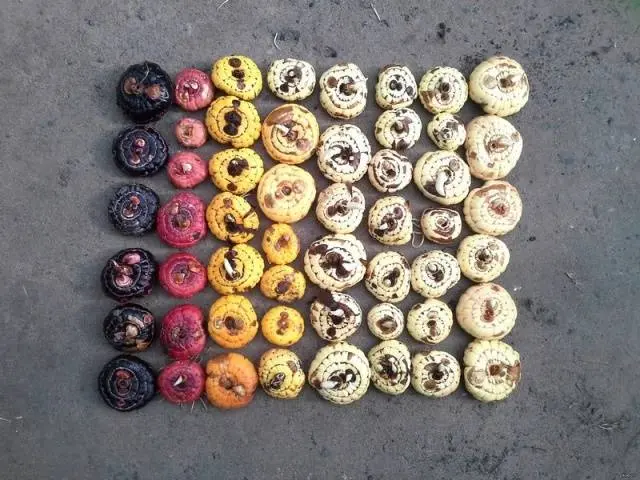
Bulbs must be sorted and marked in order to know where certain varieties and shades of gladioli are stored. This will help in the next season to properly arrange a flower garden or flower bed.
Now the bulbs are dried for several days in a dark and dry place. If there are rotten or infected corms, they must be removed and, best of all, burned so that the infection does not enter the soil.
Gladiolus bulbs should be stored in a cool and dark place with constant temperature and humidity. Fluctuations in temperature and humidity can cause gladioli to “wake up” too early, so you can lose all the flowers.
The best place to store planting material is the basement. Here gladioli are stored in boxes with sand, peat or sawdust. The bulbs are sprinkled with layers of porous materials, slightly moistened with sand or sawdust.
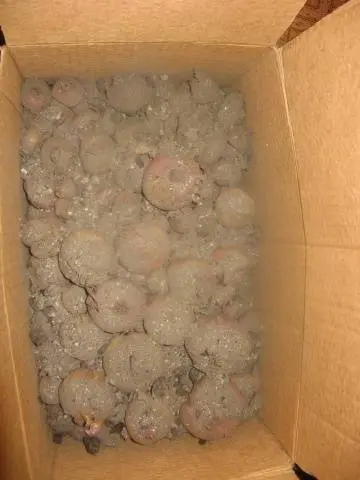
In this form, gladioli are stored until next spring.
How to process gladiolus bulbs in spring
Bulbs are taken out of the cellars two weeks before planting in the ground, so this date can vary significantly in different regions. For example, in the south of Our Country, gladioli are planted in flower beds, usually in mid-April. This means that it is necessary to get the bulbs out of the shelter at the end of March.
But in the northern part of the country, the earth warms up only by the end of May, sometimes gladioli have to be planted here even in early June. Therefore, it is necessary to get boxes with tubers from the cellars not earlier than the first decade of May.
In general, you need to be guided by the following rule – gladioli bulbs can be planted in the soil when the earth at a depth of 10 cm warms up to 10 degrees and above. Remembering past seasons and climatic features of several previous years, you can calculate the approximate date of planting flowers. 10-14 days before the proposed planting, the bulbs begin to prepare for this.
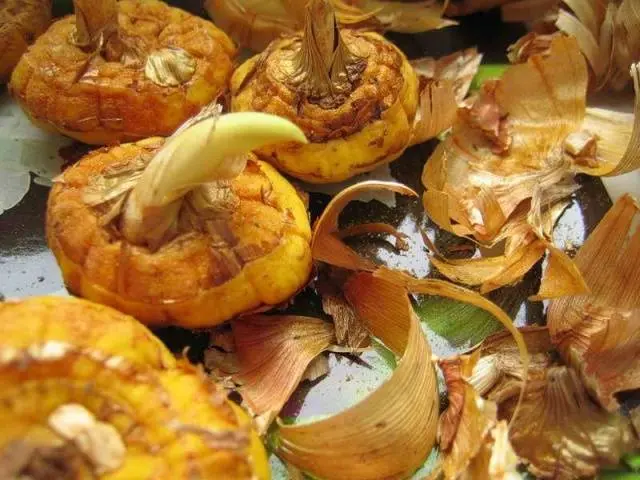
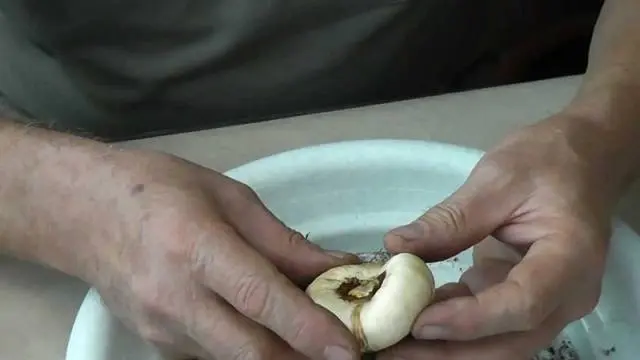
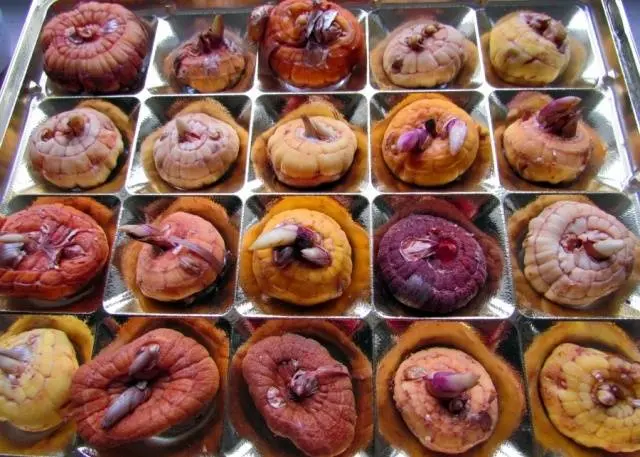
So, before you process the bulbs, peel them from the husk. This is necessary in order to recognize diseased specimens, to see the buds and rudiments of roots, to divide the corms into several parts.
After examining the planting material, it is necessary to reject those bulbs that are affected by rot, mold or fungus – they can no longer be saved. But you can help those gladioli that are affected by scab or dry rot. In this case, brown spots should be cut off with a sharp disinfected knife, and the cut should be smeared with brilliant green or sprinkled with wood ash. After a couple of days, the wound will heal, and the gladiolus can be planted in the ground.
They also do with gladiolus bulbs that want to renew or propagate – they are cut with a knife, guided by the number of hatched buds. After cutting, at least one “live” kidney should remain on each part of the tuber. This stage is especially important for expensive bulbs of elite gladioli, because in this way rare flowers can be propagated faster and more efficiently than with the help of “kids”.
Slices must be dipped in wood ash or thickly treated with brilliant green. Now they are allowed to weather for 1-2 days.
To disinfect gladioli and encourage them to bloom earlier and profusely, gardeners use many methods and tricks. The most popular bulb processing methods are as follows:
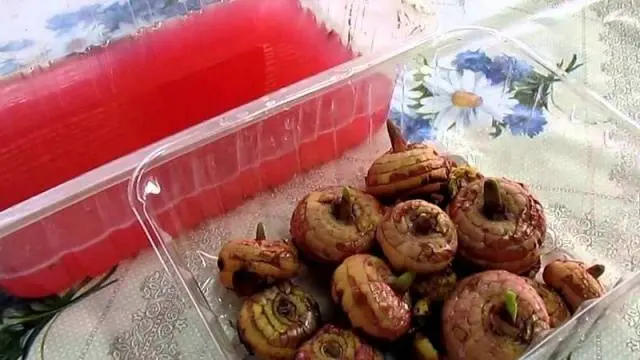
- Soaking the bulbs in a solution of manganese. To do this, prepare a strong solution of potassium permanganate and place the tubers there for 25-30 minutes. After the procedure, gladioli are washed with running water and dried thoroughly. All this is necessary for the disinfection of gladioli, the protection of bulbs from fungal and other infectious diseases.
- Use of growth and flowering stimulants for indoor or garden flowers. It can be “Epin”, “Kornevin” or other similar drugs. They also cause flower roots to form faster, which makes it easier for gladioli to adapt to flower beds.
- Some gardeners recommend scalding planting material with boiling water. Do this for a short time, in the form of an application, after which the bulbs are washed with cold water. This method is effective both as a stimulation of flowers and for their disinfection. But it is better not to use the method with boiling water for beginners in gardening – you can seriously injure shoots and roots that have already hatched.
- A complex solution of trace elements is less safe than boiling water, but no less effective. To prepare the mixture, manganese, boric acid, ammonium molybdide, zinc, magnesium sulfate and copper sulfate are taken, all components are dissolved in water and the bulbs are soaked in this solution for 10-12 hours. This will speed up the flowering of gladioli, increase the size of the flowers, increase the immunity of the plants and make them stronger. But not every owner will have at hand all the drugs from this list.
You can process gladiolus bulbs in any way – many gardeners skip this stage altogether, immediately starting to germinate tubers.
How to germinate gladioli
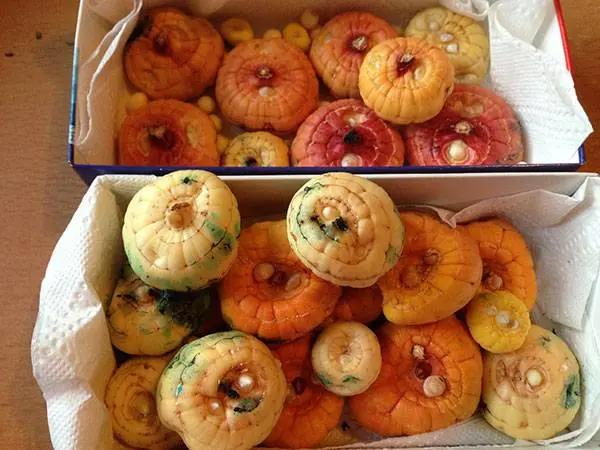
Prepared bulbs must be laid out in wooden or plastic containers. They are laid out in one or two layers, so that the kidneys are directed upwards, and the bulb lies on the bottom.
If there are two layers, it is necessary to ensure that all the kidneys are visible – the bulbs of the upper row are laid in a checkerboard pattern.
Containers with gladioli are placed in a warm place, with a temperature of 25-28 degrees. They should also have enough sunlight, so the best place for sprouting is a windowsill or a table by the window.
If the owner notices that the gladiolus bulbs are becoming lethargic and faded, they need to be watered a little – sprayed with a spray bottle or poured water into a container with bulbs. But gladioli are watered only as a last resort, this can lead to too rapid formation of the root system, and this is undesirable. This is because the roots of gladioli are too fragile, they will certainly break off during transplantation, which will complicate the adaptation of flowers.
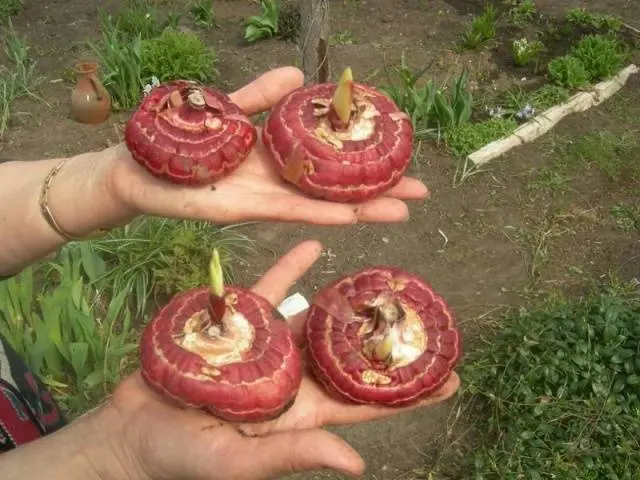
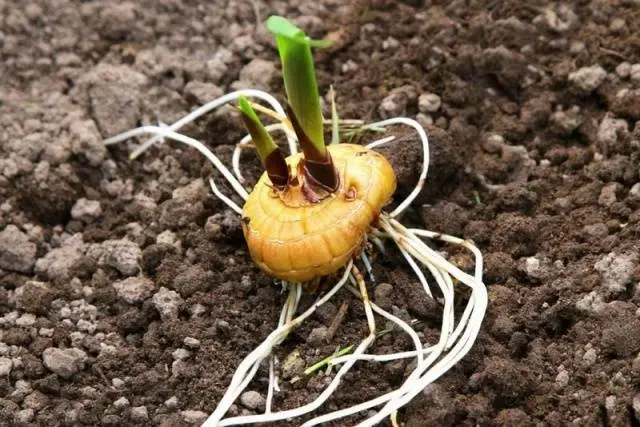
After a few days, the buds on the gladiolus bulbs should hatch – small green bumps will appear from them. These are future flower stalks. After 7-10 days, the sprouts should reach 1-3 cm in height, and swollen root tubercles should be visible in the lower part of the bulb.
In this state, gladioli are ready for planting in the ground. Immediately before planting, the bulbs are recommended to be treated with fungicidal solutions, such as “Maxim” or “Fundazim”. Preparations are prepared in accordance with the instructions, gladioli are soaked in them for about two hours.
Recommendations for planting gladioli
It remains only to plant the gladiolus bulbs and wait for the flowers to appear. To do everything right, you should follow some recommendations:
- It is impossible to grow gladioli in one place for two seasons in a row – at least three years must pass between plantings on the same site. This is due to the predisposition of flowers to fungal diseases and the ability of spores of these pathogens to be stored in the ground for a long time.
- Tall flowers do not like strong winds and drafts – this can twist or break their stems. Therefore, gladioli are planted on the leeward side of the site.
- Flowers love the sun, the best place for them will be a well-lit part of the garden.
- Low-lying places and wetlands are a direct death for gladioli. They are grown on hills that are well ventilated. If the water stagnates or groundwater is high on the site, gladioli are planted on mounds.
- The soil for these flowers should be slightly acidic. In acidic, they do not develop normally, but in alkaline they die.
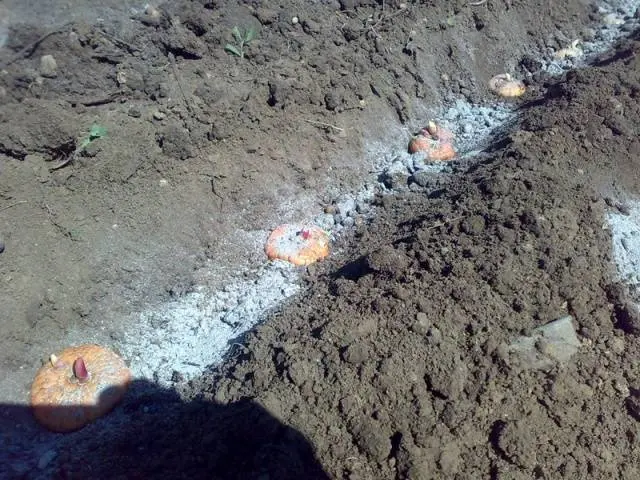
- To make it easier to dig up the bulbs in the fall, put some sand into the hole when planting them. This will loosen the soil.
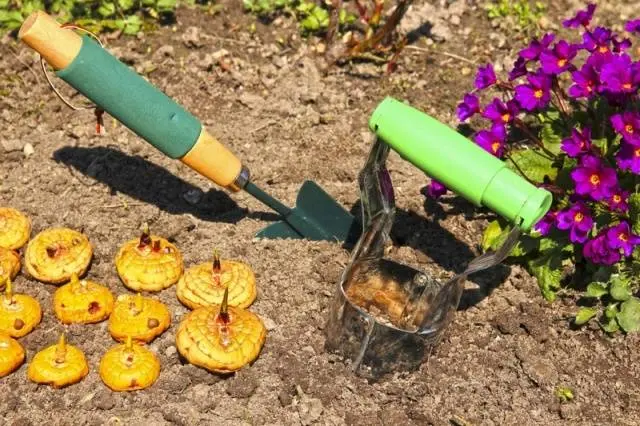
- The distance between the bushes should be at least 20 cm.
- The depth of burial of gladiolus bulbs depends on their size, it is equal to two diameters of the bulbs.
- When planting, the bulb is lightly pressed to the bottom of the hole, and covered with loose soil, without pressing it down.
The preparation of the bulbs and their planting are completed. After the height of the shoots reaches 8-10 cm, you can mulch the ground around the gladioli with foliage or sawdust. This will prevent overheating of the bulbs, protect the flowers from slugs and weeds.
So, there is nothing complicated in growing gladioli, just like all decorative flowers, they require a little attention from the gardener and a drop of his love.