


Excel spreadsheets printed on paper are much easier to view if they are printed with a grid and row and column headings. We’ll show you how to adjust the settings so that Excel sheets print with the grid and row and column headers.
Printing the grid
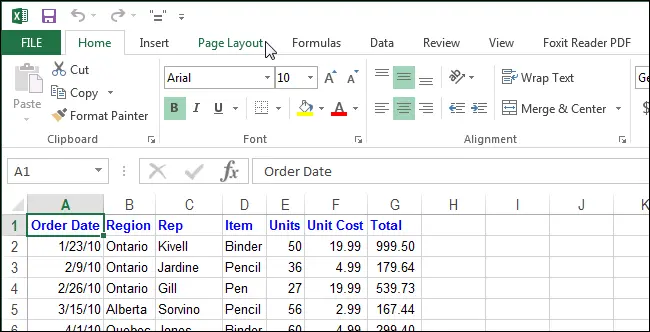
Open an Excel workbook and select the sheet you want to print with the grid. Go to the tab Page layout (Page Layout).
Note: This setting is configured individually for each sheet in your workbook.
In a command group Sheet options (Sheet Options) check the box next to print (Print) under header Сетка (Gridlines).

Grid printing is configured only for the current workbook and is enabled for each sheet separately. The setting status (on or off) for each sheet is saved with the workbook.
By the way, in a separate article we talk about how to change the color of the grid lines.
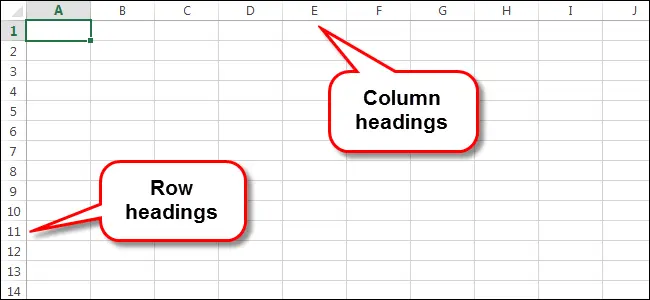
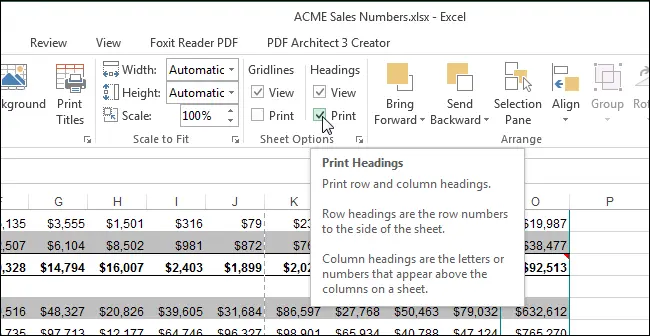
Printing row and column headings
The row and column headings in Excel that you see on the screen are not printed by default. However, you can always enable this feature in the settings.
Open a workbook and at the bottom of the window, click on the sheet tab you want to print along with the row and column headings.
Click the tab Page layout (Page Layout).
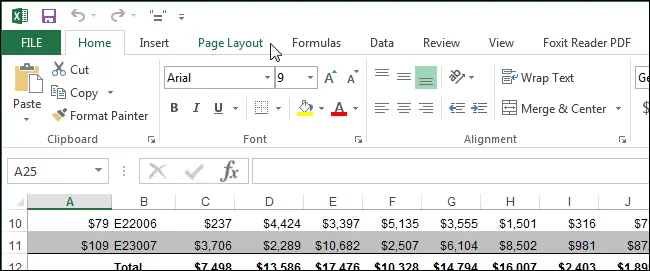
In a command group Sheet options (Sheet Options) check the box next to print (Print) under the inscription Headlines (Headings).
Just like grid printing, title printing is configured on a per-sheet basis. To print row and column headings for all sheets in your workbook, open each sheet individually and enable this option.