


Read-only mode prevents the document from being saved with accidental changes. In this mode, you simply will not be able to make any changes to the document, thus the document is protected from unwanted editing. We’ll show you how to open any Word document in read-only mode.
When you start Word, a list of recent documents appears on the Start screen. Click on the link Open other documents (Open Other Documents), which is below this list.
Note: If you already have a document open and need to open another read-only document, go to the tab File (File) and click Open (Open). Or use the keyboard shortcut Ctrl + A.

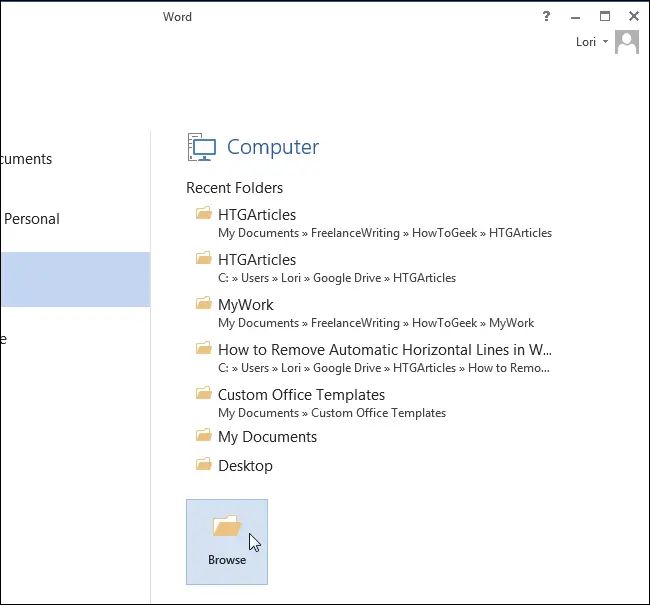
Press Компьютер (Computer) to open the file on your personal computer, or OneDriveto open it from your OneDrive cloud storage. We will press Компьютер (Computer).

On the right side of the window, click the button Review (Browse), which is located under the list of recent folders.
Navigate to the folder containing the file you want to open in read-only mode. Next, click the down arrow to the right of the button Open (Open) and from the drop-down menu select Open for reading (Read-Only).

The document will open in read-only mode, as shown in the picture at the beginning of this article. Mode “Only for reading” and “Reading mode” used in Word are very consonant, but they are completely different things. Don’t confuse them!