


Contents
Expensive alcoholic beverages that you buy in stores: tequila, gin, whiskey, are home-brewed products with peculiarities of the production technology and infusion characteristic of a particular country. To see this, try making the same whiskey at home.
The process of making this drink can be divided into two stages. At the first, short stage, you need to make a regular moonshine distillate, and at the second, which can last from a year to three years, mature this distillate in an oak barrel or on oak sawdust.
In this article I will tell you how to make whiskey at home using the classic technology that is used in Ireland and Scotland. The recipe is in many ways reminiscent of ordinary moonshine, but one more step is added – insisting on oak wood, which lasts six or more months. You can’t get a good drink before.
For those who do not want to deal with such a long preparation, I can offer a quick whiskey recipe. It is enough to dilute the alcohol to a strength of 40-50 degrees and insist on oak sawdust for 7-10 days (when the taste suits, filter). Sawdust must first be prepared: pour boiling water, drain the broth after an hour, pour in cold water, drain after a day, then dry the wood in the sun. Instead of alcohol, craftsmen use ordinary vodka or moonshine. Naturally, you will get alcohol only remotely resembling real scotch, but spend a minimum of time and effort.
It takes a long time to make a homemade whiskey look like the original Scotch or Irish whiskey, but the result is well worth the effort.
Ingredients:
- barley malt – 8 kg;
- water – 32 liters;
- yeast – 300 grams pressed or 50 grams dry.
Barley produces single malt whiskey, which is of the highest quality. But you can make two or three component drinks by mixing different types of malt. For example, barley, rye, corn or wheat. The general proportions of the ingredients do not change.
Malt is germinated at home or purchased in specialized stores. The origin of raw materials is not of fundamental importance. I advise you to pay attention to the quality of water. Spring water or water passed through a purification filter, but without reverse osmosis, is ideal. You can’t boil!
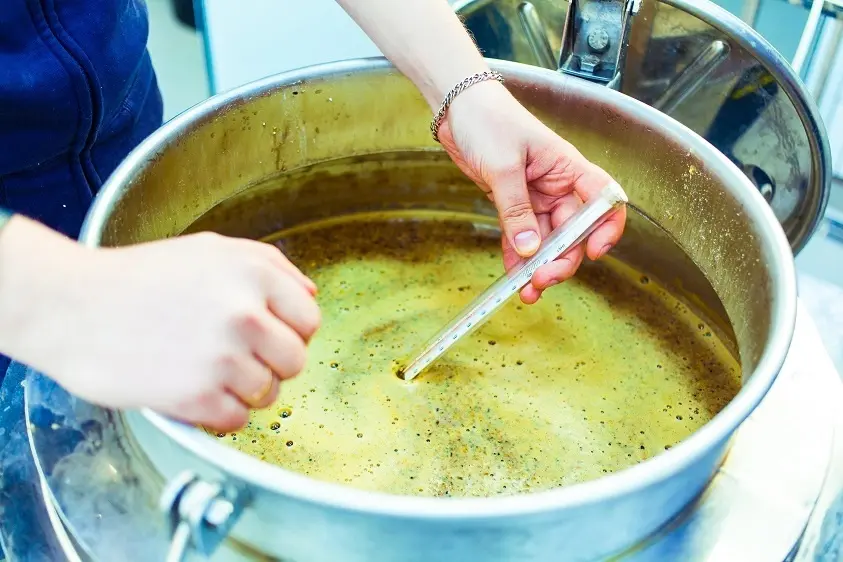
Attention! You definitely need a thermometer, without observing the thermal regime, measuring the temperature of the wort “by eye”, nothing will work.
The first step in making whiskey at home
To make whiskey at home, you will need: – 8 kg of crushed corn (you can take regular corn grits); – 1 kg of wheat flour; – 5 kg of barley; – 100 g of yeast; – 30 liters of water.
First you need to make barley malt. To do this, rinse the barley well, remove debris from the grains. Put the grains in a large container, fill them with warm water for a day. Then drain the water and rinse the barley again and put it in a container with a wide flat bottom in an even layer 4–6 cm thick. Place this container in a warm room, the temperature in it should be about 25 ° С.
Cover the grain with damp gauze and moisten it periodically, but the bottom layers should not be in the water. Within a day or two, the barley will begin to sprout, it must be gently mixed. When the sprouts are as long as the grains themselves, pass the barley through a meat grinder – the malt is ready.
If you do not plan to use barley malt right away, dry the sprouted barley at 40 ° C and grind it before use. Please note that the biological activity of this “white” malt is two times lower.
In a fermentation vessel of about 50 liters, mix the crushed corn with the wheat flour. Add water, stir everything, put on the stove and cook for 4–5 hours over low heat, stirring occasionally. The finished wort is a homogeneous liquid gruel. Remove the container from the heat, cover it with a warm blanket and let it cool slowly. When the temperature of the wort reaches 40 ° C, add barley malt and yeast to it, mix well and let it ferment.
Strain the resulting mash and distill on a moonshine still. If desired, distillate can be distilled twice. The resulting moonshine must be cleaned, for this, put a layer of gauze, cotton wool and powdered activated carbon, which can be bought at the pharmacy, on the bottom of the funnel, and pass the distillate through the funnel.
The second stage is the infusion of whiskey at home
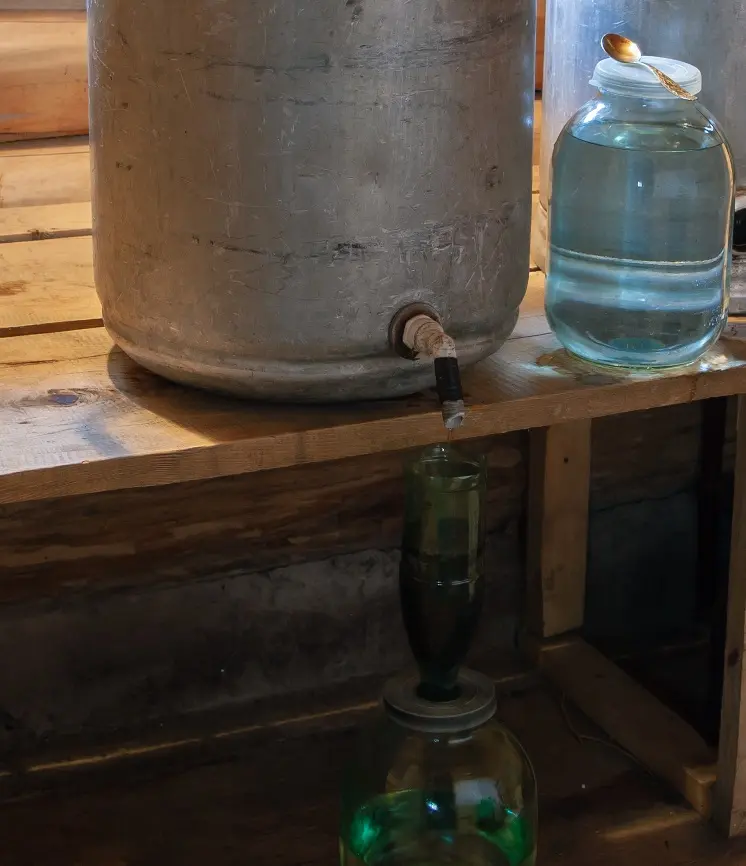
If you have an oak barrel, you need to prepare it: replace the brass faucet with a wooden stopper, pour boiling water over the barrel for several days so that the wood swells well. Then keep the usual moonshine in a barrel for several days, diluted to 30 ° 40 degrees (then you can distill it again). After all these manipulations, pour the distillate into the barrel and leave the whiskey to mature.
In the event that the barrel will be stored in an apartment, make a box for it so that alcohol vapors do not penetrate into the rooms.
If there is no oak barrel, soak the whiskey in glass containers, on the bottom of which oak sawdust, roasted in the oven until brown, is poured in a thick layer. It’s also worth learning how to make wheat vodka.
https://www.youtube.com/watch?v=i4gjqQ-e-XQ
How to make homemade whiskey
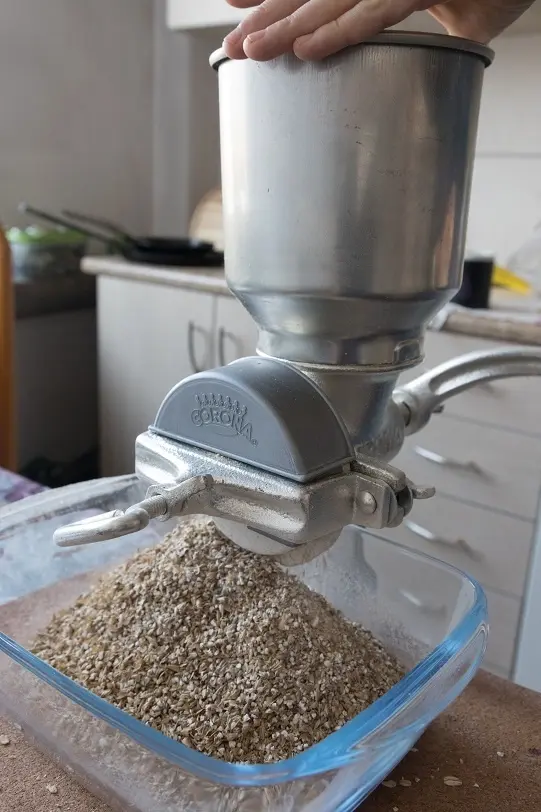
1. Crush the malt to the state of coarse grinding, leaving particles of grain peel. In no case should it be flour. It is only necessary to break the grains into small pieces. The correct grinding of malt for whiskey is shown in the photo. If you already purchased ground malt (the best option for beginners), skip this step.
2. Heat a large metal container with water on the stove to a temperature of 70°C.
3. Slowly pour malt into hot water, constantly stirring with a wooden mallet or stick. You should get a homogeneous mixture without lumps.
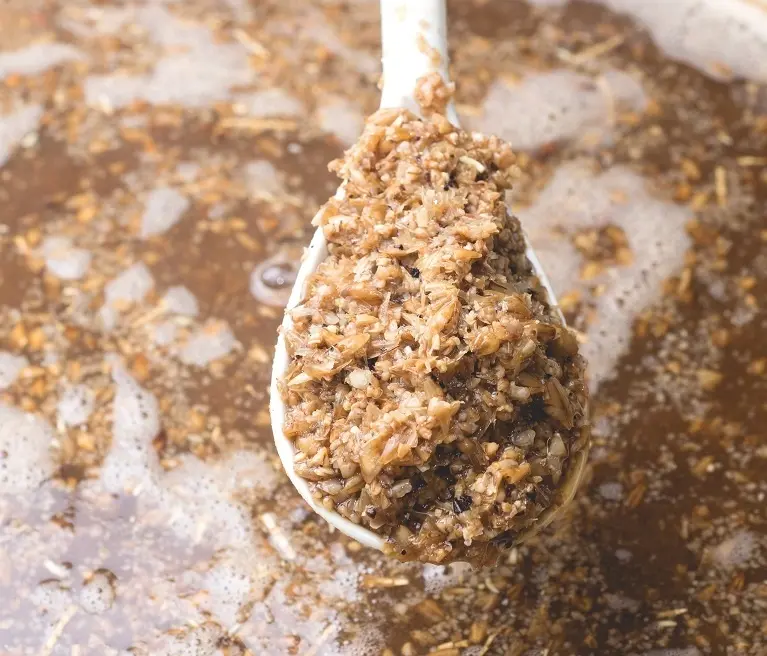
4. Bring the wort to 65°C (very important), close the lid tightly and maintain a stable temperature (plus or minus 2-3 degrees) for 90 minutes, checking and stirring every 10-15 minutes. To maintain the temperature regime, it is enough to periodically heat the container over low heat. At the end of the process, the upper part of the wort will brighten, and the porridge will sink to the bottom.
Under the influence of temperature, saccharification of the wort will begin – the breakdown of starch into sugar and dextrins (soluble substances). The yeast then converts the sugar into alcohol during fermentation.
Attention! The saccharification of the wort occurs only in the temperature range of 61-72°C, in all other cases the process stops without the possibility of resumption.
5. Remove the lid from the pot and cool the contents to 25 °C as soon as possible, for example by placing in a bath of cold water. Rapid cooling will not allow third-party microorganisms to multiply in the nutrient medium, which will prevent souring.
6. Dilute the yeast according to package instructions.
7. Pour the wort into a fermentation tank, add yeast, mix.
8. Move the container to a dark room with a temperature of 18-25°C, install a water seal.
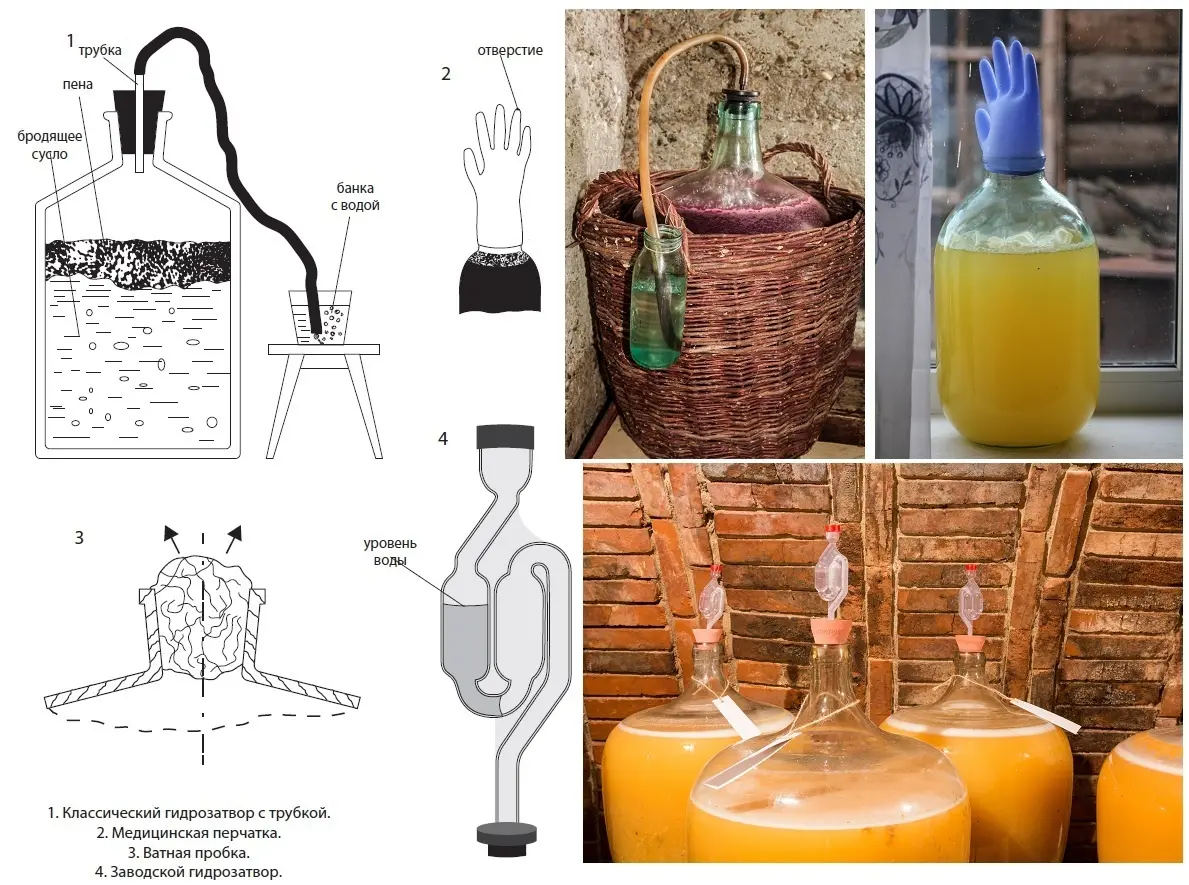
9. Depending on the quality of raw materials, yeast activity and temperature, fermentation lasts from 3 to 15 days.
When the water seal does not blow bubbles for 1-2 days, the wort has become light and bitter in taste (sweetness is not felt), you can proceed to the next step.

10. Pour the mash into the still through a colander to separate the grains (undissolved part of the malt) that can burn during the distillation process, making the whiskey bitter.
11. Distill the resulting mash on a moonshine still. During the first distillation, do not separate the yield into fractions (“heads”, “body” and “tails”). The selection is completed when the strength of the distillate in the stream drops below 20 degrees.
Approximately 6-7 liters of barley moonshine with a strength of 40 degrees are obtained. The yield depends on the extractivity of the malt – the percentage of starch content in it. The higher the extract, the better.
12. Measure the strength and determine the amount of pure alcohol. Dilute the distillate with water to 20% and redistillate. The first 12% of the yield from the amount of pure alcohol is poured into a separate container. These are “heads” – a fraction containing harmful substances. It spoils the taste of homemade whiskey and is dangerous to health.
Then collect the “body” – the main faction. Stop sampling when the output strength (in the jet) falls below 45 degrees. The result is 3-4 liters of the finished product.
If desired, a third distillation can be done, dividing the yield into fractions, as in the second case (selection of the head fraction – 2-3%). This will improve the quality of the distillate, but is labor intensive.
13. It’s time to insist grain moonshine on oak. There are two options. The first is to purchase an oak barrel, pour in the distillate and age in the cellar for at least 6 months. The second is to use oak pegs. Barrels are preferable, but such containers are still very rare on the farm, so further we will consider the technology of whiskey infusion on oak pegs.
Suitable wood with a trunk diameter of 30-35 cm (oak age 50 years). Bark, sawdust and shavings contain too many tannins that make the taste of whiskey harsh, so they are not suitable.
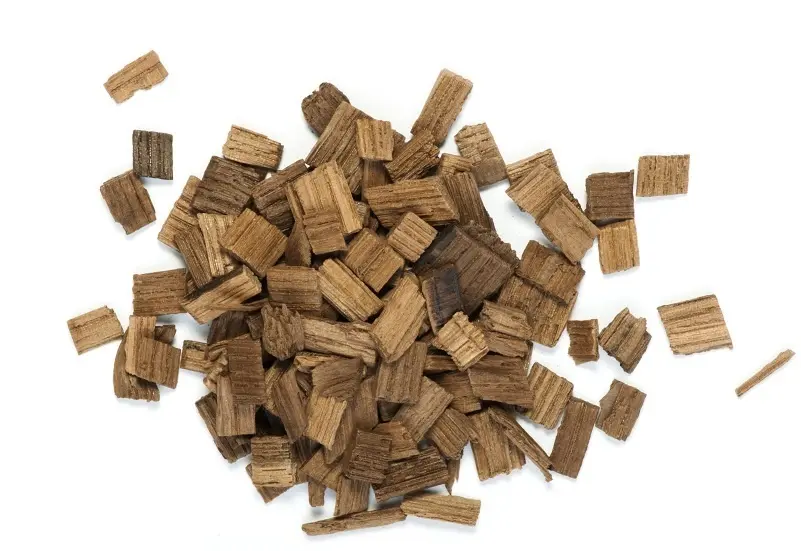
Divide oak stumps into pieces 5-8 mm thick. The length of the pegs should be placed in jars or other glass containers chosen for infusion. Pour boiling water over the wood, drain the broth after 10 minutes, soak for 30 minutes in cold water, then dry in the sun. Put the stumps in jars for aging (10-15 pieces in each), pour distillate diluted to 45-50 degrees. Then tightly close the lids and put in the basement for 6-12 months. Long exposure improves the taste.
14. Filter the finished homemade whiskey through several layers of cheesecloth, pour into bottles for storage and close tightly with corks.
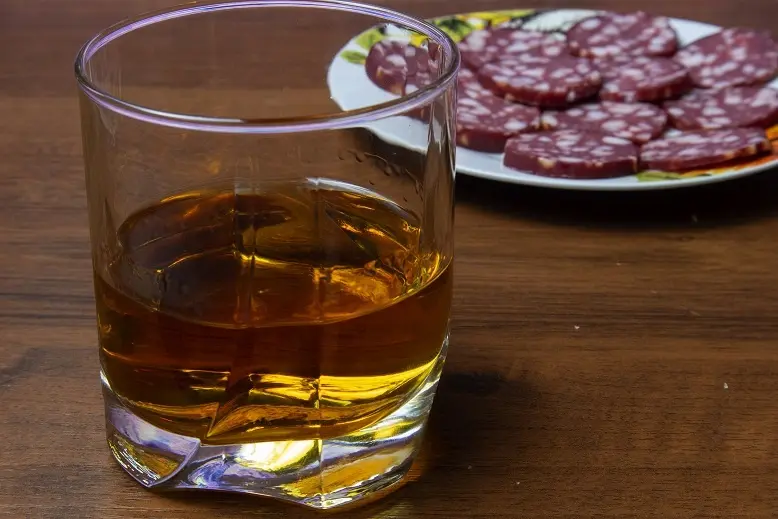
The drink is ready, you can start tasting.