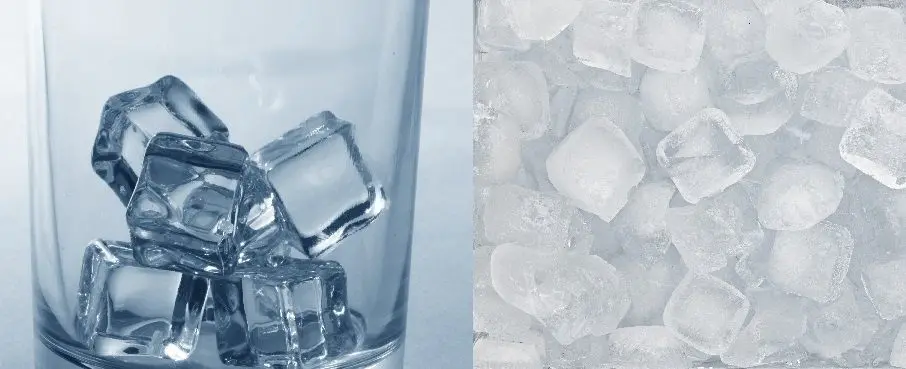
It would seem that it could be easier: fill the molds with tap water and put in the freezer for a couple of hours. But the result is a milky substance, often with an unpleasant smell of chlorine. To prevent this, we will consider the correct technology for making ice at home in the form of transparent cubes or crushed pieces. Of the equipment, only a freezer is required, even molds can be replaced with improvised containers.
Theory
Homemade ice turns cloudy due to gases (including oxygen), mineral salts and other impurities contained in the water. Gases form tiny bubbles that, when frozen, form crystals that are too large. Heavy metal salts act in a similar way. Only purified, degassed water of low hardness gives complete transparency.

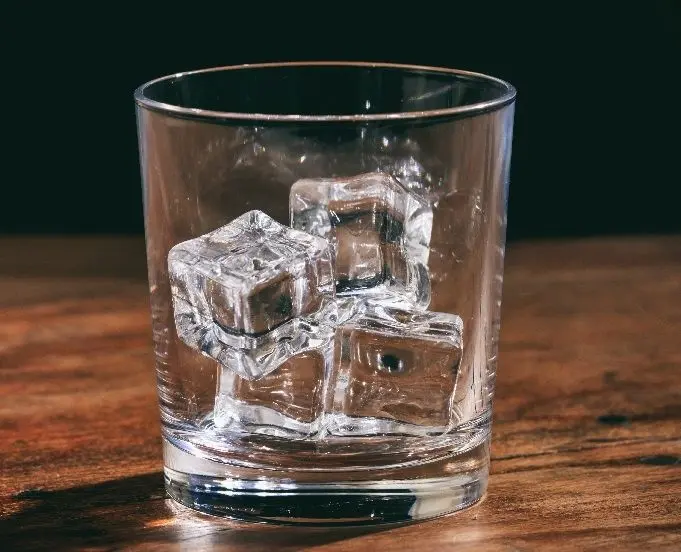
Properly made ice is not only transparent, colorless and tasteless, it also melts 30-50% longer. As a result, the drink is less diluted with water.
Ingredient:
- water (purified or distilled) – 1 liter.
Depending on the number and variety of drinks, an average of 600-800 grams of ice is required per party member.
homemade ice recipe
1. Pass ordinary water from a water supply system or a well (well) through a filter for purification, preferably with reverse osmosis, removing minerals and salts to the maximum. The harder the water, the better the cleaning should be. If there is no filter, it is better to purchase bottled water for children that has undergone additional softening.
The ideal option is distilled water, which you can buy at a pharmacy or make it yourself by distilling ordinary water in a moonshine still of any design.
Council. Make sure the freezer and ice trays are odor free. For example, you can not make ice in a compartment where meat or fish is stored openly.
2. Pour the prepared water into any clean non-aluminum pan and bring to a boil. Turn off heating. After 2-3 minutes, cover with a lid.
3. Cool the water to room temperature, then bring to a boil again, cover and cool to 20-25°C. Double boiling is guaranteed to remove the remaining oxygen and other gases, making the ice transparent.
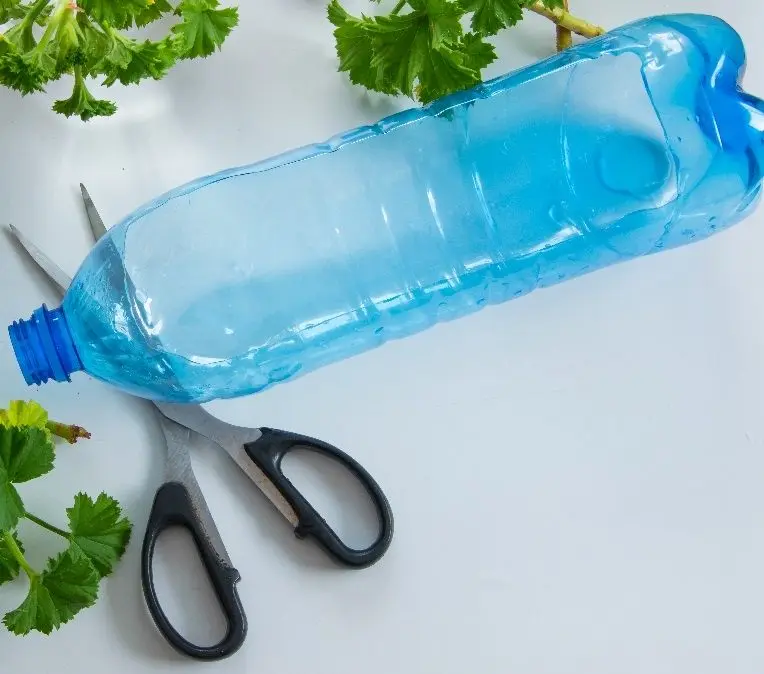
4. Pour water into molds, cover with cling film on top (preferably) and put in the freezer. If there are no special molds, they can be replaced with disposable cups or bottoms from plastic bottles.

To make it easier to add ice cubes to a glass, I advise you to pour water in a layer no higher than 5-6 cm.
5. Freezing time depends on the temperature in the freezer and the volume of molds. If a bubble is visible in the center of the cube, the ice is not yet ready.
To speed up cooking, you can freeze initially hot water without wrapping the exposed surface with cling film. The main thing is not to melt the mold material.
To make homemade ice without bubbles inside, you will have to freeze water in a couple of visits: first, pour only on the bottom (1-2 cm layer), after solidification, add half the mold, leave for a couple of hours in the freezer, pour in the remaining water and wait until completely frozen .
6. Remove the finished cubes from the mold by slightly bending the plastic base. The shelf life of homemade ice in the freezer is unlimited.

How to make crushed ice
7. Fold the cubes obtained in the previous step into a strong plastic bag. Gently crush the ice to the required crystal size with a wooden mallet or any other blunt kitchen utensil, such as a rolling pin. Apply blows smoothly and not very hard, trying not to tear the bag.
Attention! Before crushing, protect your eyes and face from the ingress of individual pieces of ice.
An alternative option is to grind the cubes in a food processor or blender, setting the pulse mode.


