


Contents
It doesn’t matter for what purpose you breed quails: for commercial or, as they say, “for home, for family”, you will certainly need an incubator. This article is about how to make a DIY quail incubator.
What is an incubator for?
Natural incubation is sometimes not feasible. There is not always a quail-hen. In addition, one bird can hatch from 12 to 15 eggs. The market price of chicks is quite high, so many consider it expedient to purchase hatching eggs.
What are incubator circuits? These are hermetically made boxes with thermal insulation, equipped with heating and egg trays. The design is not particularly difficult, and you can make it yourself. The advantages of self-manufacturing a quail incubator.
- Low material costs.
- The parameters of the incubator can be selected based on your own requirements.
- You can make a non-volatile design if, for example, you have a gasoline generator on your farm.
If you opted for a finished product, then there may be the following options.
- A foam incubator is the most economical option. They are not particularly durable, but their price is low. Before deciding to buy an expensive industrial incubator, calculate how soon it can pay for itself. It is wise to buy a cheaper option first, and when you gain experience with breeding birds, buy something more impressive.
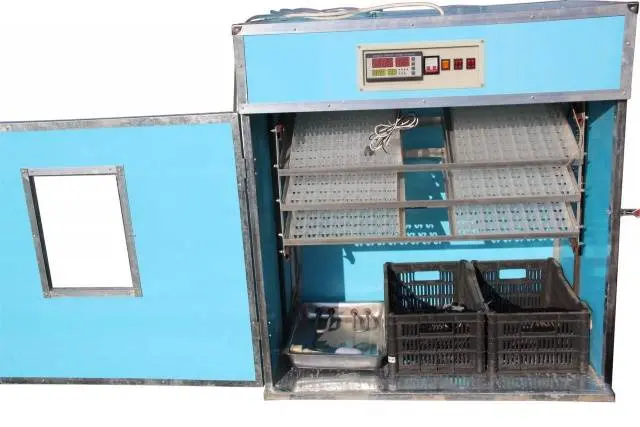
- An automated egg-turning incubator is quite expensive. Such equipment is used on large quail farms. For a home mini-farm, an automatic unit will hardly be profitable. In addition, practice shows that most often it is the system that is “responsible” for turning eggs that fails.
Do it yourself
For a self-made home incubator, a failed refrigerator or an ordinary cardboard box is suitable. In the latter case, care should be taken to preserve heat. In addition, there are quite strict requirements for the microclimate of the room where incubation will take place.
- The air temperature is at least 20 degrees.
- The temperature inside the incubator varies between 37 and 38 degrees.
- The optimum air humidity is between 60 and 70%.
- The first two days the eggs do not need to be turned. From days 3 to 15, the eggs are turned over every 2 hours so that the embryo does not stick to the shell.
- 2 days before hatching, the temperature in the incubator is kept at 37,5 degrees. The humidity level is 90%. Eggs need to be periodically irrigated with a spray bottle.
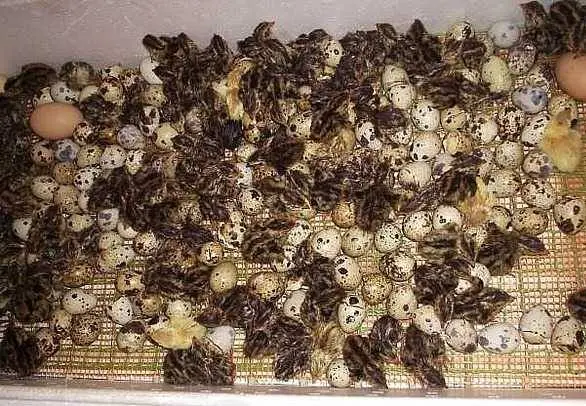
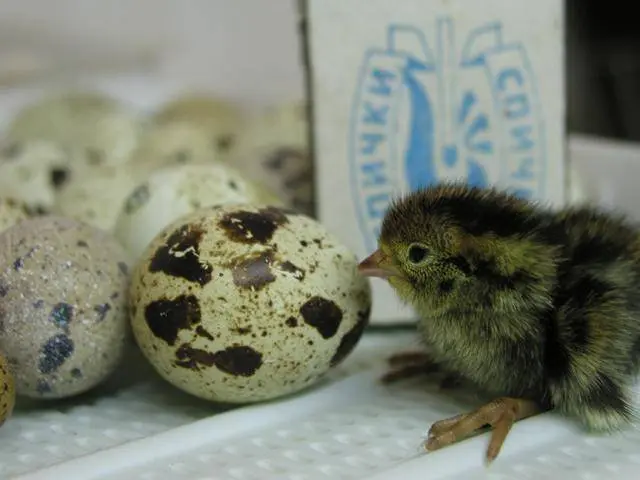
- The time the eggs are in the incubator before hatching is 17 days. Hatched chicks are in the incubator for another day, for complete drying and acclimatization.
Incubators must also have holes. If you need to adjust the air temperature and humidity inside the device, they are opened and closed. The body of the device can be made of chipboard, MDF, fiberboard or plank. For thermal insulation, it is best to use roll-type insulation material.
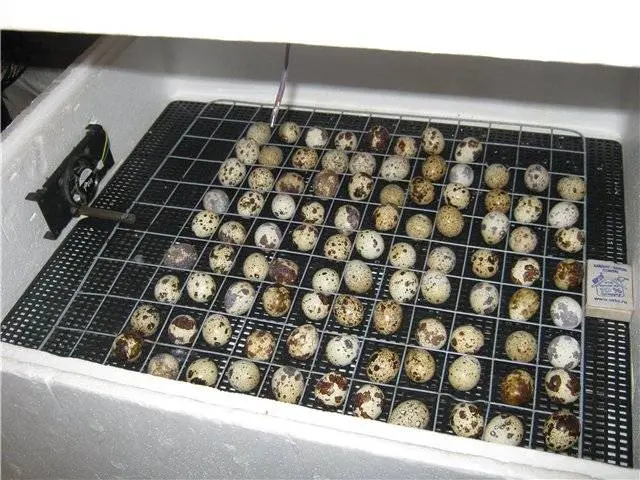
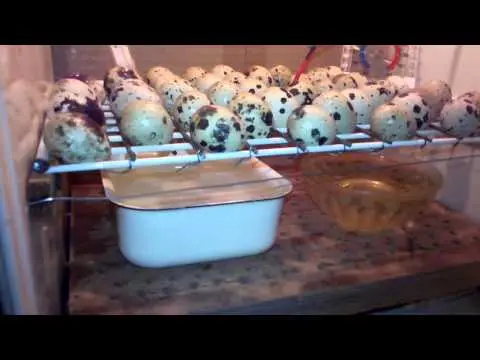
For incubation choose eggs, medium in size, not cracked. Before placing eggs in incubators, inspect them with an ovoscope to ensure that the egg contains an embryo.
There are several options for how to make a homemade quail incubation device.
First option
Needed for work.
- Box.
- Plywood.
- Styrofoam sheets.
- Metal mesh.
- 4 incandescent lamps at 15 watts.
This method is clearly shown in the video:
The procedure is as follows.
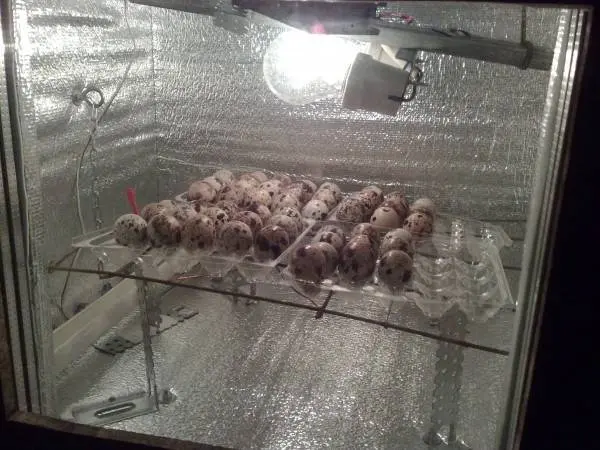
- Sheathe the box with plywood and insulate with foam.
- Make several holes with a centimeter diameter in the bottom.
- In the lid, make a glazed window to control the condition of the eggs and the microclimate in the box.
- Just below the cover, mount the electrical wiring with cartridges (they are located in the corners).
- About 10 cm from the bottom, secure the egg tray by placing it on the foam supports. Pull a metal mesh over the top of the tray. The incubator is ready.
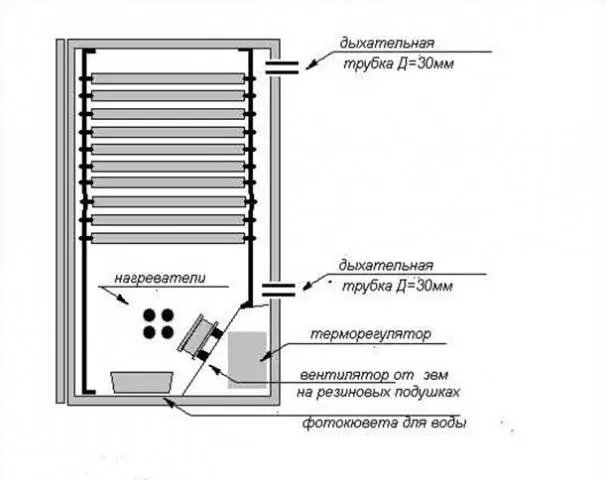
The second option
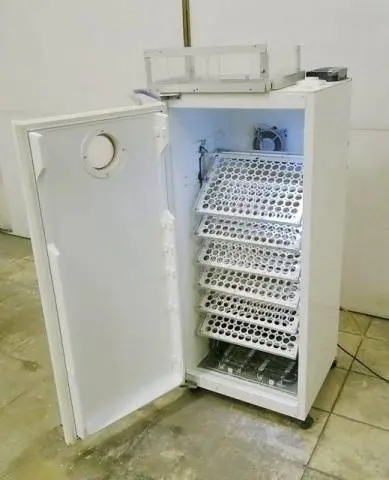
If it’s difficult for you to figure out the drawings of a quail incubator with your own hands, an excellent fixture will turn out from an old refrigerator. It is quite roomy and has the right degree of tightness. Instead of shelves for storing food, trays with eggs are placed. Styrofoam is used to insulate the walls. Holes are made in the walls for air exchange and incandescent lamps are installed. You can turn the eggs with the help of a metal lever.
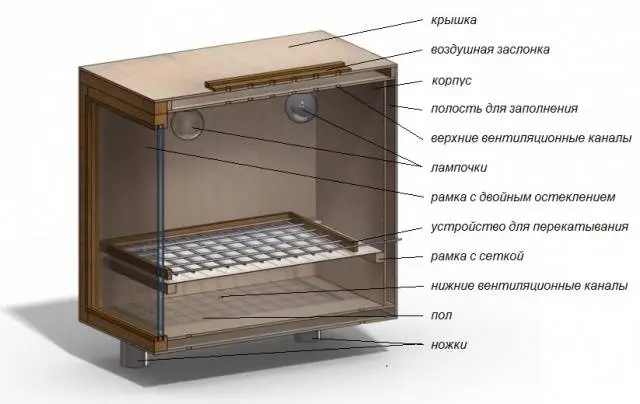
Third Embodiment
We adapt an old cabinet for a home-made quail incubator: plywood or from chipboard sheets. An old TV stand is perfect. Doors made of durable glass give you the opportunity to exercise control over the incubation. Ventilation holes are drilled in the cabinet top. A heat fan is used to raise the temperature inside the incubator. A metal mesh is placed on the floor of the device. For fixing egg trays, a steel plate on movable fasteners is used. Through a hole drilled in the wall, attach a handle with which you can turn the eggs every two hours.
Fourth option: incubation device in a bucket
This method of arranging a quail incubator is great for a small number of eggs. All you need is a plastic bucket with a lid. The procedure is the following.
- Cut a window in the lid.
- Install a heat source at the top of the bucket (1 light bulb is enough).
- Place the egg net in the middle of the bucket.
- Drill ventilation holes at a distance of 70-80 mm from the bottom.
- To maintain the desired level of humidity, pour some water into the bottom of the bucket.
By periodically changing the tilt of the bucket, you shift the eggs. It is not recommended to tilt the bucket at an angle exceeding 45 degrees.

Some useful tips
With the independent arrangement of an incubator for a home quail farm, certain rules must be followed. Here they are.
- You should not control the air temperature with an outdoor thermometer. Its margin of error is too great. A conventional medical thermometer is much more accurate.
- Place the thermometer close to the eggs, but do not touch them.
- If you are making a large incubator for a large number of eggs, then it is advisable to use a fan heater to equalize the air temperature.
- Monitor the temperature at roughly equal time intervals.
Maybe industrial-made devices look more solid. However, practice shows that home-made devices are cheaper, easier to use and much more practical than finished products.