


Contents
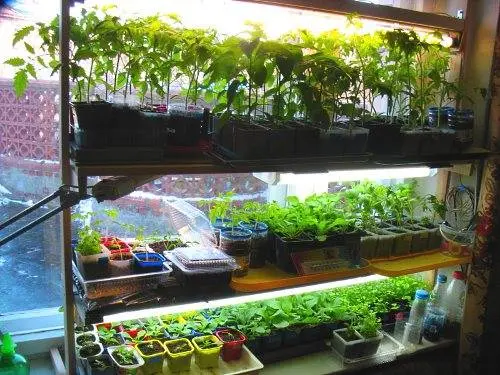
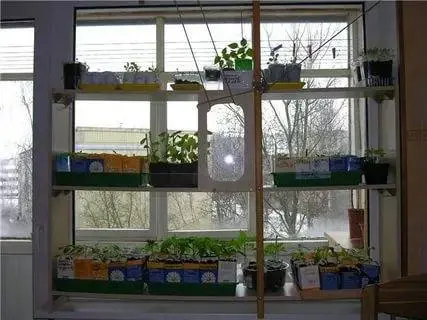
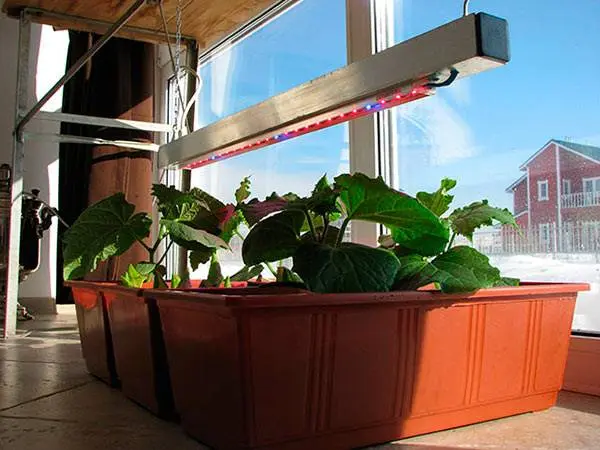
The traditional place for growing seedlings is the windowsill. The boxes here do not interfere with anyone, and the plants receive daylight. The inconvenience of the method is associated with space limitations. Few seedlings are placed on the windowsill. Paul is not the best place. To grow a large amount of planting material, illuminated seedling racks are made, installed against the wall near the window or on the windowsill.
Varieties
It is easier to buy a rack for seedlings in the store. However, the cost of the product is high, and the quality is not always good. A shaky structure can collapse at any moment. It is easier to make a rack yourself according to individual sizes, but first you need to decide on the design.
Stationary
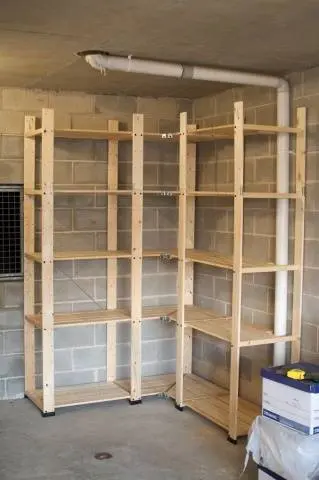
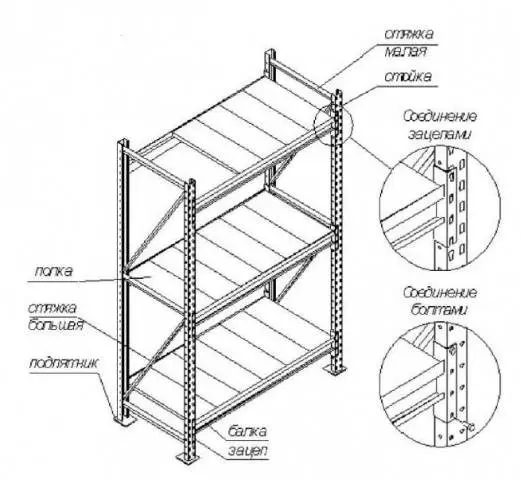
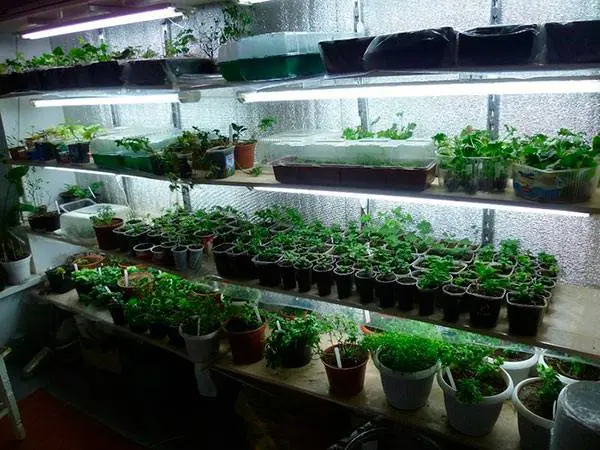
Accommodates a normally stationary seedling rack with 5 shelves and is installed on the floor. The structure is not collapsible. For reliability, the rack is fixed to the wall and floor. The model is suitable for people involved in the constant cultivation of planting material in large quantities. Due to the inability to disassemble the structure, it will be necessary to find an empty room for installation. Dimensions are calculated individually. The best material for manufacturing is wood.
collapsible
The most convenient to use is considered a collapsible rack. The design can consist of 3, 4 or 5 removable shelves, installed as needed. The material of manufacture is a metal thin-walled profile with a galvanized coating. The collapsible model is installed at the time of growing seedlings, and then it is folded to be stored in a barn.
Window
Accommodates window seedling rack 3 shelves due to the limitation of the opening in height. The width of the windows is also different, so it is better to make such designs on your own with individual sizes. The height distance between the shelves can withstand a maximum of 50 cm. The rack can be made folding and non-separable, but the first option is better. After growing planting material, the structure is dismantled for storage until the next season.
With case
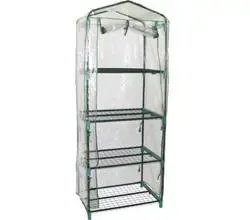
On sale you can find a seedling rack with a cover, consisting of 4-5 shelves. A similar design can be done at home. The material of manufacture is a thin-walled pipe with a diameter of 15 mm, a corner or a profile. The cover is sewn from a transparent film or agrofibre. The purpose of the shelter is to create a microclimate for seedlings. The cover forms a mini-greenhouse, which allows you to install the rack in a cool room.
Firstly, the lamps will become a source of heating for plants in a cool room. Secondly, the shelter partially reduces the intensity of daylight from the window and without artificial lighting, the seedlings will be dark.
Materials for self-production of the structure

The basis of the rack is the frame. The entire load from the shelves and boxes with planting material falls on the racks and lintels. The structure is assembled from a wooden beam, a metal corner, a pipe or a profile.
Shelves are similarly subject to the heavy load of boxes of earth. The material for the manufacture is any sheet material of high strength: plywood, iron, chipboard or other boards. Fold the shelves from the scraps of the board. When using any material, cover with a film will be required. When watering seedlings, water gets on the shelves. Wood in dampness begins to rot, and metal to rust.
The nuances of self-production
Having decided to assemble a rack for seedlings with your own hands, you need to think through all the nuances in advance:
- the size depends on the free space where the structure is supposed to be installed, and also take into account the number of seedlings grown;
- the material is selected the one that is available at home, but take into account the strength and resistance to moisture.
Having decided on the materials and dimensions, they draw up a design drawing. The diagram provides for the attachment points for backlight lamps.
The video shows the assembly of the rack:
Wooden window sill
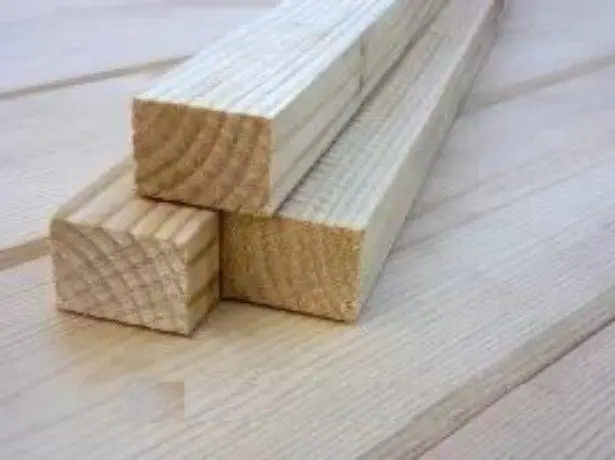
The simplest rack for a window sill for seedlings will be made from wooden bars with a section of 30×30 mm. Thick tempered glass or plywood is suitable for shelves. The size of the structure depends on the dimensions of the window opening and the width of the window sill. There must be a gap of at least 5 cm between the rack and the side walls of the opening.
The height of the window usually allows you to make 3 shelves. The distance between them is at least 50 cm. A similar gap is provided between the top shelf and the wall of the window opening.
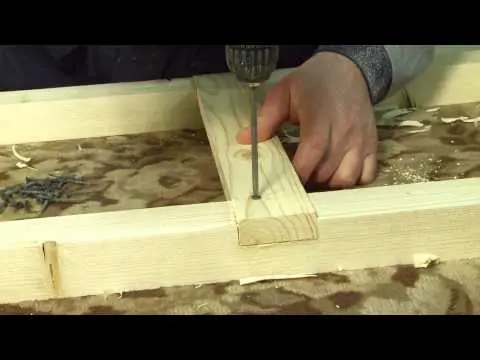
To make a frame from a bar, 4 racks, 6 long and 6 short jumpers are cut. The blanks are connected with self-tapping screws. To reinforce the corners, it is desirable to use overhead metal plates. The assembled rack for seedlings on the window is treated with protective impregnation, opened with varnish. Shelves are laid on the jumpers and fixtures for lamps are adapted.
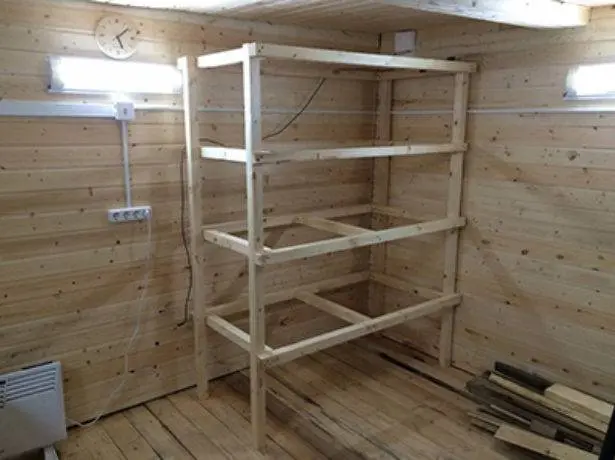
Stationary timber construction
Stationary home seedling racks are most often also assembled from timber, only blanks use a larger section – 50×50 mm. The manufacturing instruction consists of the following steps:
- According to the dimensions of the drawn up drawing, blanks are cut from the timber. Stationary racks for growing seedlings are made with five shelves. You will need 10 long and 10 short jumpers. There are enough racks for the frame 4 pieces. If you make a rack more than 2 m long, it is advisable to put a couple of additional supports in the middle. Racks will prevent deflection of long jumpers with shelves under the weight of boxes with seedlings.
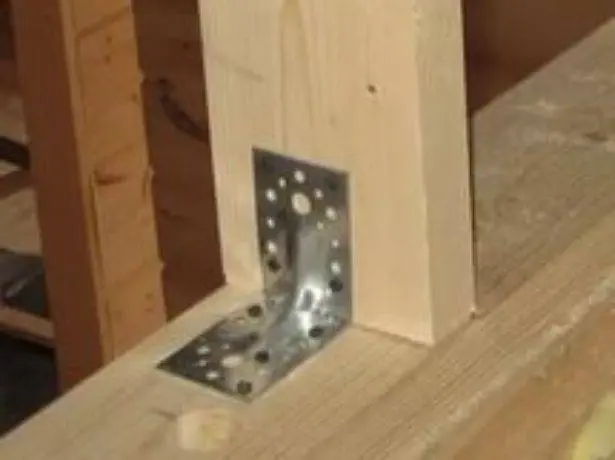

- On the racks with a pencil mark the location of the jumpers. The blanks are connected with self-tapping screws and be sure to use overhead mounting corners made of metal.
- The assembled frame is installed in a permanent place. For better stability, the rack is fixed at several points to the wall.
Shelves are cut out of plywood or made of typesetting boards. All wooden elements of the rack are impregnated with an antiseptic. It is possible to open the impregnation with varnish after drying.
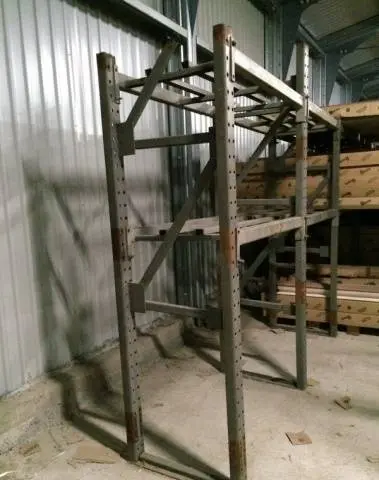
Five-tier metal structure
It is possible to make a metal rack for seedlings of a collapsible and stationary type. Folding design is best done from the corner. Holes are drilled under the bolted connection in the workpieces.
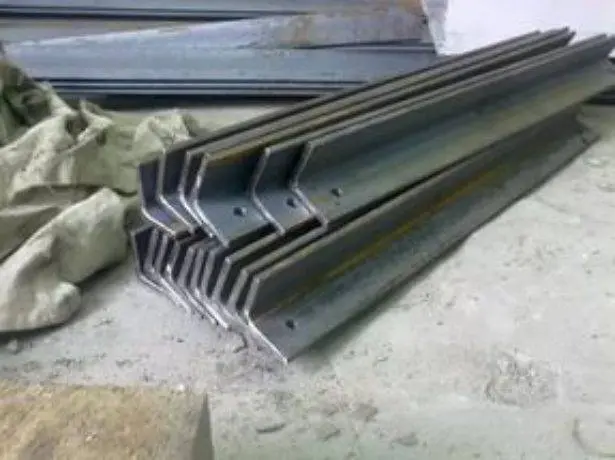
A stationary rack for seedlings is made of a pipe or a profile. The blanks are connected by welding.
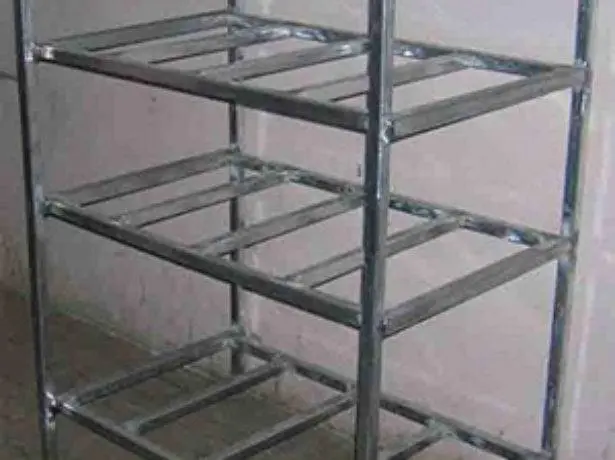
The finished metal structure is painted. The steel rack is stable due to its weight. If there is any doubt about the quality of your assembly, then it is better to provide for additional fastening to the wall or floor.
Backlight Options
Making a rack for seedlings with your own hands with backlight, you need to choose the right lamps. Not every light source favorably affects the development of plants. The following lighting options are available:
- Traditional incandescent lamps are the worst lighting for any seedling. The only plus is the low cost. The lamp emits little light, but gives off a lot of heat, which is dangerous for young plants. Another disadvantage is the high power consumption.
- Low power fluorescent lamps emit light up to 100 Lm/W. For seedlings, a good option, but little red radiation. The light is too cold.
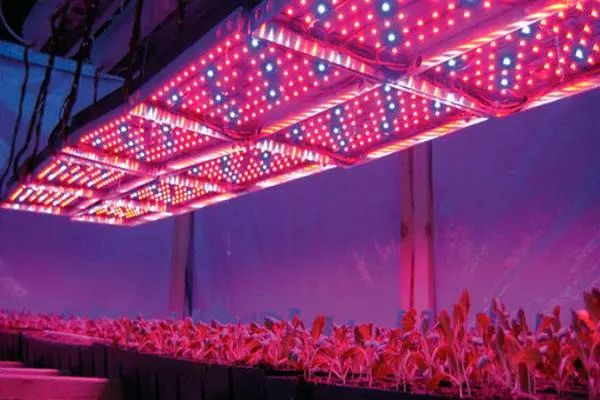
- LEDs are great for illuminating planting material on racks. The stores have a large selection of lamps, lanterns, ribbons. You can choose a light source of any configuration. LEDs emit a maximum of light of a different spectrum and a minimum of heat.
- Metal halide lamps are considered economical and efficient. They emit light up to 100 Lm/W. The disadvantage is the lack of blue spectrum.
- Up to 200 lm/W of yellow light emit gas-discharge lamps. For their work, you need to buy a regulator.
- Ordinary daylight is emitted by mercury lamps.
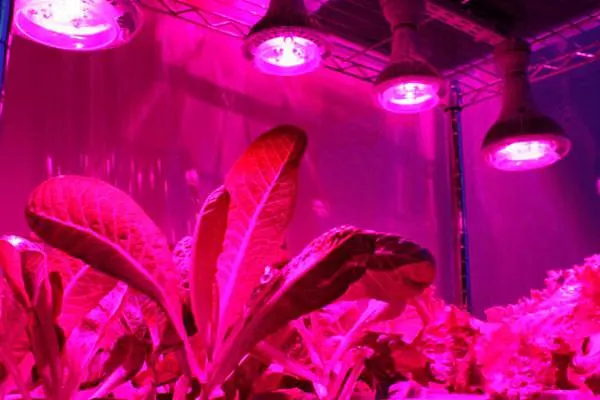
- An excellent result is shown by racks with phytolamps for seedlings, which provide plants with the most comfortable conditions for growth. The light source will not burn the leaves even at the maximum approach. Phytolamps are economical, environmentally friendly, and their glow has all the spectra necessary for seedlings.
There are xenon, halogen and other lamps, but they are rarely used for seedlings.
Self-made LED backlight
Considering how to make a backlit seedling rack, it is worth stopping at LEDs. It is advisable to refuse lamps, since they emit a limited spectrum. Ribbons of red and blue glow are well suited for homemade backlighting.
The basis of a homemade lamp will be a wooden beam. The length of the workpiece and the shelf must match. Two aluminum profiles are screwed onto the timber in parallel. They are needed to remove heat from the LEDs. The LED strip on the back has an adhesive base. A blue tape is glued to one profile, and a red glow is glued to the other. The backlight will work from the power supply. The finished lamp made of timber is hung over the seedlings, fastened with a rope to the lintels of the rack.
Plants need their own microclimate, so moisture is always present, especially after watering or spraying. Having decided on the manufacture of a rack with lighting for growing seedlings, one must remember about electrical safety.