


I think that you are already familiar with how to insert a picture into an Excel worksheet. If you simply paste a picture on a sheet, it will cover some of the cells, and they will become inaccessible. This is because the drawing is placed on a special layer, which is located above the working area of the sheet. In this tutorial, you will learn how to insert a background image into an Excel worksheet. You can do this manually using Headers and footers. So here’s how it’s done.
- Open Excel and go to the tab Insertion (Inset) on the Ribbon.


- In section Text (Text) click Header & Footer (Headers and footers).

Depending on the size of the Excel window and the resolution of the monitor, a group of commands Text (Text) can be collapsed into a drop-down menu. In this case, first press the button Text (Text) on the Ribbon, and then from the drop-down menu select Header & Footer (Headers and footers).

- A tab will appear on the right side of the Ribbon. Header & Footer Tools (Working with footers). To insert a background image, click Picture (Figure) in the command group Header & Footer Elements (Header and footer elements).

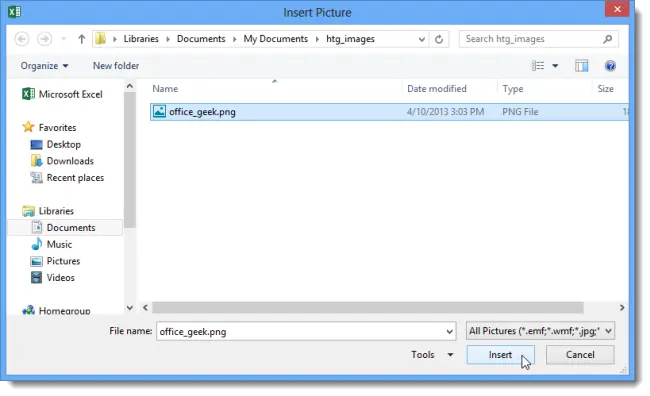
- A dialog box will open Insert Pictures (Insert pictures). Choose the location of your drawing. In our case, the picture was located on the hard drive of the computer, so we pressed CATEGORIES (Browse) next to an option From a file (From file).

- Select the desired file and click Insertion (Insert).
- While you are in edit mode, the text is displayed instead of the picture. &[Picture]. Using the keys Space и Enter you can place the inscription in the right place on the page. Thus, you can position the picture, for example, in the center.

- If you click on any cell outside the header, you will see that the selected image remains in the background. The contents of the cells will be displayed on top of the image inserted into the header, but if this image is full-color, and even dark, it will be quite difficult to see it.

- The brightness of the picture can be dimmed. To do this, go to the tab again Header & Footer Tools (Working with footers). Choose a team Format Picture (Picture Format) in the section Header & Footer Elements (Header and footer elements).

- In the opened dialog box Format Picture (Picture format) go to the tab Picture (Picture) and in the drop-down list of the field Color (Color) choose washout (Substrate). Then press OK.

- The picture in the background of the sheet will become less bright.

- In the same way, you can insert any text as a background. To do this, enter text in the header field using the keys Space и Enter, place it where you want it on the page, and change the color to a light grey.

- To remove the background image, simply open the header, select the inserted text or image and delete it. Then click on any cell outside of the header to save those changes.